Howdy! Happy Spring-ish. It’s 60 plus degrees in Indiana today, and supposed to snow next week. I always feel really sad for all the early blooming flowers this time of year, ’cause you never know if they will make it to real spring or freeze trying. With all that said, I want to show you a picture of Spring that we don’t ever have to worry about. Thank you for your beautiful IRIS FIELDS. The only liberty I took outside of your color list was to use a variegated green in place of the Light Lime. I really like how it turned out. It reminds me of fresh cut lawn grass. I hope you approve. Thanks again,
Author: Suz
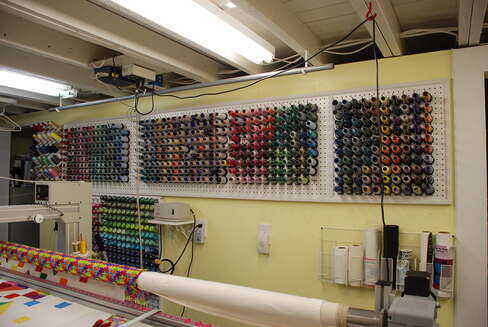
Suzanne’s Thread Wall
As I have all sizes of threads and a couple different brands including BFC’s for me having them up on a pegboard is best. I keep a towel over them to keep the dust off, I’ve labeled them so I know where each spool goes once I’m done with them. I’ve done this for all my threads putting them closest to the machine that uses them. THis pic was taken before I collected all of BFC’s threads but you get the idea. I added BFC’s where I had the stablilizers on the wall.
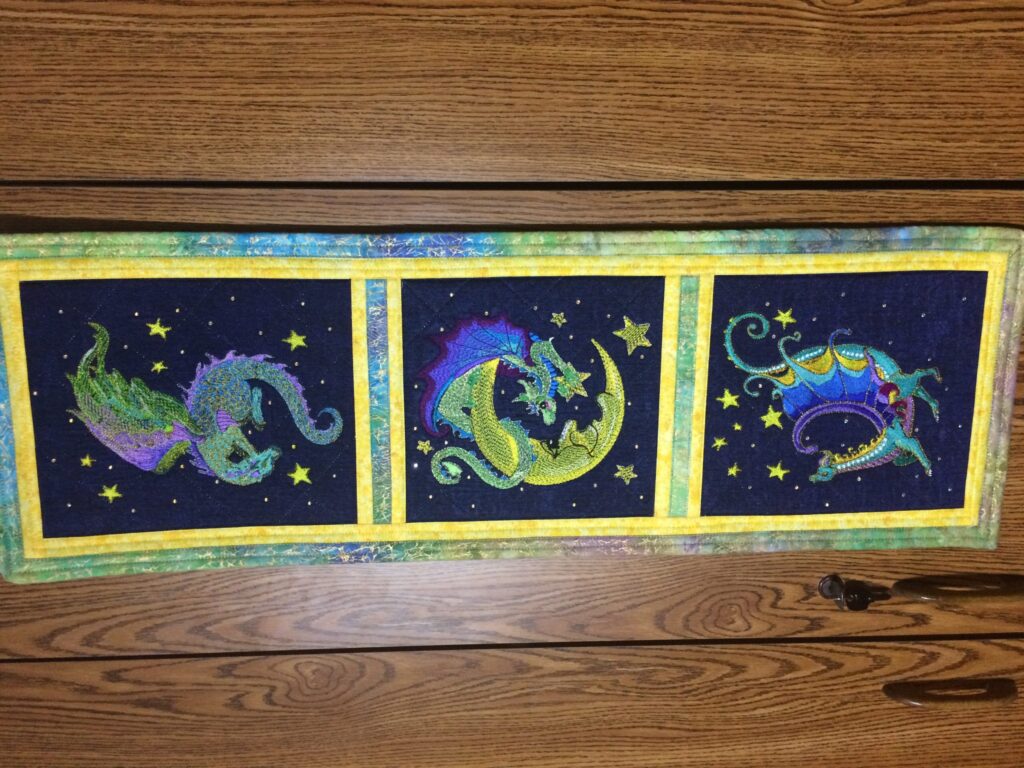
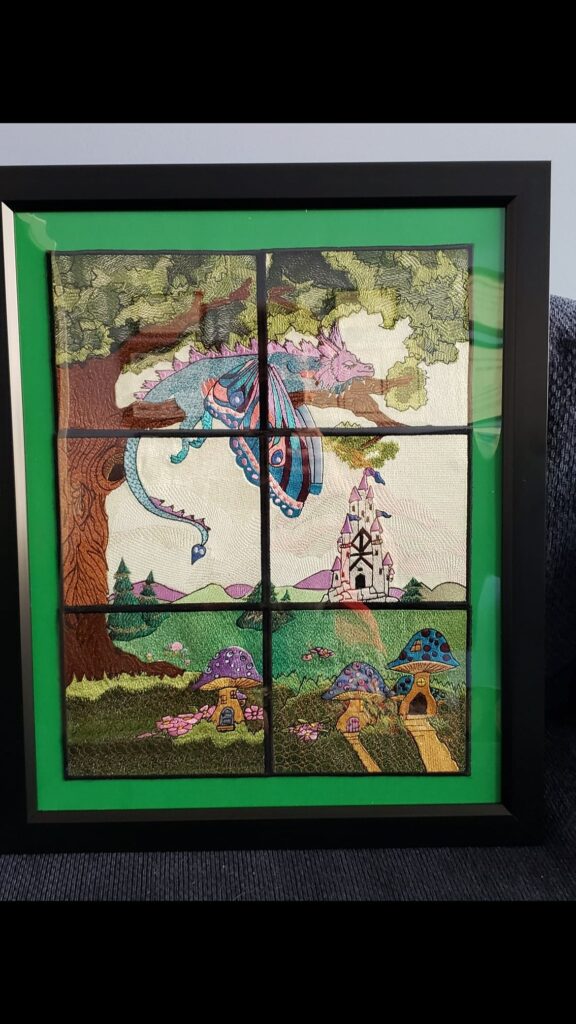
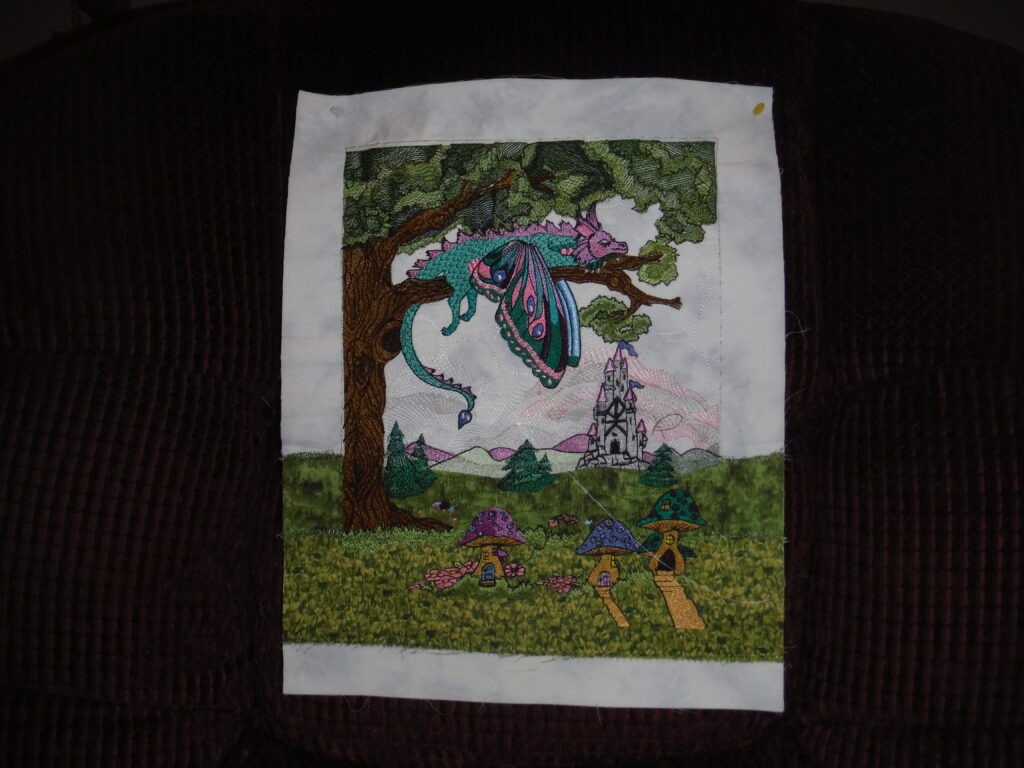
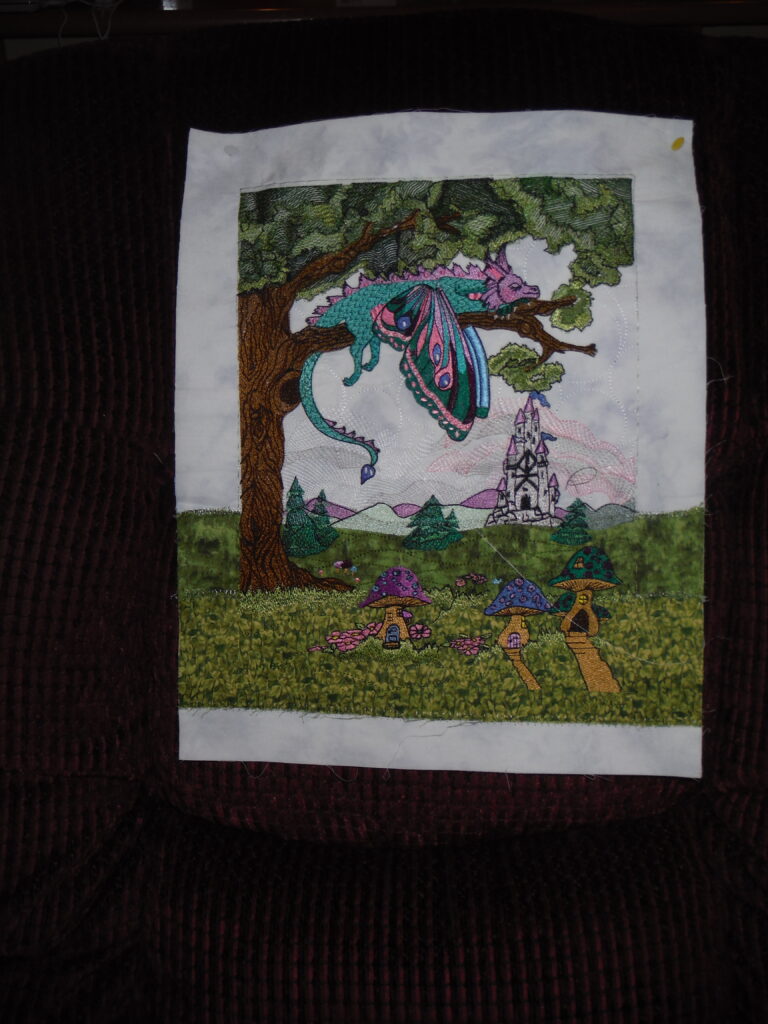
Laura’s Dragons
The cutest dragons, ever! This is my latest wall hanging. As you can see, I added some crystals to the finished designs. Might I suggest to anyone that wants to use these designs on dark fabric to use an opaque, vinyl, topper under the moon part of the embroidery designs. I did not and as you can see, the dark background fabric bleeds through. Also, I used gold, metallic thread as the outline stitches because black thread did not show up against the dark background fabric.
Thanks again for these wonderful, smile producing designs. Until next time,
Laura
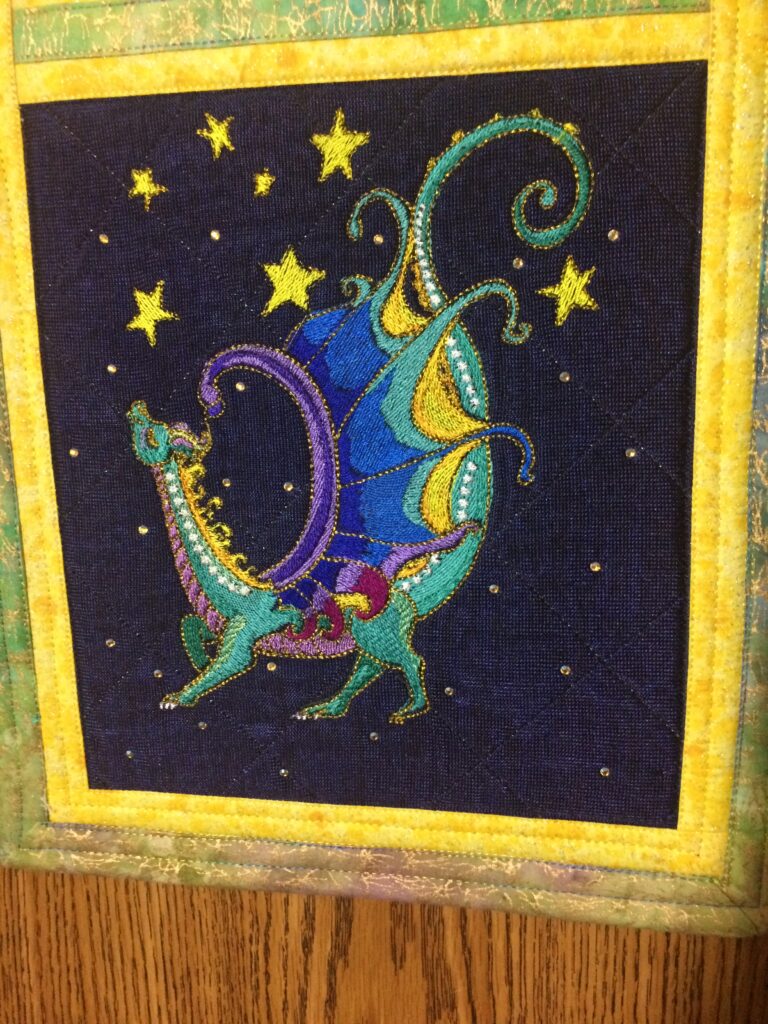
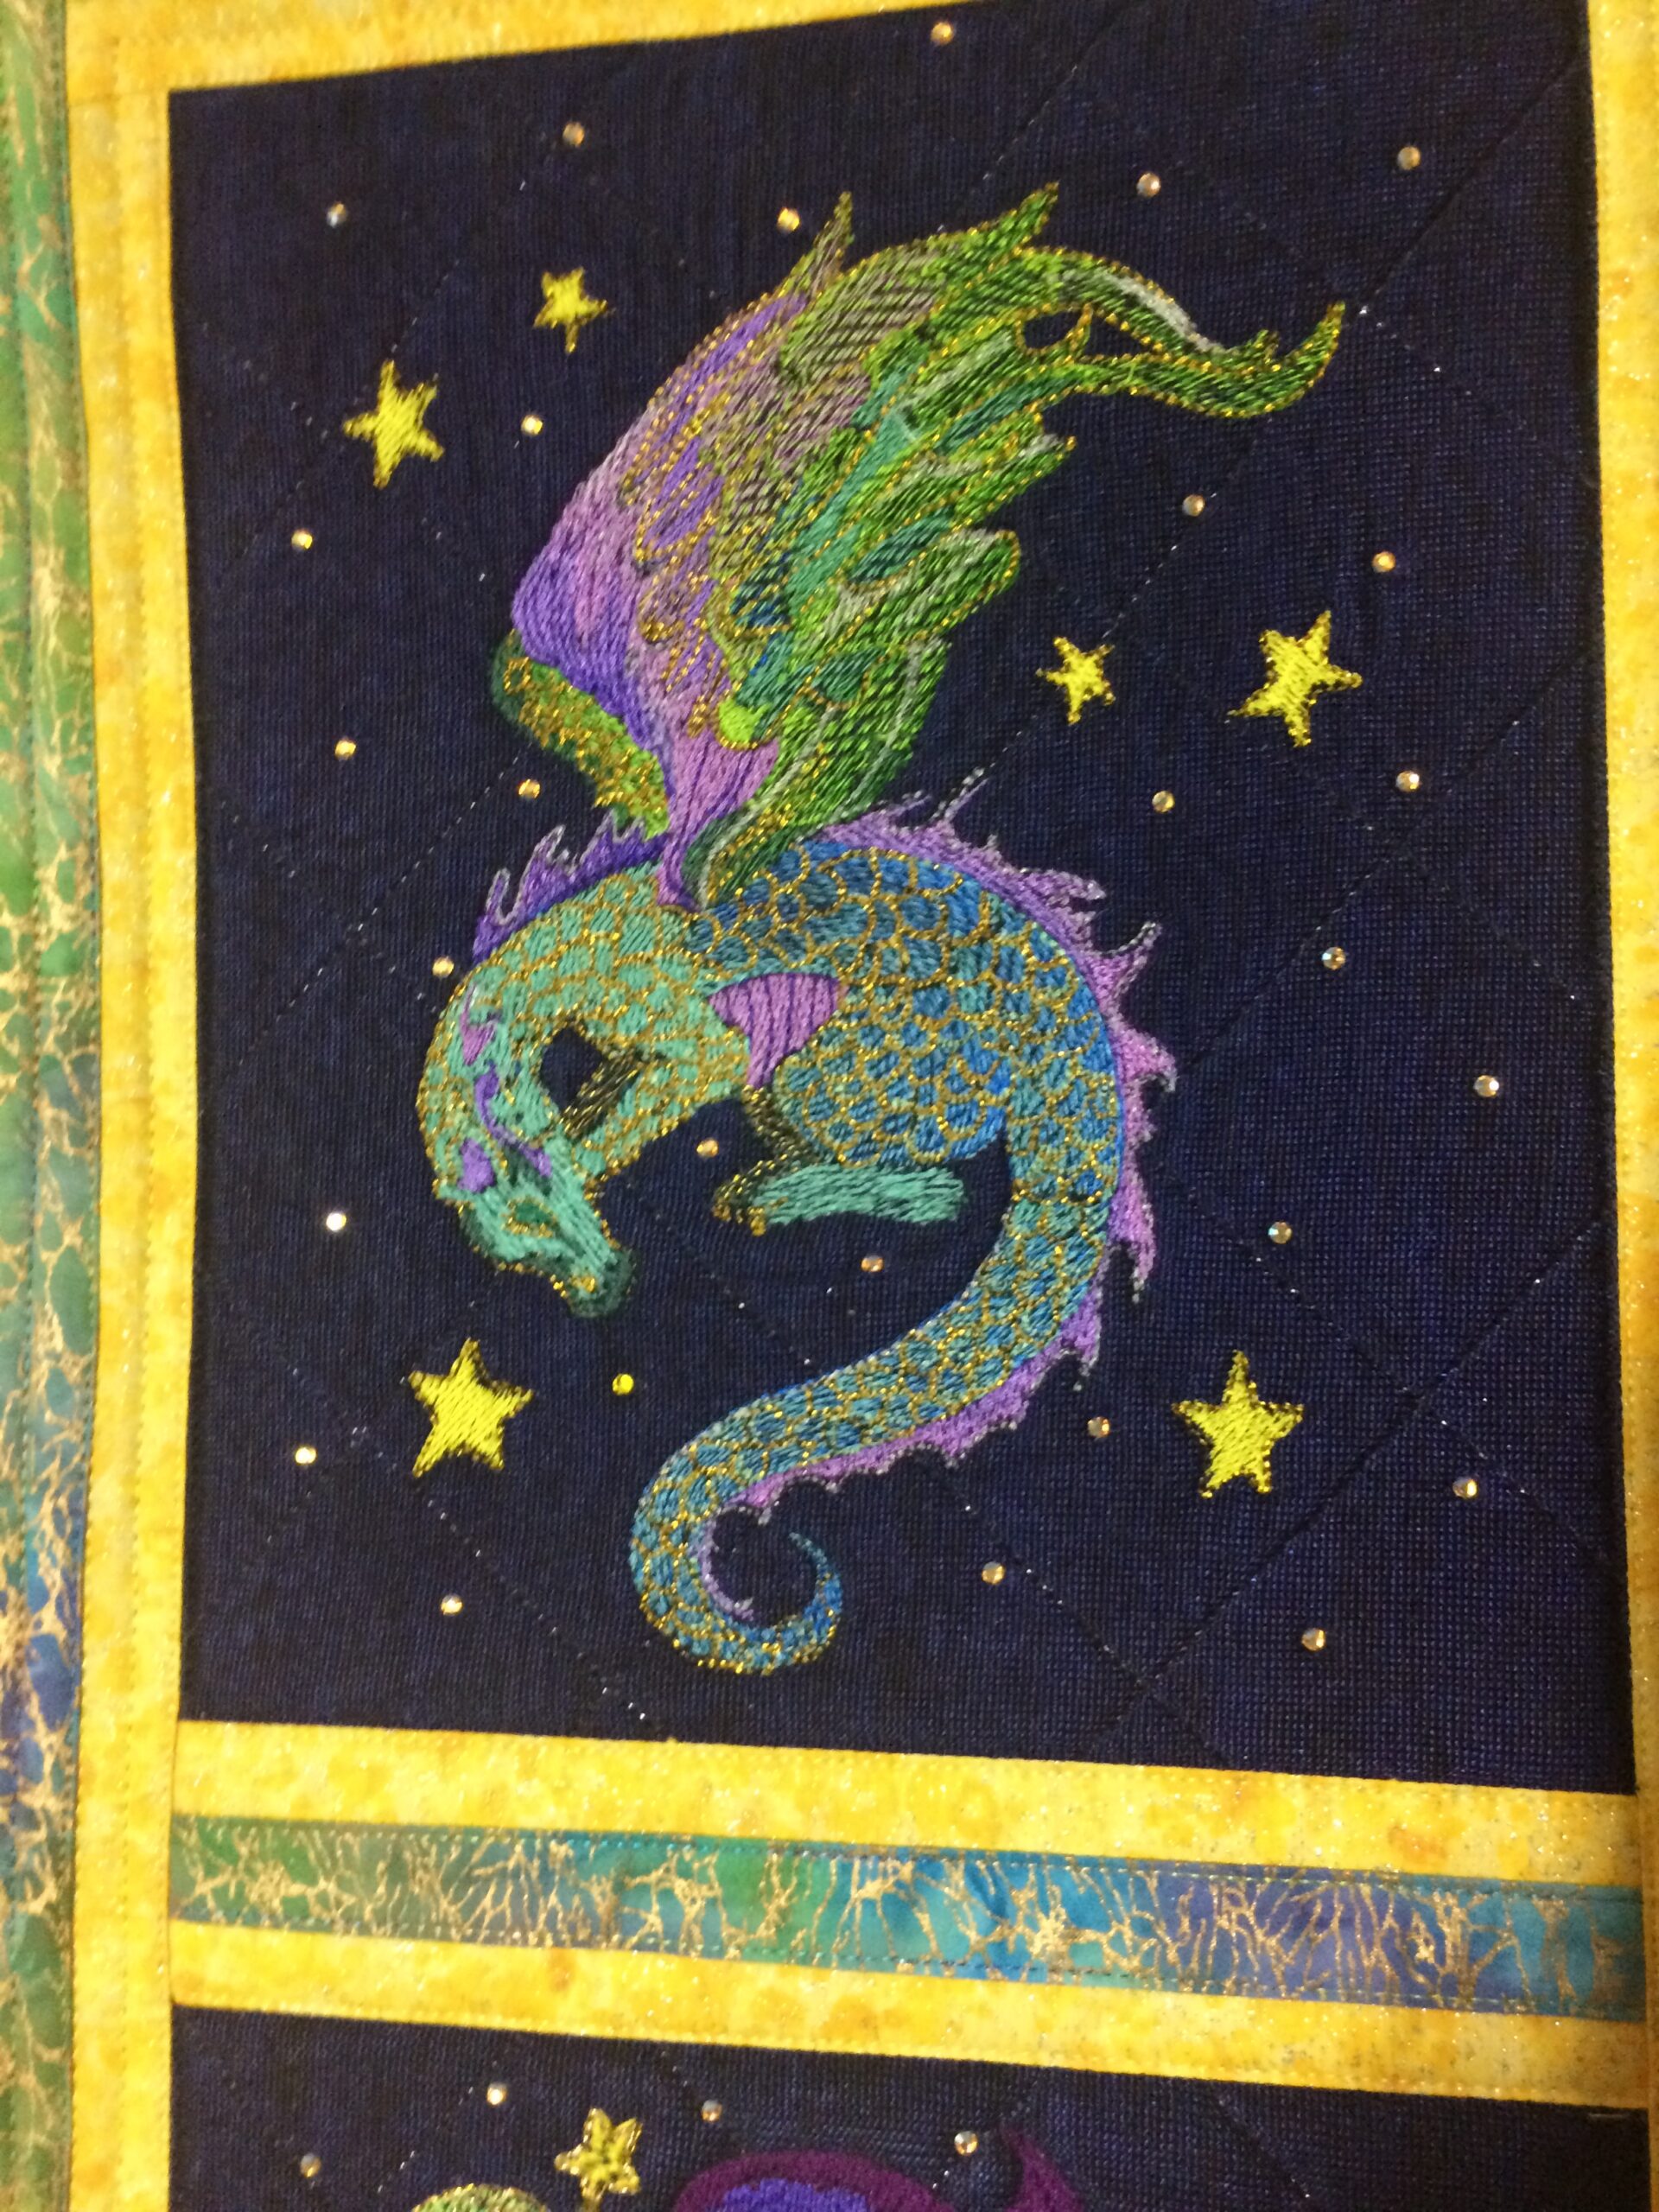
BFC31682 Delight’s Sleepy Time
BFC31681 Delight’s My Stars
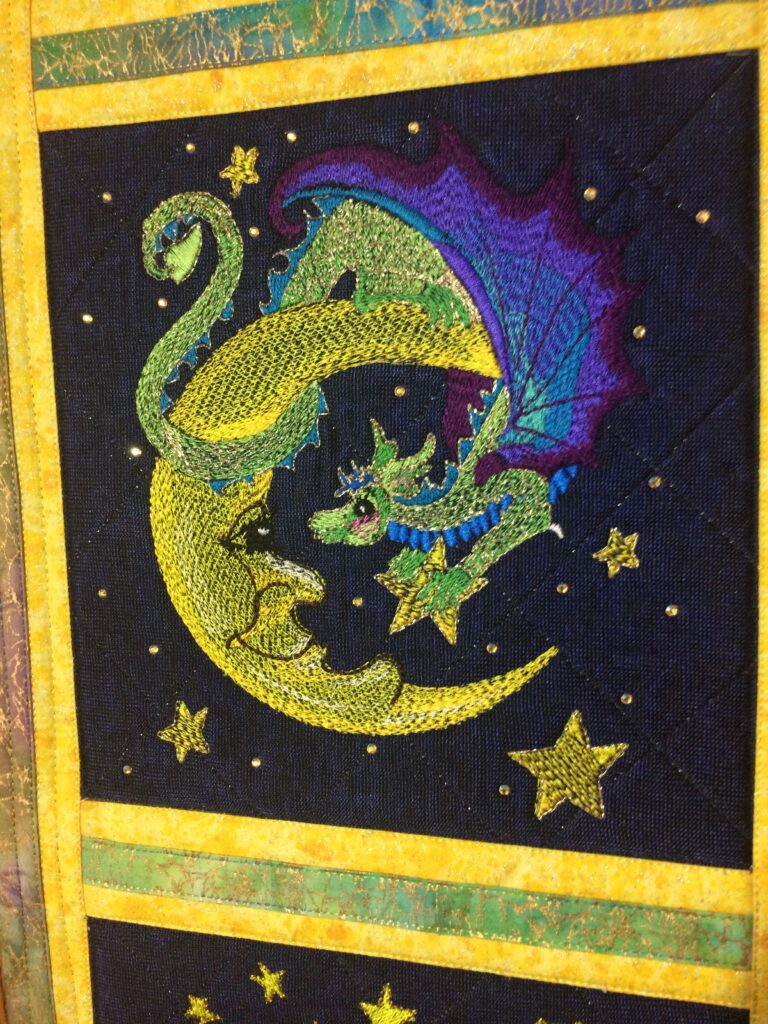
BFC31683 Delight’s Hi There!
Laura’s Stained Glass Leaf
Had to share….
One layer stiff organza, two layers Vilene, rayon thread. Melted edges of organza. One window showed to much reflection but it is great! Making for the whole family to decorate for fall. LOVE your designs!
Thanks, Laura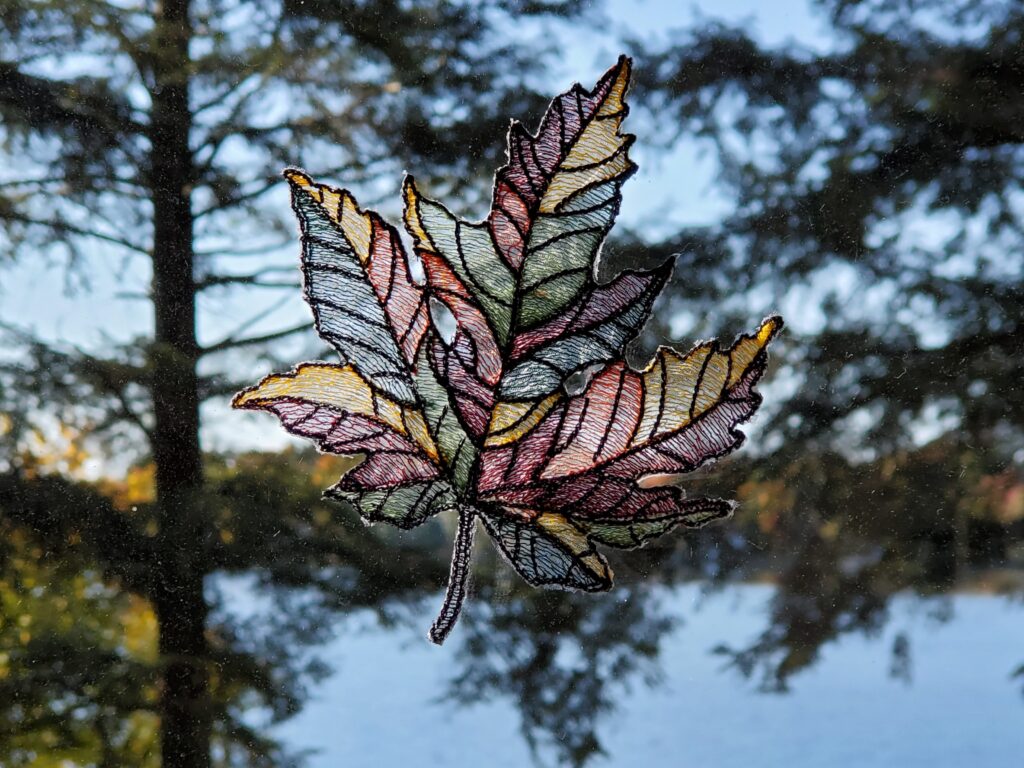
BFC2027 Stained Glass Autumn Leaves
Cathy’s Framed Delight’s Daydreams
Got my Delights Daydream framed. Very nice design.
Beautiful frame Cathy – perfect for the picture!
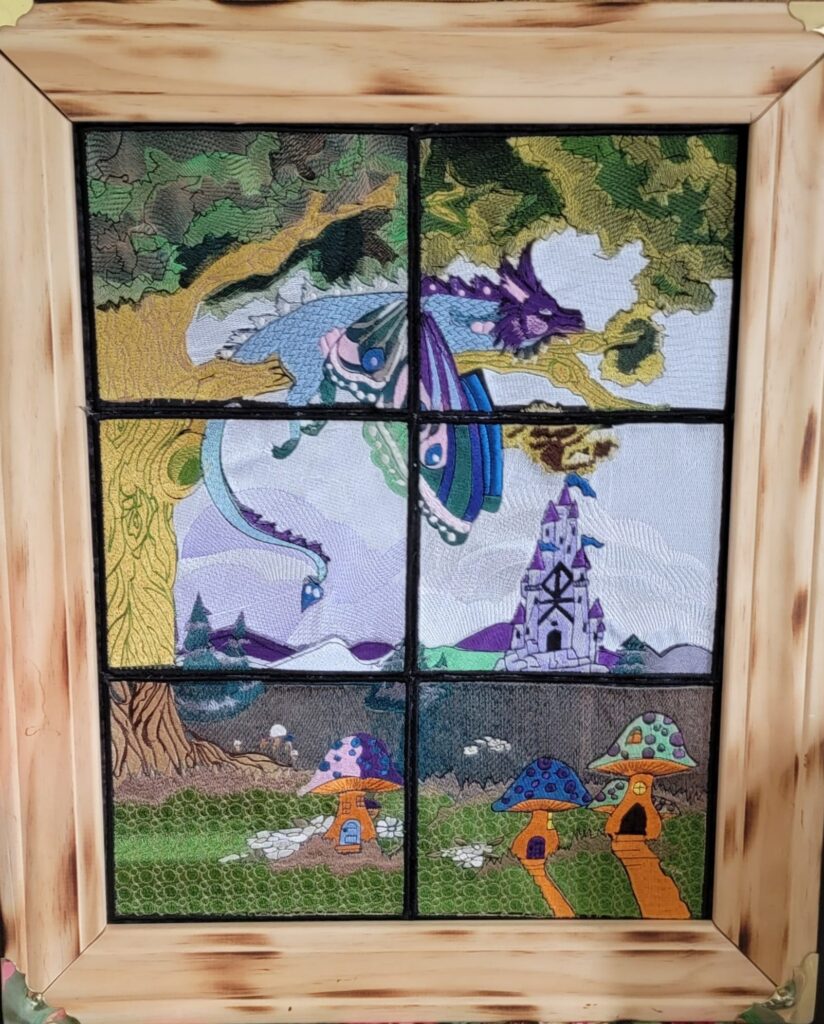
BFC2010 Delight’s Daydreams, Tiled Designs
Tzu’s Kentucky Triptych
I’m happy to say Im finished and even with my boo boo’s I absolutely love it ! my learning curve has taught me several things for my next one . Oh and while Im no where near y’alls level 2 things that greatly helped me and I quickly figured out was 1 while sewing panels of all embroidery together was to use quilting gloves the grip you get is fantastic and it never hurts the embroidery at all making feeding it to your machine a breeze , # 2 while my feed dogs and foot worked together the grip of my foot seemed to ever so slightly misalign my pieces from bottom panel well a teflon foot ( I know supposed to be for leather lol ) stopped all the misalignment hope this helps someone ![]() . Here is my version of Kentucky Triptyc
. Here is my version of Kentucky Triptyc
Great suggestion Tzu! I’m trying this the next – I have a pair of gloves I never use. 🙂 Suz
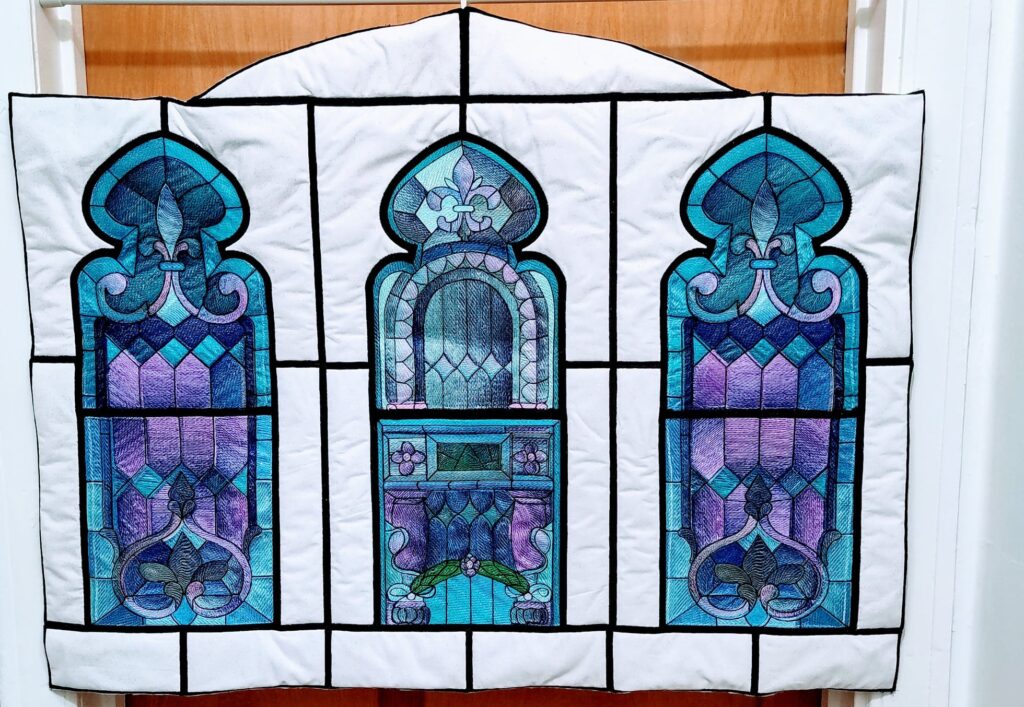
BFC1285 Kentucky Stained Glass Triptych
Anita’s Daydreams by Delight
It’s been a long time finishing! Surgery and recovery got in the way. But I’m so pleased with the design.![]() Thank you Suz Makalinaw for this terrific design. My daughter is going to love it! Had to put glass over it so her kitties don’t destroy it.
Thank you Suz Makalinaw for this terrific design. My daughter is going to love it! Had to put glass over it so her kitties don’t destroy it.![]() sorry about the glare
sorry about the glare![]()
BFC2010 Delight’s Daydreams, Tiled Designs
Sharon’s wonderful Stitched Dragons
We have recently joined with Delight of Delight’s Fantasy Art to create designs from her art. Sharon has made a wonderful start with her stitchouts! When she posted them on our Facebook group I asked if I could share them here. 🙂
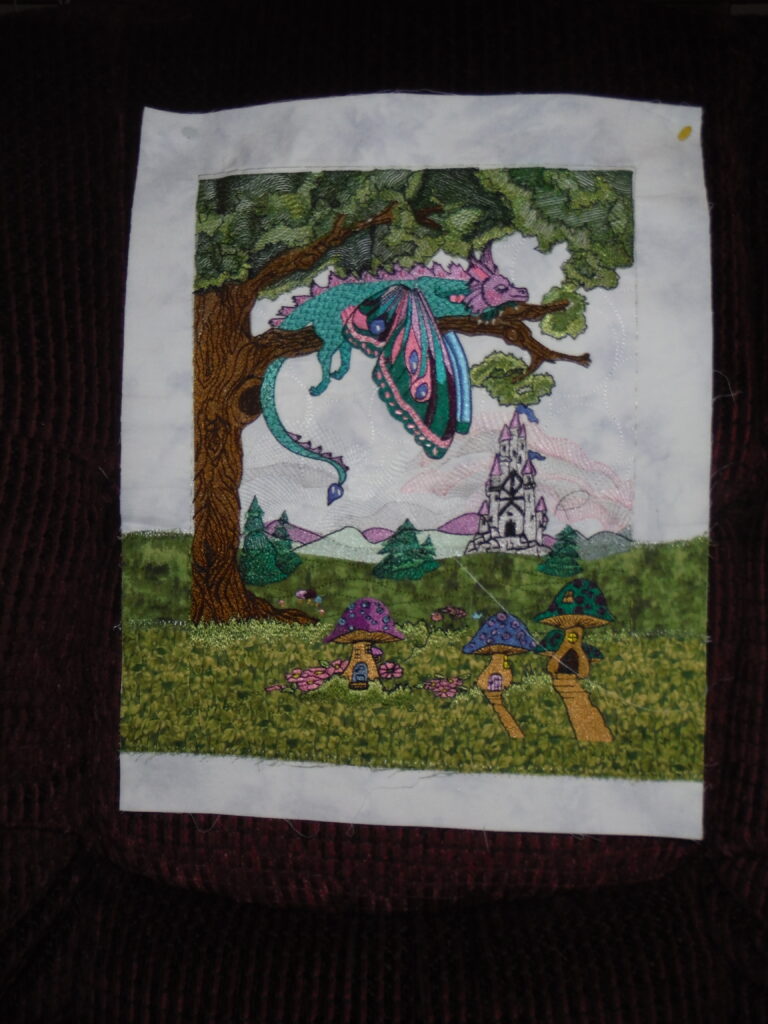
BFC2008 Delight’s Daydreams, Individual Designs
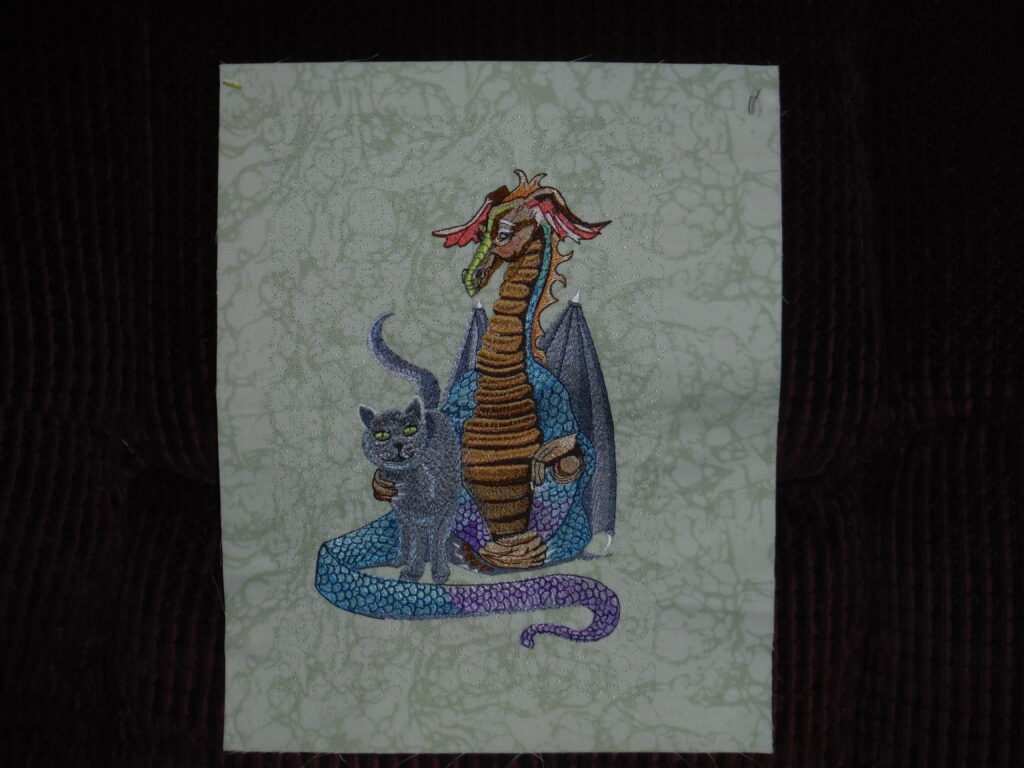
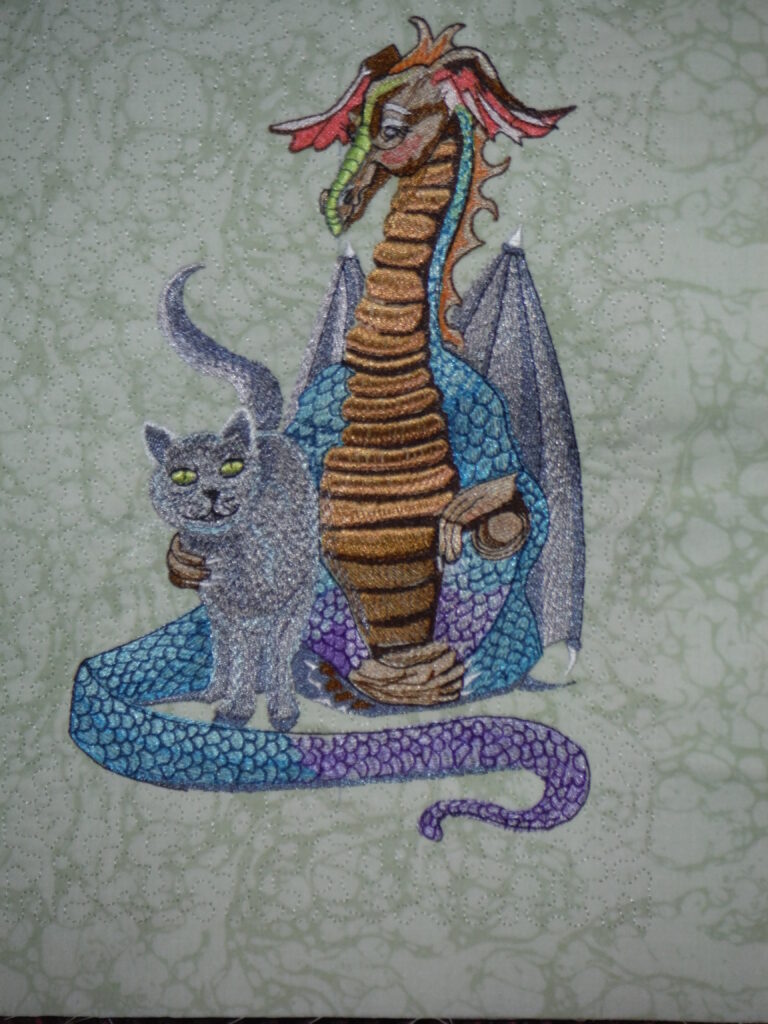
BFC31666 Delight’s Pals – Dragon and Cat

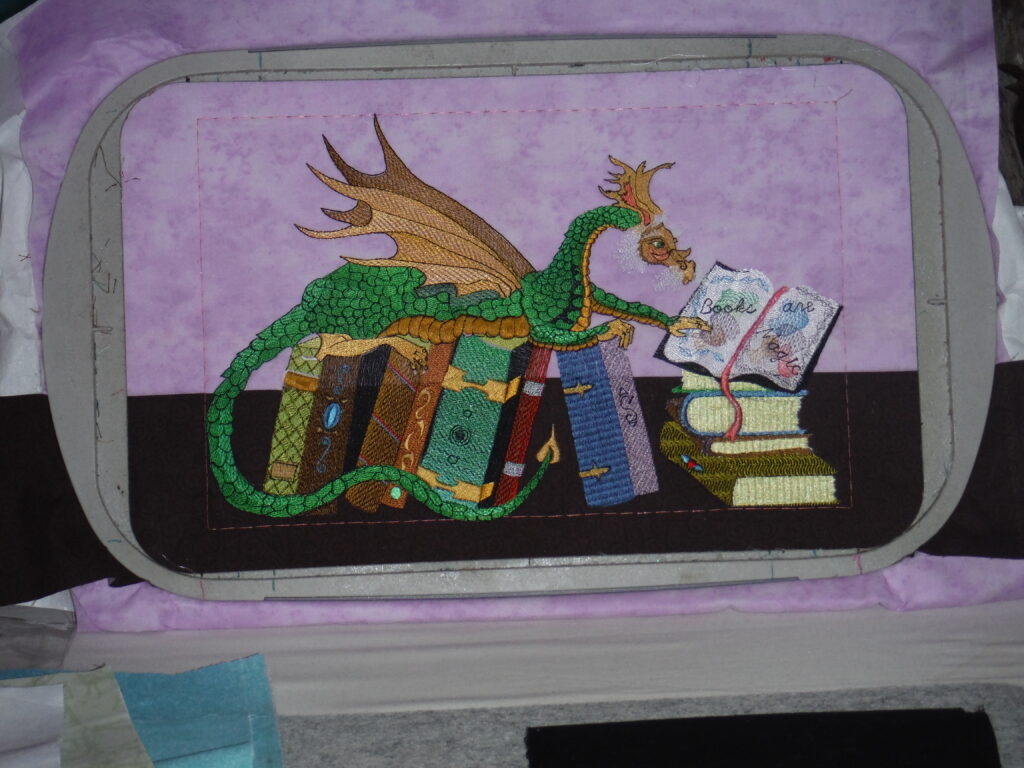
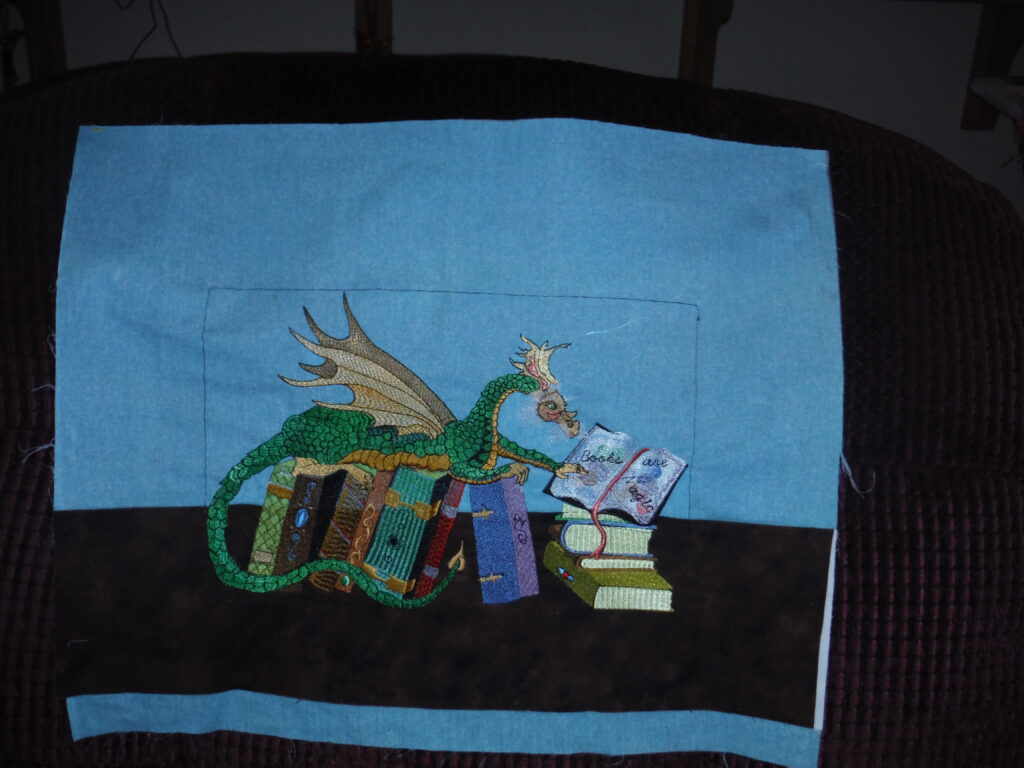
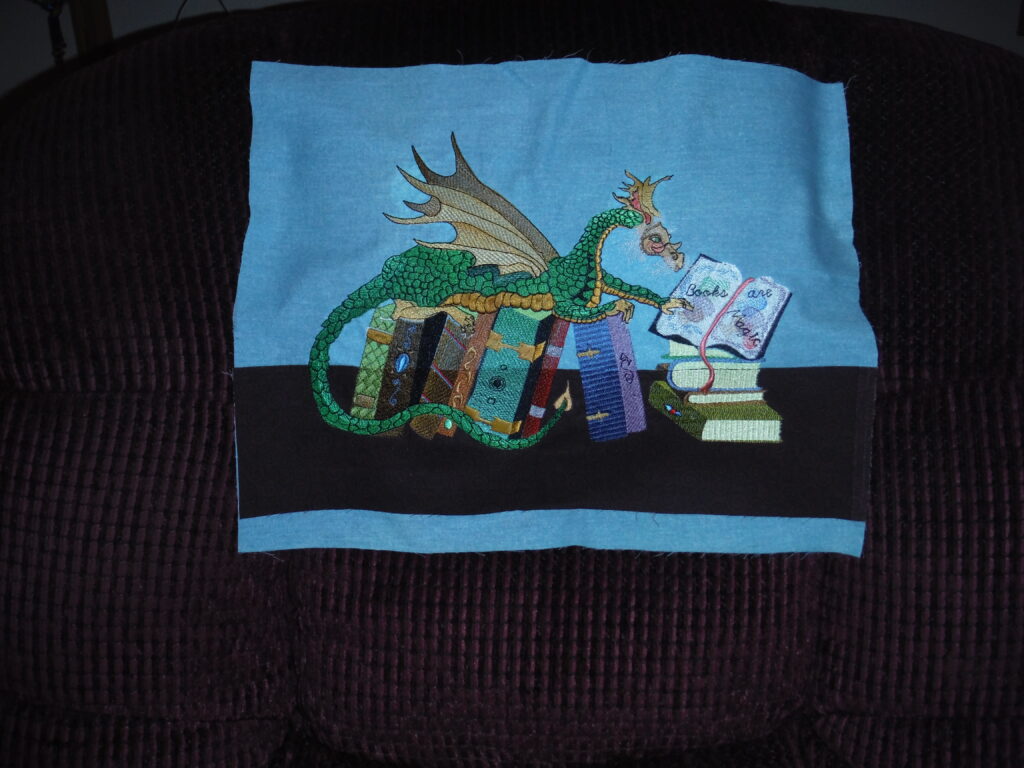
BFC31675 Delight’s The Librarian – Commercial Sizes
Bernice’s Owl
Here is the owl, I basted the T-shirt to the stabilizer so I wouldn’t have hoop burn on the black ! I think embroiders need to realize they can change up the colors too as with the owl, I couldn’t use black for the outlines!
That’s a great hint Bernice! Color can make so much difference. Don’t just assume the design you are checking has to be done in the colors shown. 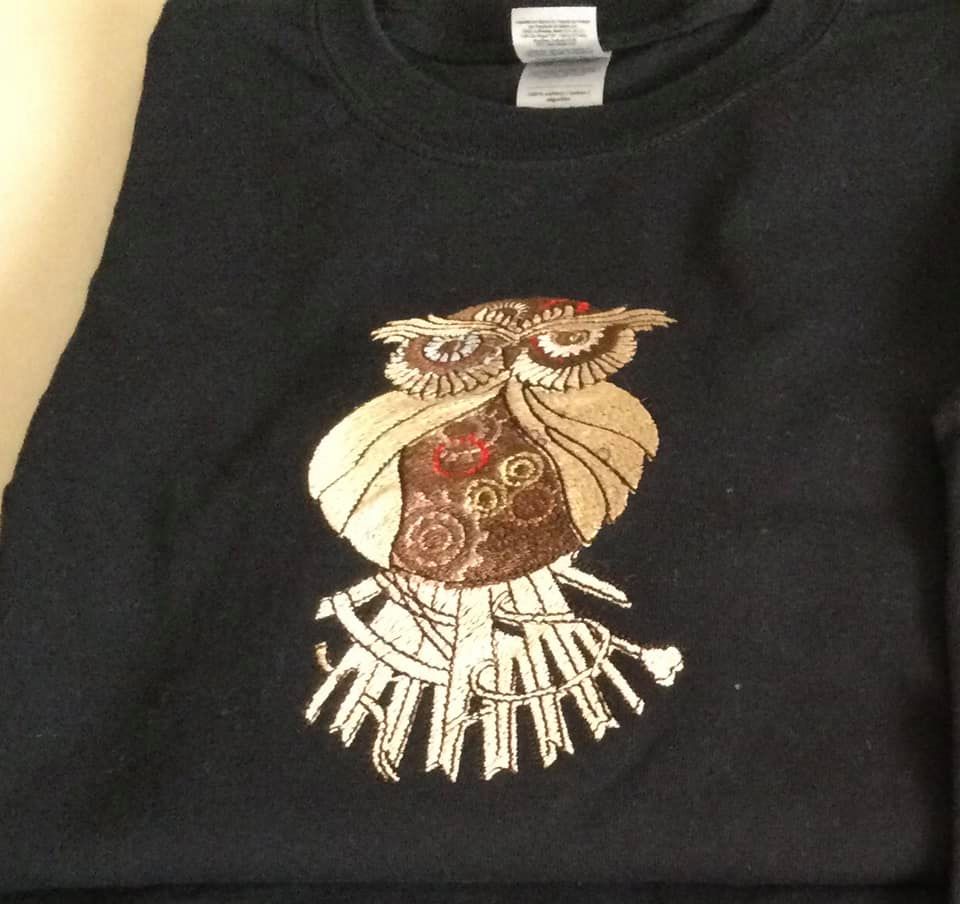
BFC1575 Steampunk Owlbert Einstein
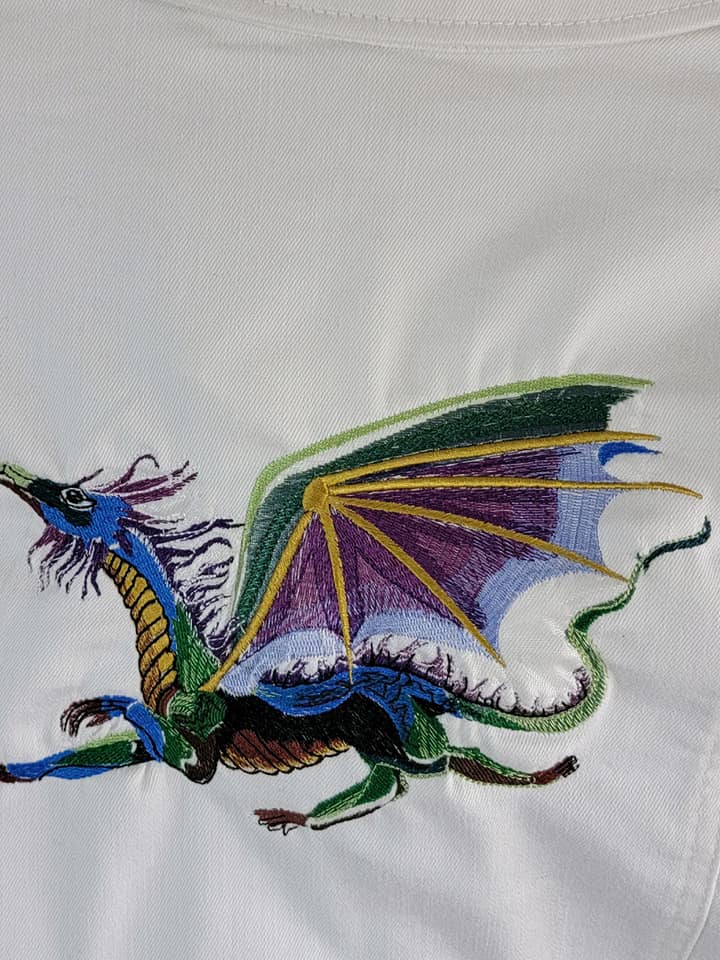
Cathy combines designs for a beautiful jacket!
Cathy combines designs for this white jacket. She starts with Delight’s Jeweled Dragon and then adds designs from our Red Roses – Black Scrolls set for a very unique, striking piece of clothing!
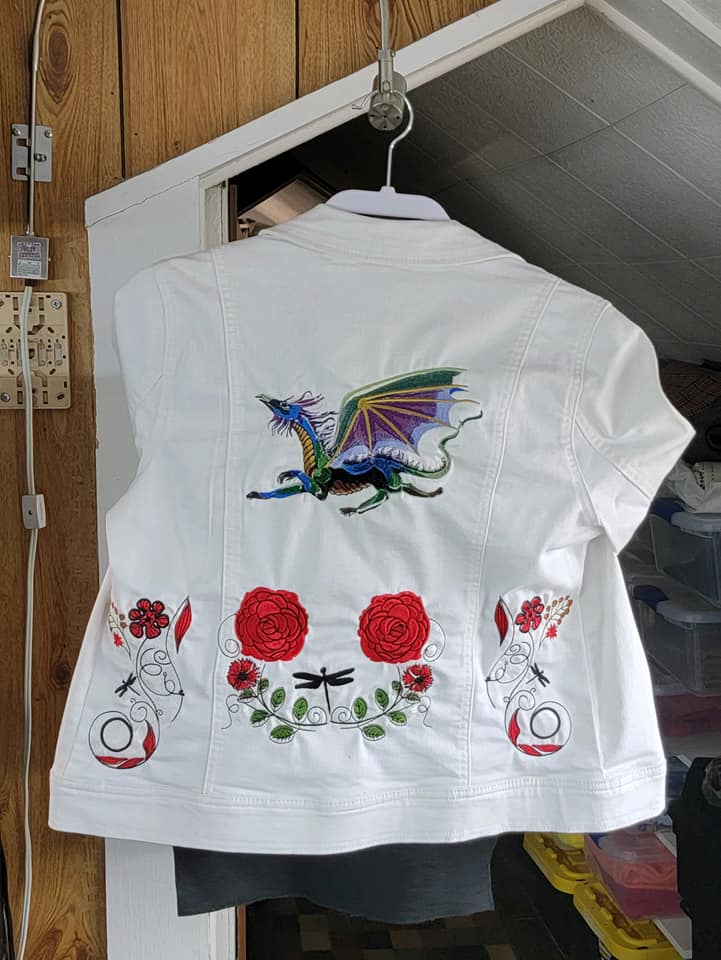
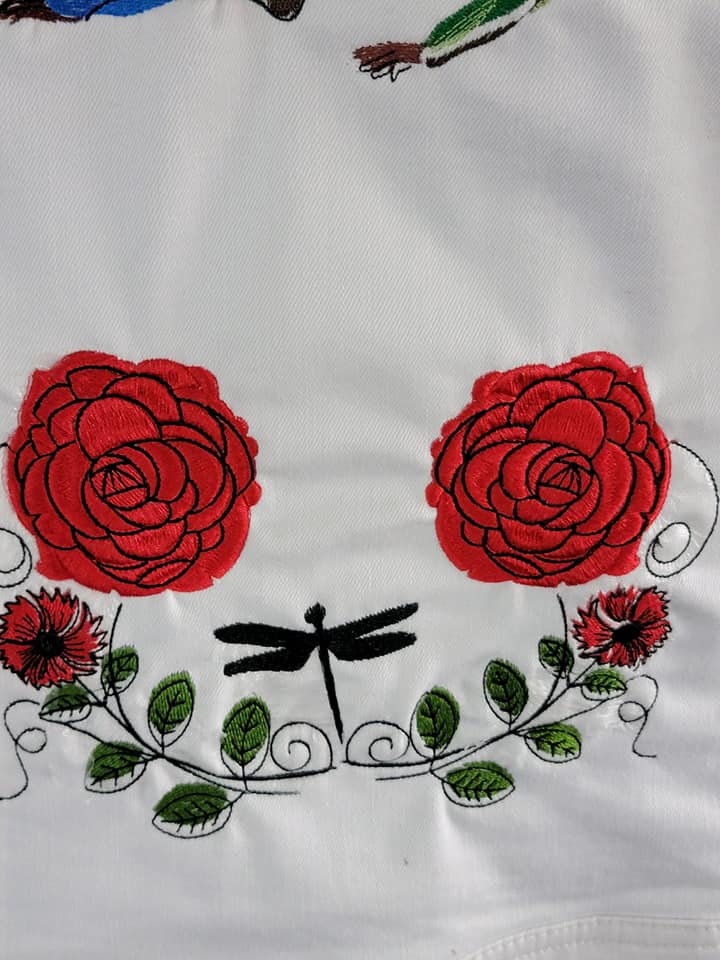
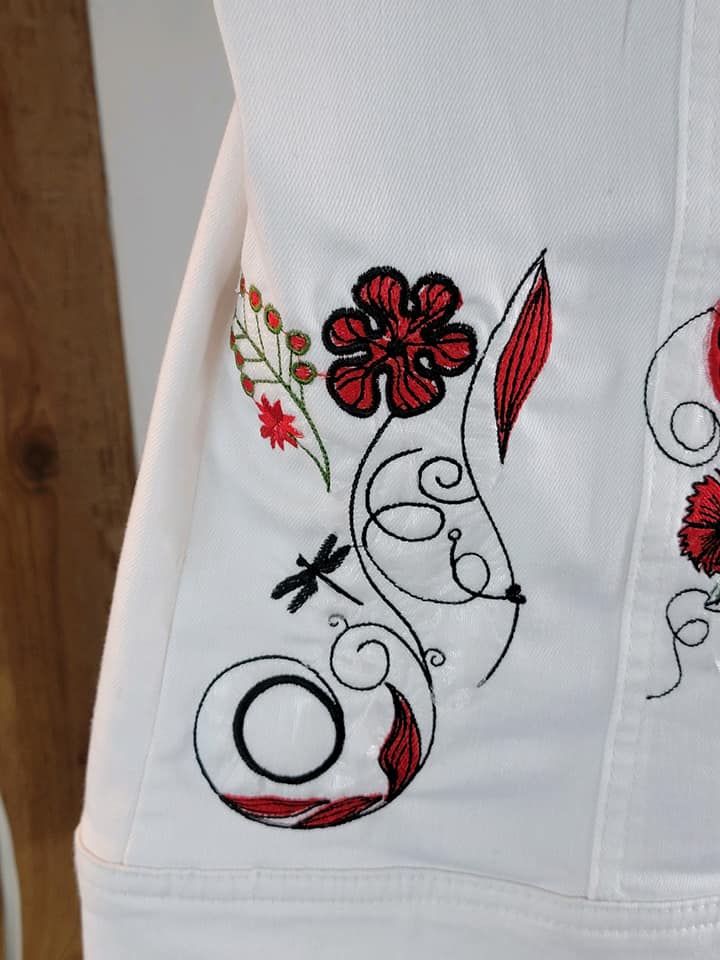
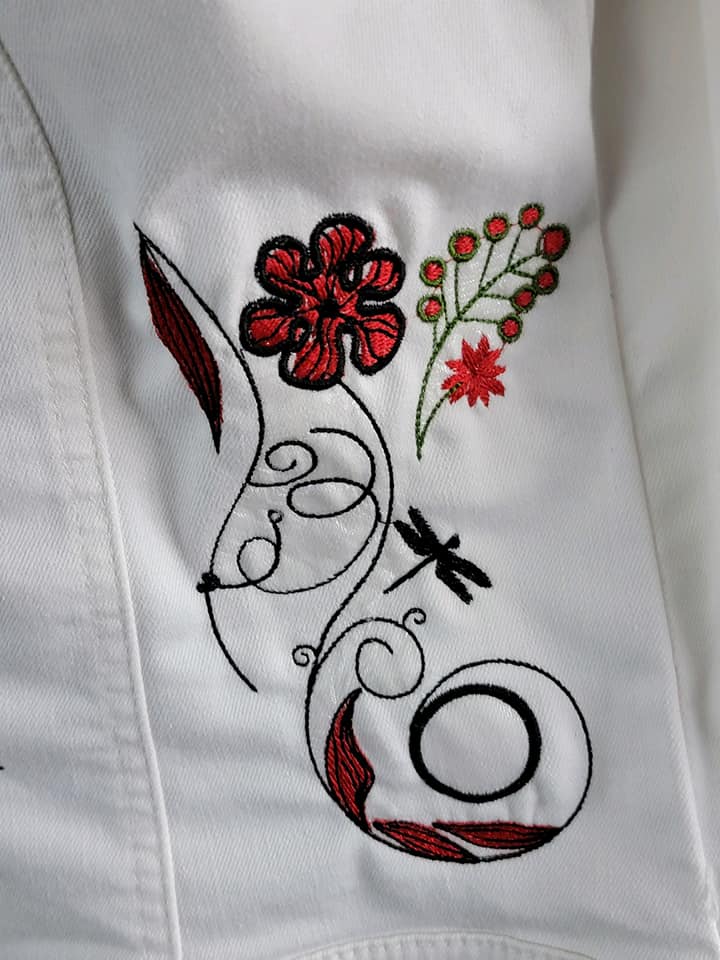
BFC1354 Red Roses – Black Scrolls
BFC31663 Delight’s Jewelled Dragon