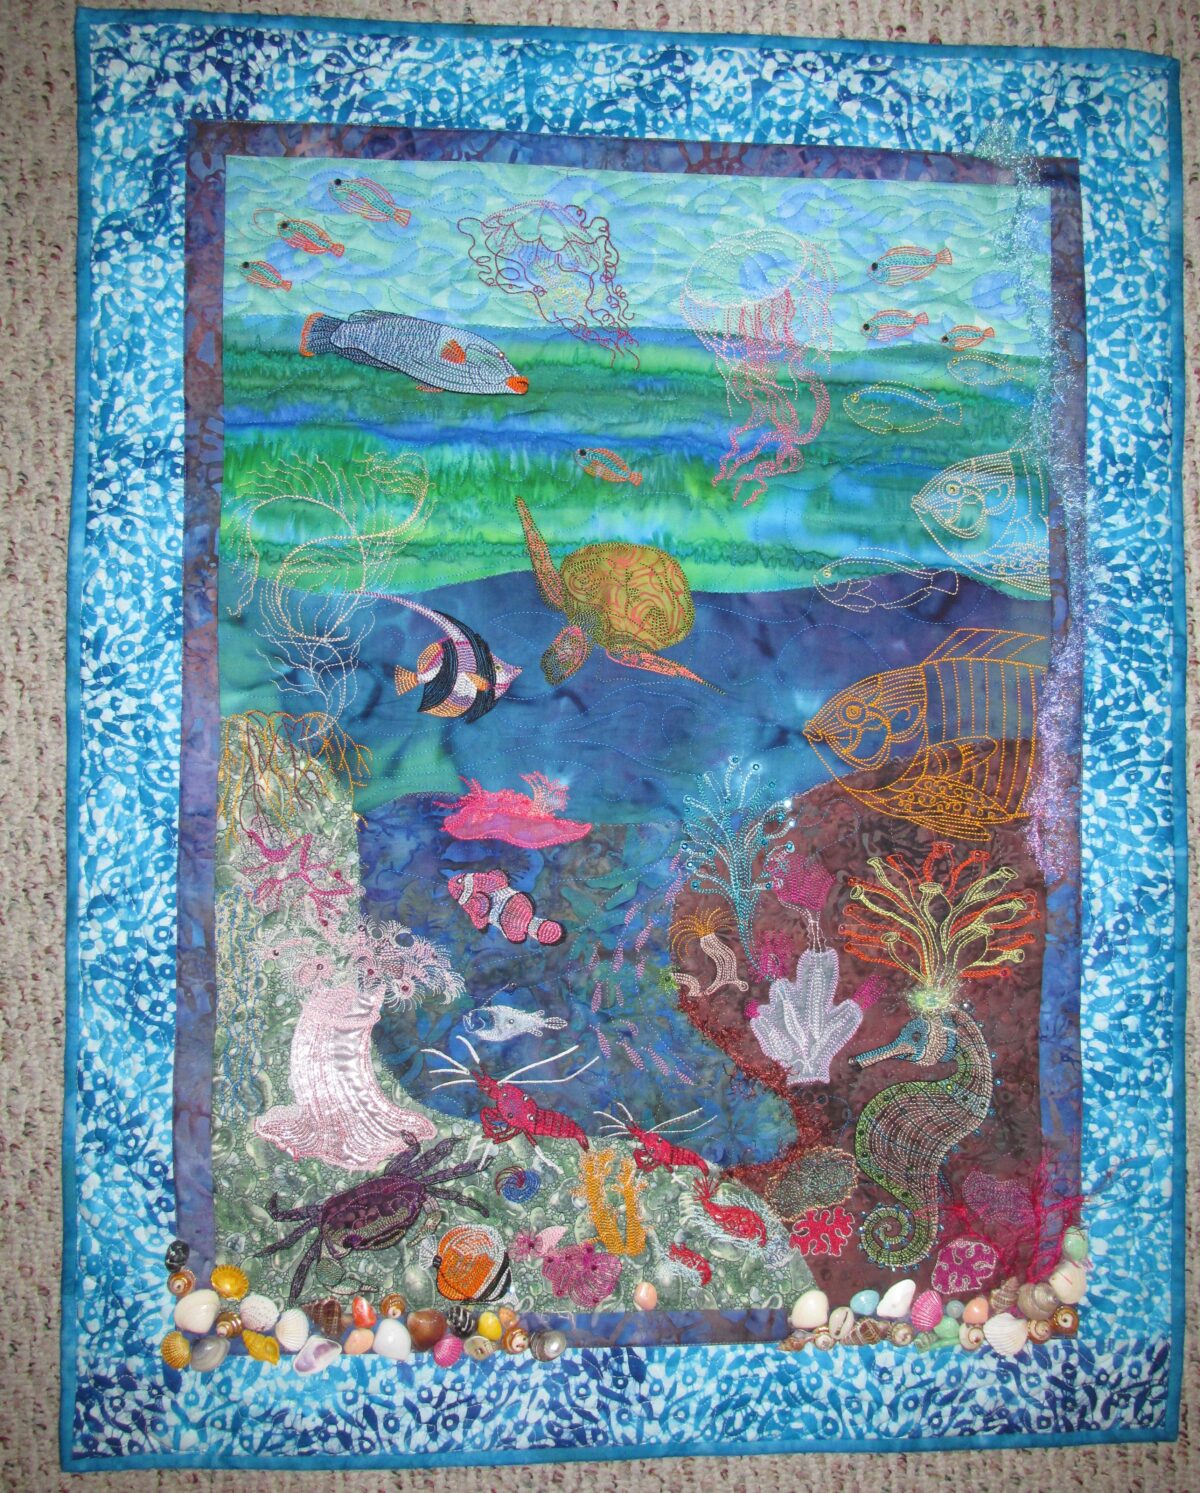
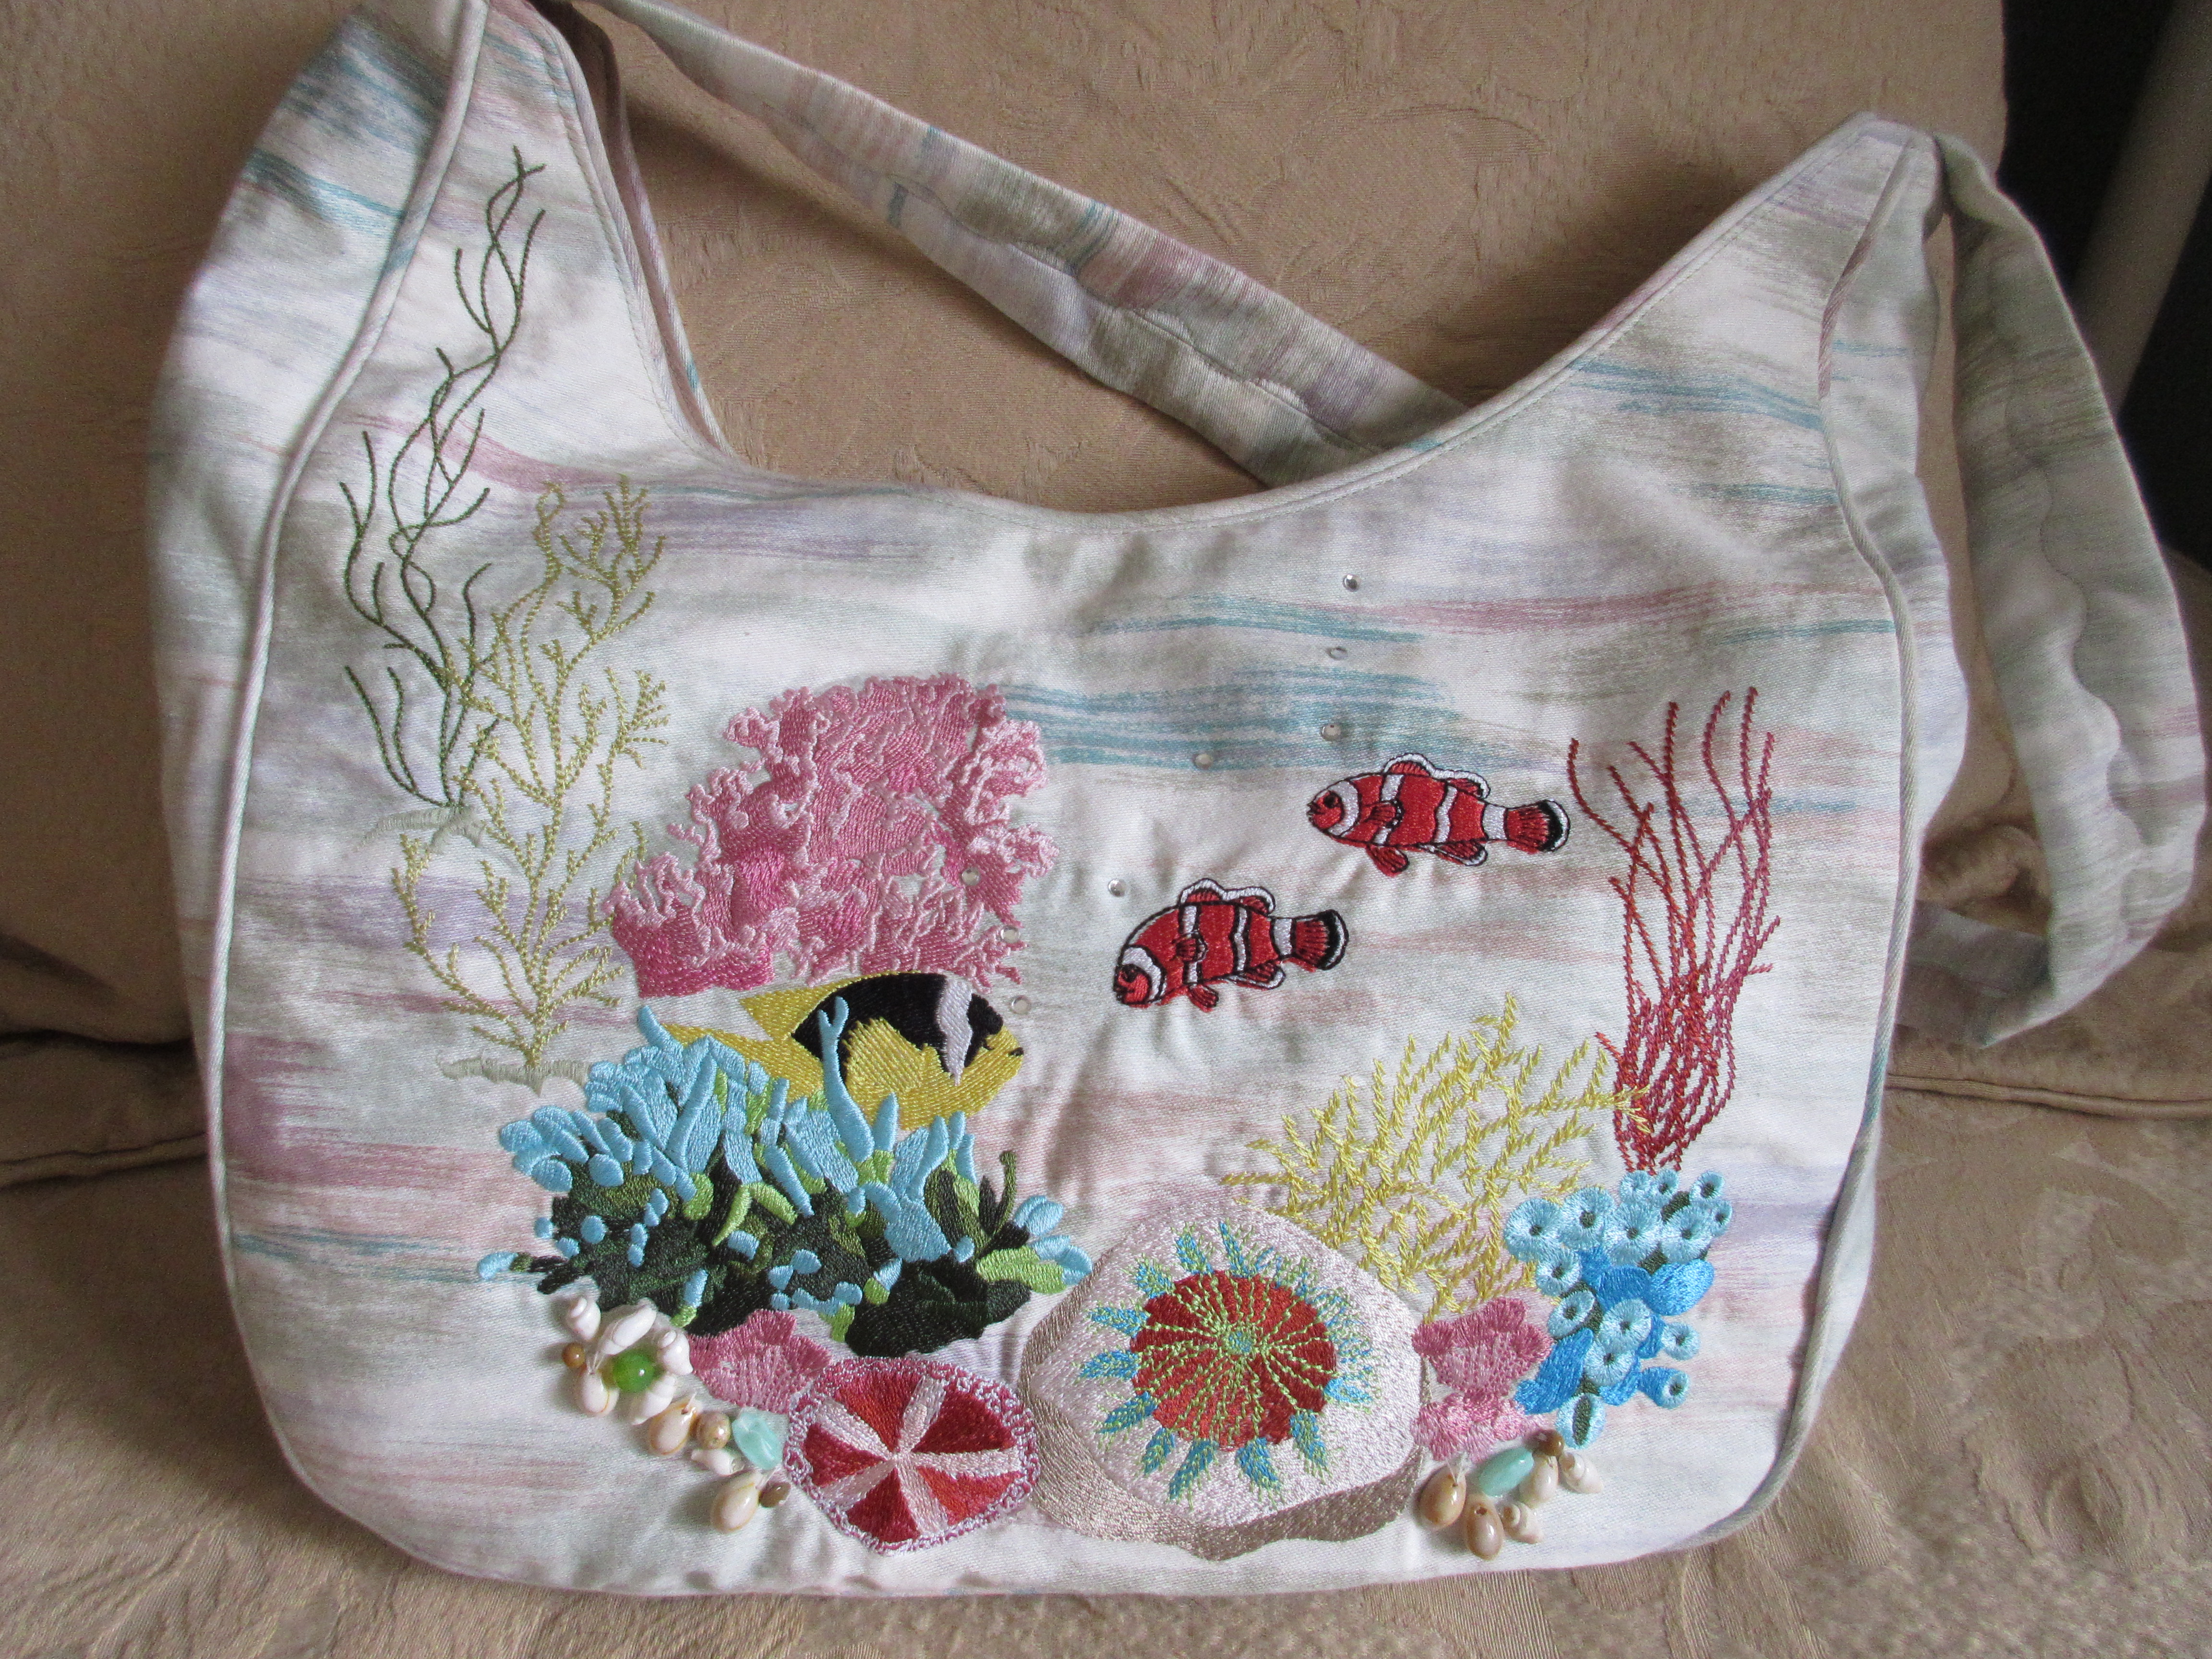
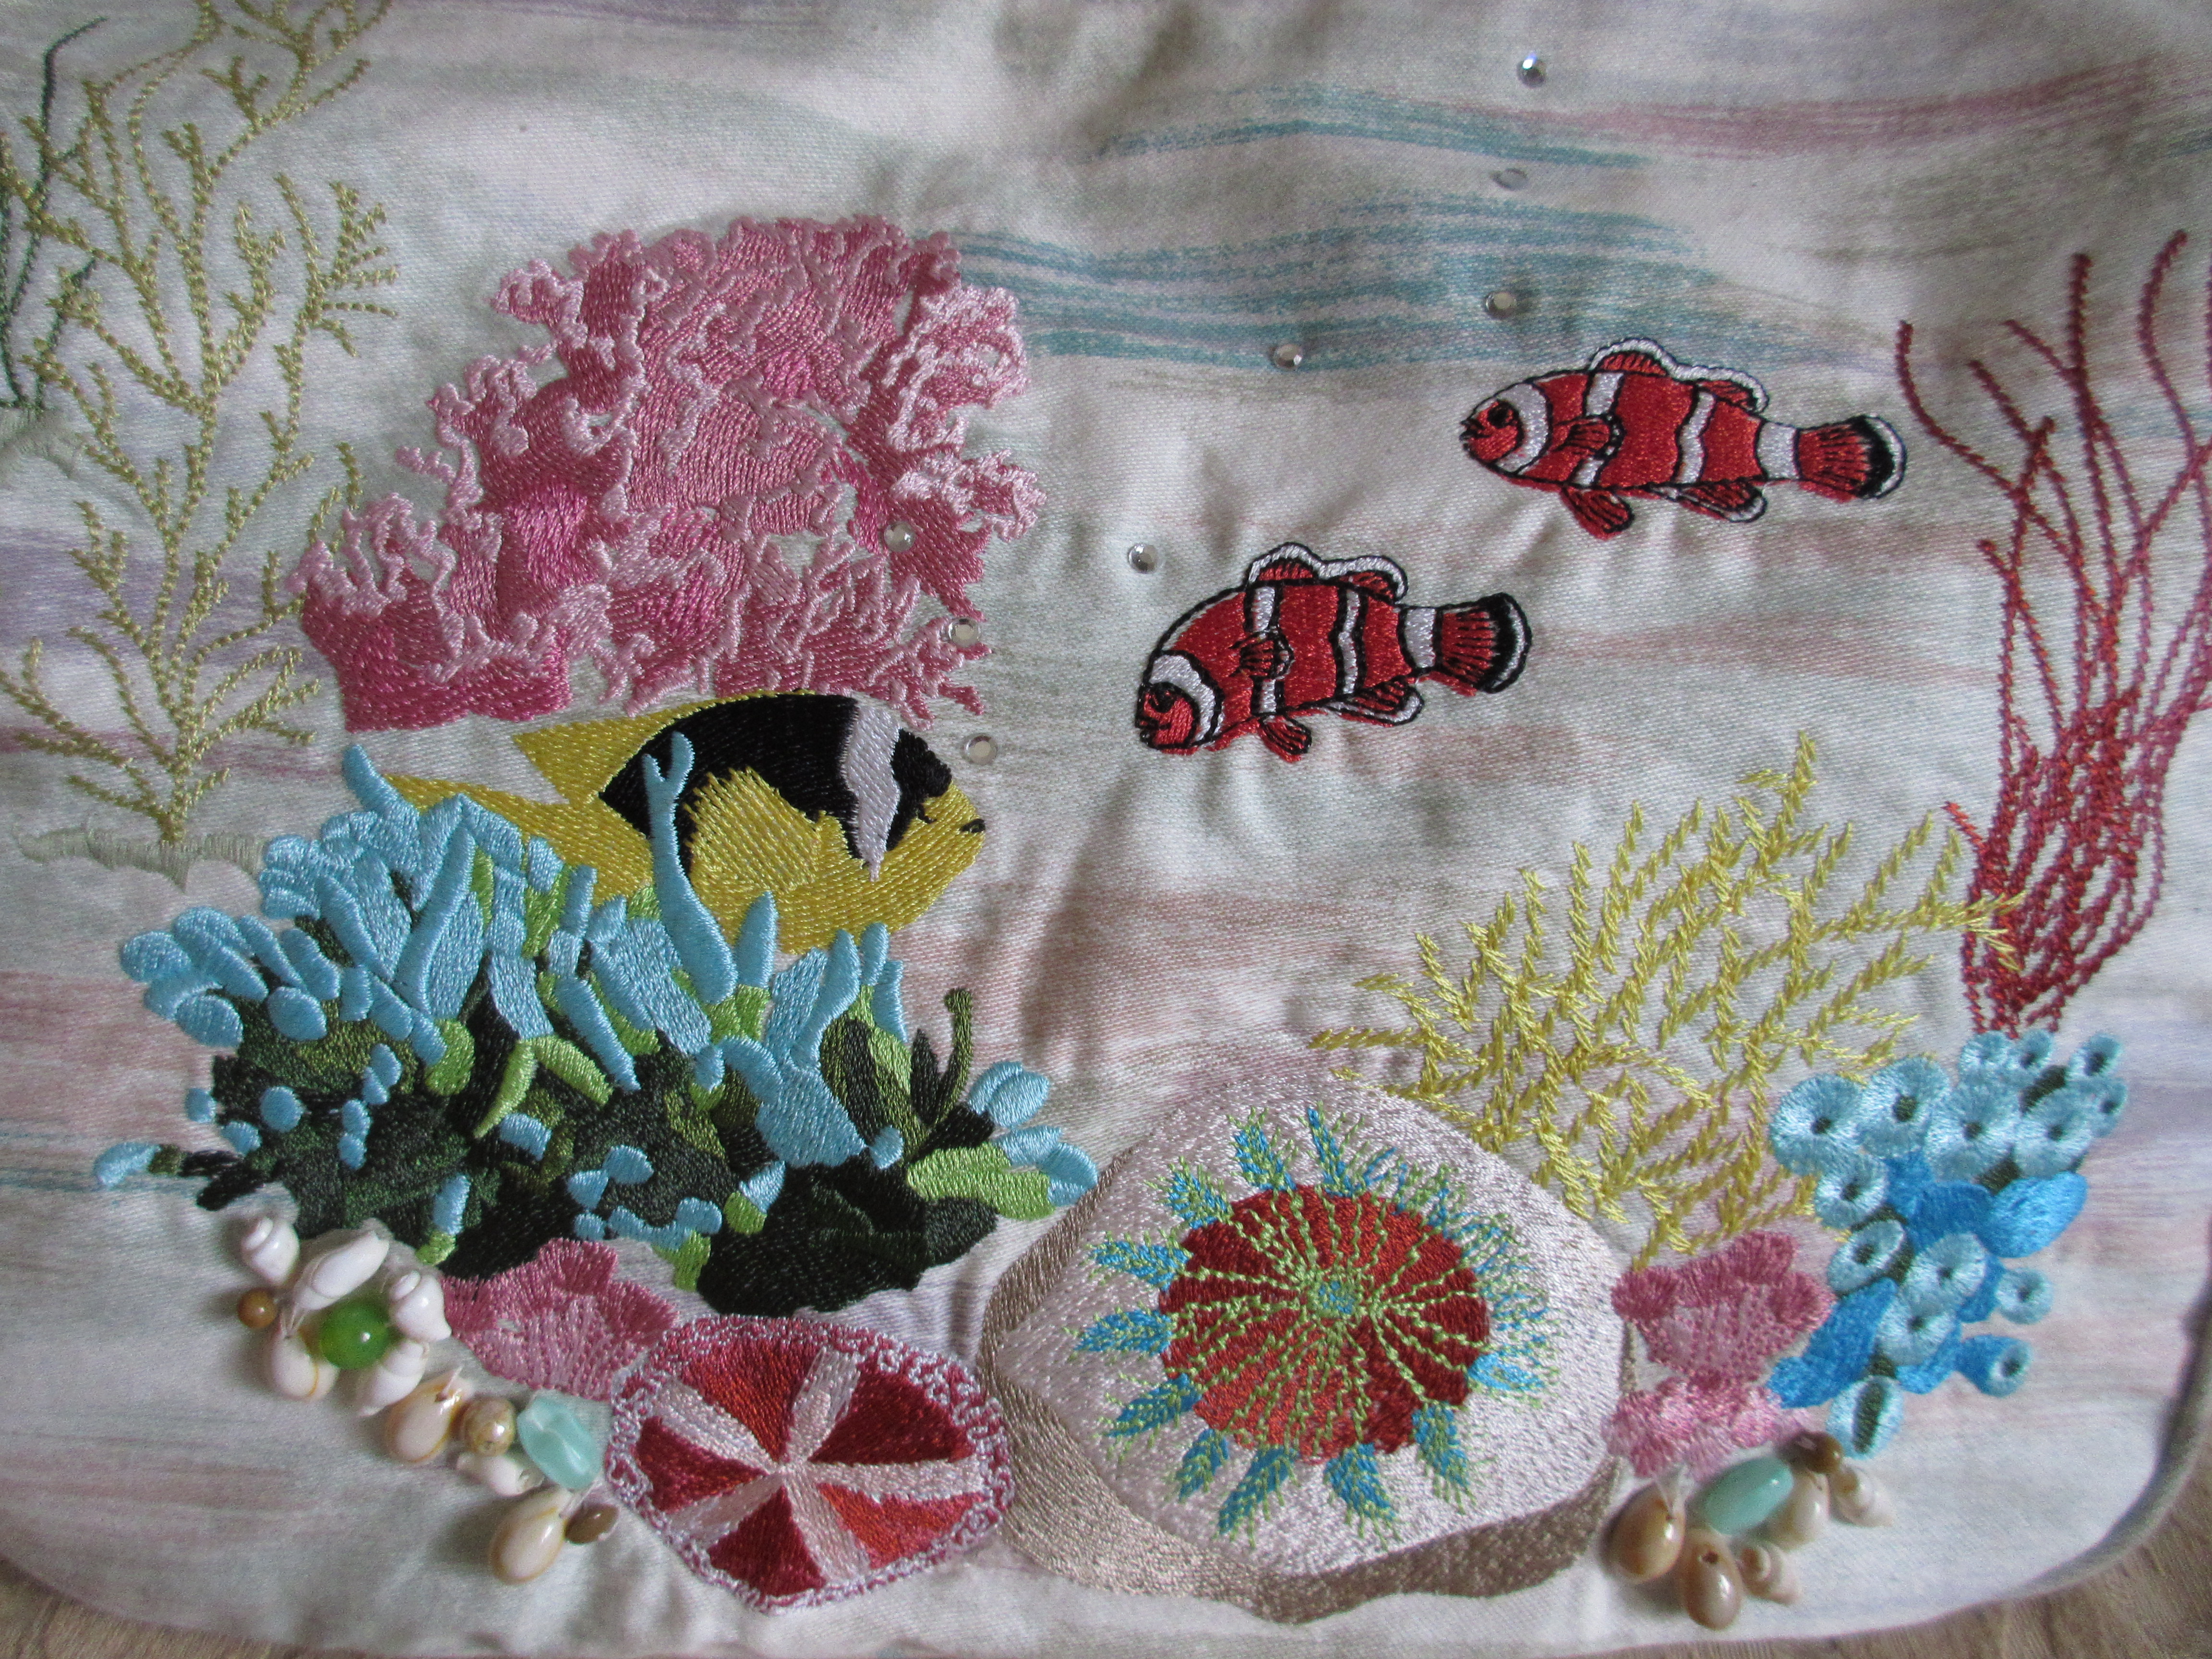
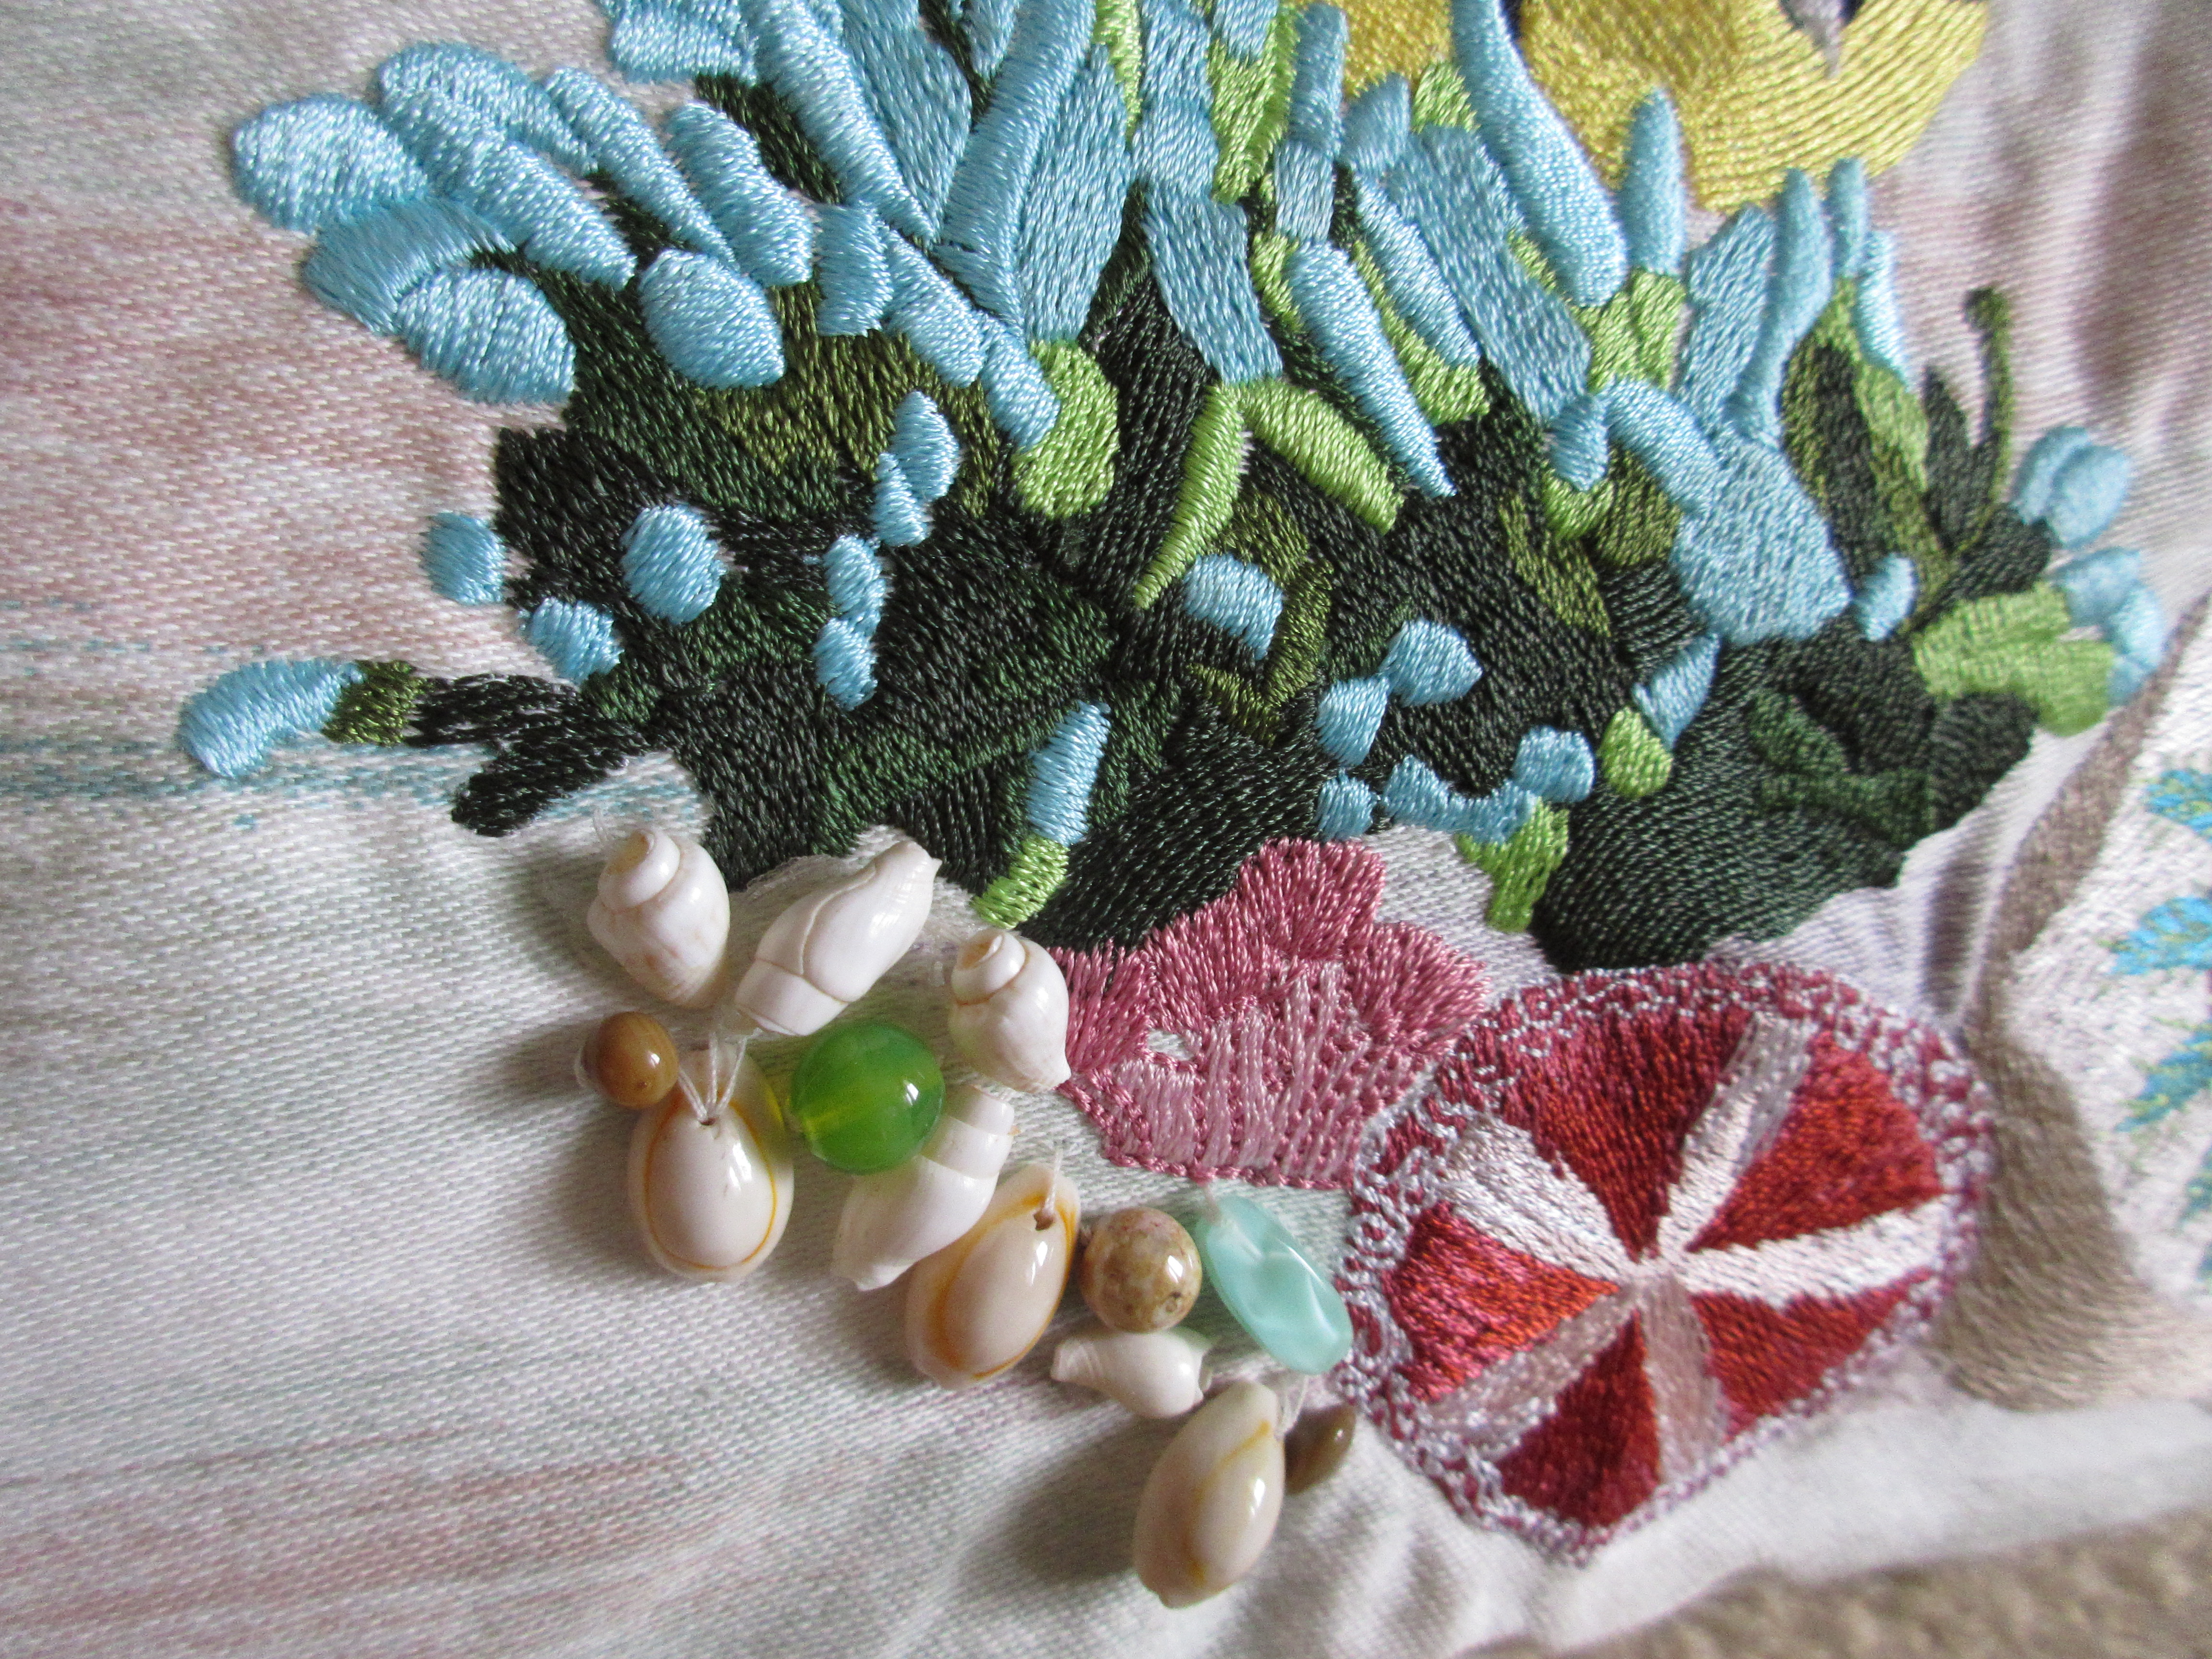
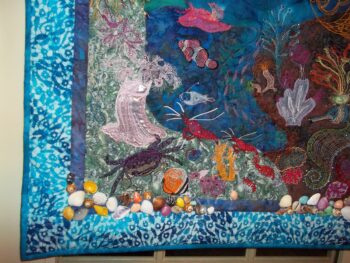
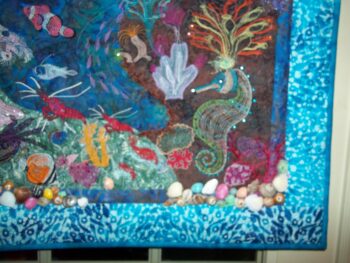
Here is my entry for the embellishment contest. It is a purse made with the Coral Reef set (BFC842). The designs are embellished with shells, beads and hot fix crystals for the bubbles.
One of my favorite subjects – under the sea. Great job! Suz
BFC Creations – Where Thread comes to life!
Here is my entry for the embellishment contest. It is a purse made with the Coral Reef set (BFC842). The designs are embellished with shells, beads and hot fix crystals for the bubbles.
One of my favorite subjects – under the sea. Great job! Suz
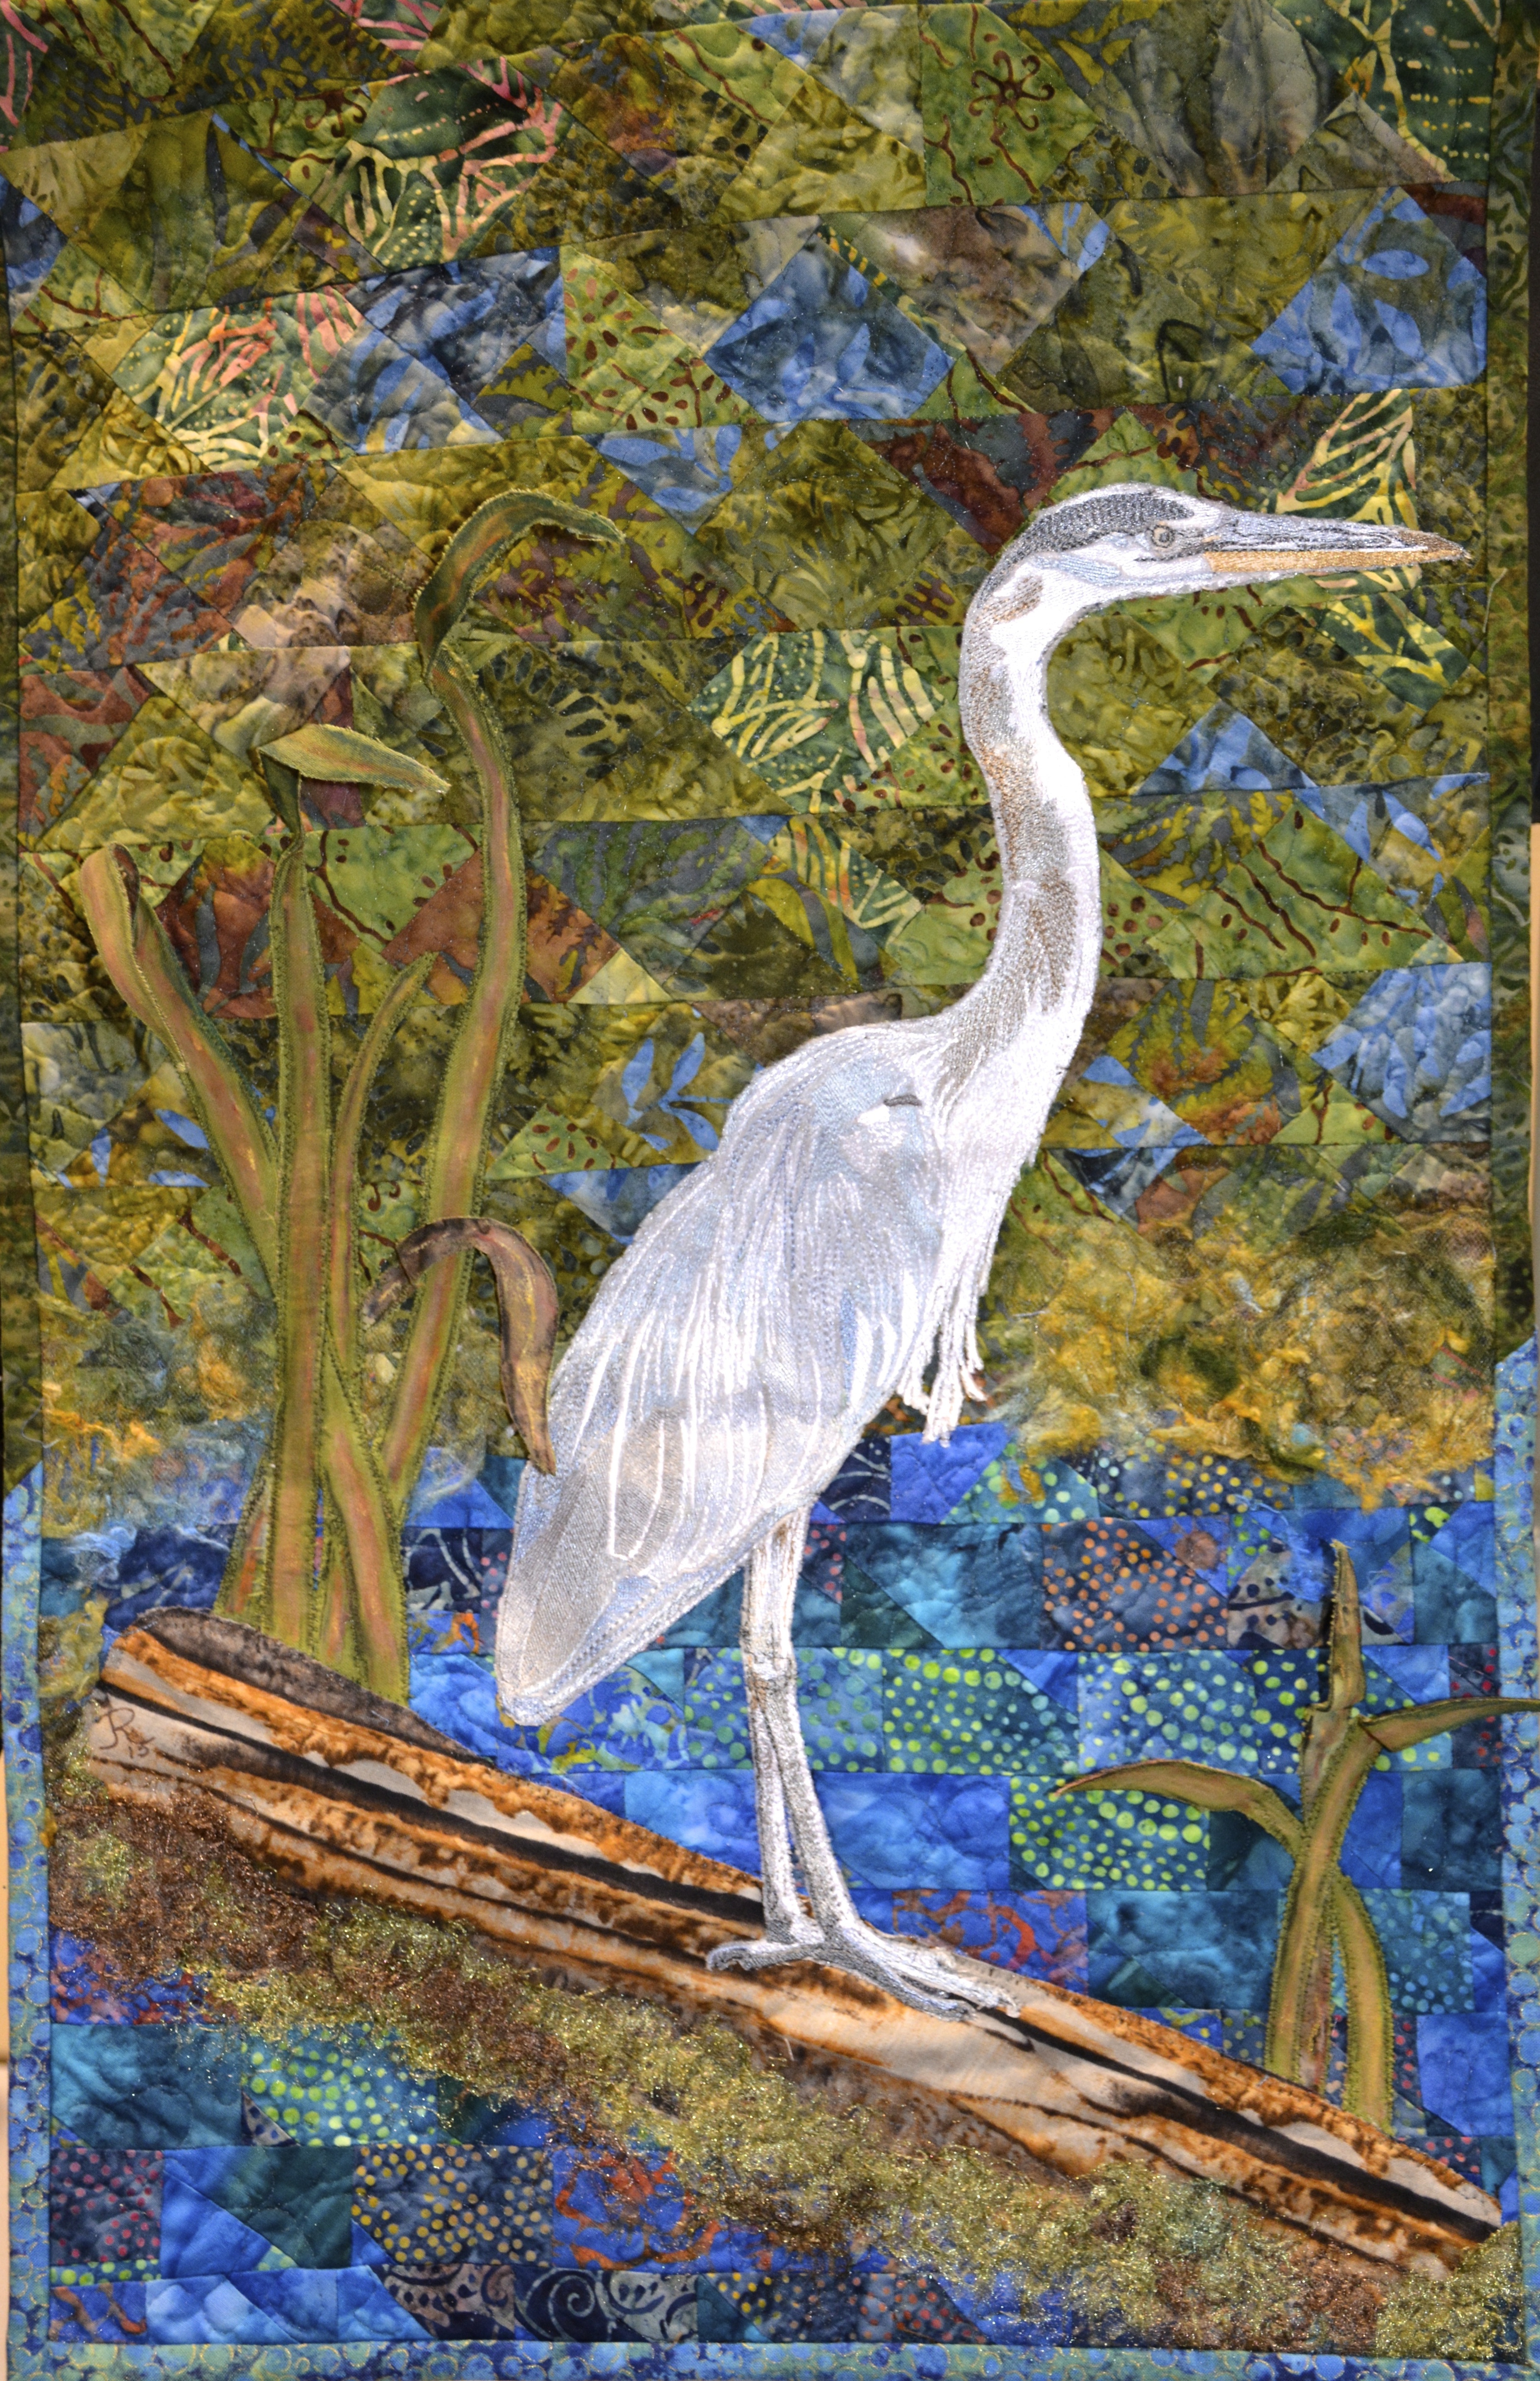
I had the idea of creating a wall hanging with a Large Blue Heron for many years. I bought the Heron design in 2008 and he flapped around in my head until the Fall of 2014!
I knew he would have to be Free Standing in order to give me the freedom to ‘land’ him in his chosen spot! And because of that, I had to stitch the background completely before I could stitch him in place.
I stitched him on organza sandwiched between 2 layers of WSS. Then as his layers stitched out, I continually added more organza for texture.
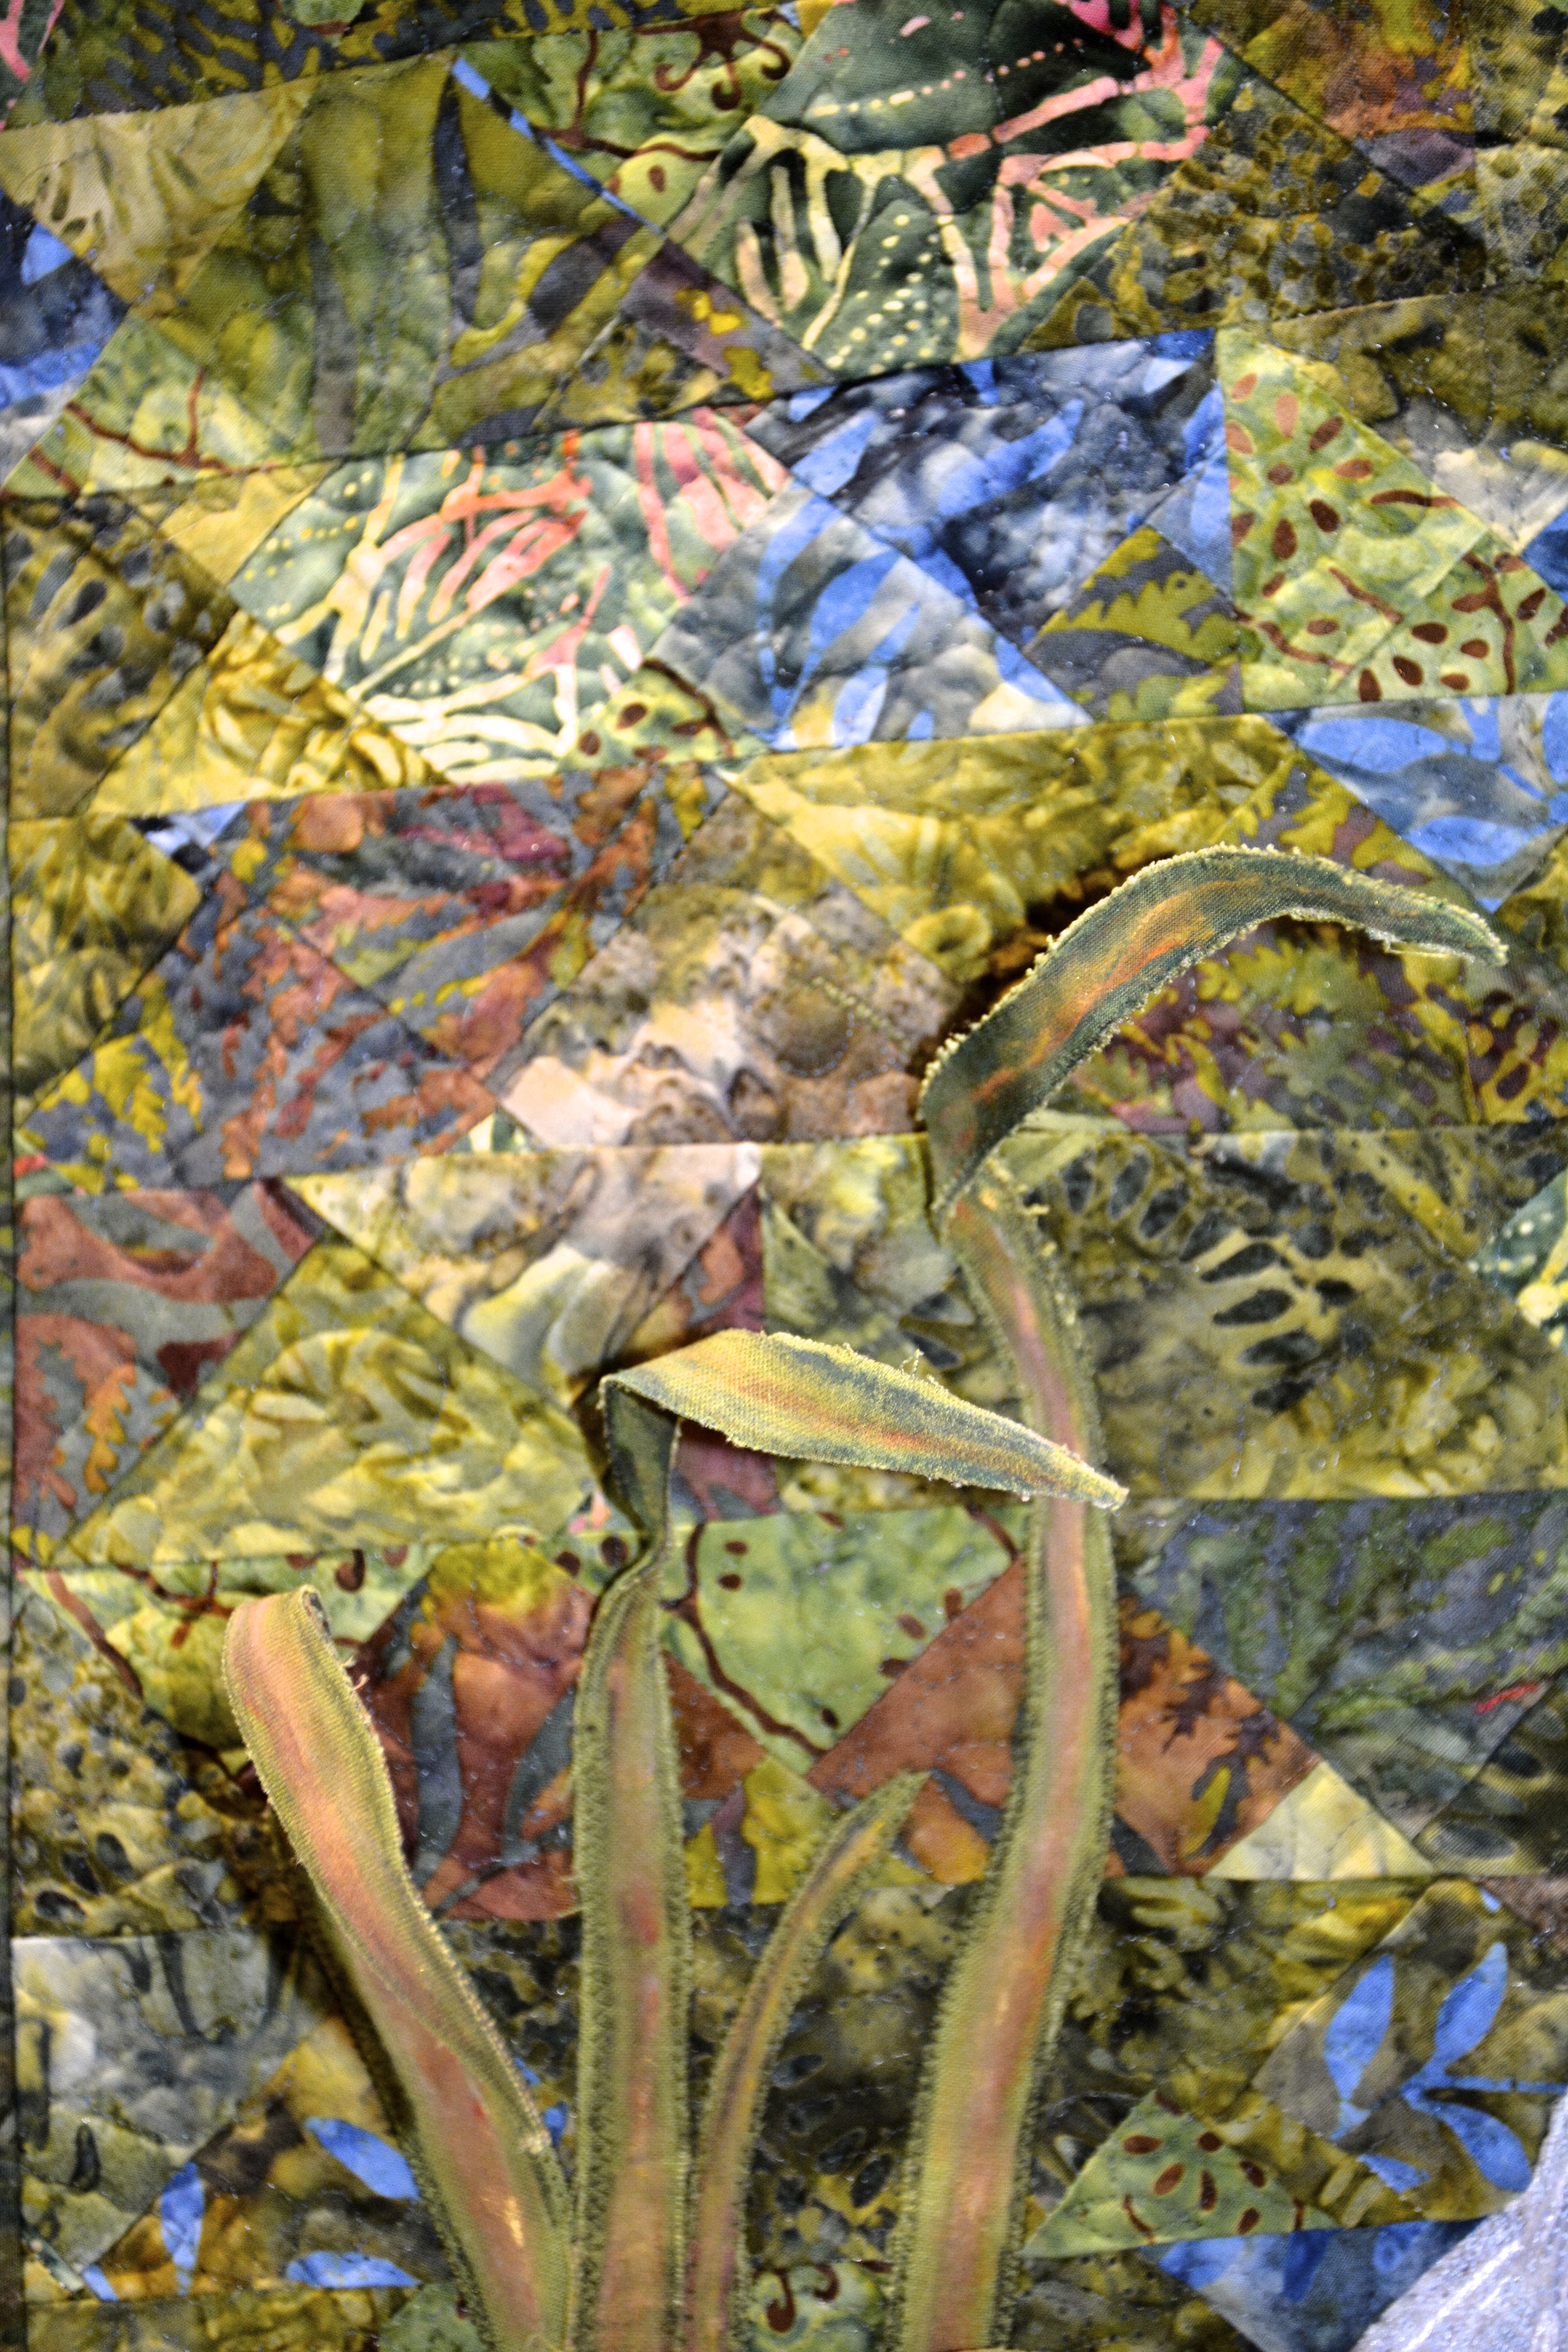
The green background is made with 7 different Batik fabrics, cut into 2 ½ inch strips of random lengths. These were sewn short ends together until I had a very long strip. I cut the strip horizontally in half and stitched the 2 pieces side by side length wise; cut it in half again and continued stitching and cutting until I had a good sized rectangle. Then I cut this rectangle into 2 ½ inch strips on the diagonal and repeated the previous process all over again. This way I created a very richly textured background.
I did the same with the blues for the water, except I cut them in 2 inch strips.
When I had finished both, I sewed them together. The whole piece was carefully Free Motioned. This was a difficult process because of the great number of seams. (Lots of broken needles here!)
The joined edge between green and water was ‘smoothed out’ with silk roving covered with fine tulle and Free Motioned in place.
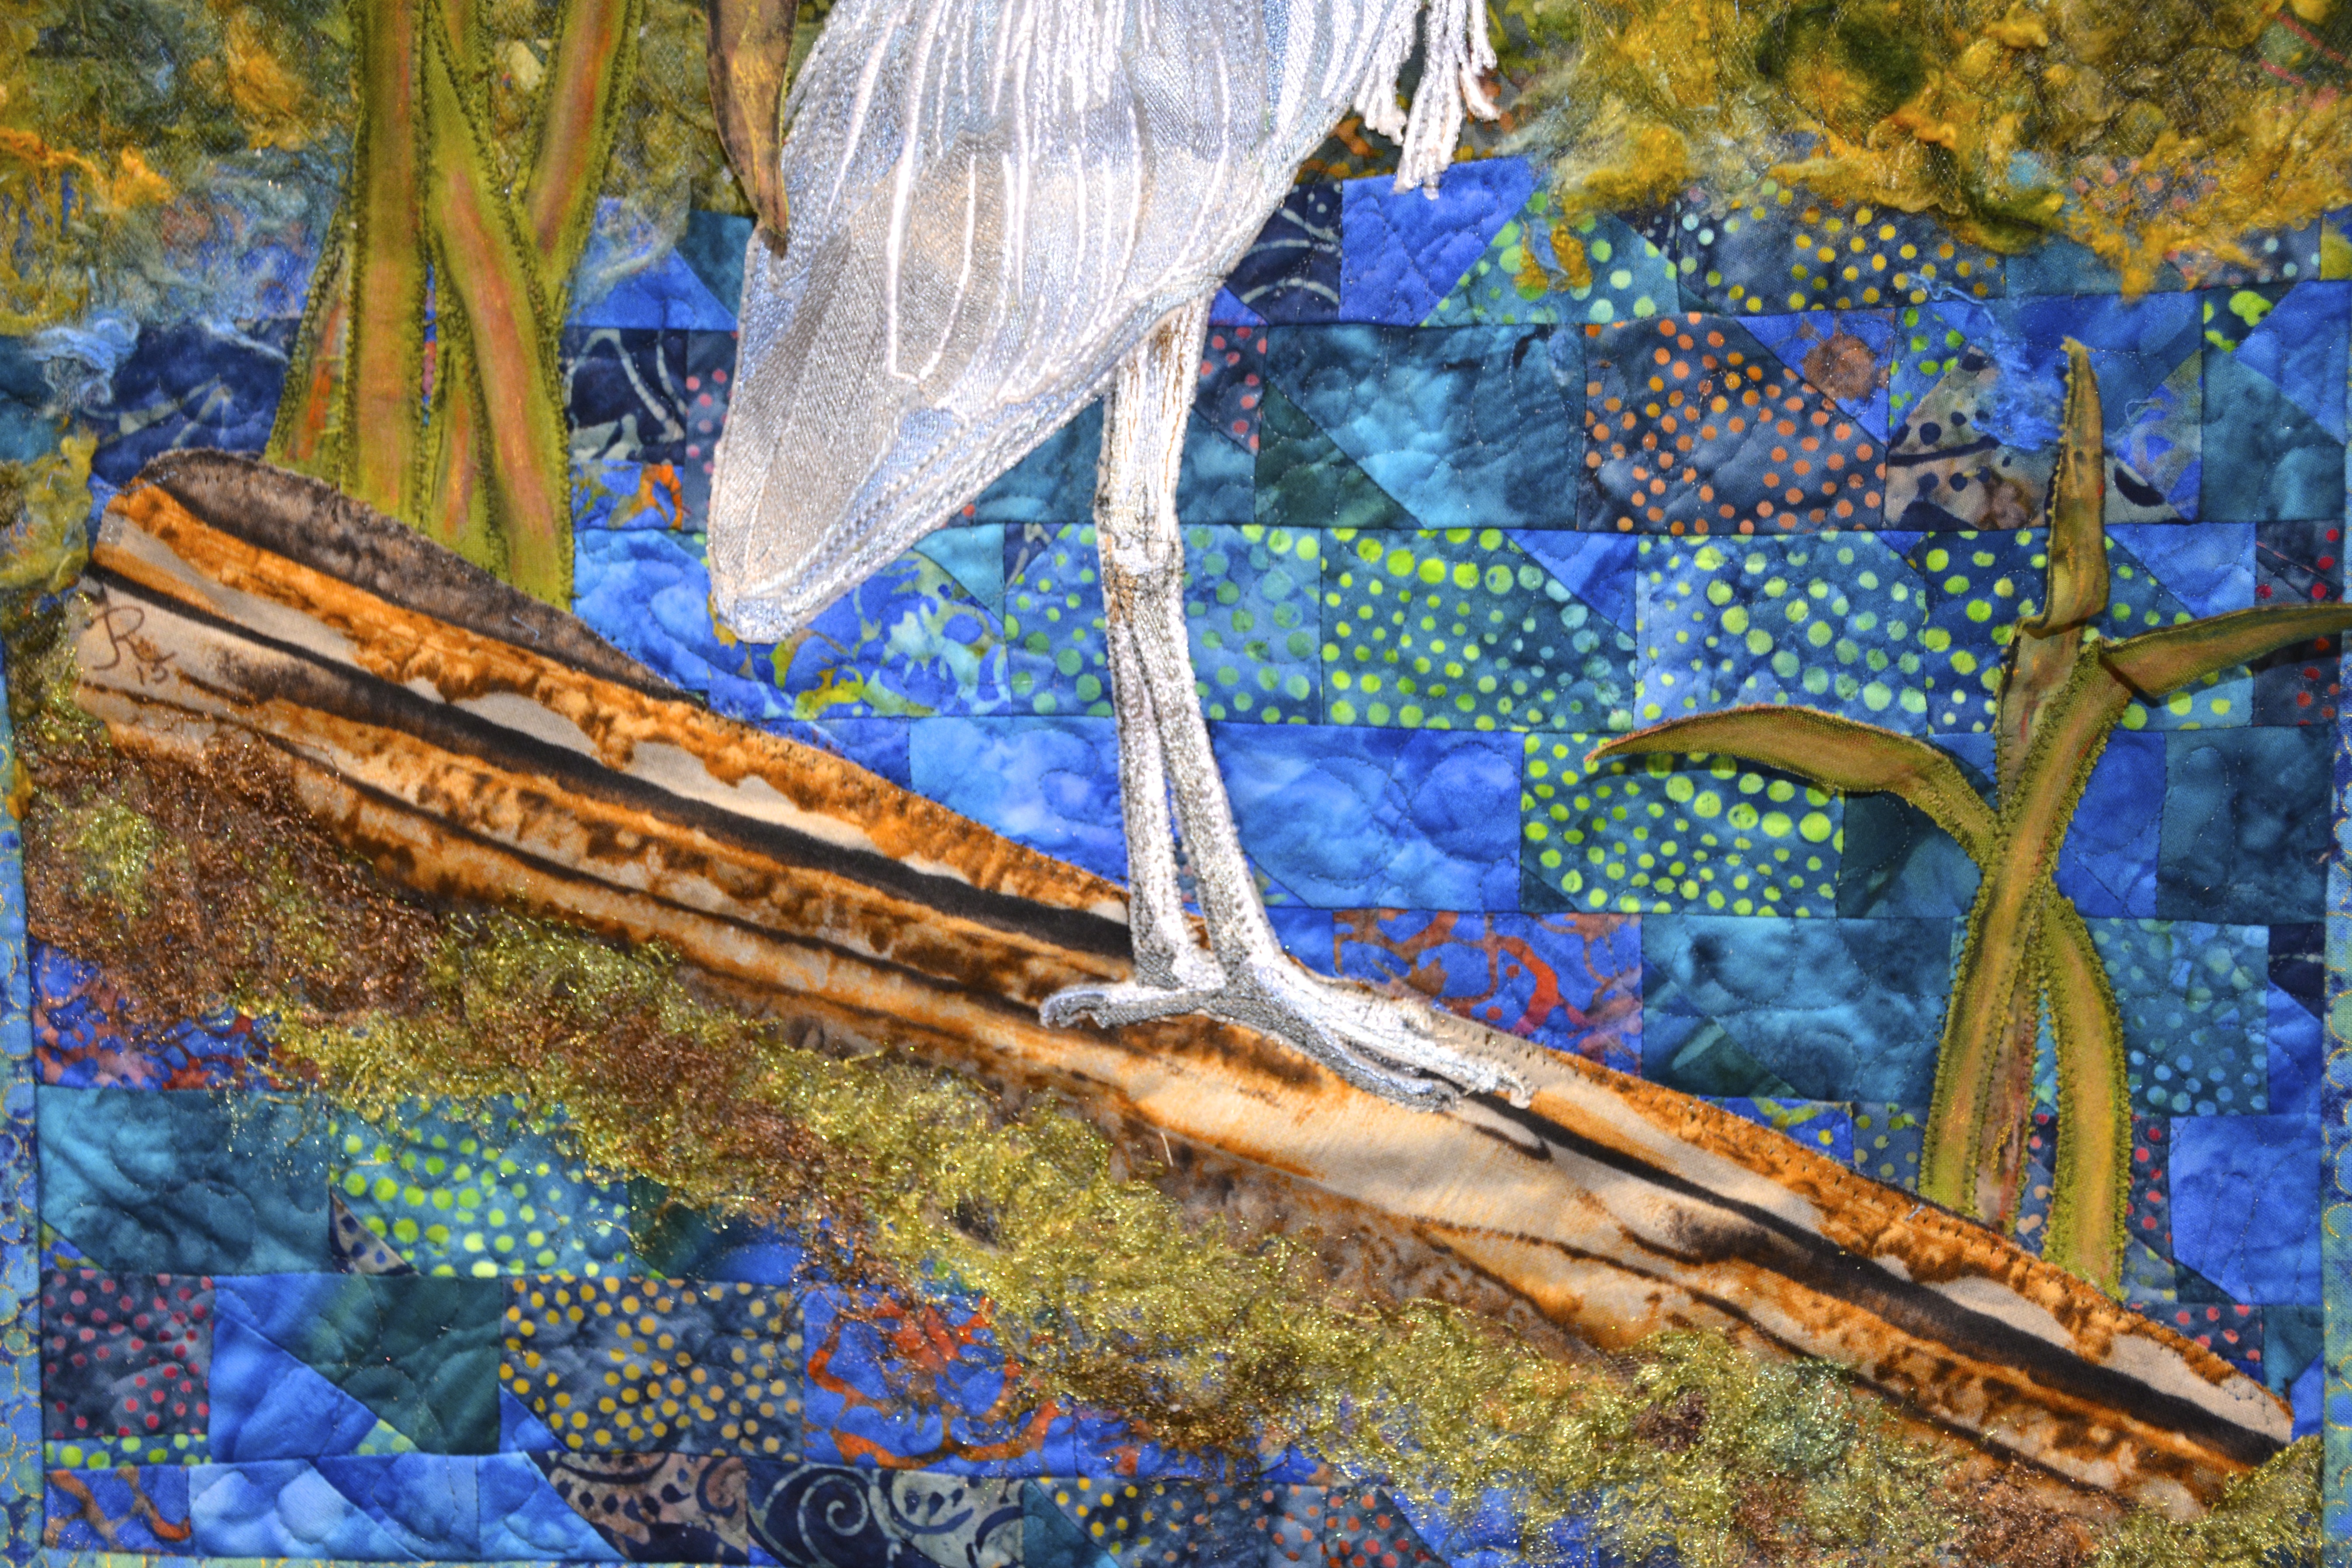
The log is one piece of fabric fused in place. However, it did not fuse completely, giving the log lots of depth! A very Happy Mistake! The log’s watery edge was ‘smoothed out’ with pieces of fine yarn, covered in fine tulle and Free Motioned in place.
I trimmed away as much of the tulle as I could.
It was now time for the reeds. Their shapes were cut and then fused together with a piece of fine wire between each layer. This gave me the opportunity to position them as I pleased, once they had been stitched in place. I embellished them with Oil Pastel Paints helping them stand out from the background color.
Finally the Heron landed on his log and was tacked in place with nylon thread.
I chose to bind this piece instead of adding borders. I did not want to detract from the focal point—the Heron!
I’m speechless June!!! Thank you so much for such great detailed info on how you created this beautiful wall hanging. You’ve made me want to touch and feel it and look at every detail….Suz
Just a thought – I’ve been working with the Dupioni Silk a lot making up Silk Packs for m ETSY shop. There are always scraps and I wonder how a background of silk pieces done with your method would look. Just a thought, but with the way the silk shimmers and shifts colors, this might make a very unusual background!
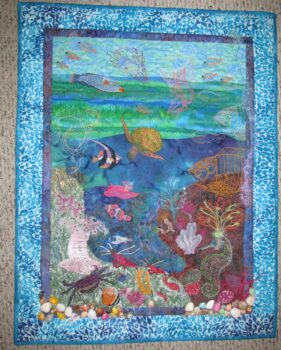
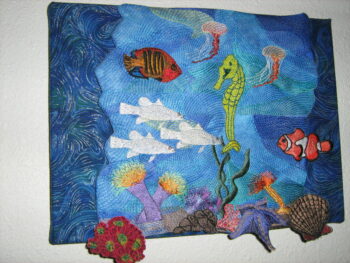
Hi, This is my Under the Sea Wall Hanging. I used designs from your Under the Sea Designs. I loved doing this and want to do another. I even have the background fabrics pieced together and want to use some of the other under the sea designs I purchased from you. I used mostly batiks for the background and other kinds of fabrics for the appliqué. I also used some fuzzy yarns and real shells for embellishments.
I think I like yours better than mine Donna! LOL Great job. Suz
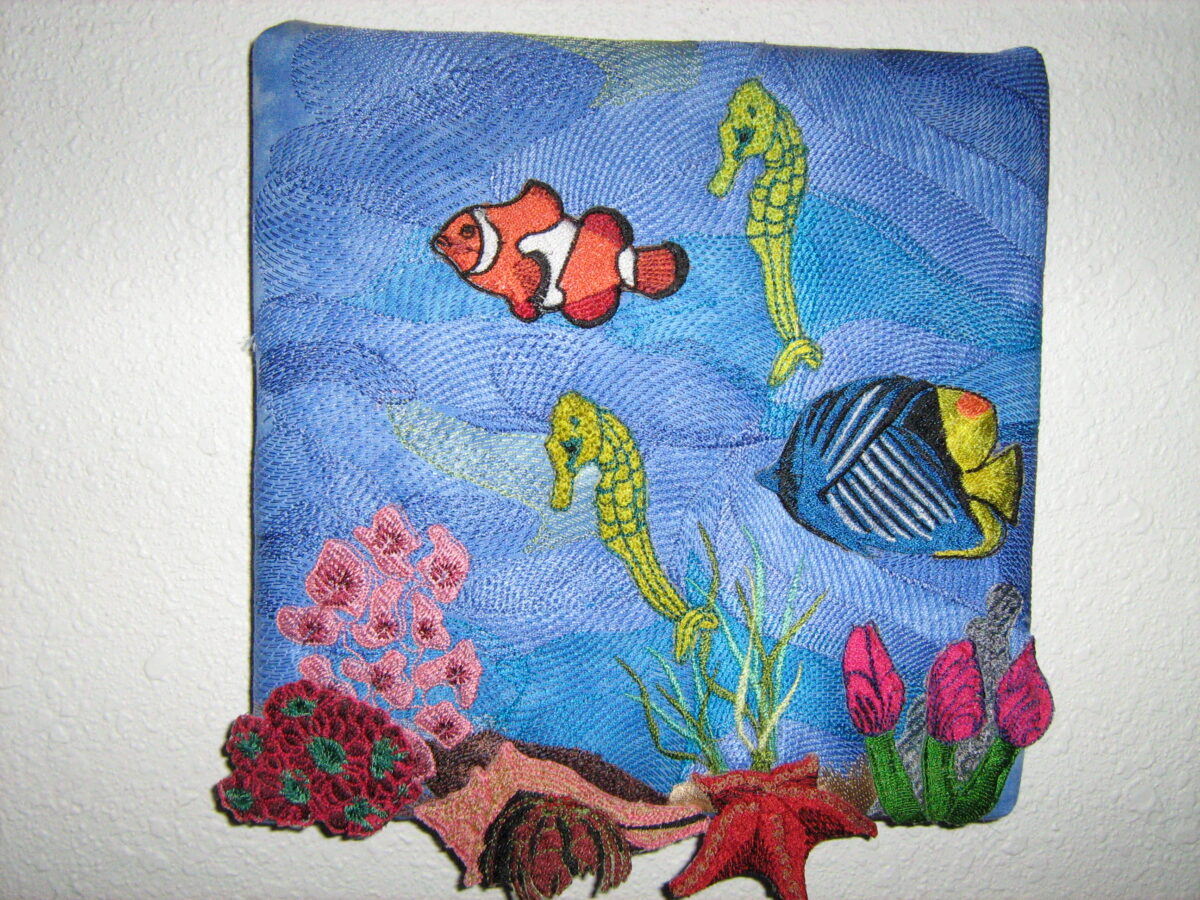
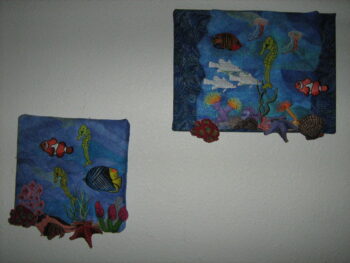
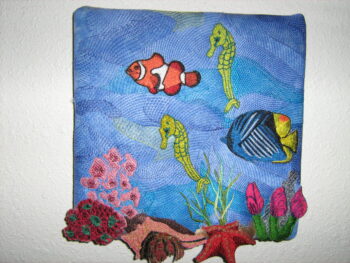
These wall hangings are made from the BFC120 Undersea set. I was going to make a large wall hanging but things happen so made 2 small hangings and mounted them on canvas boards. The pieces were done separately and attached to the back ground when done.
Sandy
I love groupings of things on walls so I think this is perfect! Suz
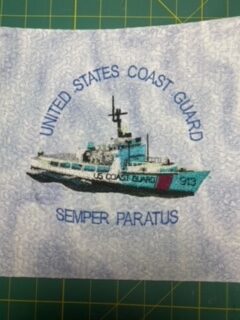
Wanted to show you the embroidery stitch out. Slightly enlarged letters, double stitched a single stitch. Will have to touch up right side of maroon stripe on right side, some stitches missing.
Still have to do boarder and backing.
I’m pleased. Peggy
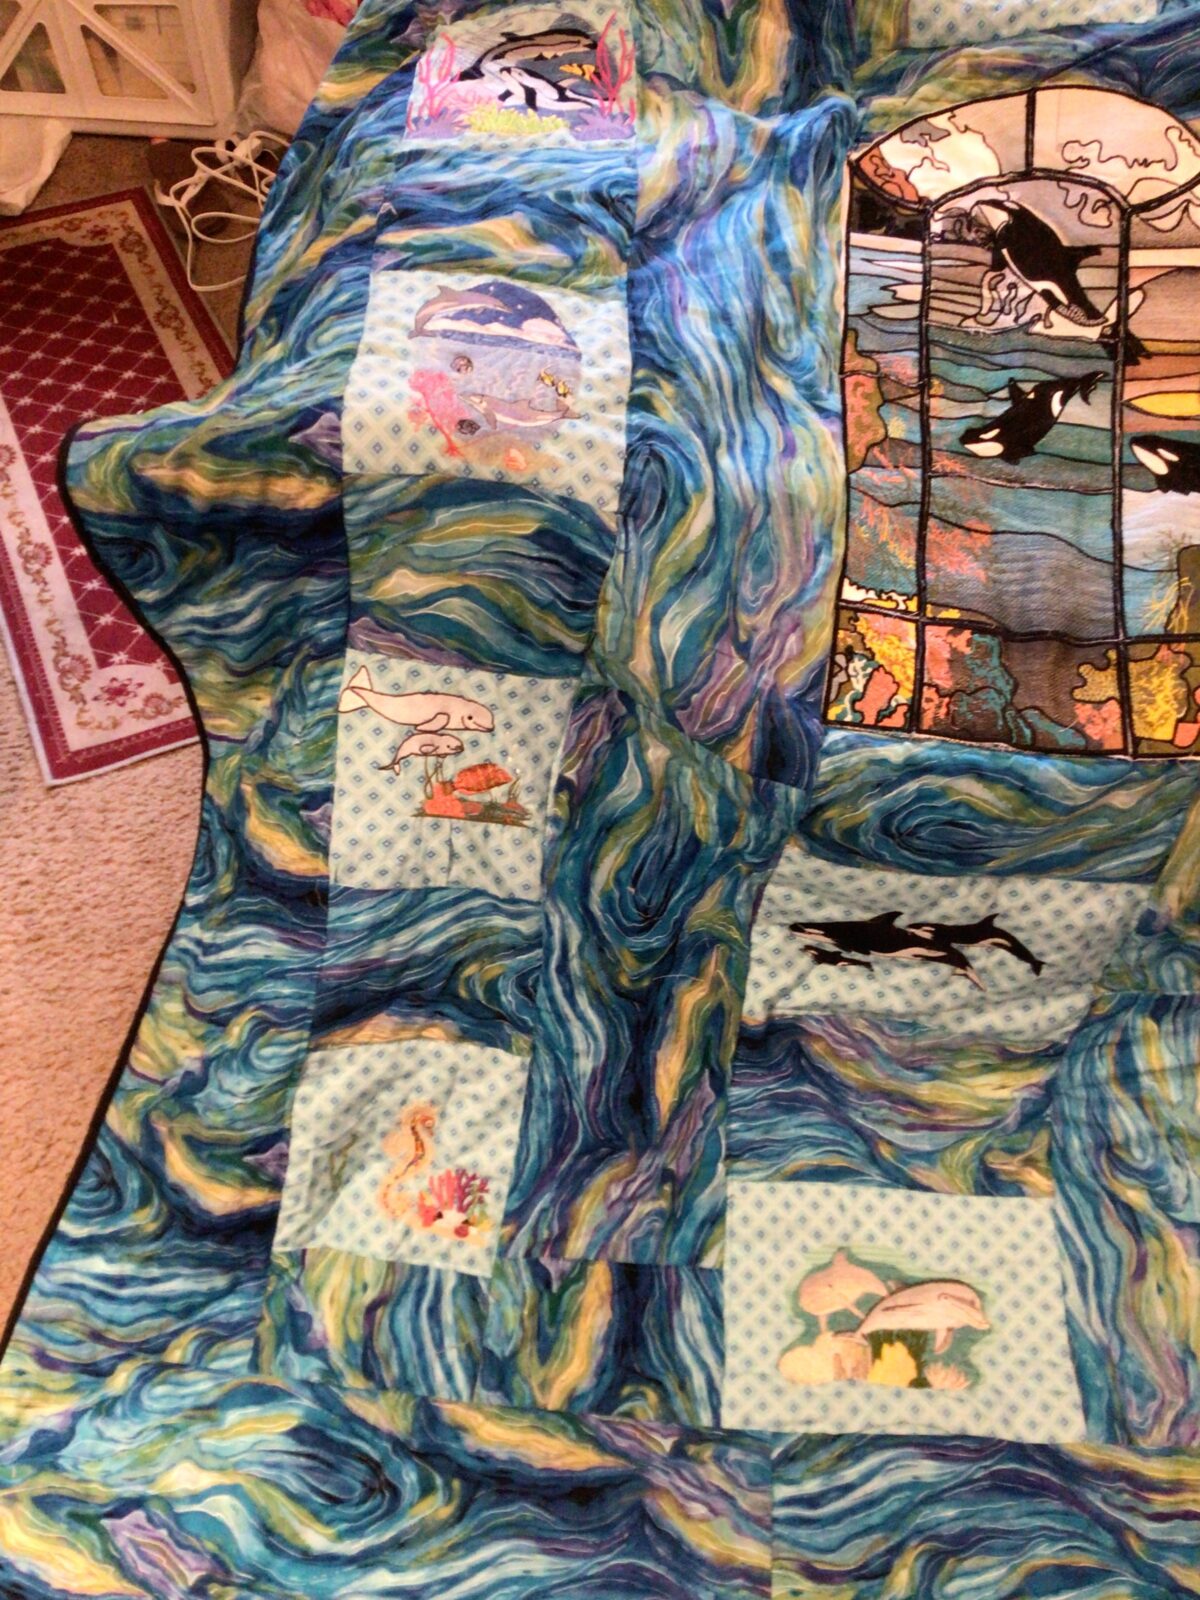
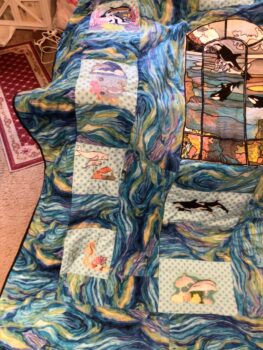
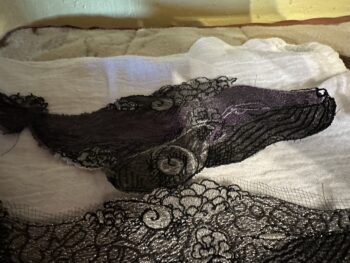
It took me 5 years. I am kind of slow. And yes you can use it however you like. It is supposed to be a dolphin quilt but I-inserted a few whales. By the way orcas are dolphins not whales. It is kind of heavy. My grand daughter is 10 yrs old. I am working on a sham .
I can identify Vilma – I have more unfinished products than Ihad colors of thread. LOL Suz Fantastic job – i bet she loved it!
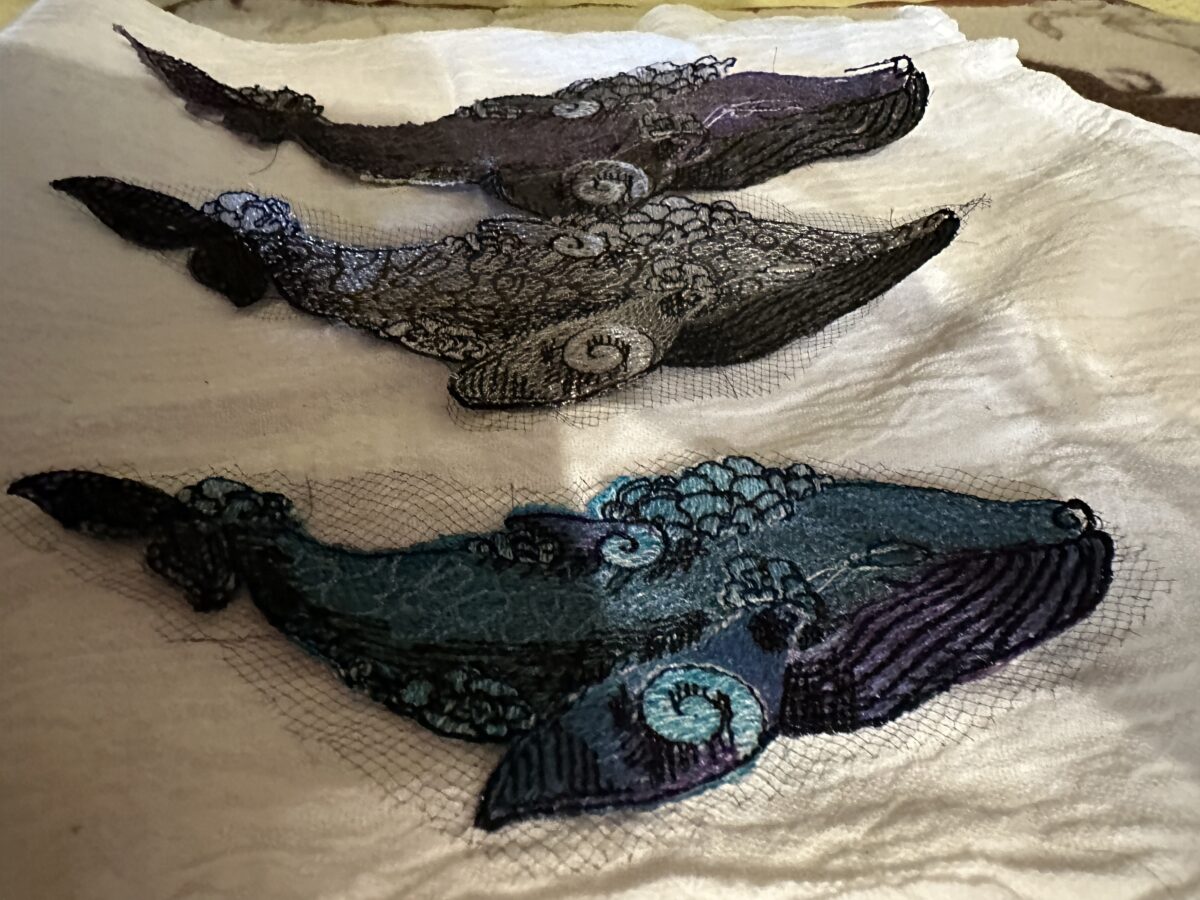
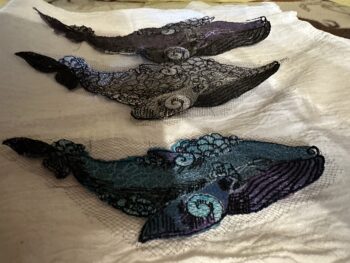
From LN Oh my, I just embroidered the small whale, it came out FANTASTIC!!!!! I will definitely be back for more. I did these as FSL with organza underneath, came out GREAT!!! The gray whale I did with some silver metallic thread. I love metallic!
Coming from San Diego and always going to La Jolla to watch the Gray whales migrate to Mexico, I am a whale fanatic! I just went on a cruise to Mexico and took a shore excursion, and I was not disappointed!
I have a request, is there any way you can make a whale fluke in the ocean for a large hoop???? I have one but it is really small and I am doing an ocean scene for my sewing room and it’s only about 2″ in diameter. Way too small for what I want. I’ll be working on this soon! Suz
This doesn’t have anything to do with the whales, but with so many cat lovers out there I had to include it – Bless you LN! Suz
I also got a bunch of the cats this morning. I have six in the house and a bunch outside. We take them to get spayed and neutered when they show up. Took 13 in all at once one time, what a zoo. I have a small ranch in AZ.
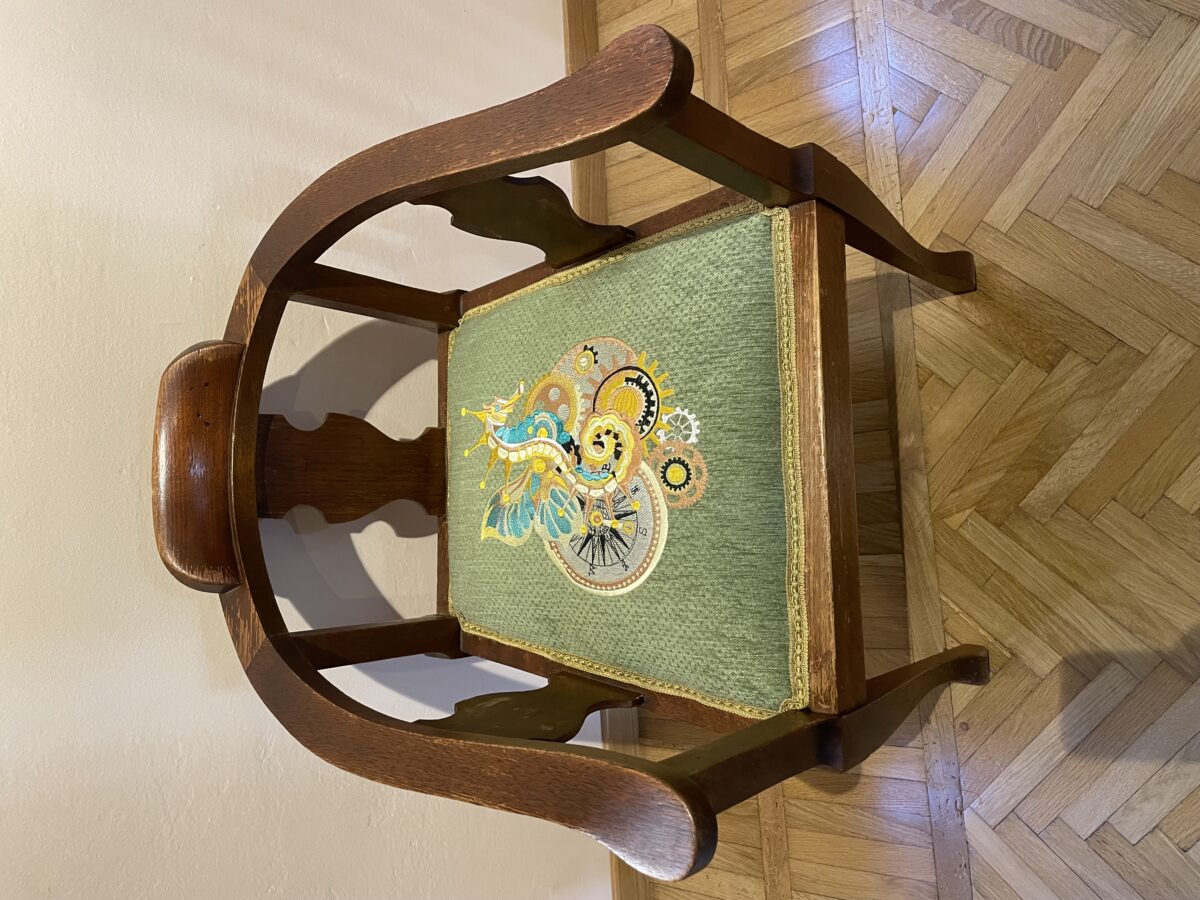
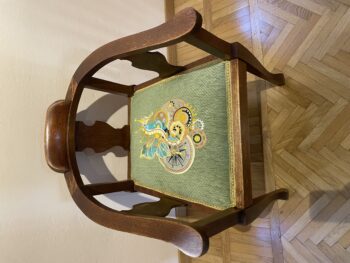
Today I finished recovering an old chair my husband inherited from his grandfather. Rob fell in love with the design and it suited the chair as you can see. Thank you for all your creativity that turns the everyday into something special.
Cheers, Carol
Carol, this is a fantastic idea! You chose the perfect design for this beautiful chair. Thank you for sharing…Suz
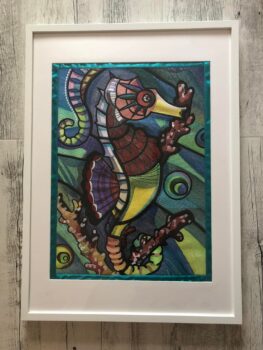
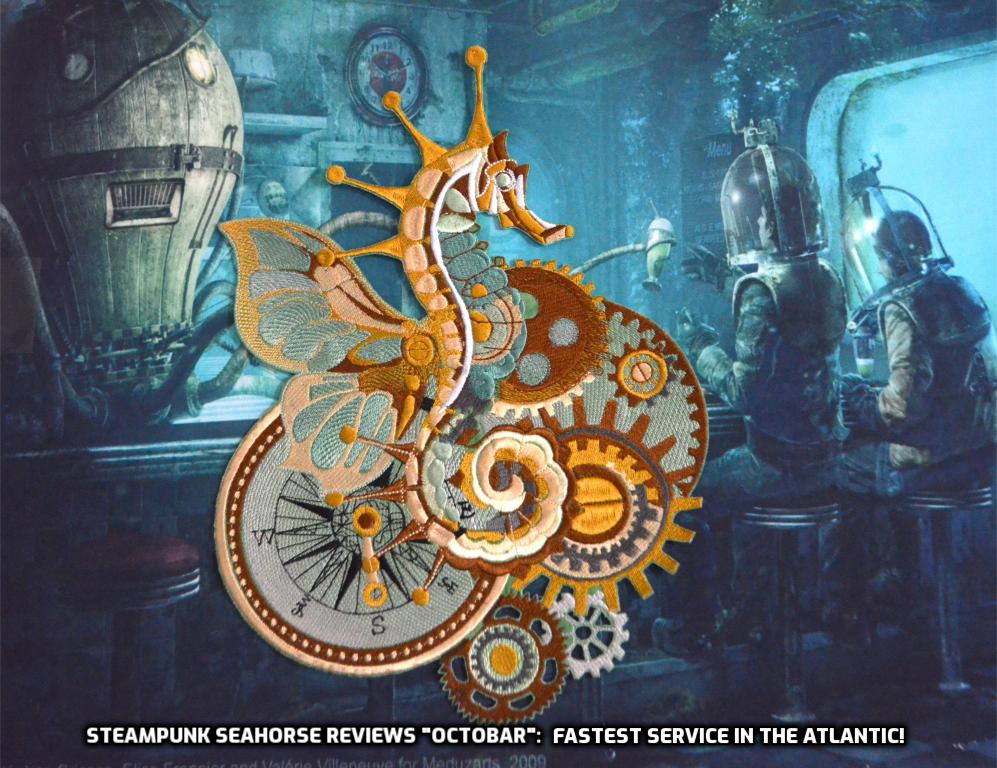
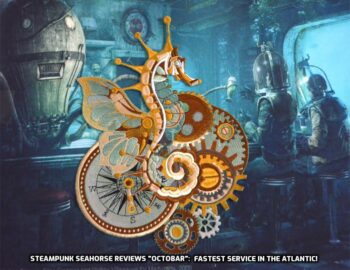
I’m still moving things….Moving to a new state isn’t easy. I know how to use a drill, saw, cutoff saw, router and how to caulk. I stitched “Steampunk Seahorse” a long time ago. A couple of mess ups but it was my first time stitching a large multiple hooping embroidery.We are all so proud of our work. Have a good day!
You should be proud! I think he came out beautifully Vicki!
From Christine: