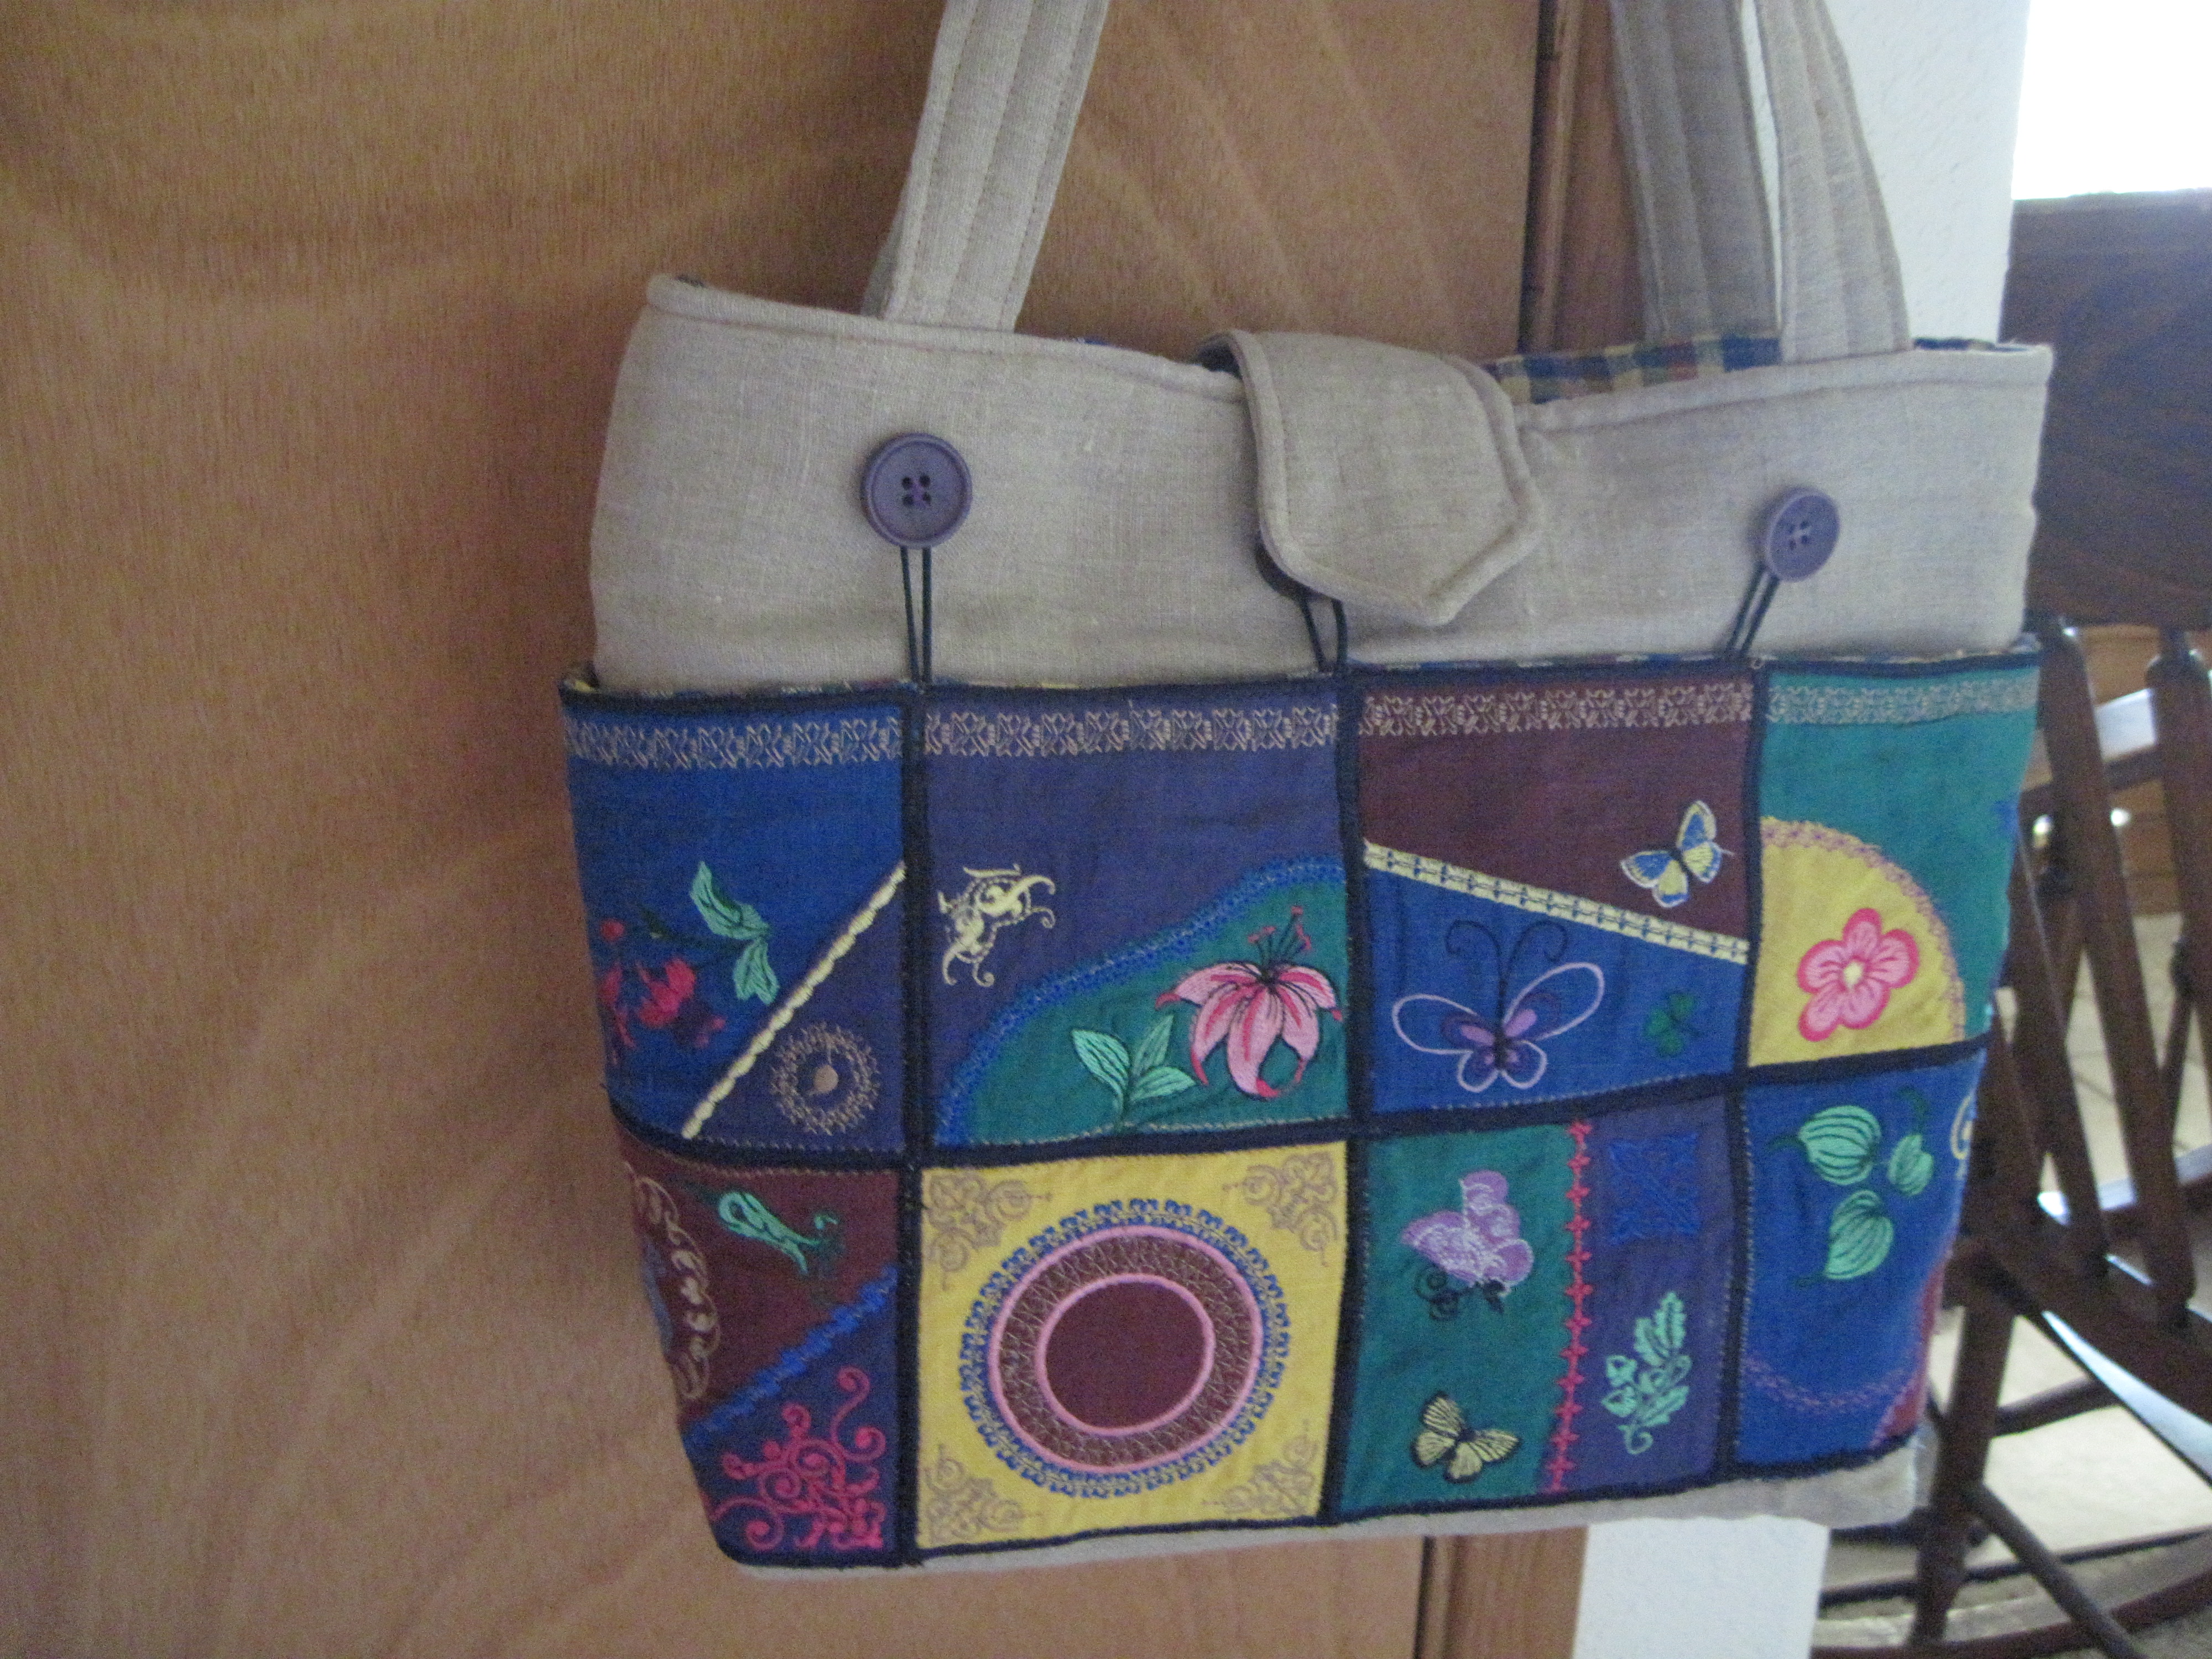
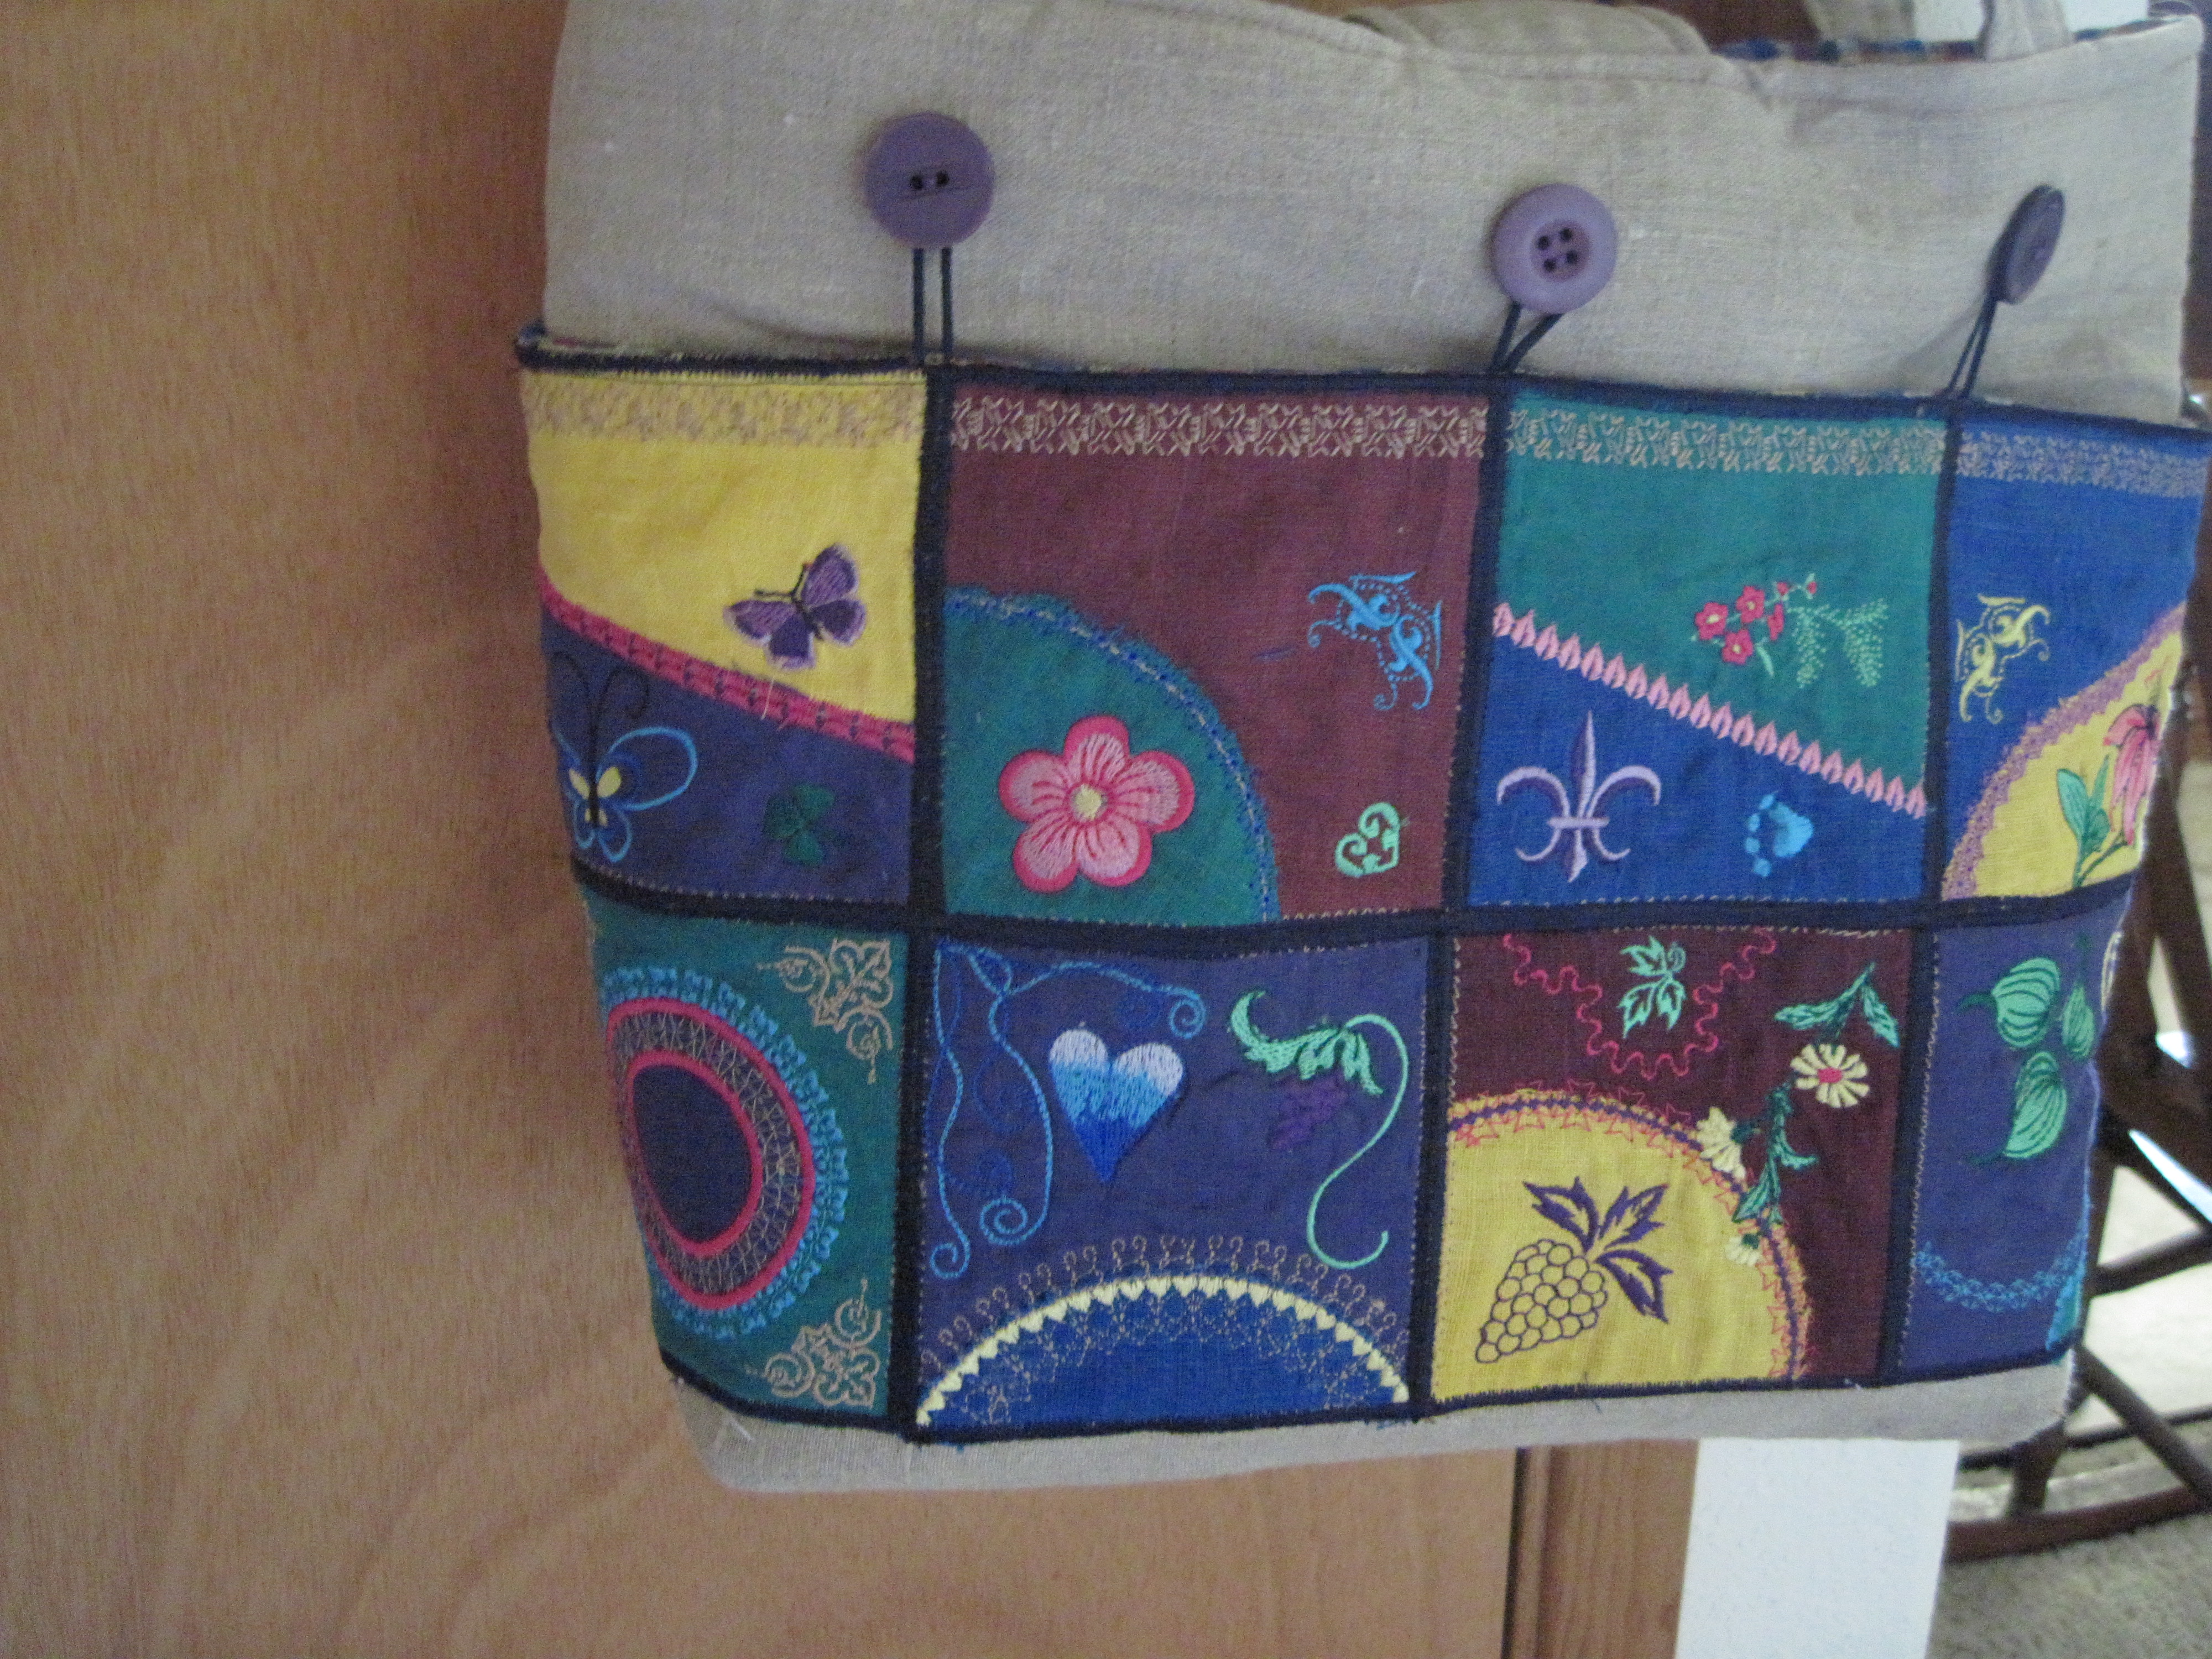
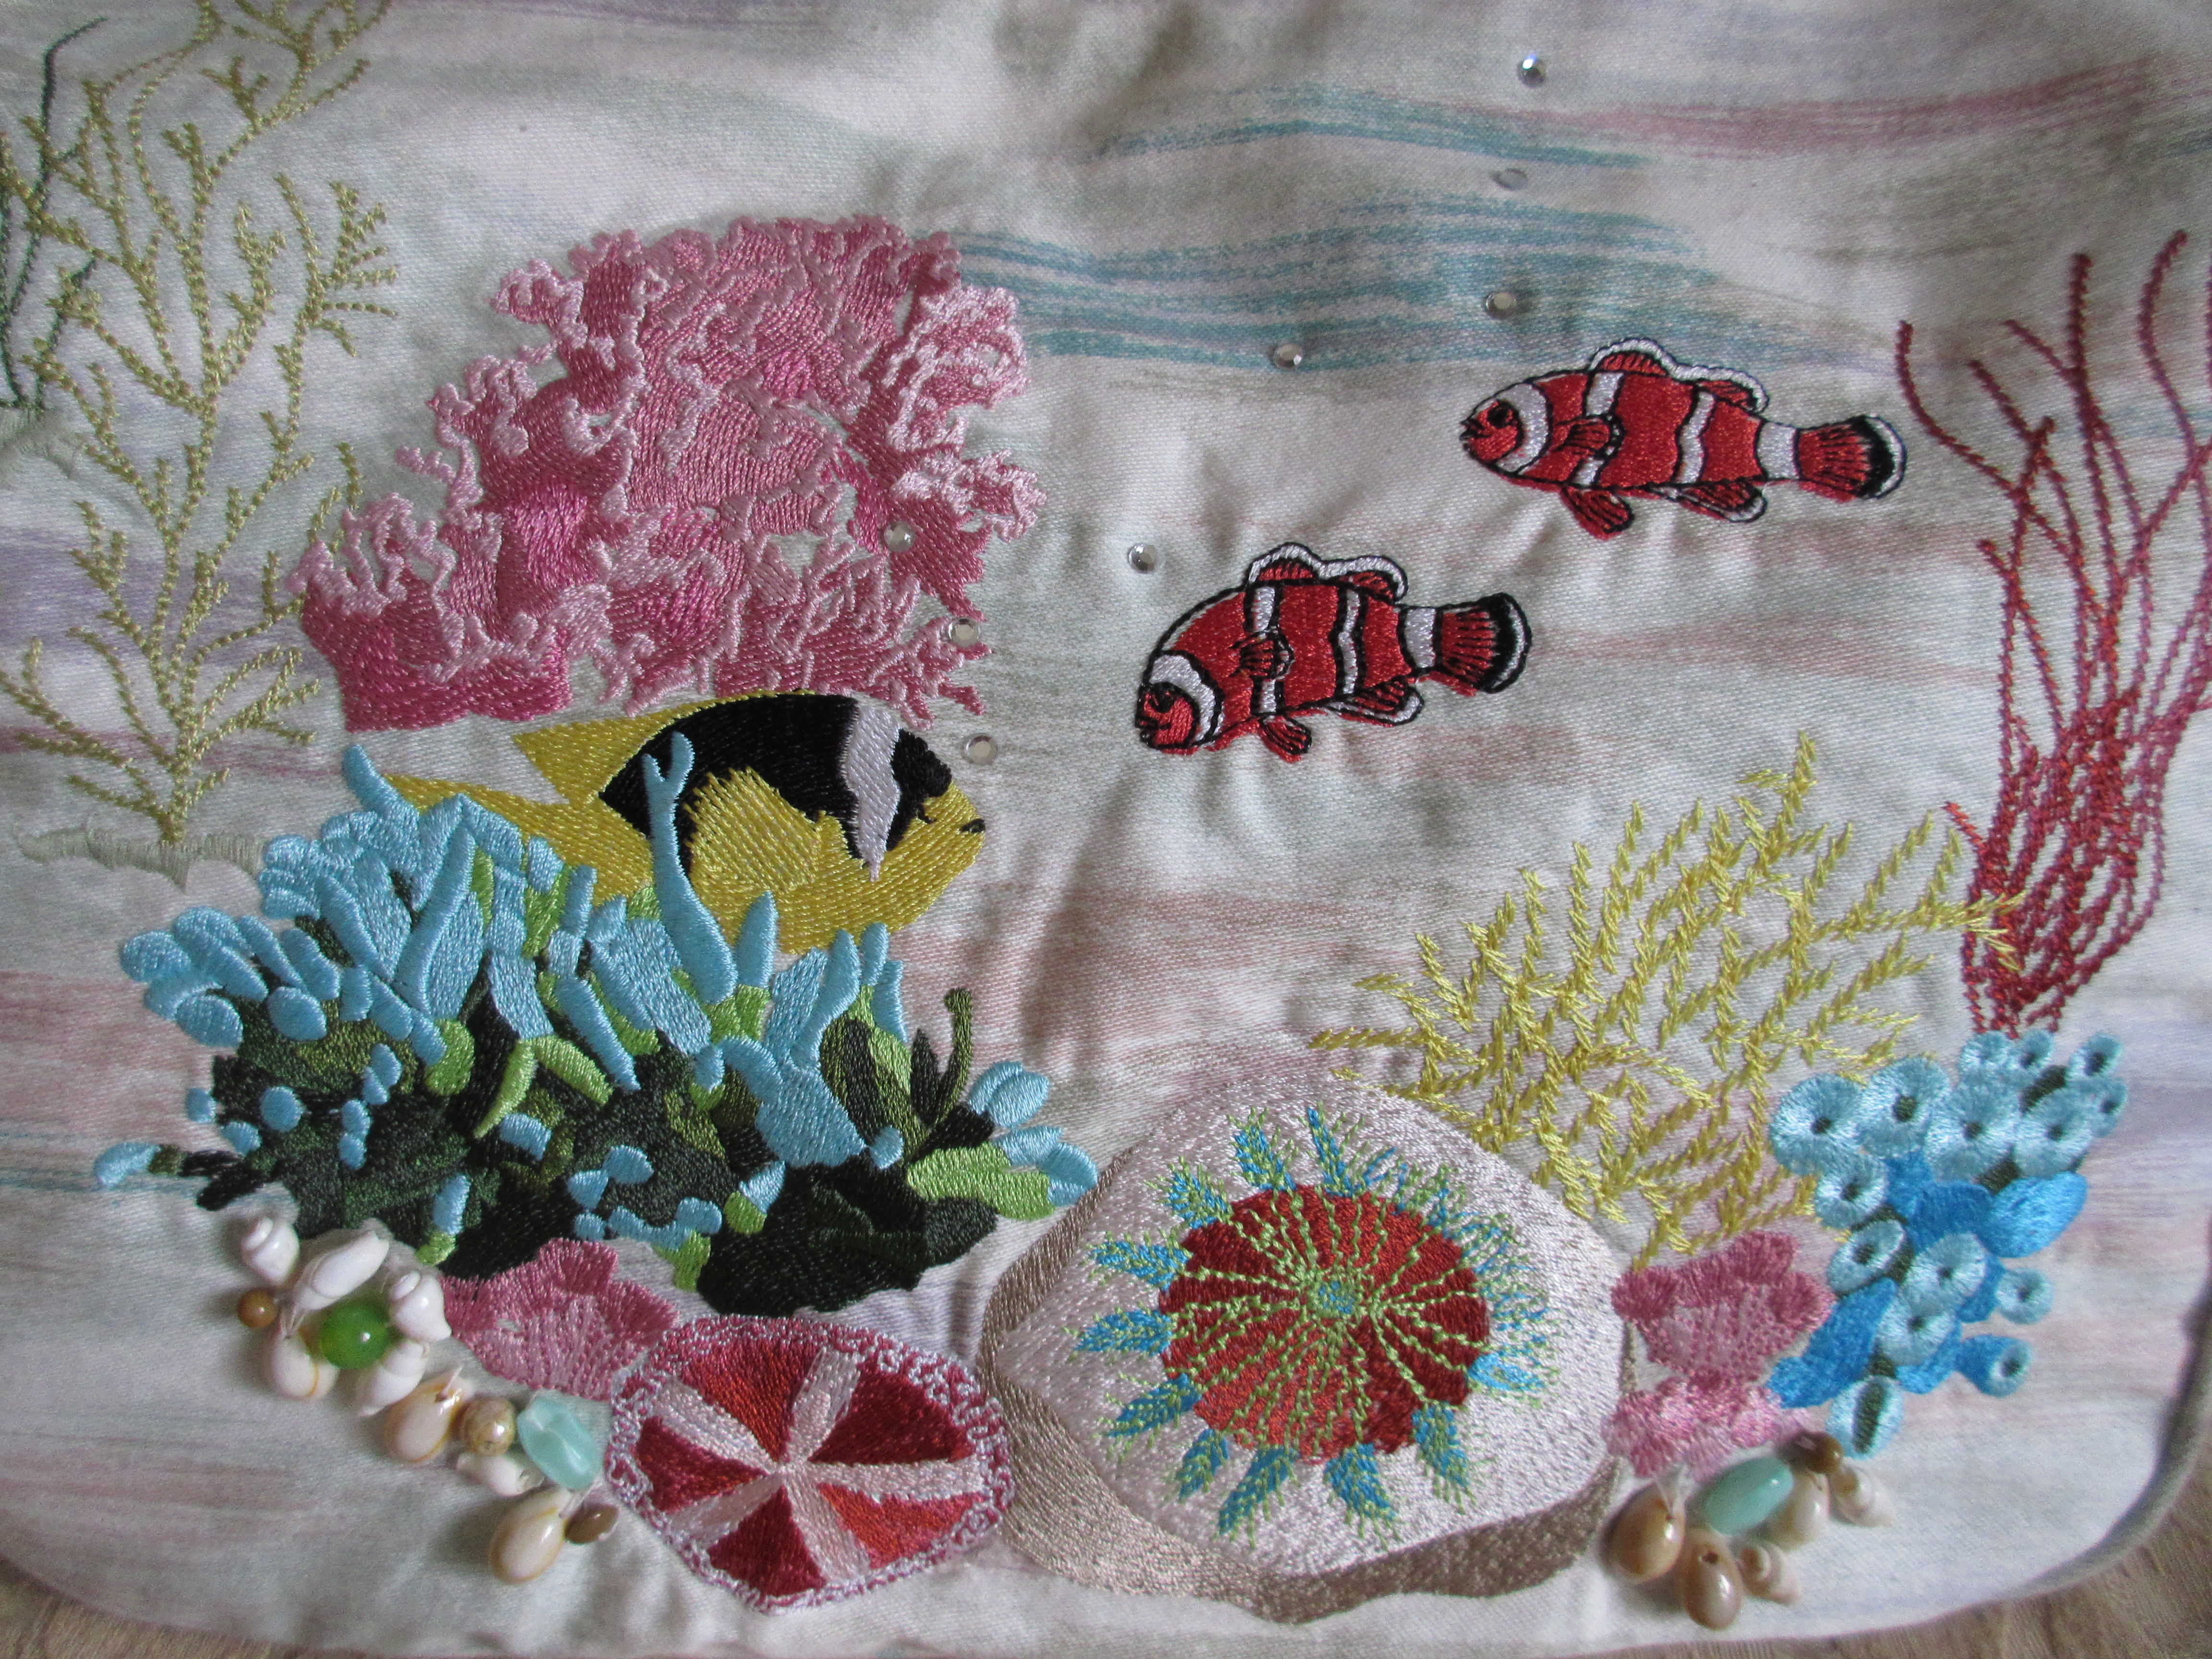
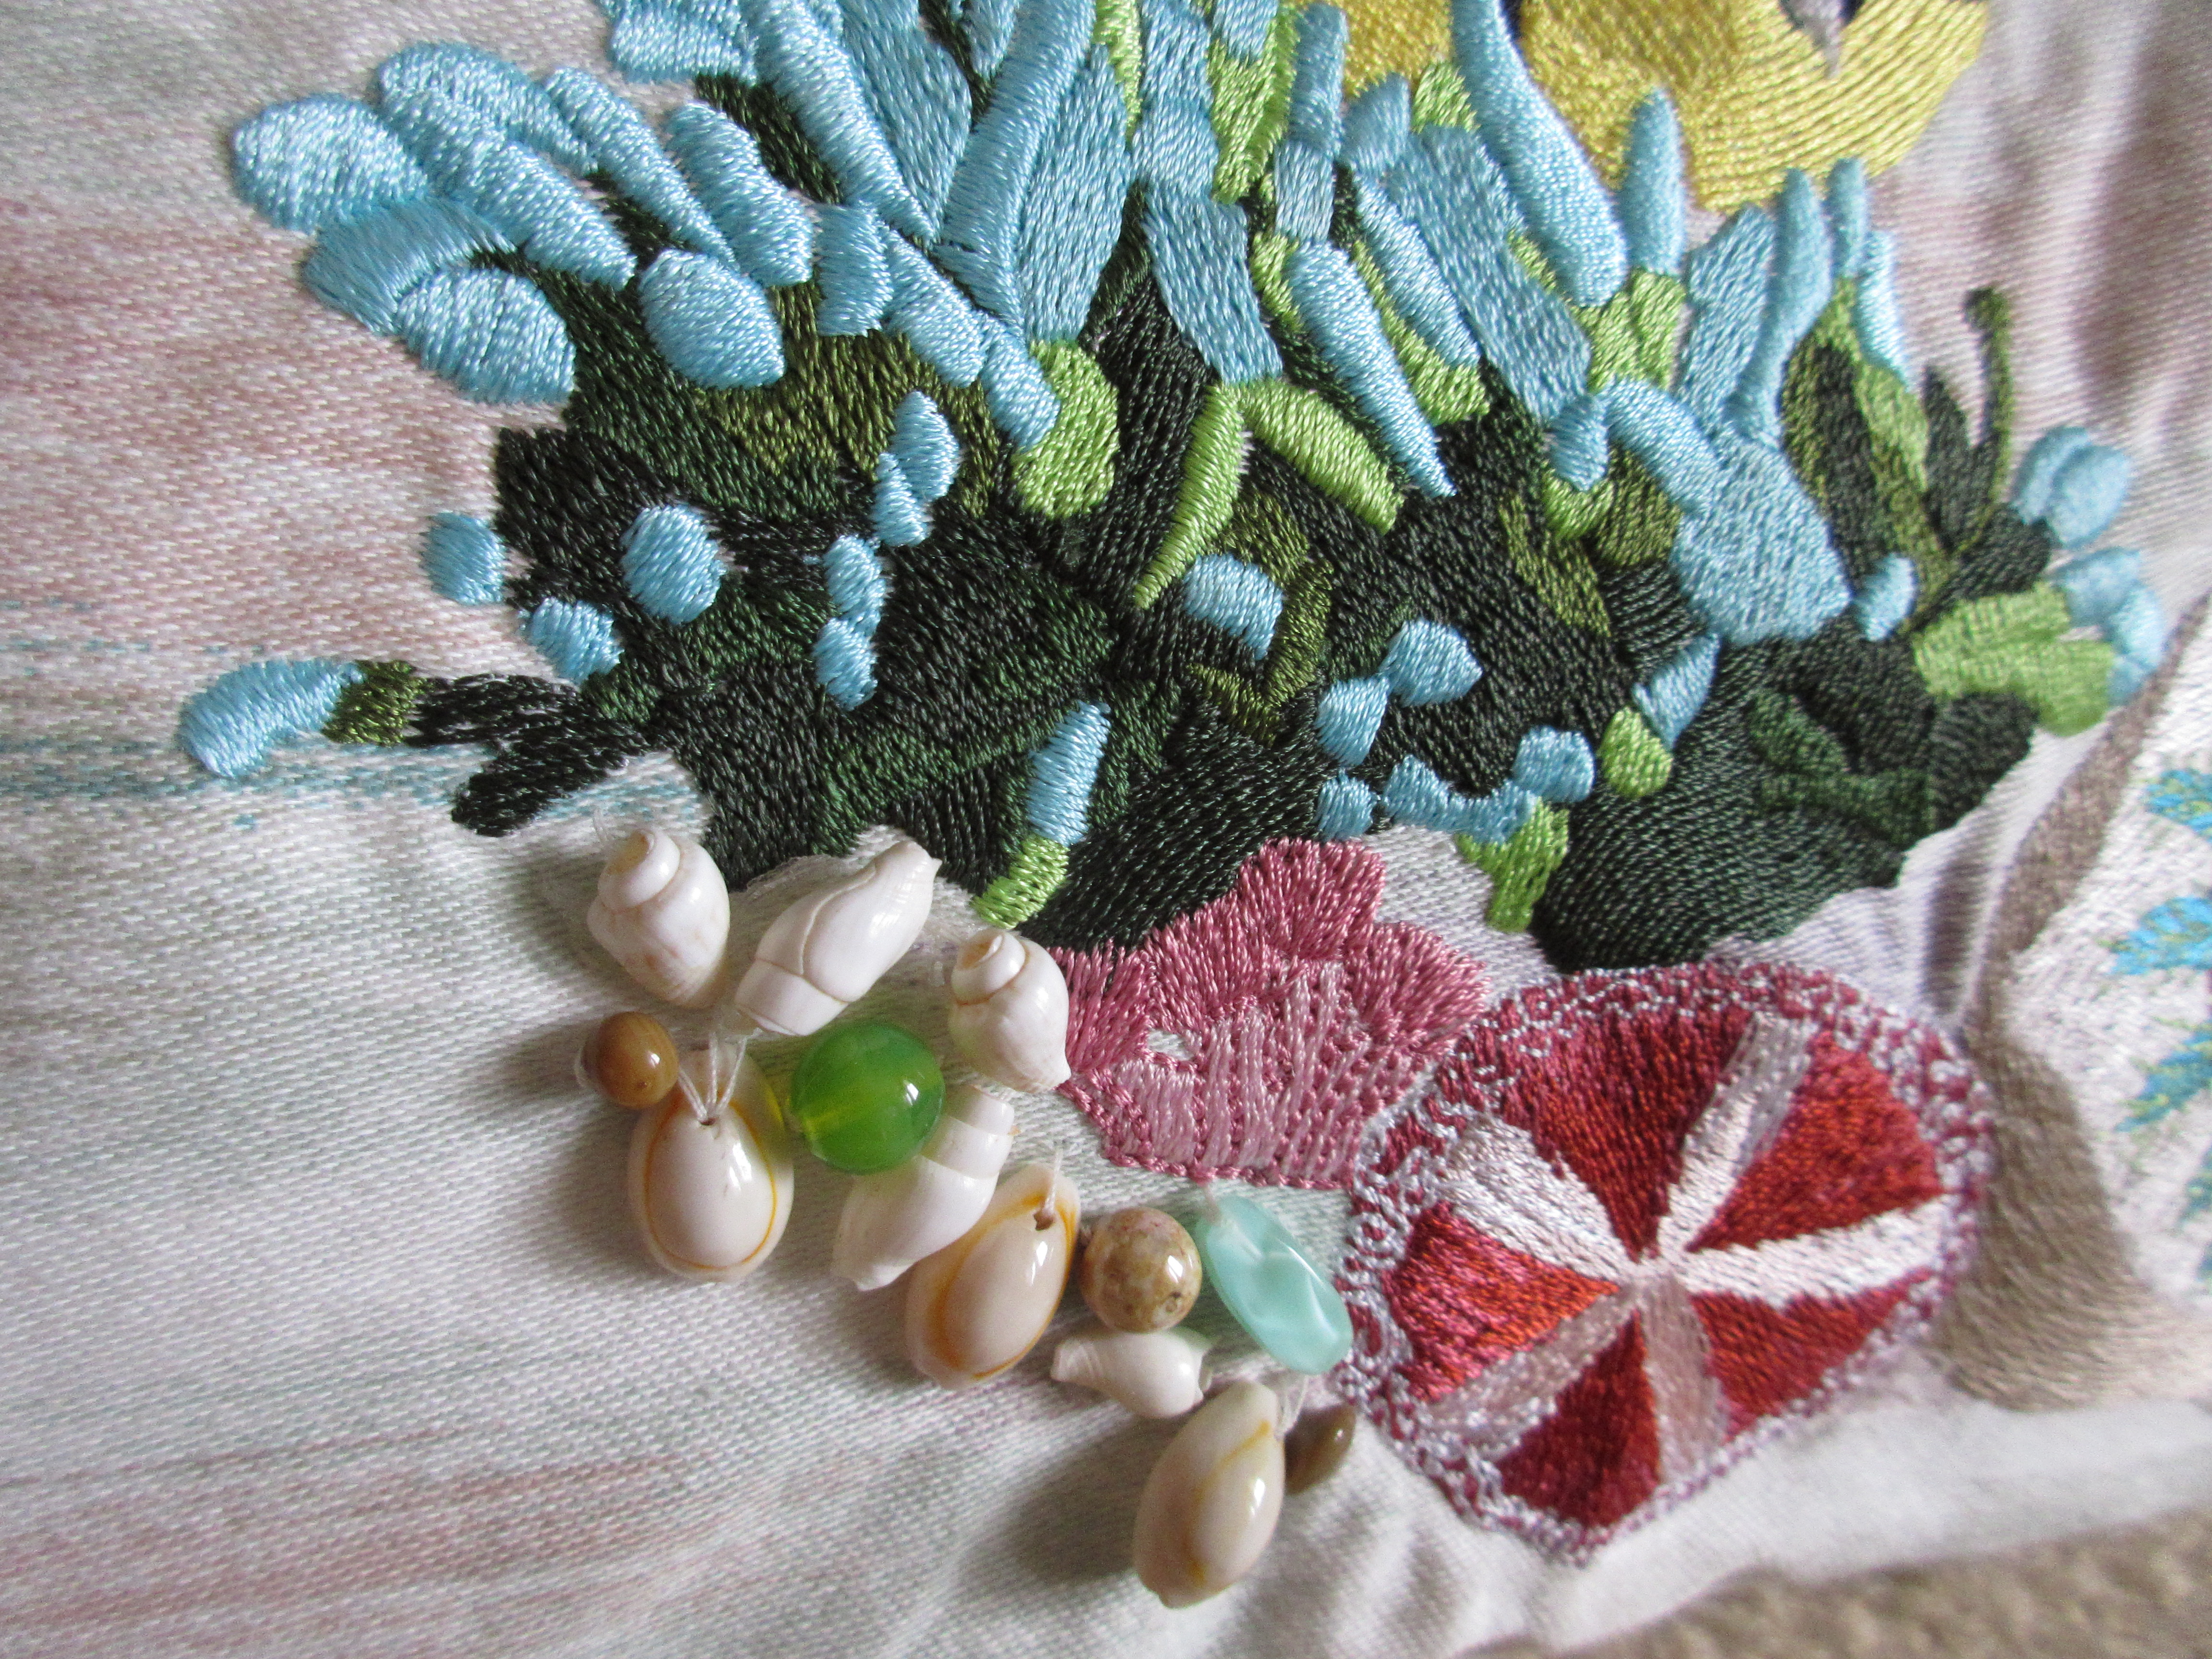
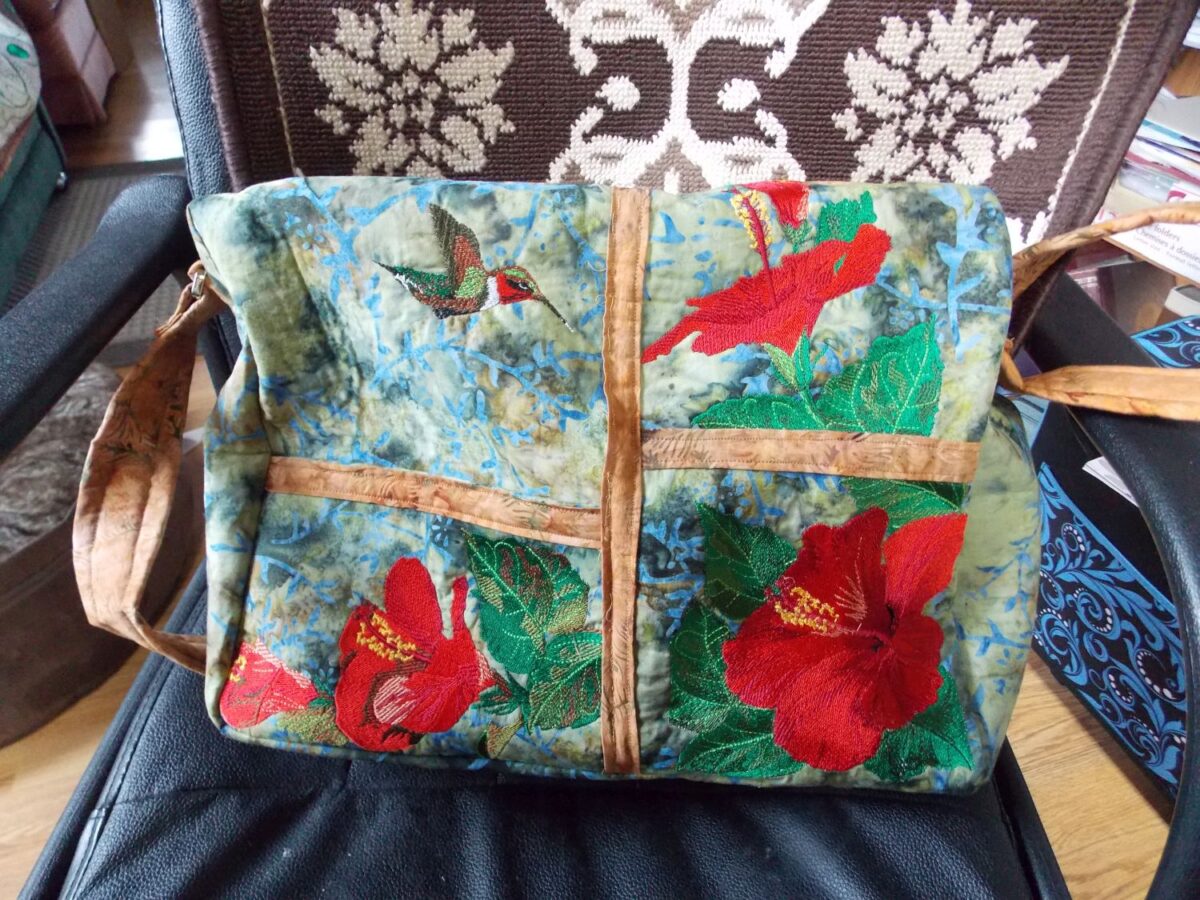
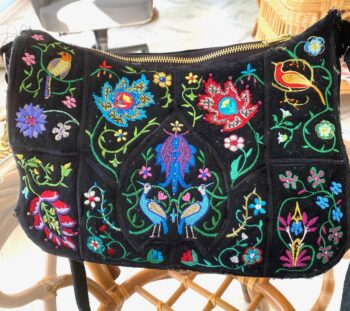
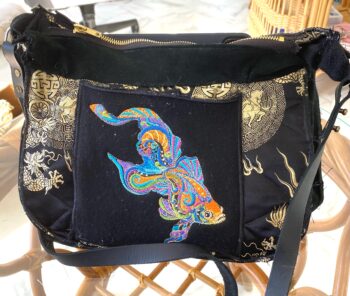
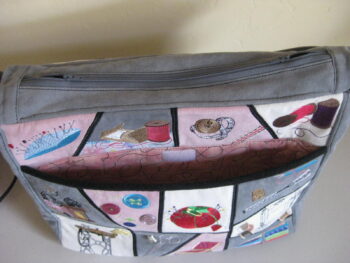
Sandy’s Crazy Quilt Bag

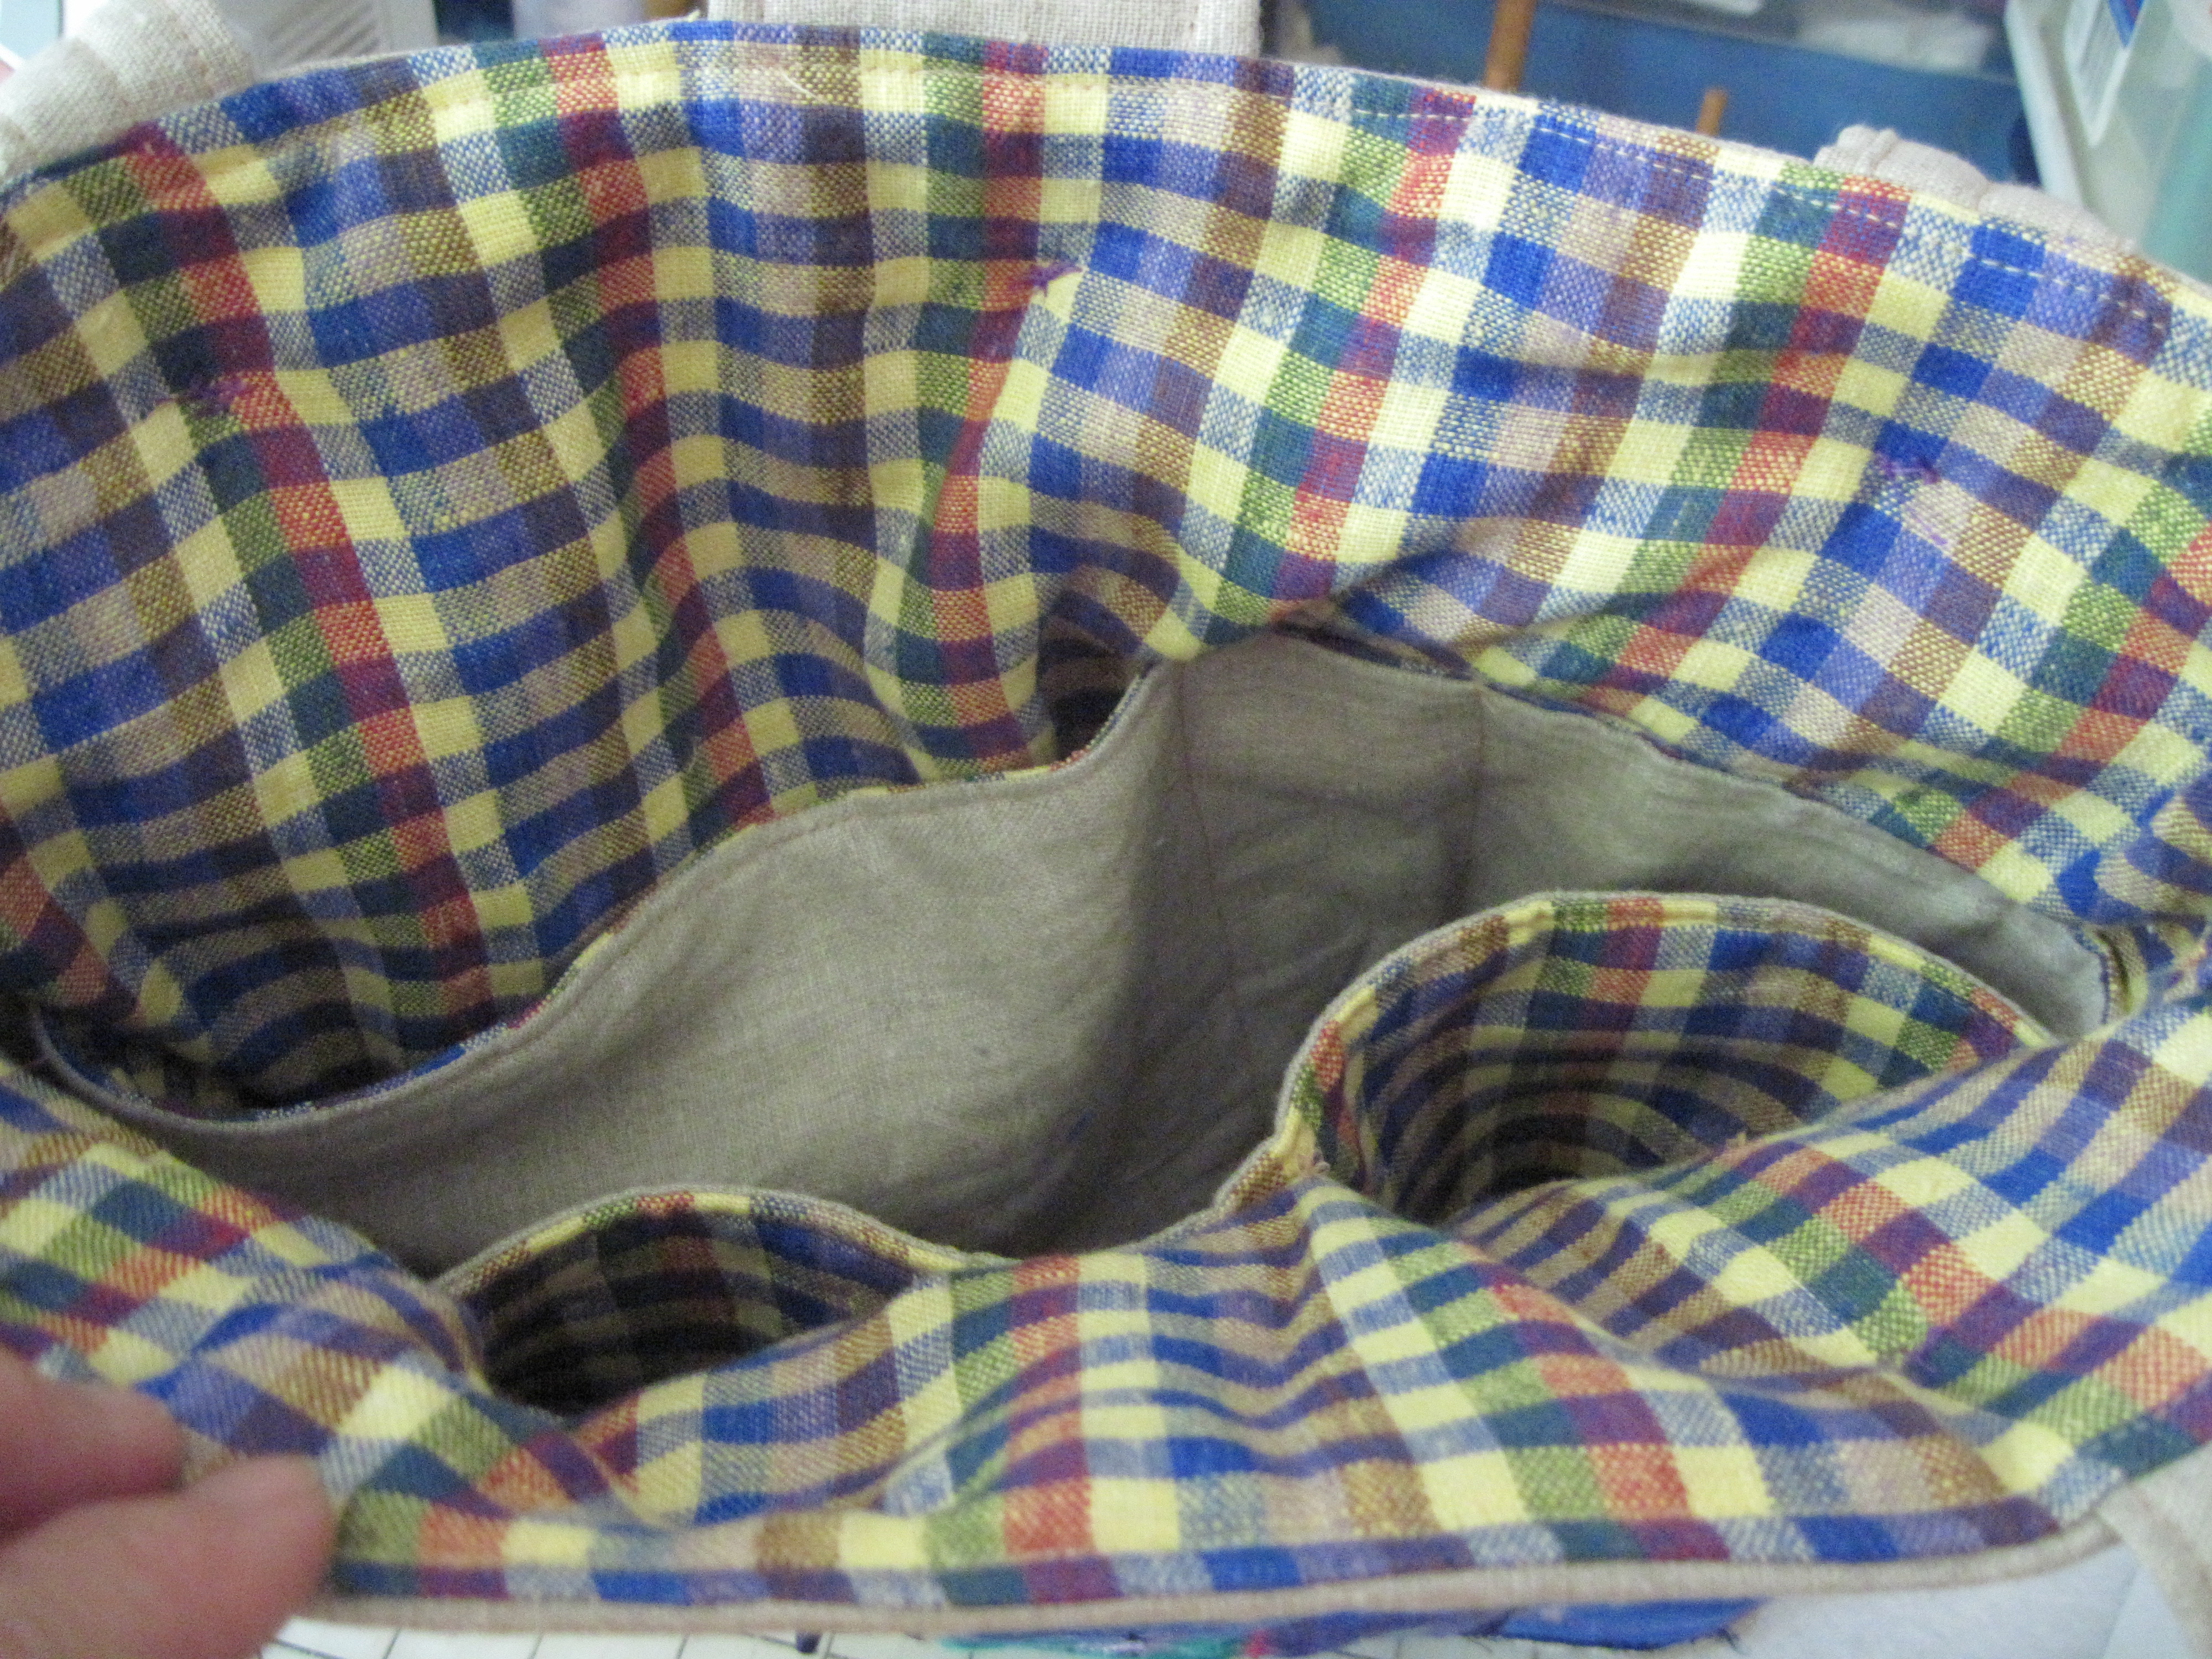
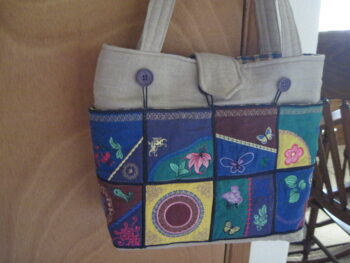
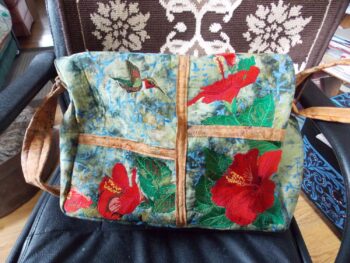
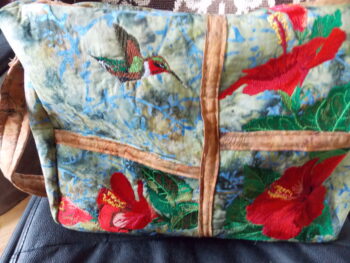
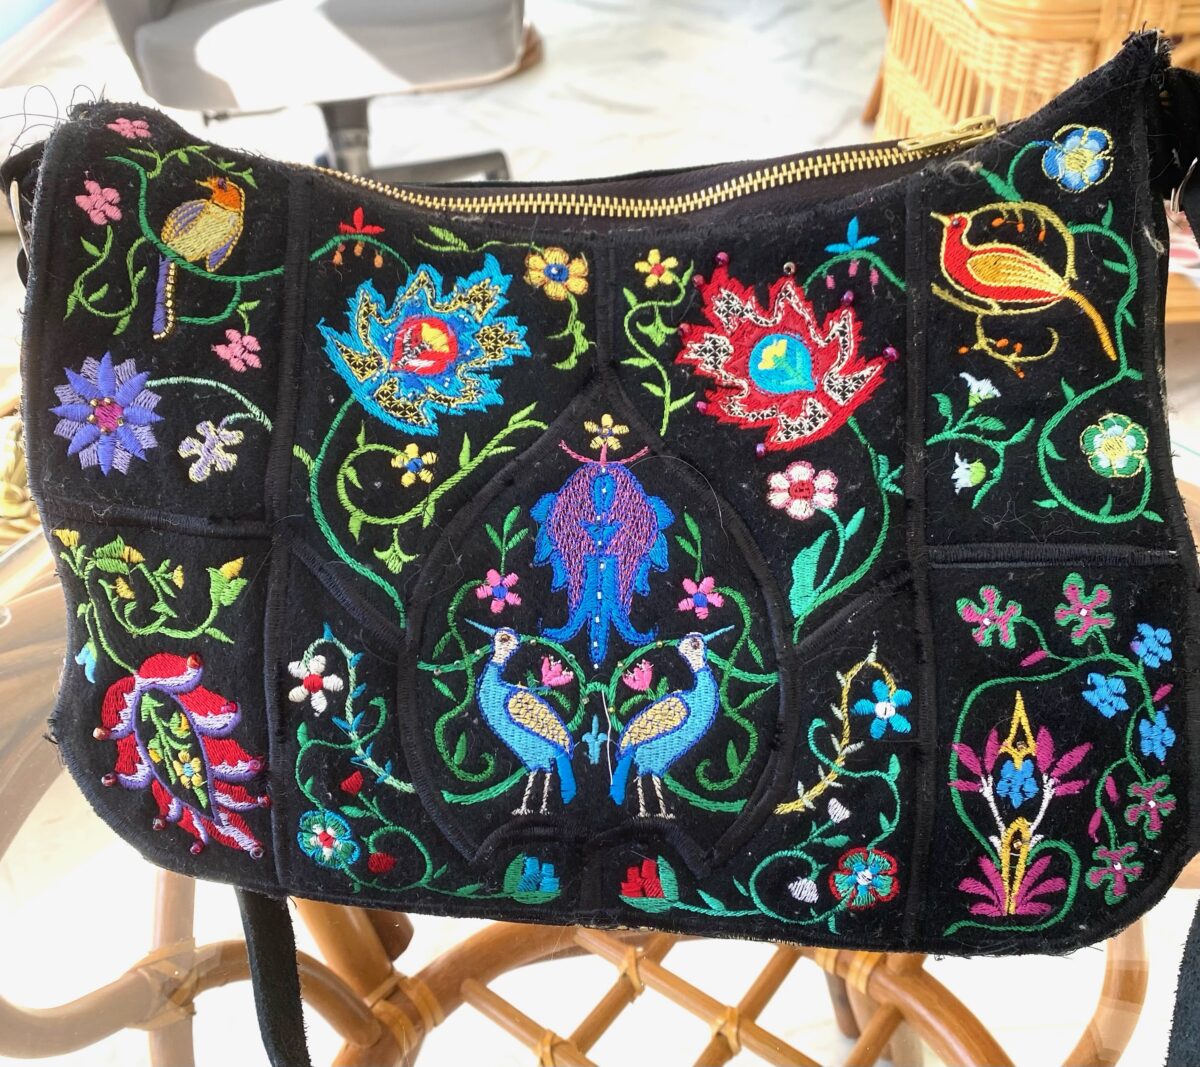
It is from a old Simplicity pattern 2676 that I have modified. I love the pattern so make it work for what ever purse I decide to make. Love the designs so was a fun challenge. The purse is made out of linen has lots of pockets inside and the outside could be changed and a new outer purse could be button on to it.  Sandy

I love your ideas for using one basic purse and changing things easily!!!  Suz

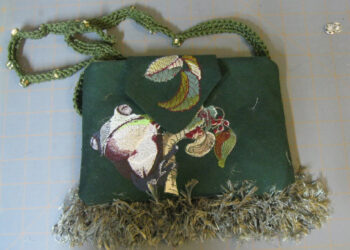
Ginger’s Freebie Bag

I began with downloading all the free designs into a file folder and
then studying them all together, I chose the following 3 designs:
FBFC902, 1060 and 1148. The project was a local challenge of making a
purse from a mans tie.

Tie Purse
1 tie
lining fabric
craft fuse
purse handle or rat-tail cord
washer
stabilizer
embroidery designs
thread to match

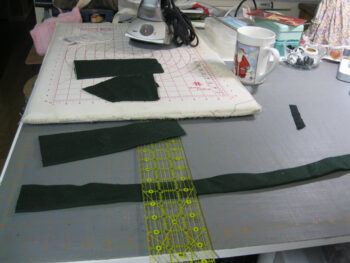
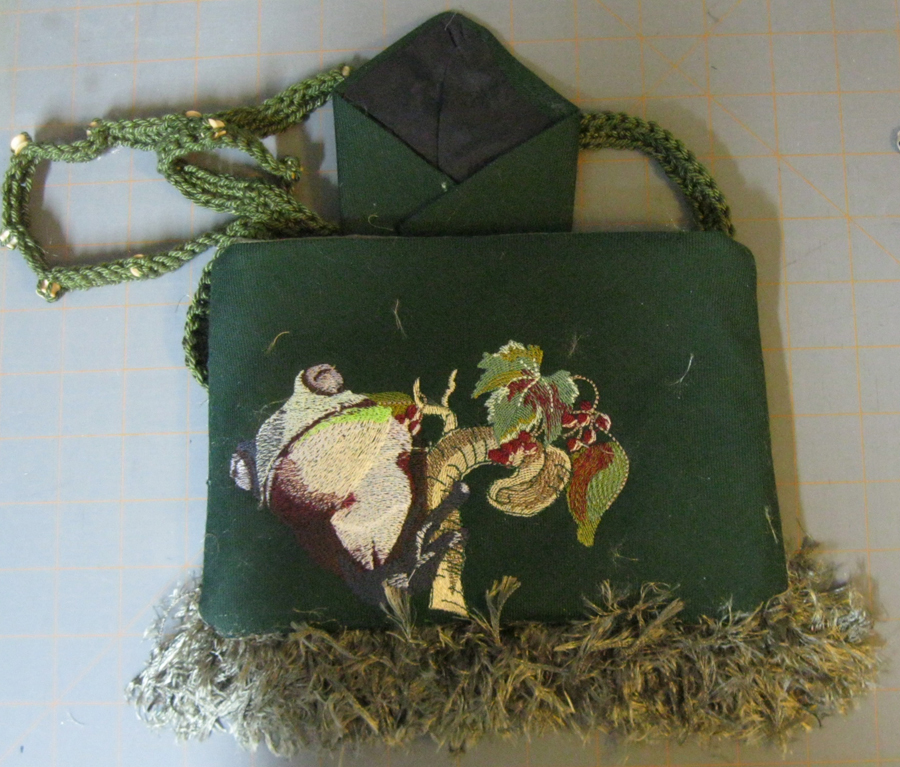
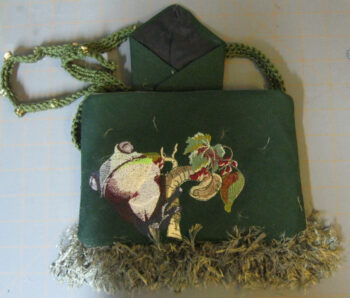
I took an old Green wide tie, this one is raw silk, and cut it into
several sections. Section 1 is 5.5 inches, section 2 is 7.5 inches,
sections 3 and 4 are 8.5 inches in length.
Next I took a seam ripper and opened up all sections except the first
one. Leave the V part of the tie intact.
Take section apart on one side to open it up to embroidery on. Stitch
the design and resew it back to original shape and size.
At this time place a washer into the point of section 1 to give weight
to the flap.
Next press all sections out and place top side up on table.
The section 2 is the front of the purse.
Section 3 is the center back.
Take section 4 and cut it down the center of the width and place on each
side of section 3 and sew together. This will form a back that is larger
than the front.
Place front and back wrong sides together and trim to the size of the
front.
Now cut 2 lining to match this shape.
Stitch the front lining to the front and use this as a pattern to cut
out 2 inner facing sections from craft fuse.
Press this to the front sections.
Take back sections and press to stabilizer and stitch design.
Take the section 1 and place in the center of the back section between
the tie and lining making sure that the section 1 is folded properly to
look like a tie with the lining showing on the back making sure that
when stitched it will flip over front properly.
Stitch across the top of back and lining sections. At this point you
can put a pocket into the purse.
Press craft fuse to back section.
Now you put strap into the purse at the sides where the lining meets the
outer fabric.
Sew from lining side 2 inches from corner, to corner and up side to the
other end across it and down the last side to corner and another 2
inches into the beginning side. This will allow you to turn your purse
right side out.
When turned top stitch the bottom of the lining together.

Have fun. I will put the instructions on my blog
http://gingersdolls.blogspot.com/

Great job Ginger!!!  And thanks for the great instructions.
Carolyn’s Embellished Sewing Tote

QIH Sewing Tote

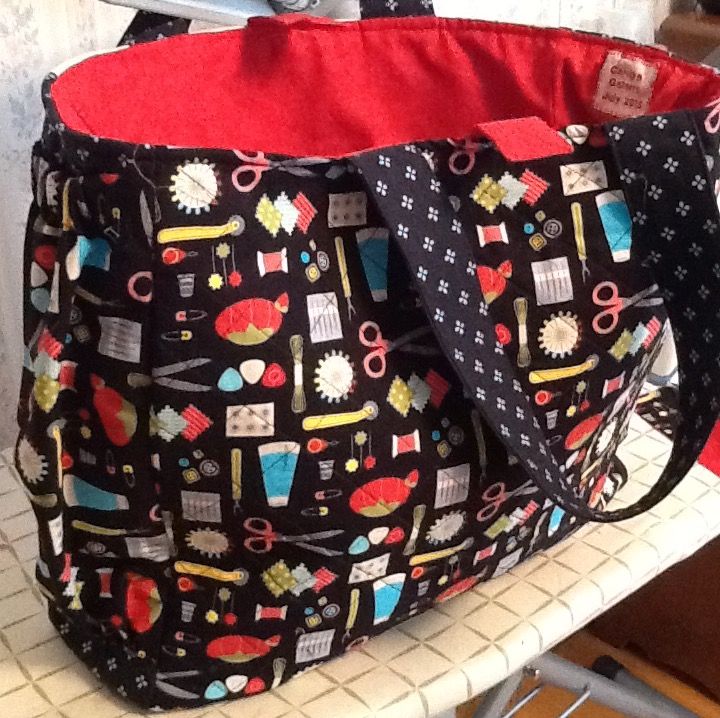
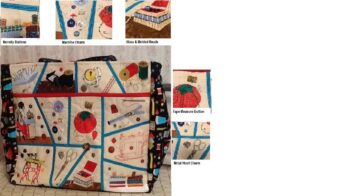
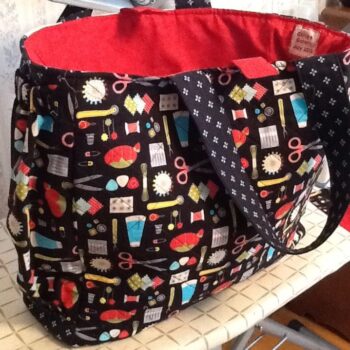
I completed QIH884 Sewing Tote with my choice of fabrics and embellishments in the large size designs.Some of the embellishments were as suggested in the directions.  I also used a silver sewing machine charm as well as a silver heart charm. There are also novelty “buttons” and a measuring tape button.  The sewing basket is adorned with glass beads and a strand of molded pearls. There are three fabric inserts as well as a lace insert.Four cotton fabrics were used.

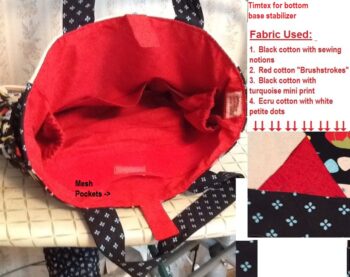
1.        Ecru with petite white dots (front)

2.        Black background with sewing notions (back)

3.        Black background  with mini turquoise flowers (gusset and straps)

4.        Red “brushstroke” pattern (inside lining)

The base  stabilizer  is two layers of Timtex and metal feet (not shown in pictures) were used to protect the fabric from wear.  They also allow the bag to stand alone if contents are not top heavy.The bag has a front side pocket with Velcro closure and two side elasticized pockets. Inside has two elasticized side pockets as well as pockets in front and back. It also has label with my name and month and year the bag was made.I substituted the clear plastic pockets with red mesh fabric.

Wonderful description of your fantastic bag!  Thanks so much – Suz


SunRae’s Sewing Handbag

I made it using  my Janome MC350E and Janome MC6500 machines.
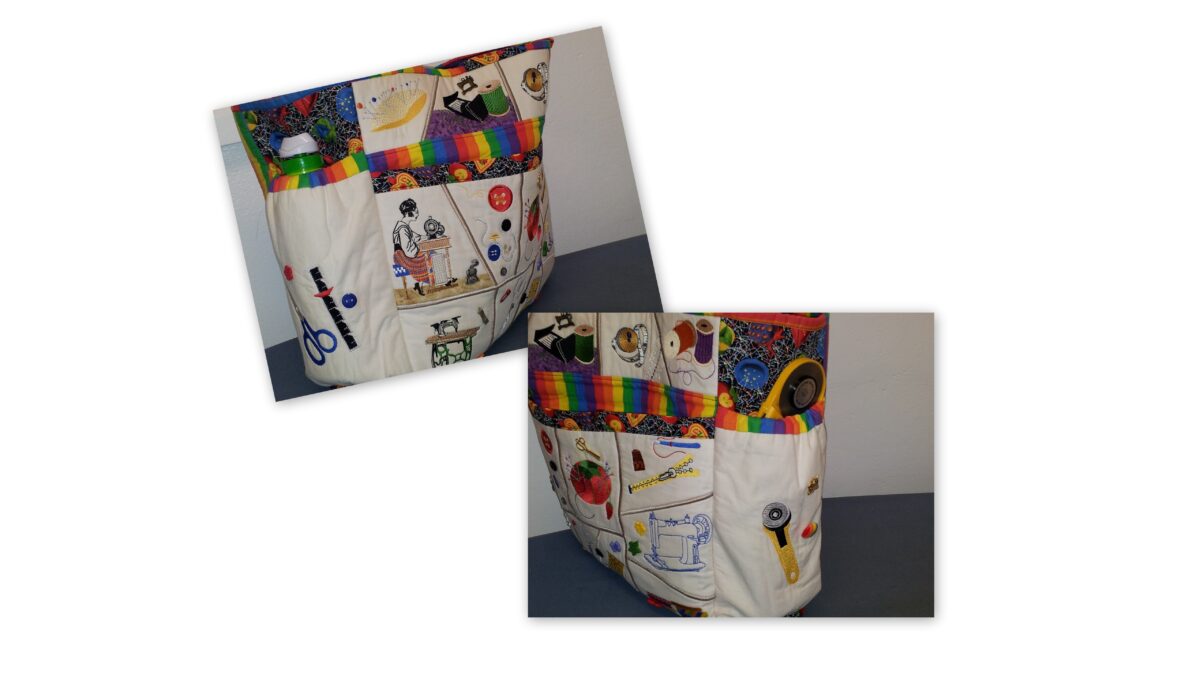
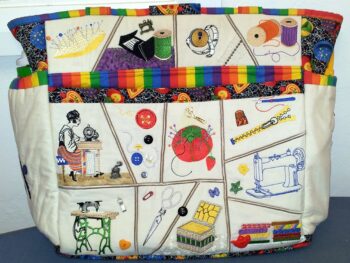
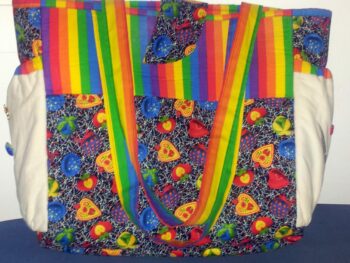
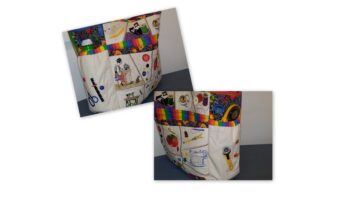
I added 2 side pockets for drink bottle, wallet and keys. The front pocket is the ideal size for magazines and/or sheets of stabilizer. The back pocket is divided in two.
The lining is the same stripe fabric as used on the outside.
I’ve added several buttons and charms. I love the cat next to lady on sewing machine. There’s also a tiny tape, scissors, teapot, sewing machine, safety pin and sewing angel.

I love bright colours and was thrilled with the result – I use it all the time and get lots of comments when out shopping.

User comments
User comments

BFC0884 QIH Super Sewing Tote

Motoandnutty’s Crazy Quilt Handbag

I would like you to use “motoandnutty”  as my nom de plume when you publish names.
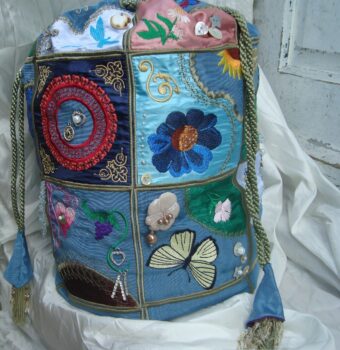
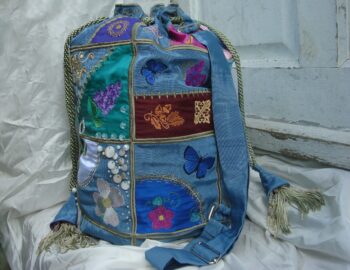
I had such fun making this small duffel bag.
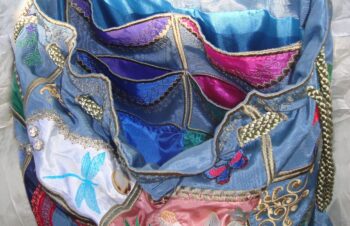
I dove deep into my fabric stash and found the perfect heavyweight silk moiré for my base fabric, and sixteen different coloured scraps of silk lining fabric for the applique parts of my eighteen blocks.
Because I wanted every block to be different, I “mix’n matched” in some of the beautiful freebies that I have gathered from the pages of BFC-Creations.
For the tops of the inside pockets I modified the applique half of block #34 with a selection of the coloured silk scraps.
The adjustable shoulder strap was made from a single strip of the moiré, with the metal bits re-claimed from a redundant luggage strap.
For the draw-strings I used a purchased dressing-gown cord, so that I would have two ready-made tassells, and an additional length of the same cord “by the yard”.  I re-made the tassells (with added strings of glass beads), to join the ends of each of the cords once they were threaded through the eyelets.- To make them more durable, I capped these tassells with cones made from triangles of the moiré, lining each with a different coloured silk.
For the embellishments I rummaged around in my button jar for mother-of-pearl buttons, charms and beads that have accumulated over the years for just such a project.
My daughter has already claimed it as ‘hers’, to tote her class-work when she begins her coarse in fashion design at University this September.
It looks as though I will have to make another one if I want one for myself.

I sure don’t blame your daughter!!!   Suz

BFC1179 QIH Crazy Quilt Bag

Lorraine’s Freebie Contest Handbag

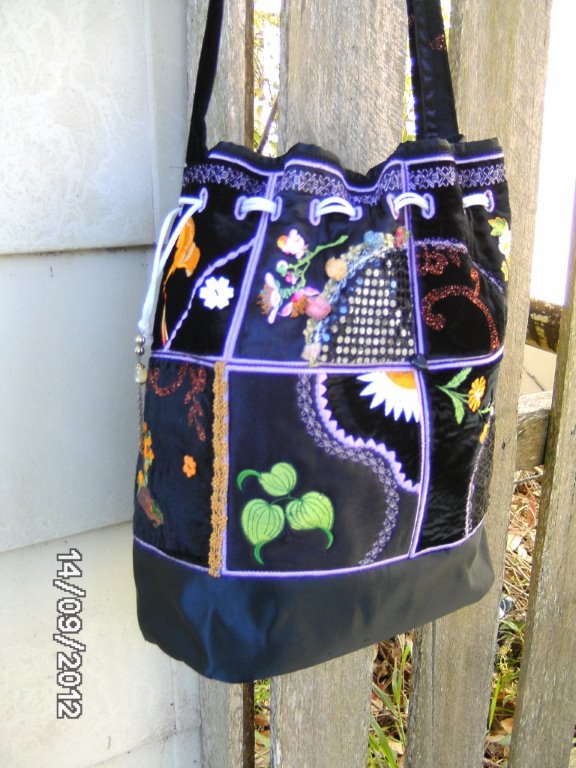
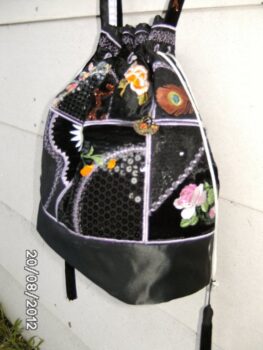
Hi Suz  Three weeks ago, after making the medium QIH tote, I made the large size size for myself, but added eight of your freebies to your QIH designs.  Ever since I’ve been trying to get it to photograph well, but my photography skills are just point and click, so the tote doesn’t show to advantage. Since making it I’ve used it while travelling to Darwin (NT, Australia), then on The Ghan train to Adelaide (SA, Australia) and home to the mid north coast of NSW. The pockets all round the inside securely held travel documents, make up etc and the tote is as good as new. It’s made from a collection of velvets, brocades, sequinned fabric and laces. The base fabric, including the stiffening, is part of an antique obi I bought when I was in New Zealand last year. I used cutaway stabiliser simply to give the whole bag a degree of stiffness, laid cotton batting under the fabrics and embroidered most of the designs with BFC-stash threads.Thank you again for your beautiful work.  Lorraine

Beautiful and very creative Lorraine!   Suz


Lori’s Sewing Tote

Here is my entry for the Handbag Contest.  It is my version on BFC884-Sewing Tote which I purchased on Order #1420037725.  Please just use my first name (Lori) when you publish this.


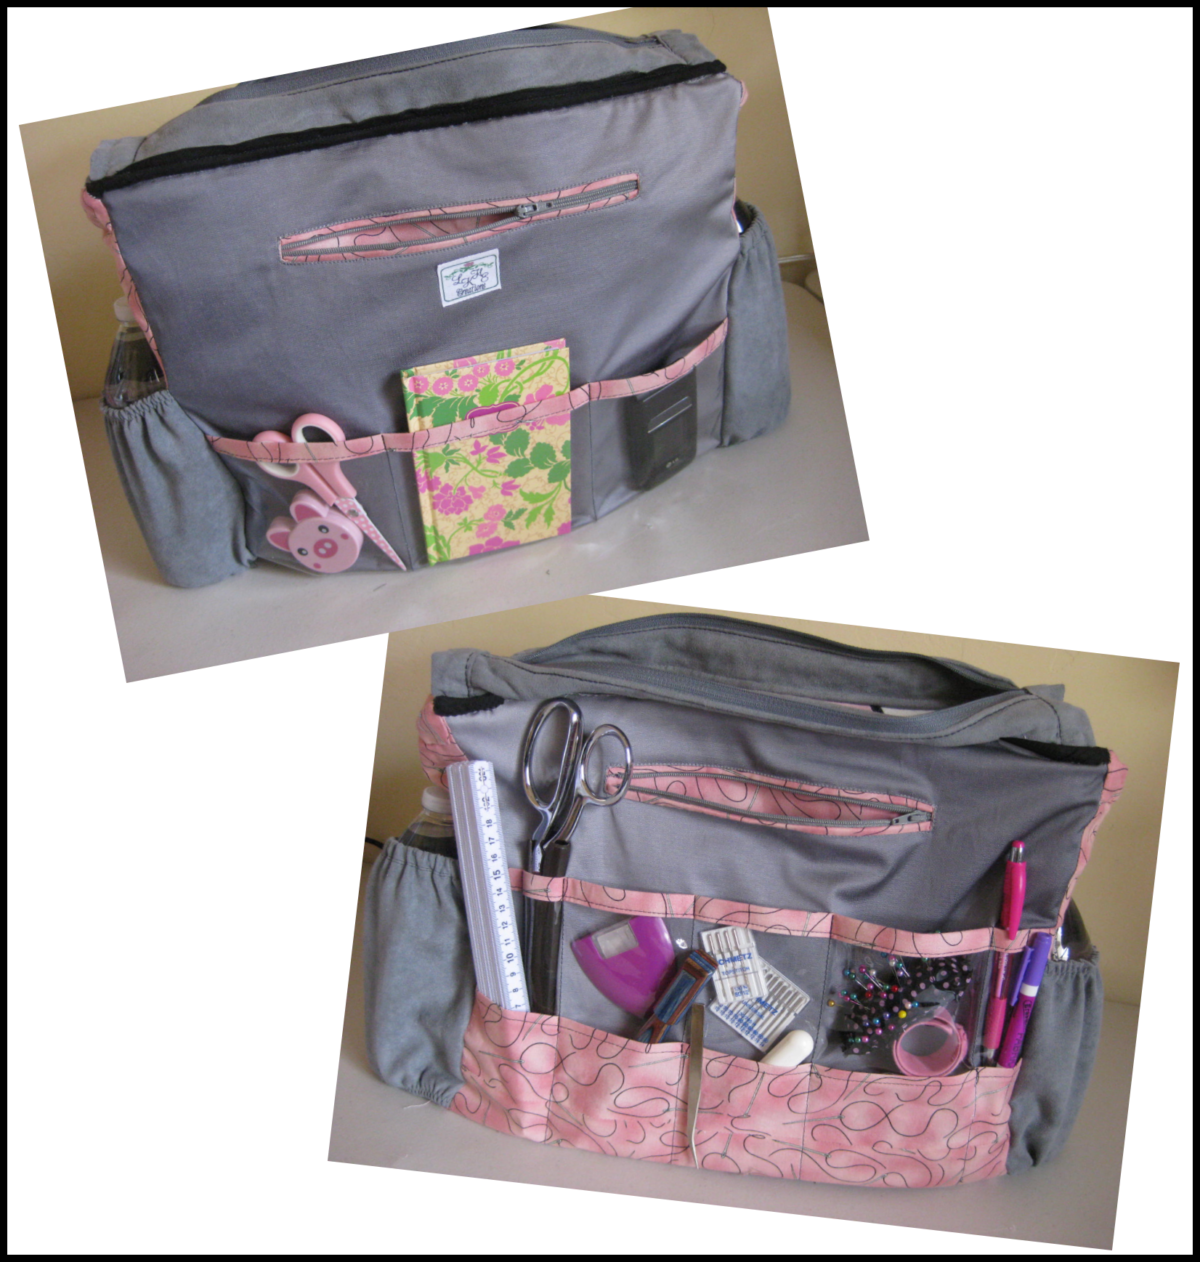
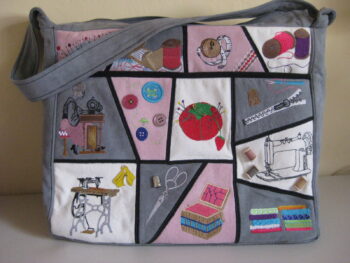
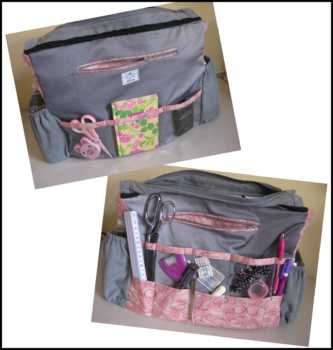
I am attending the Sewing & Stitchery Expo in Puyallup, WA for the first time and thought this tote would be perfect for holding my smaller purchases as well as information I pick up while walking the convention floor.  The outside patches are embroidered on 3 different colors of Ultra Suede and the outer pockets are edged in black Ultrasuede to coordinate with the black satin stitching which holds the patches together.  The interior lining fabric is a grey oilcloth.  The trim fabric (used to edge the vinyl pockets, line the outside pockets, interior zipper pockets, and interior gusset) is a needle and thread print I found at my local quilt shop.  Instead of putting side pockets on the outside of the bag as was suggested in the instructions, I put them on the inside of the bag to hold my water bottles.  That way the weight of the bottles is supported by the foam core board that I  used in the bottom of the tote for structure.  I also added a two-way zipper to the top of the bag as a closure instead of the tab closure suggested in the instructions.  I embellished the bag with a several sewing themed buttons and pins.  Lori
I love the details you added Lori!   Suz