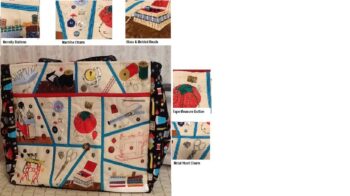
Motoandnutty’s Crazy Quilt Handbag

I would like you to use “motoandnutty”  as my nom de plume when you publish names.
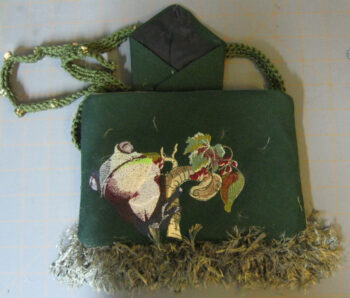
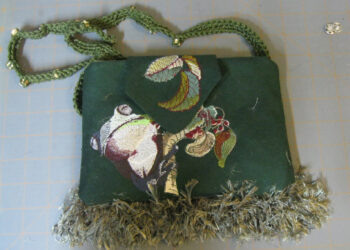
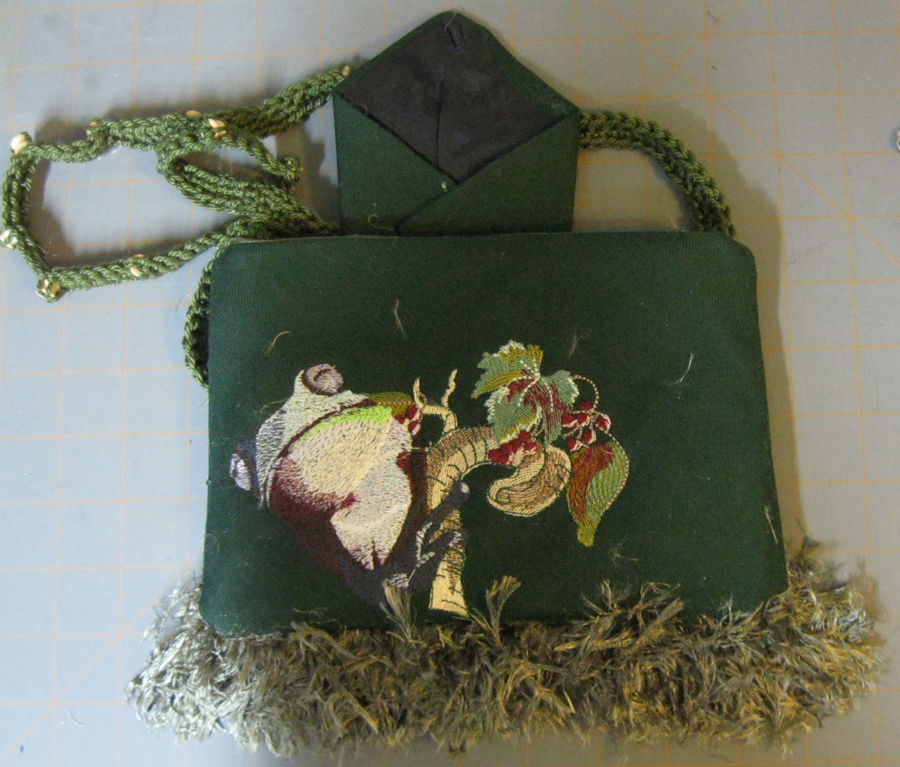
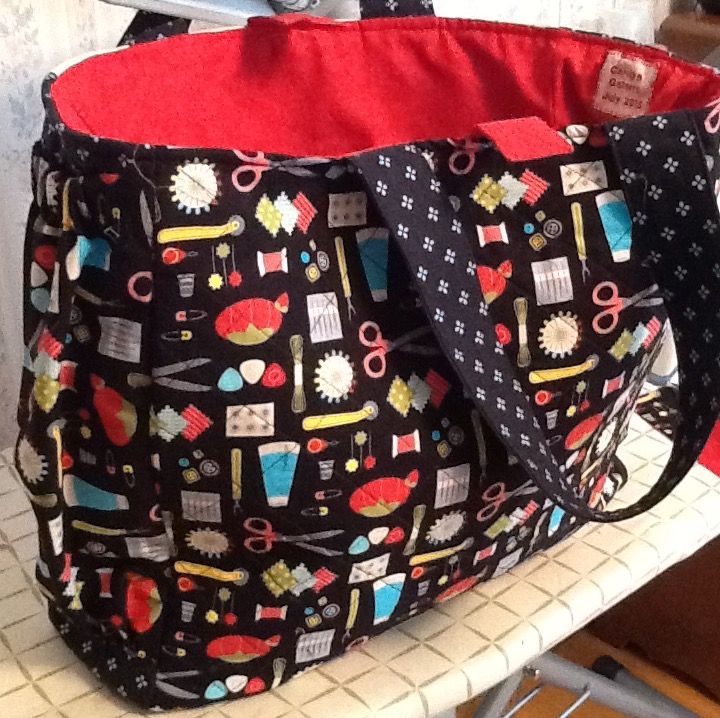
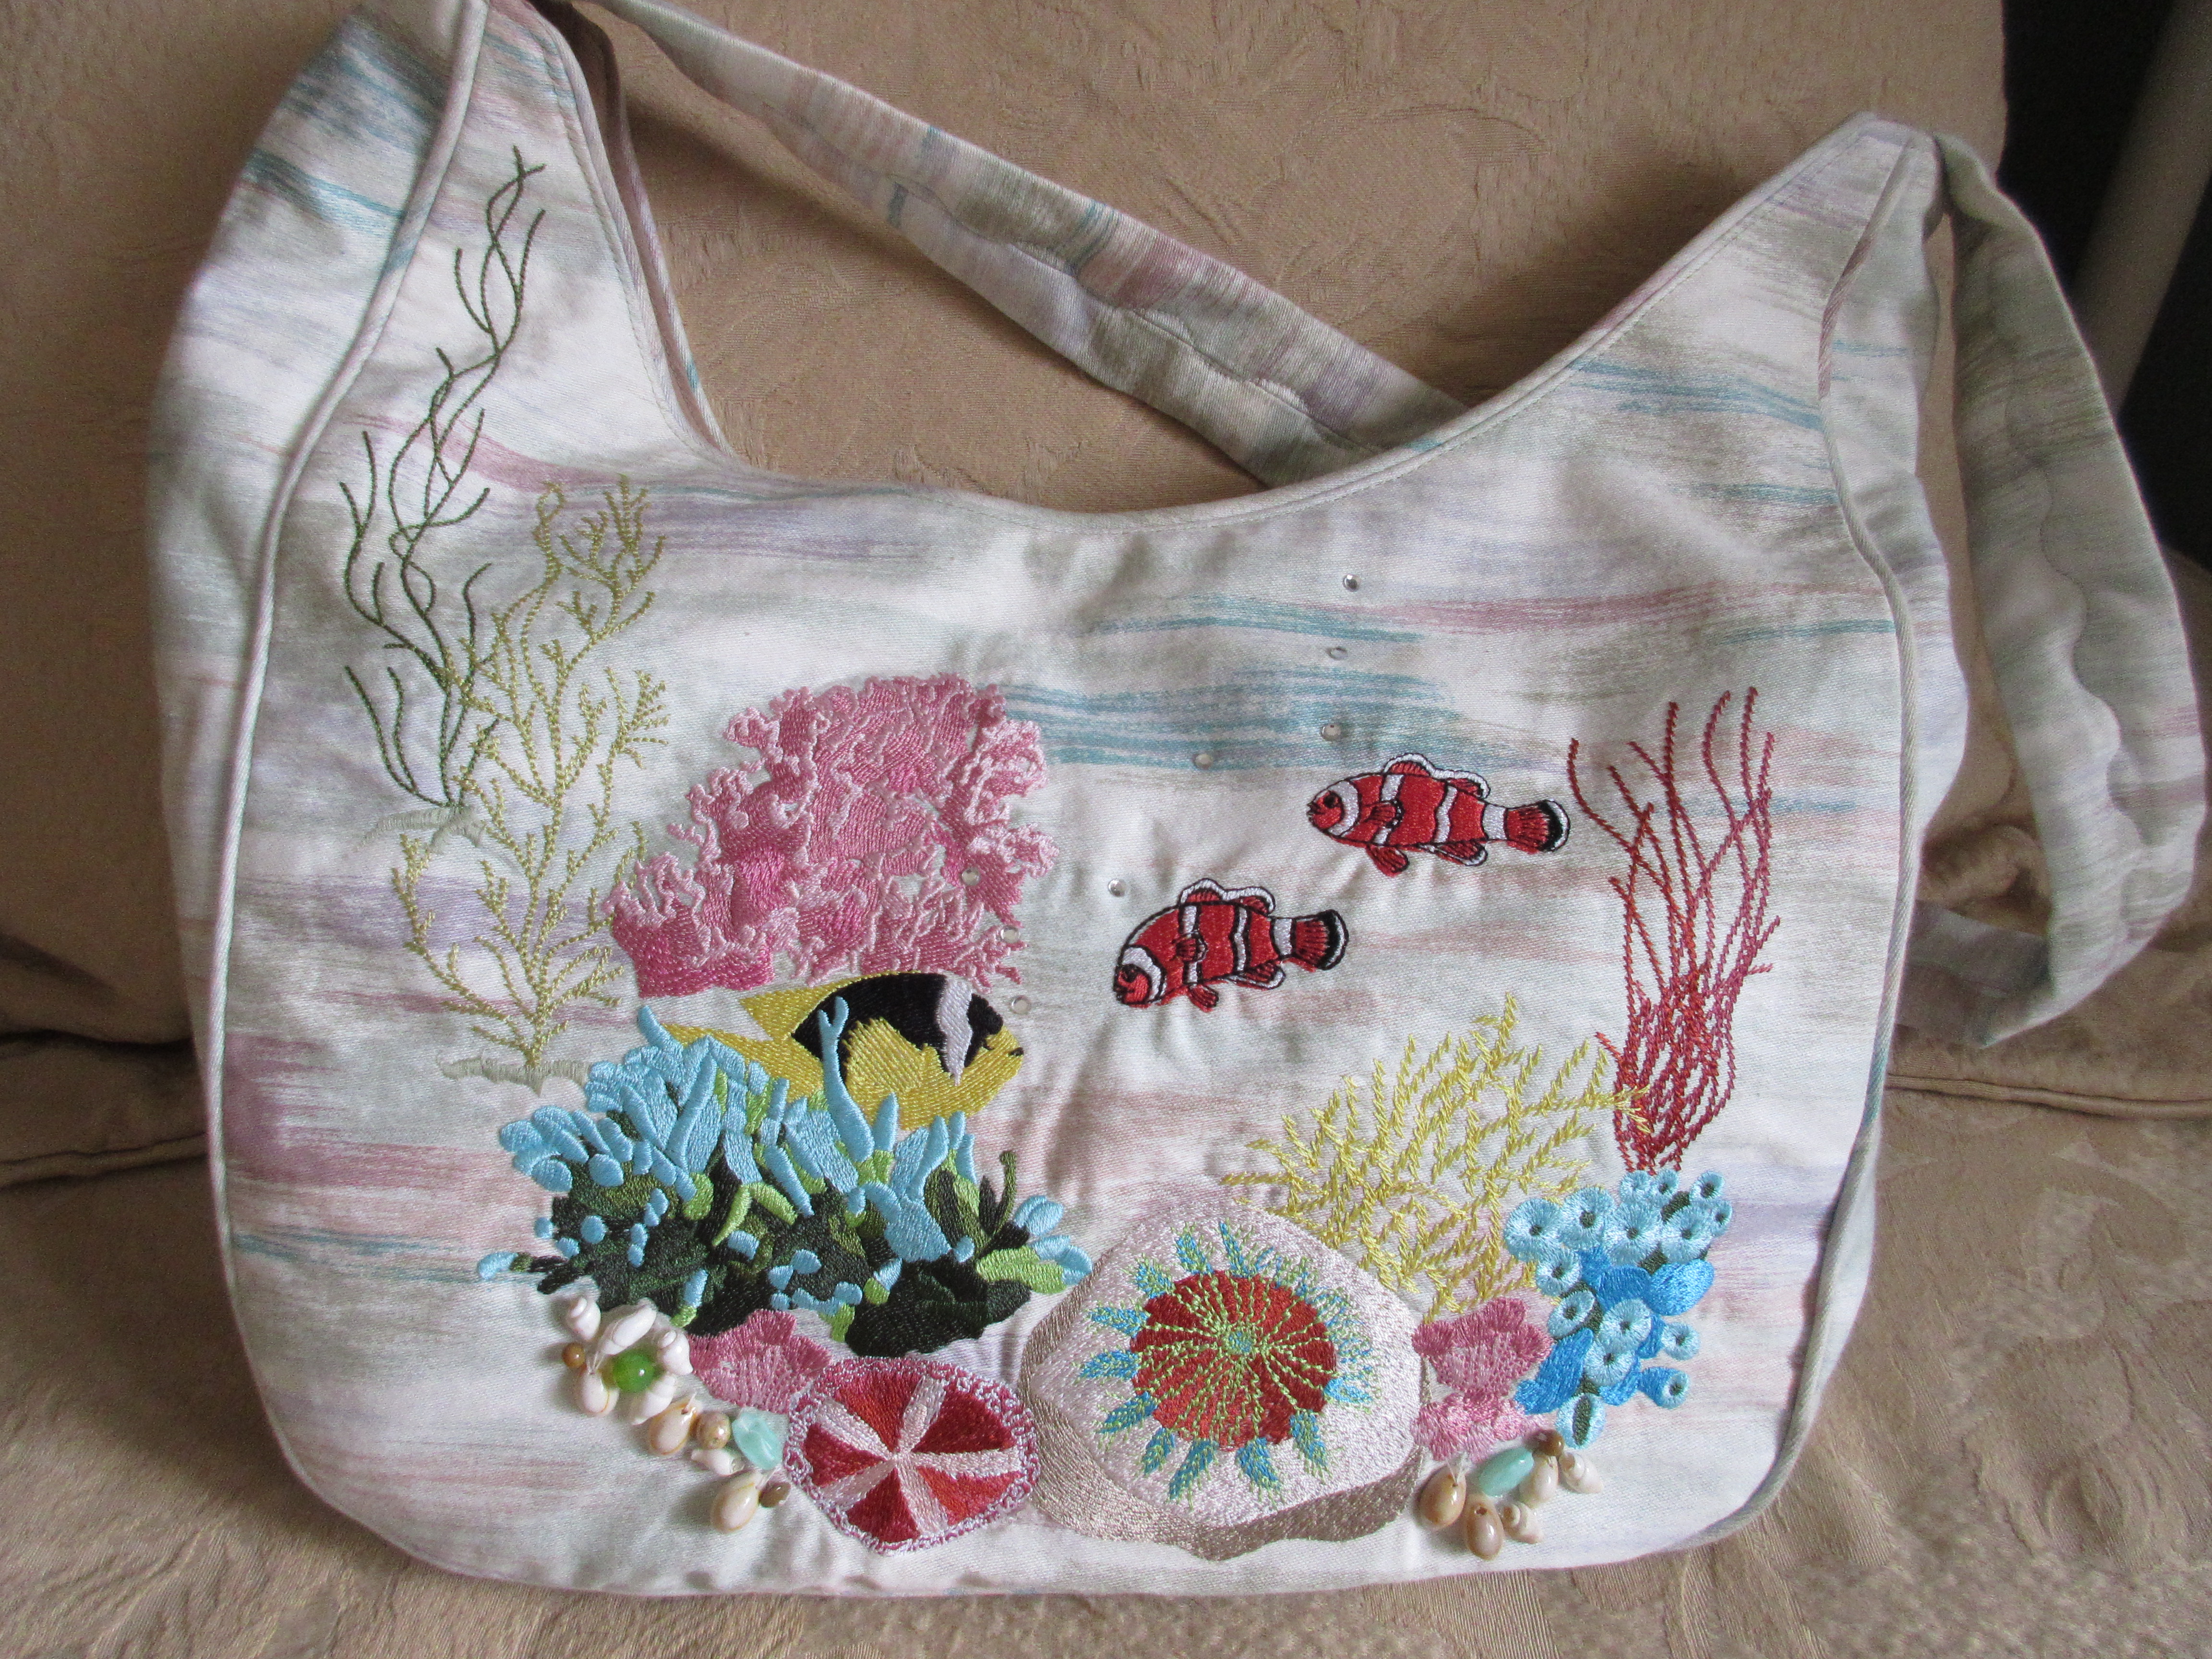
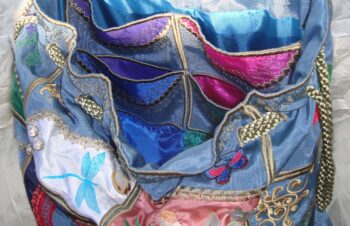
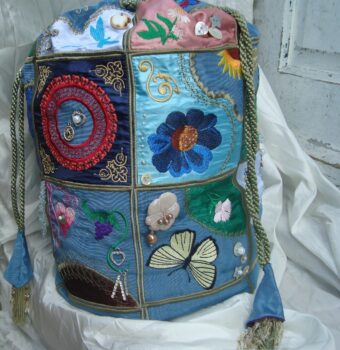
I had such fun making this small duffel bag.
I dove deep into my fabric stash and found the perfect heavyweight silk moiré for my base fabric, and sixteen different coloured scraps of silk lining fabric for the applique parts of my eighteen blocks.
Because I wanted every block to be different, I “mix’n matched” in some of the beautiful freebies that I have gathered from the pages of BFC-Creations.
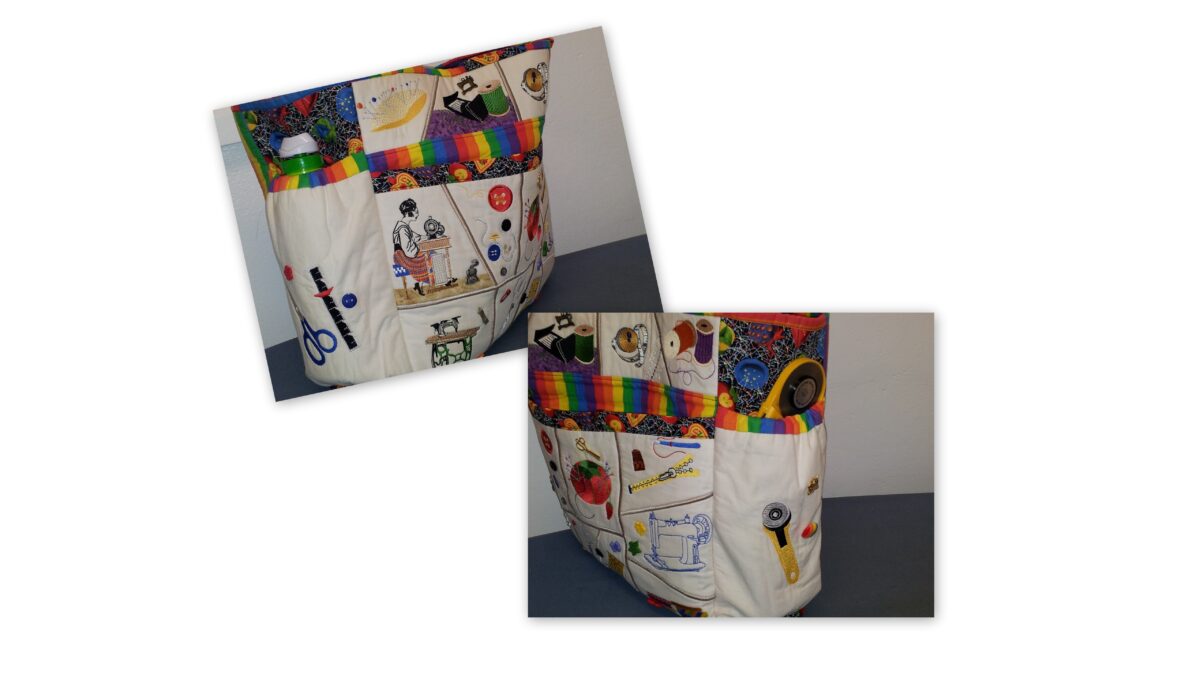
For the tops of the inside pockets I modified the applique half of block #34 with a selection of the coloured silk scraps.
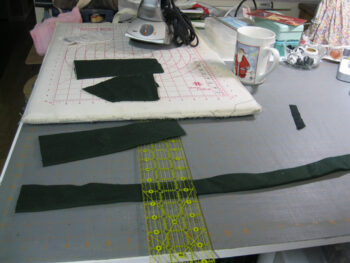
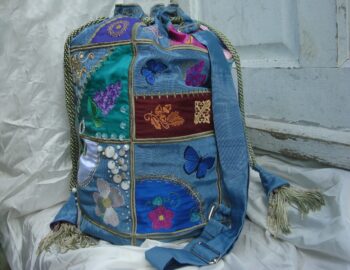
The adjustable shoulder strap was made from a single strip of the moiré, with the metal bits re-claimed from a redundant luggage strap.
For the draw-strings I used a purchased dressing-gown cord, so that I would have two ready-made tassells, and an additional length of the same cord “by the yard”.  I re-made the tassells (with added strings of glass beads), to join the ends of each of the cords once they were threaded through the eyelets.- To make them more durable, I capped these tassells with cones made from triangles of the moiré, lining each with a different coloured silk.
For the embellishments I rummaged around in my button jar for mother-of-pearl buttons, charms and beads that have accumulated over the years for just such a project.
My daughter has already claimed it as ‘hers’, to tote her class-work when she begins her coarse in fashion design at University this September.
It looks as though I will have to make another one if I want one for myself.

I sure don’t blame your daughter!!!   Suz

BFC1179 QIH Crazy Quilt Bag

Pam’s String Quilt

I did what is called a string quilt with varied sizes of strips; I made the blocks 12″ x 12″. I used the designs in the set on each of the blocks in a dark green; the binding and the backing are a dark green. I made the binding so that it matched the backing and I used some of the fabric itself in the quilt;

Very pretty and unique looking Pam!  I really like the colors too. 🙂  Suz


Sharon’s Jacket with Freebies

For this project I wanted to use the bird so I choose a second decorative design to go with it.  For the back of the jacket I scattered the decorative design around the bird to give it a frame, I love how it turned out!  I added the bird to the top of the left sleeve and a group of the decorative design to the bottom of the right sleeve.  The jacket is black denim with a golden yellow shoulder detail so I stitched the designs in a matching thread. The embroidery has definitely made this jacket unique and trendy.  The jacket pattern is McCartney Jacket by Shwin Designs, I did do the sleeve slightly different than the pattern.

Hi Sharon – I love your jacket!!!  I might have to checkout if the pattern is still available. 🙂  It’s perfect for framing embroidery.  Suz

Lorraine’s Freebie Fairy Glenn Mini quilt

Thank you for your generosity in running these contests, and for all the
extra time it takes you – plus of course, the great freebie designs.
Here’s my Fairy Glen mini quilt using six of your freebies; stitched on
McKenna Ryan fabric, then backed and FMQ quilted to cotton batting and
sample curtain fabric for backing. The crystals I used on the flowers
can’t be seen in my photos. My hand spun raw silk is plied with silk and
freeform crocheted to make the tree. The butterfly was stitched on pink
net with washaway stabiliser so I could shape it.
Thank you again. I really loved doing this little project and it’s
inspired me to stitch out my Fairyland quilt designs to make a quilt for
the CWA Quilterama Exhibition next year.
Lorraine

Great detail and love all the different methods you used!  Suz


Susan’s Sleep Masks

I have a template which fits my face, and I embroider a design onto either
velveteen or satin (all of these were velveteen as satin does not always
photograph well). After embroidering the design, I put the backing on – I
use what I have been told is quilters flannel for the backing, and if I am
making the mask for use in winter, I have a layer of wool batting between
the velveteen and the flannel. Only one of these masks had the batting, as
again the batting does not help with photography. The final part of the
template outlines the holes for the elastic and finishes off the mask. I
have to punch the holes, and then thread the elastic and sew it down
manually.

These are such fun in addition to being so useful!  Suz


Patricia’s Embellished Horse Wall Hanging

I have attached 3 photos of my project for the Embellishment contest

I used BFC290-04 Horse
BFC290-07 Horse
BFC363 Fence – turned them to make fence on each side
BFC1325 Tip of the big tree as a bush
BFC4334 Pine

TreeTrying to give the impression the pine tree was a long way behind the horses – and used fabric on the roll for the glitter fabric (dollarstore
product) – and put some beads as markers on the fences – along with the
green beads as small buds of some sort on the branches – and shiny round
beads for the eyes on the horses – framed it as a photo using printed
fabric of grassland and bulrushes

I love the way you really made the embellishments part of the whole story and picture!

Shezatrip’s Christmas Tree

I decided to make a nativity setting to use on one of my doors at the holidays. I have had this nativity design for many years and have wanted to use it. This gave me the opportunity. Along with the large tree I use the small free download on each side of the large tree. I put Swarovski crystals and small stars in the night sky. There is a sleeve on the back to put a rod through to hang it if you prefer. The boarders say O Holy Night on the top and The stars are brightly shining on the bottom. They don’t show up very well in the picture and I am not a great photographer.

A great way to use both designs!!!  Suz


Deborah’s Christmas Tree

Here is my entrée. I used the Lg. Christmas Tree in the medium size. Surrounding the tree I made little pockets that are able to hold a small candy bar. Also pinned on the pocket is a little Christmas bulb ornaments that have been in the family for many years. The tree is
decorated as if it is December 9 ( our anniv). I hope you enjoy my advent tree as much as my family and grandkids do.
Thank you,

I love how you’ve made places to put things around the tree!  Perfect for this design.  Suz

BFC1220 Large Christmas Tree 2012

Bob’s Clematis Wall Hanging

Clematis and Friends

This wall hanging is approximately 26 inches square with borders.

I begin with the quilt ‘sandwich’ consisting of the top fabric (batik), cotton batting and fusible light pellon.  These were based together and the pellon was fused to the batting.

The trellis strips are raw edge appliqué with triple stitch edges.  The various designs have been applied in layers in an attempt to give depth to this piece.  The background designs were embroidered and the piece was quilted. The upper right hand corner has a fold back to suggest that that a new design can be revealed by pulling the top back. Additional layers of light pellon are fused to the back as needed to prevent curling.

Now I added the forward designs. I do not find open designs effect on a multi-coloured background.  Consequently, I used many of the designs as appliqués.  After embroidering a design, the excess fabric was cut very close and 3 lines of triple stitch were added to the edge of the design. The green in the fern leaves is fabric paint.

A cotton back was added just before the robe edge was sewn.  There is additional stitch-in-the-ditch to hold the backing. The piece is finished with beads, sequins and crystals.

HIi Bob – you used all the things i love in your wall hanging! – fabrics, embroideries, various quilting stitches and embellishments!  Great job…  Suz

Bob