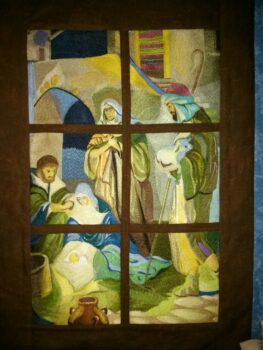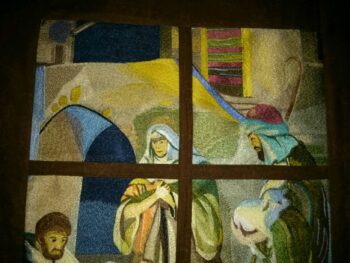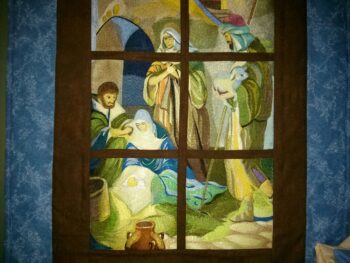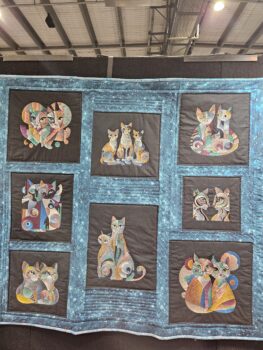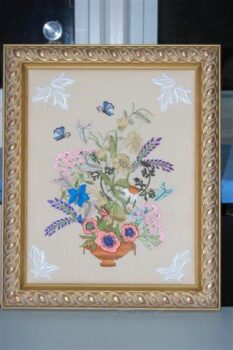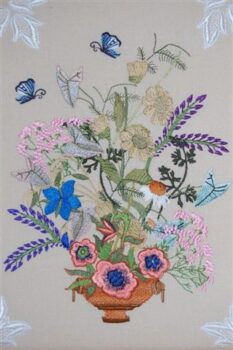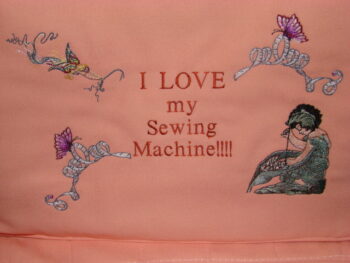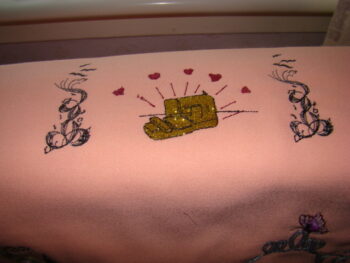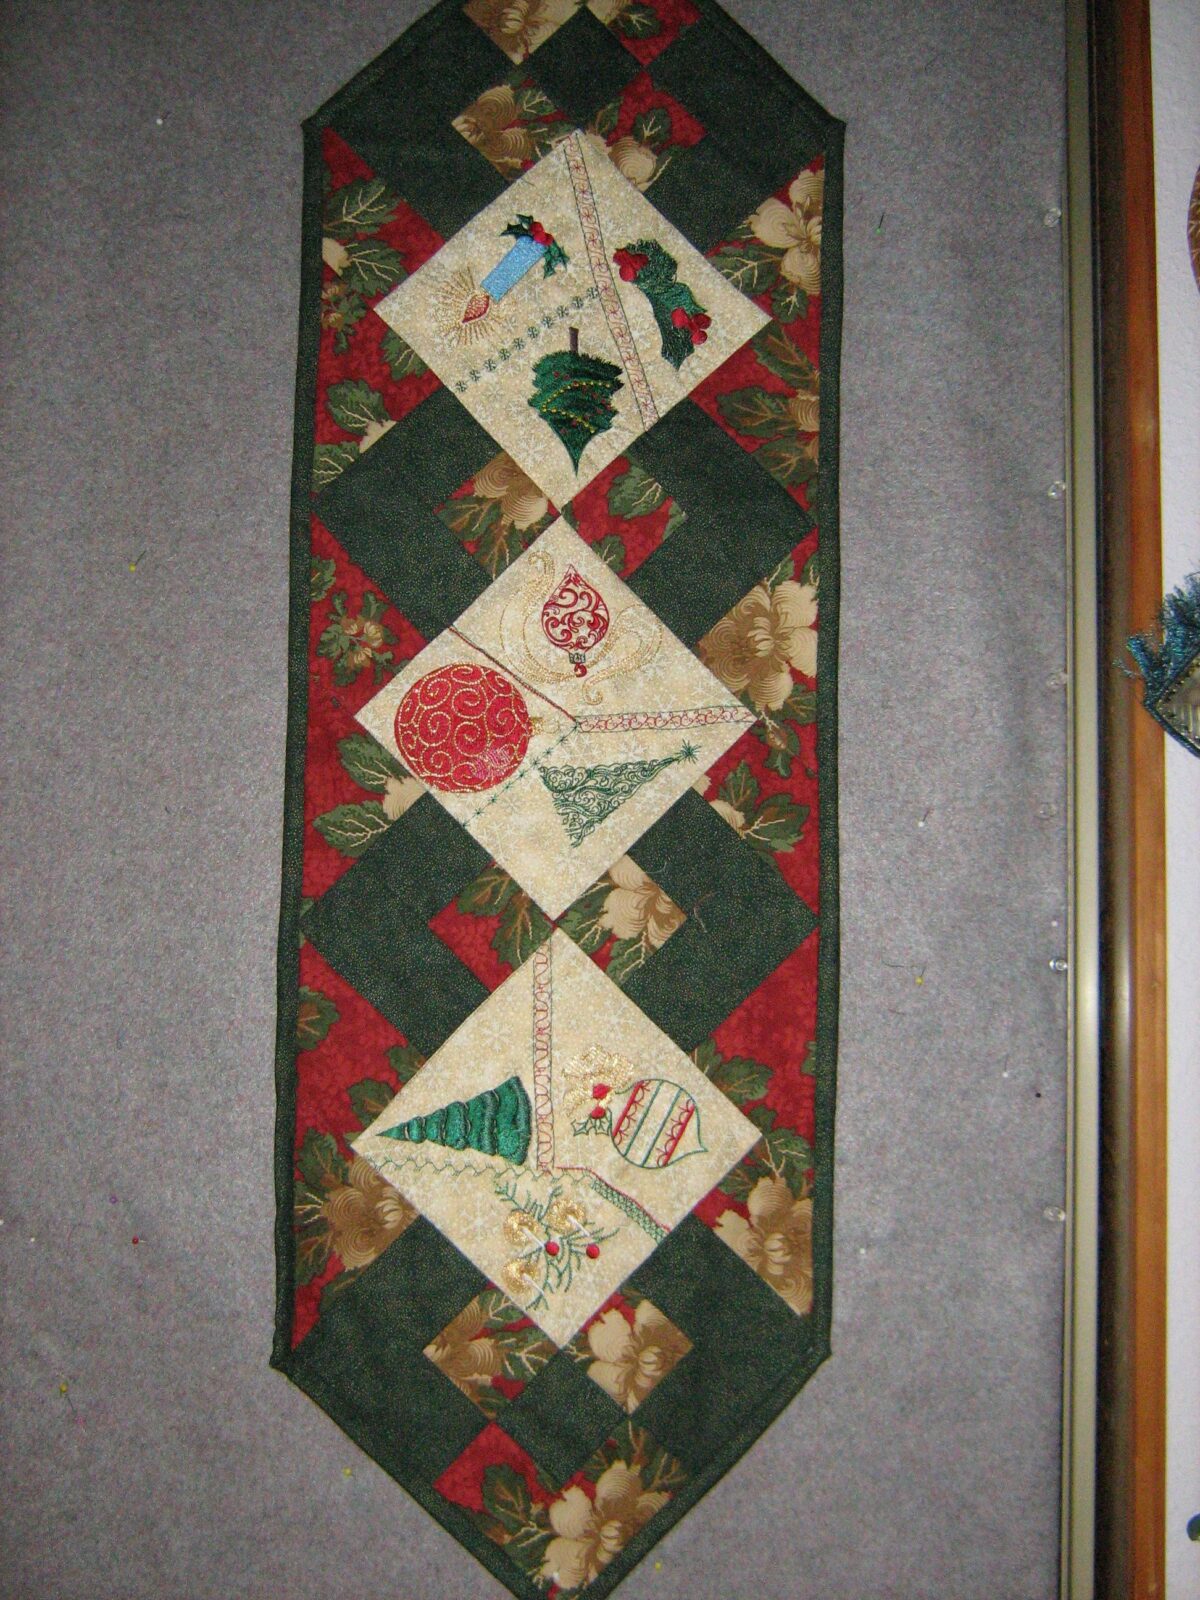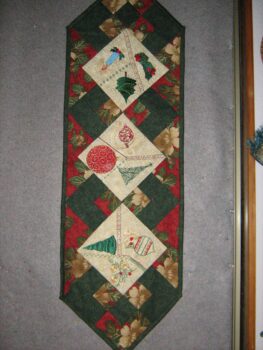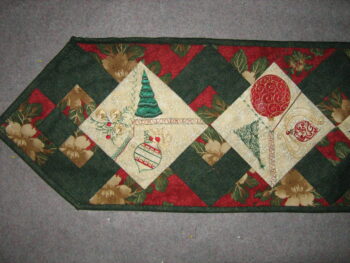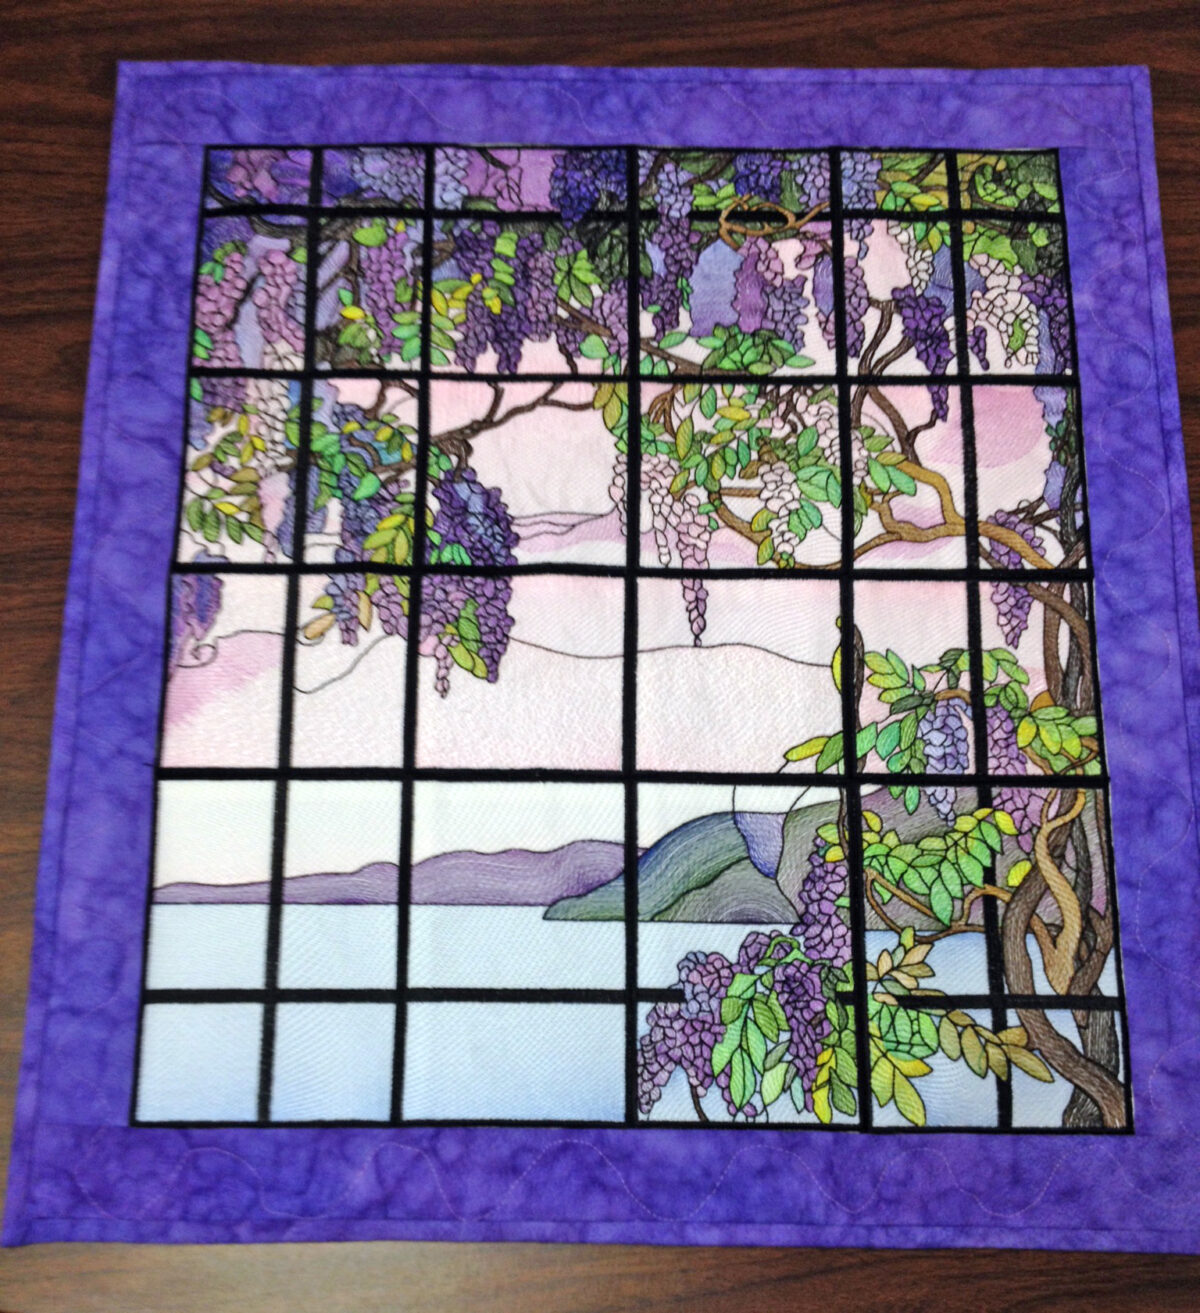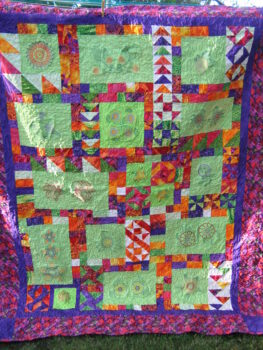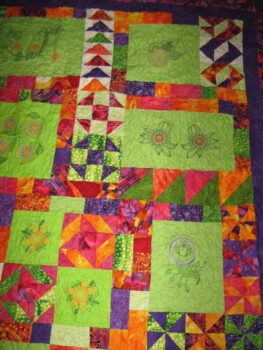
I want to thank you for giving us so many designs that when done they are breath taking. I have showed this one to so many people They cannot believe it was done on a sewing machine, also this was the very first large machine embroidery design and to be honest I thought it would be more than I could do I almost didn’t do it just because I was not a seasoned embroiderer. I am so glad I did. I get so much praise on this design. I have the last supper but when I purchased it I did not realize I couldn’t do it my machine will only go up to 100 color changes it also would not let me split the design so please ask Fred if he could possible work on that I know so many ladies that would purchase it.
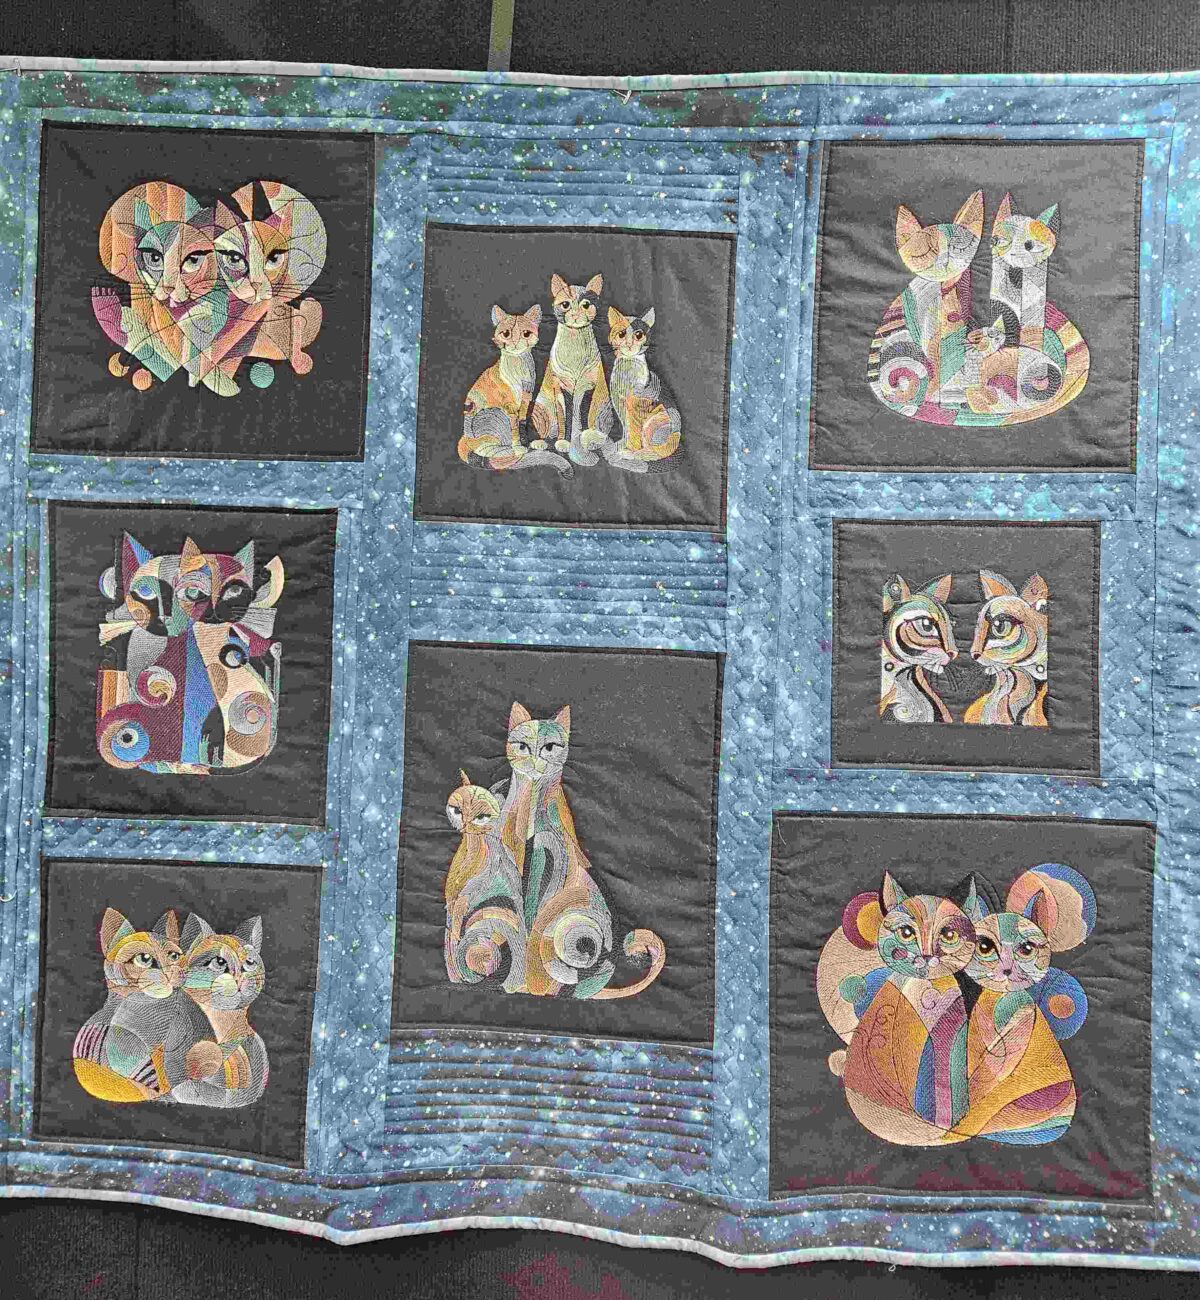
Thank everyone for all they do we are truly blessed to get the quality we get. My all of you have a Blessed New Year
Sandra
Beautiful Job Sandra 🙂 thanks for sharing with us…Suz