Laura produces so many beautiful projects. She’s been concentrating on getting Christmas presents done.
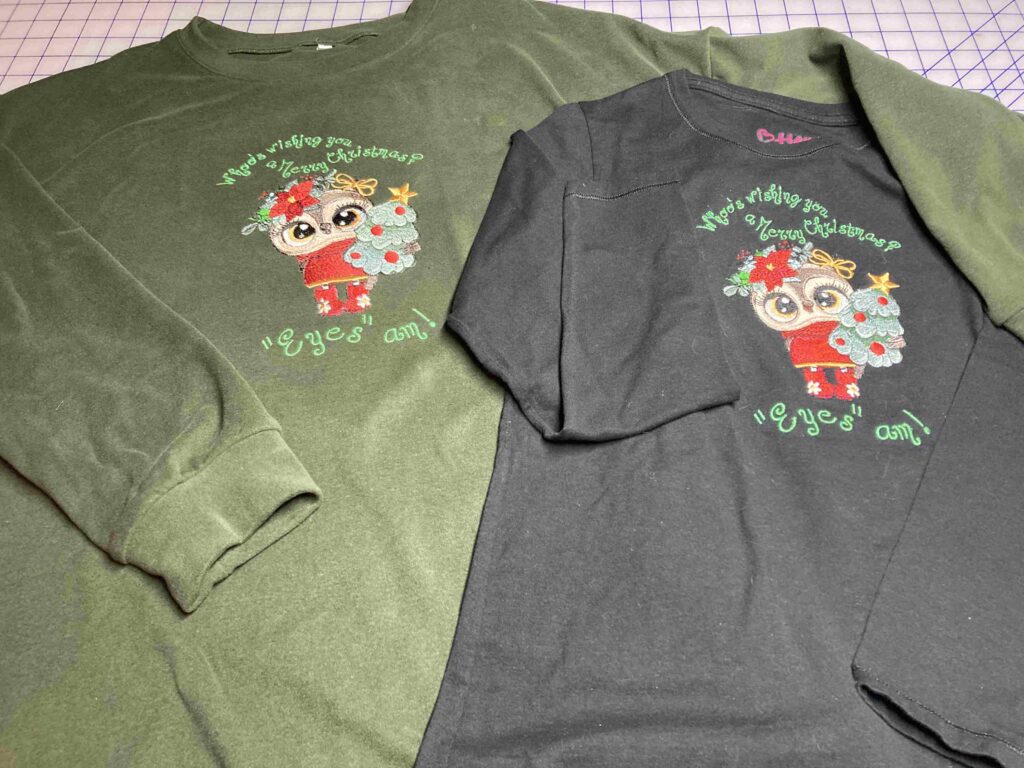
Ta-Da! Matching design shirts for daughter-in-law and granddaughter. Thanks so much for this delightful design.

Happy Holidays!
Laura
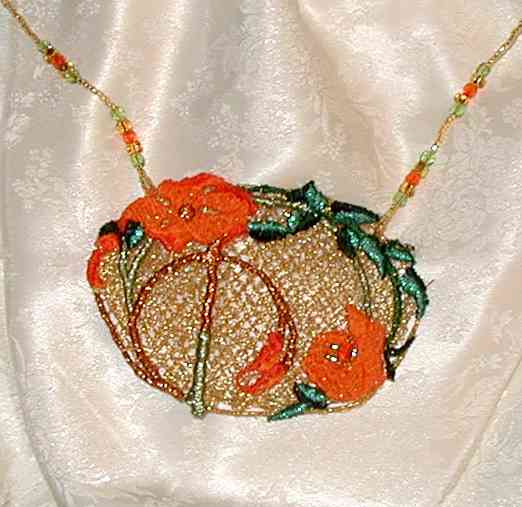
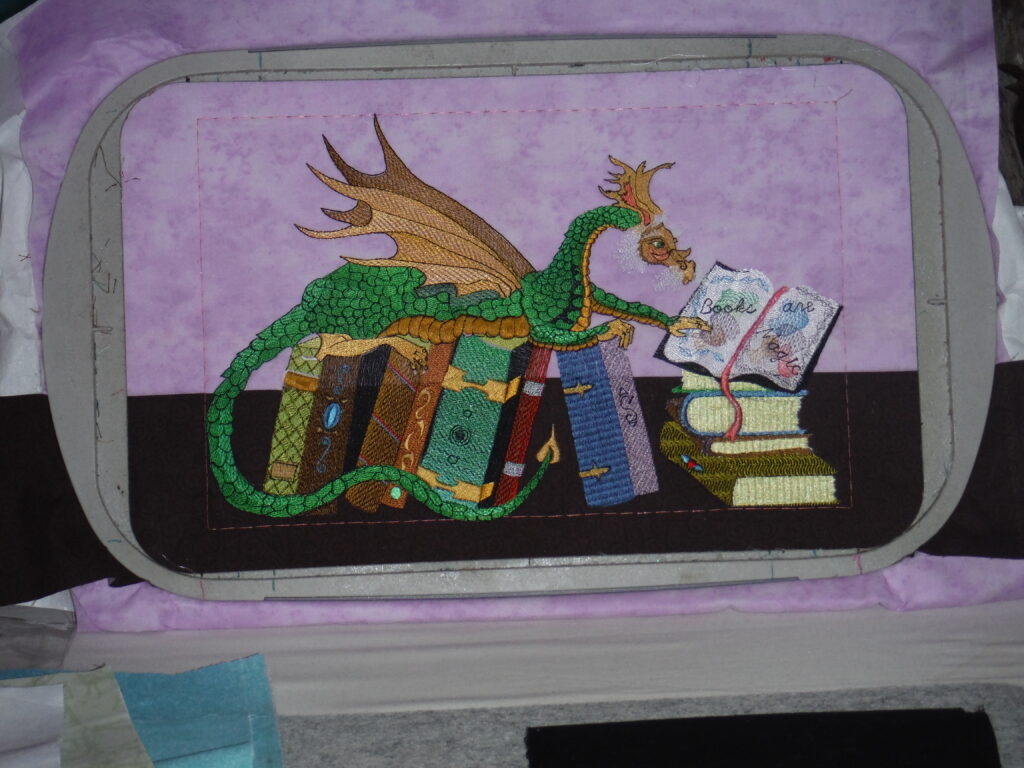
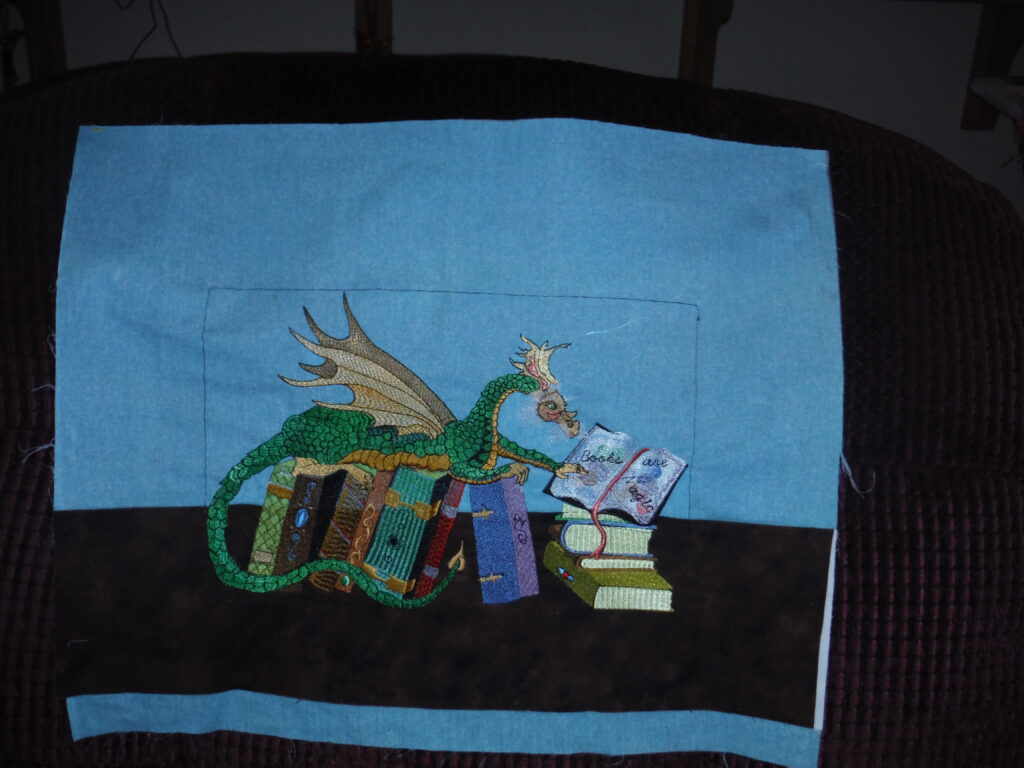
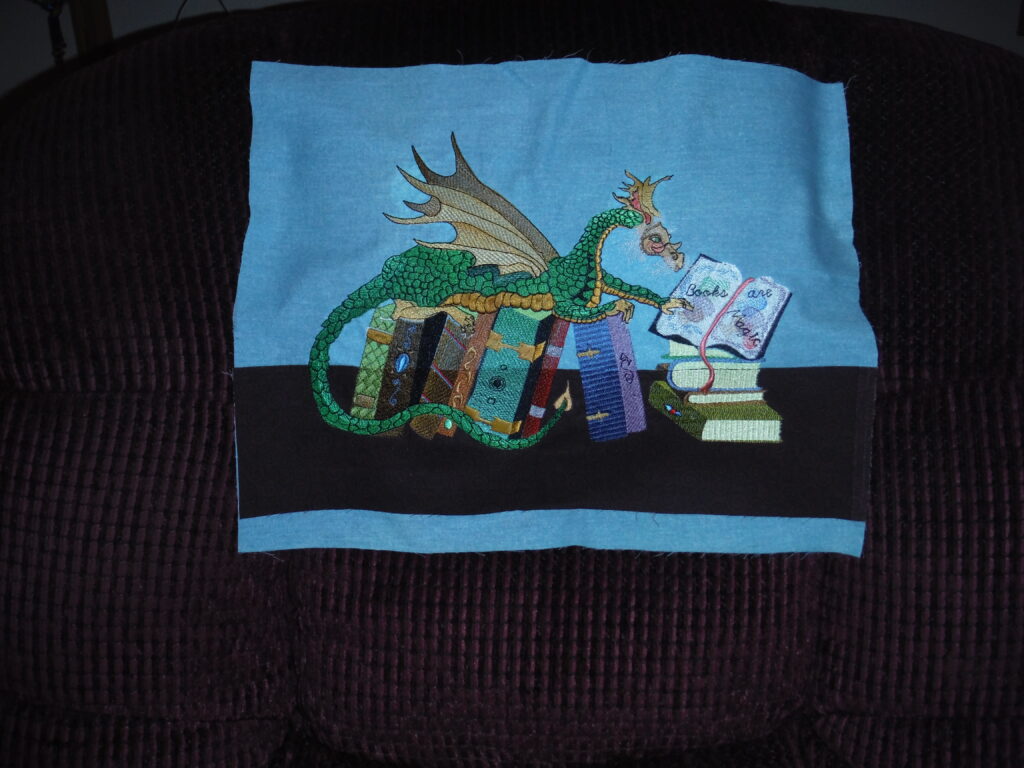
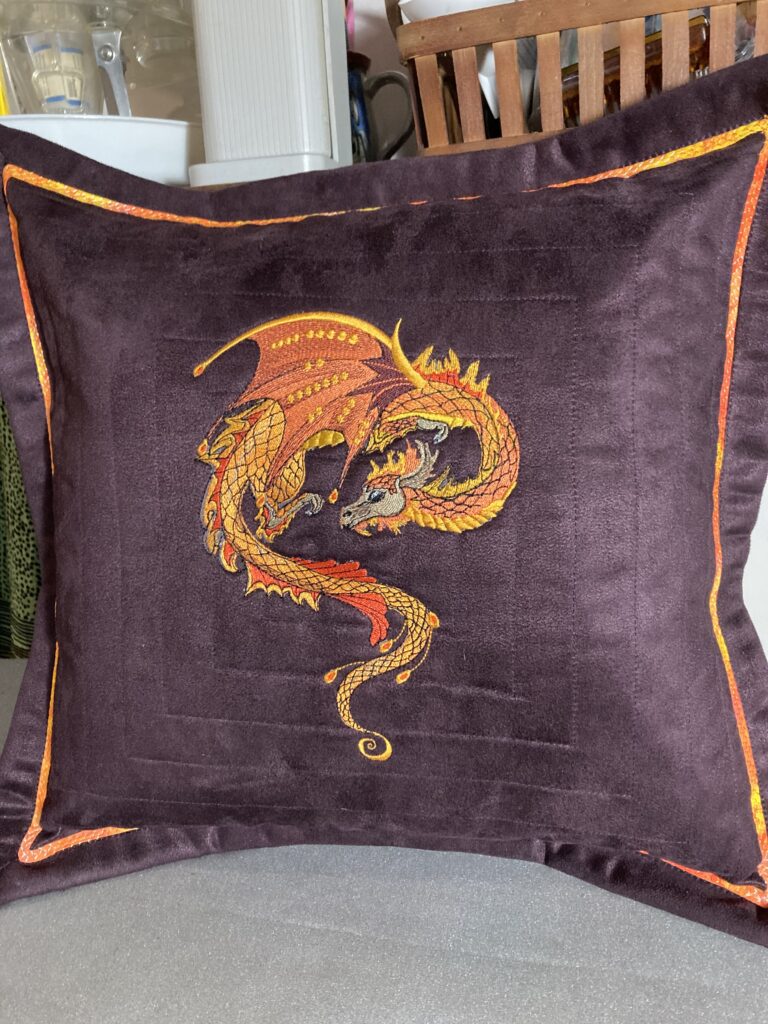
Just wanted to show you my pillow..The orange coloration of this dragon looks beautiful against the eggplant colored faux suede. I used your variegated thread, Creamsickle, to sew on the 1/4 inch bias trim, and thought that would be the name I would choose for this dragon. One Christmas present done, just a couple more to go. Hope you had a joyous Thanksgiving. Thanks, Laura
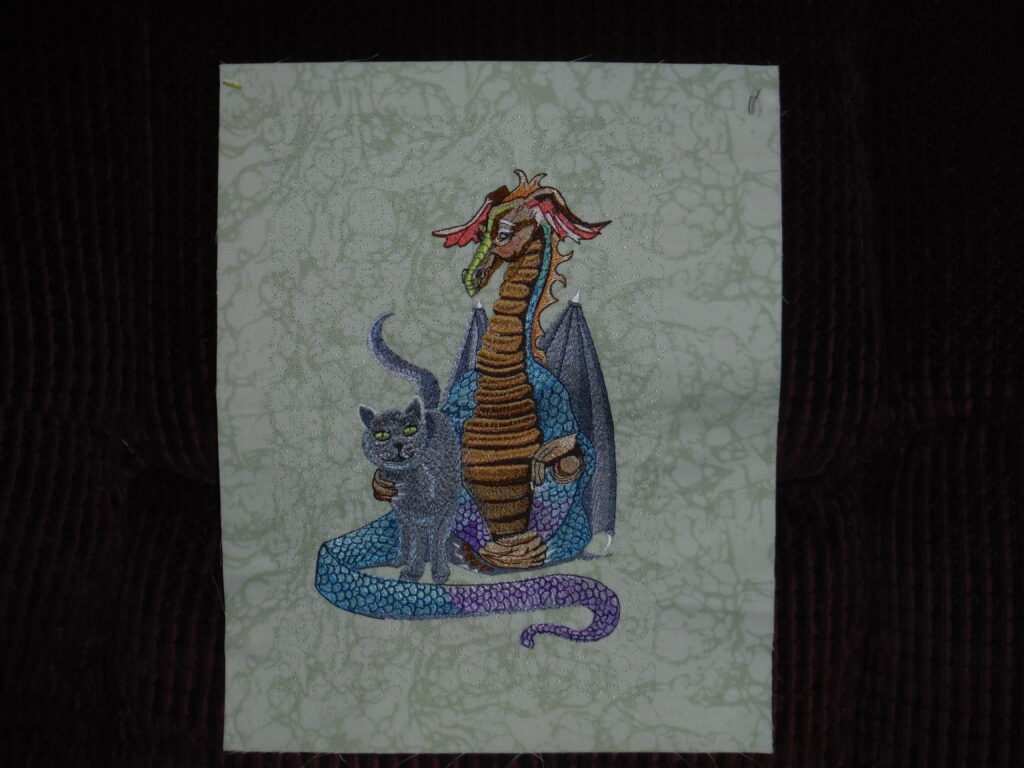
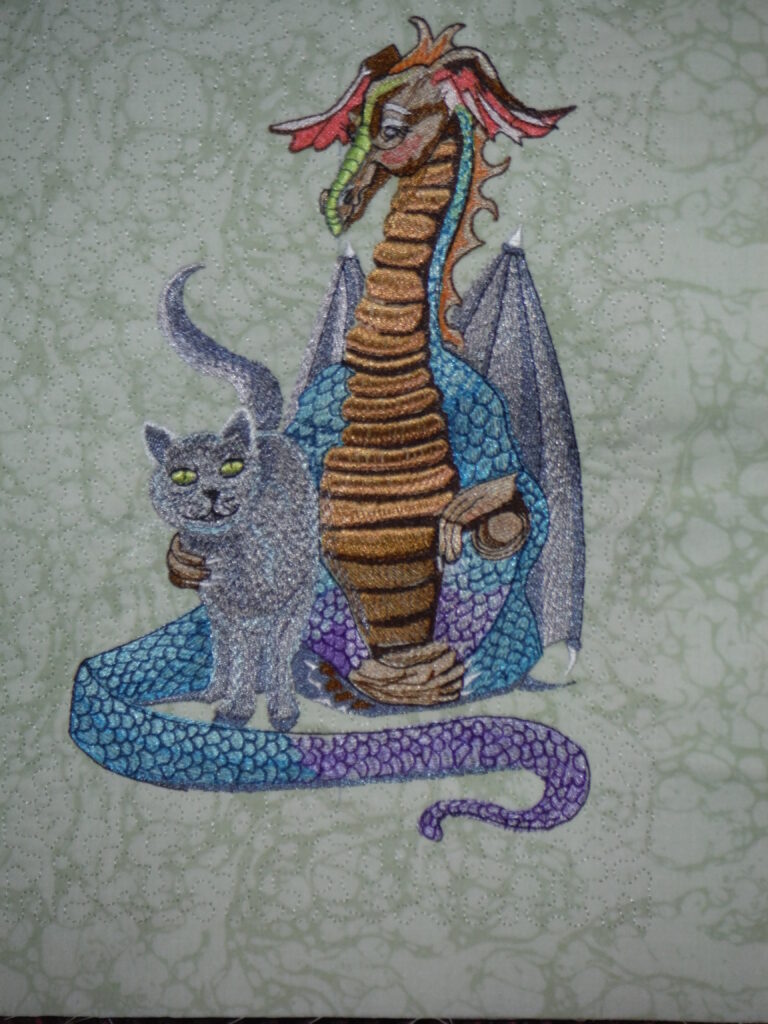
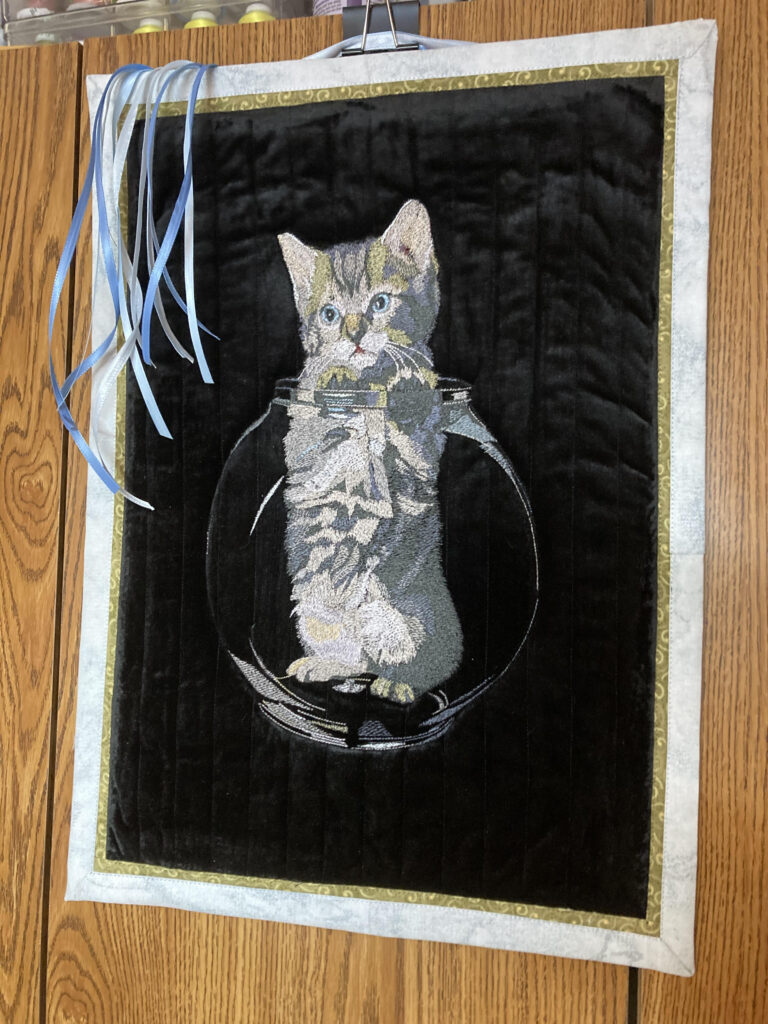
Two out of three Christmas presents, done. Yeah! I love this kitten. It makes me smile whenever I look at it. I hope it will do the same for my friend, Evelyn, in assisted living. She loves cats. I recently gave her an embroidery I did of your Large Mountain Lion, and she loved it. She grew up in Wisconsin and her father used to train dogs to hunt the big cats. It brought back great memories for her. I’m hoping this kitty will bring back much gentler memories.
I did this embroidery on black velvet, with the knapp going up. It was much darker that way. I backed it with black, fusible fleece and used a tear-away stabilizer, and a size 14 top-stitch needle, no problems at all. Until next time,
Thanks a bunch, Laura
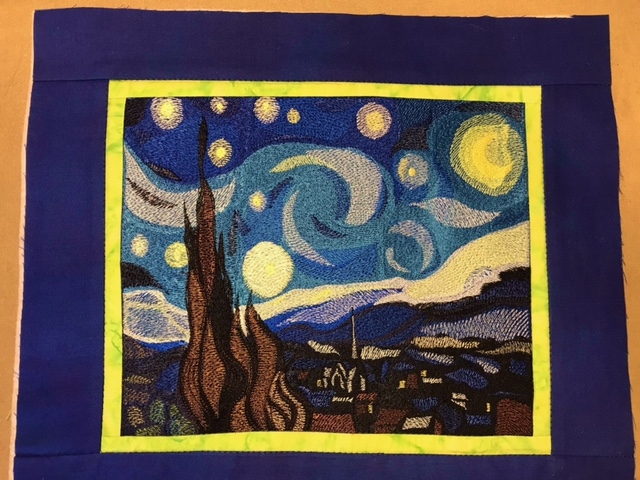
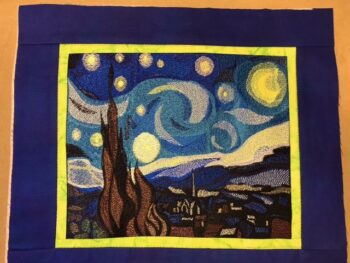
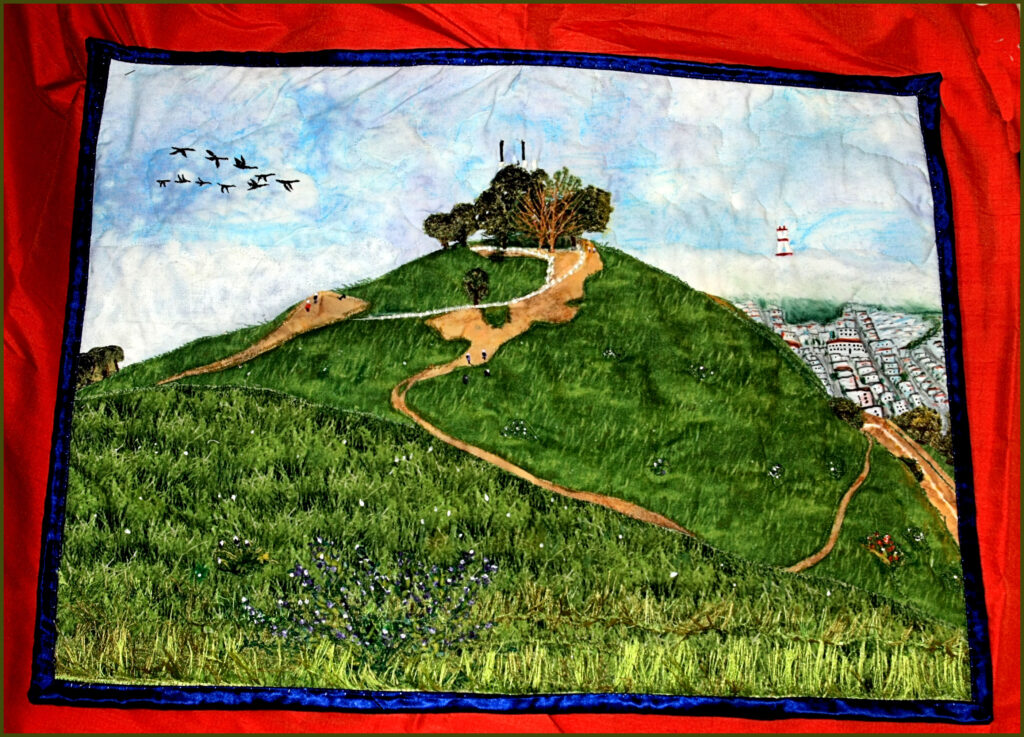
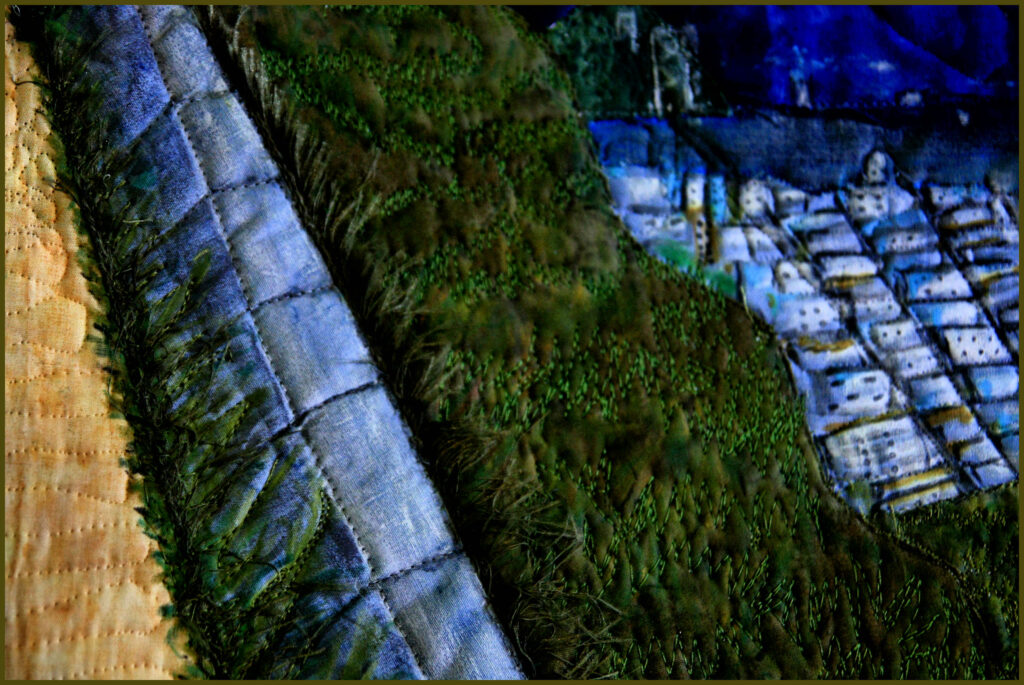
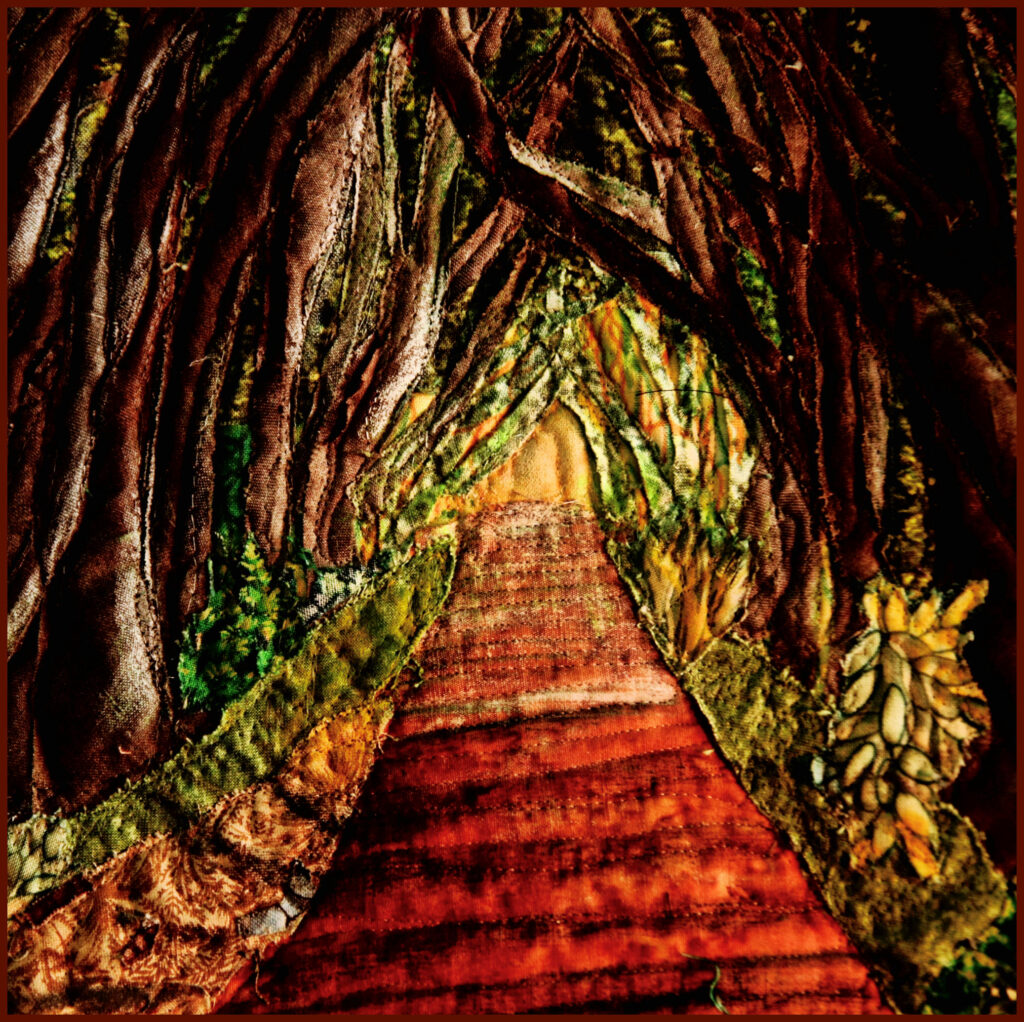
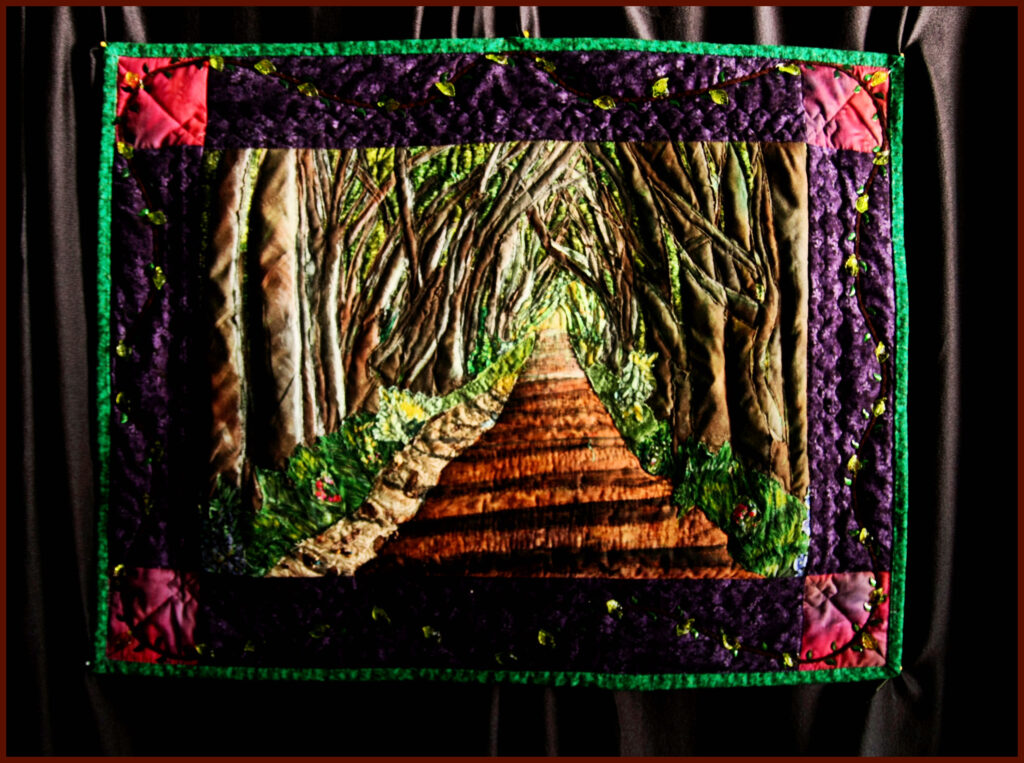
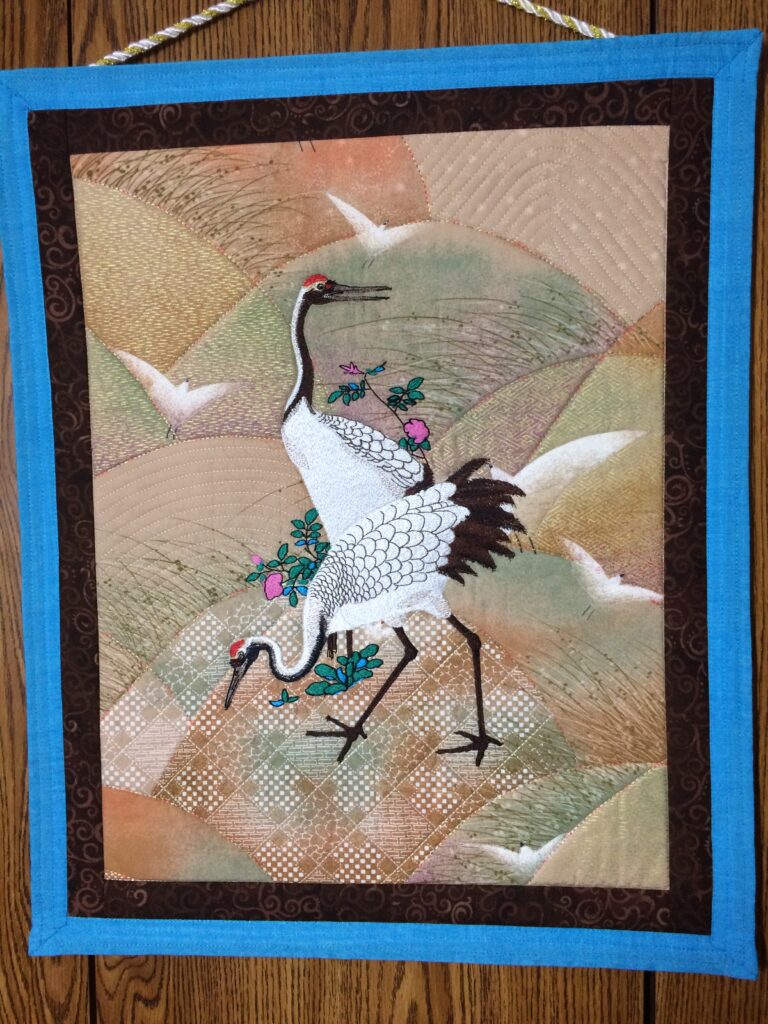
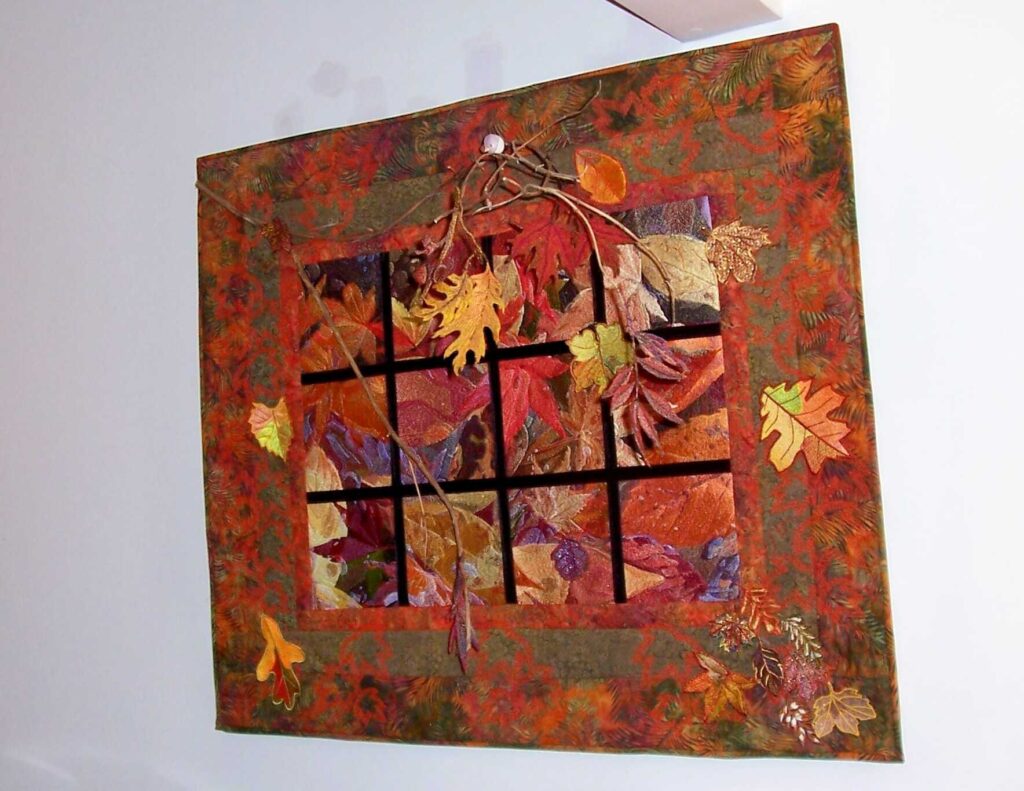
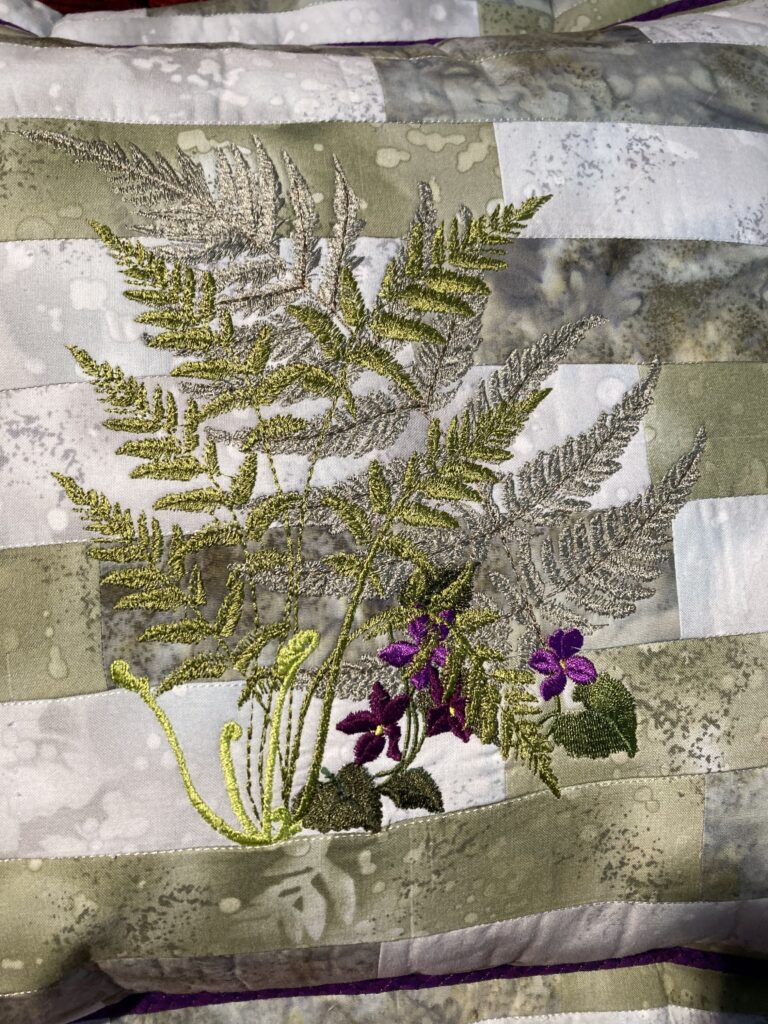
Good Morning, it is a good morning, indeed. I finished my “Christmas present sewing project list”, and wanted you to see the finished project. I am naturally not a quilter, I love clothing making and embroidery, however at times I do break my own mould and do some simple quilting. Here is an example. I had all the fabric, not bought at the same time, and they went together beautifully. Yeah for stash-building. I had ferns in mind when I chose the fabric. Your fern program, BFC505 was just the ticket!
Because the fabric was pieced and quilted to batting and I used a pretty substantial stabilizer, I used a size 14 top stitch needle. However I started having loops show up within the stitching on both the top and underneath the design. I believe the large fern frond has about 39,000 stitches, and they are small, so I thought the needle might be too large for the small stitches. I changed to a size 12 top-stitch needle and nary one more loop formed. We live and learn.
Although the violets in the design were a freebee from years ago, and I know not where it came from, I believe your ferns are the star of the show. Thank you, thank you, thank you!
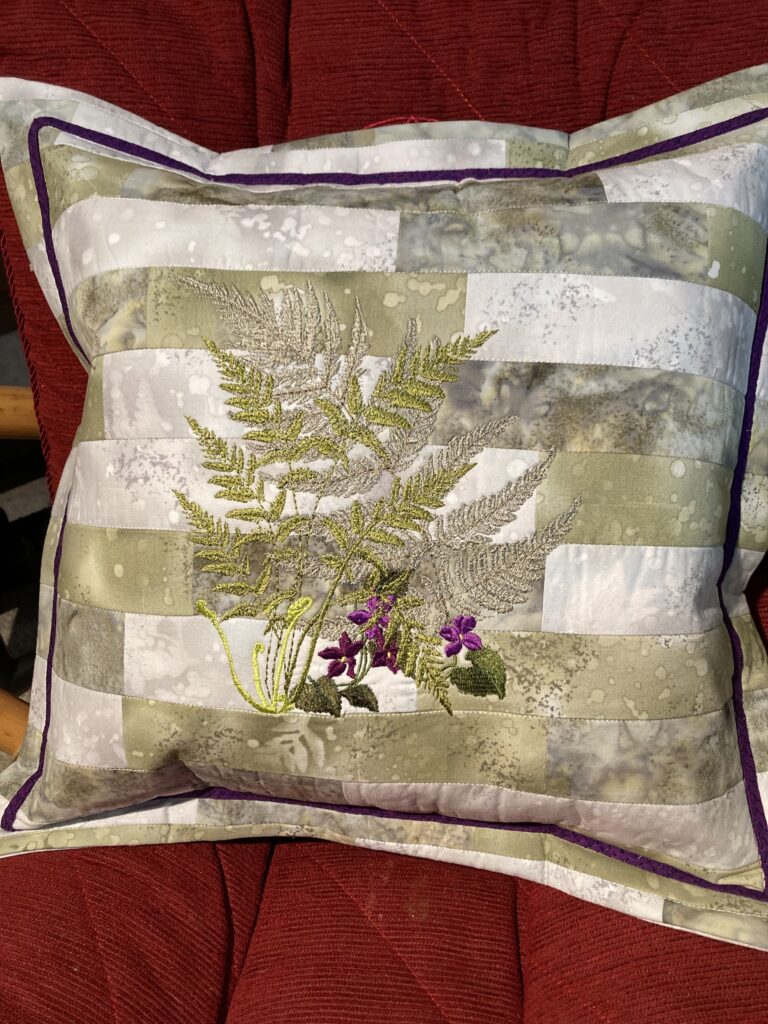
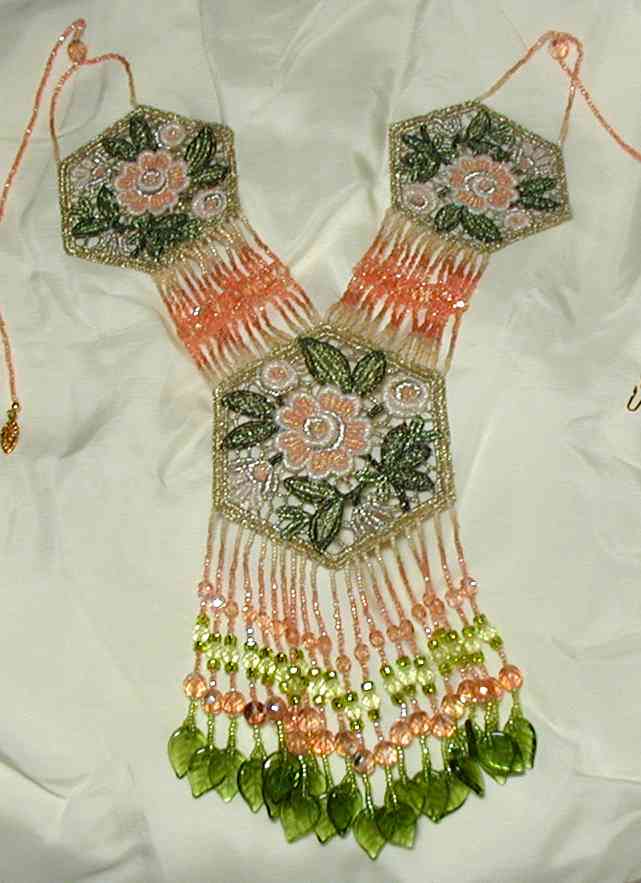
I really love the fabrics in this pillow!!! Suz
Thank you Laura for all your wonderful work