Beth has developed a wonderful way to finish large picture embroideries! She has given me permission to include her method and i’m sure a lot of you will appreciate being able to do this too.
From Beth:
I finished the BFC580 design and thought you might like seeing what I did. I combined the six sections in software, added an edited design to create the inside window frame to complete the look of a window. I have a Babylock Destiny and Designer’s Gallery software. This software gives me the ability to combine designs very well. Also attached is a jpeg of design BFC1601. Zigzagging the sections together did not appeal to me so I combined them into one design. Added together there were 305506 stitches and I wasn’t sure it would work, but you can see that it did, and computers didn’t crash.
I am embroidering pictures like this on fusible pellon. For large projects I also fuse the back fabric (usually black) to pellon and then sew the front and back together along the edge to make it very sturdy to put on a table top easel. After the front and back sections are sewn together and trimmed to size, the edge is satin stitched to finish.
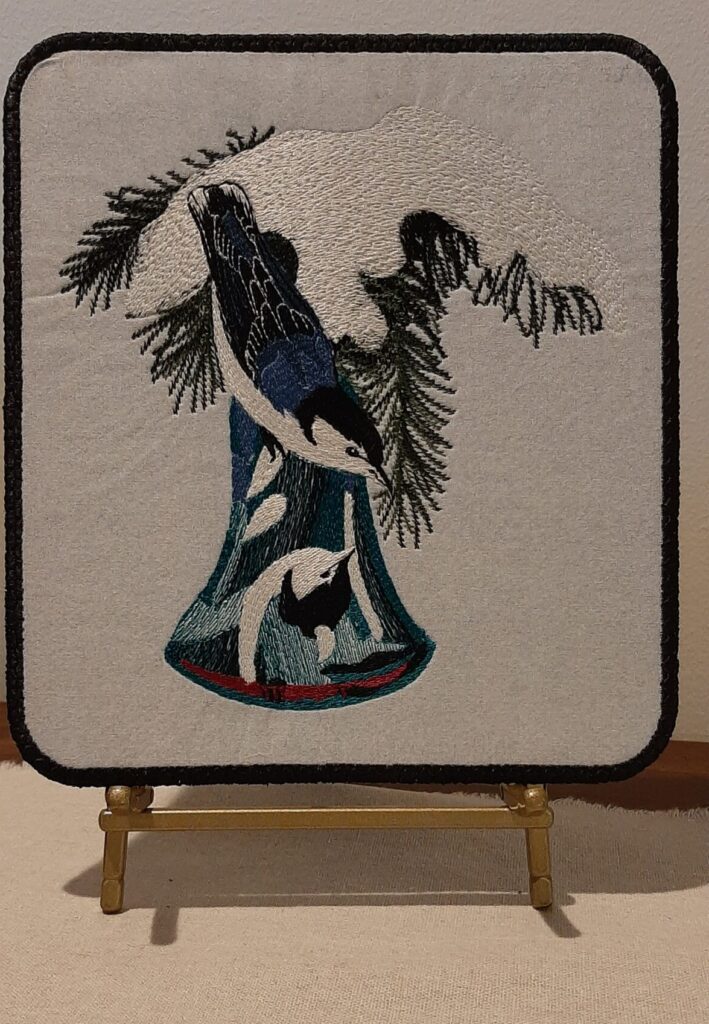
I am an experienced embroider and I have made many embroidery designs into pictures to display on an easel. My limitation is only the size of my magnetic 9.5 x 14 hoop. For the tabletop easel I wouldn’t need something to be any bigger. I like your designs very much. I also like the thread you sell so much I bought every color. Your “Blue Study with Birds” would not have been possible without all of your blue threads.
I have not been bored sequestering at home during the pandemic. I am blessed to be able to enjoy a creative hobby like machine embroidery, and talented people like you are included in the blessings. I am not talented, but I have learned a skill. I can thread a machine, step on the gas, and thoroughly enjoy being creative. I retired in 2011 and I don’t think there have been many days that I haven’t spent time at my machine.
It made me smile when I read that you would like to put my embroidery pictures on your blog. It’s not often that you can show off something creative that you love to do to kindred spirits who would share the same creative interest. This technique for making embroidered pictures to display on an easel began just before the world was told to sequester at home to prevent the spread of the pandemic.
Surfing Youtube in December 2019 I came across a New Zealand web site, www.kreativekiwiembroidery.co.nz. Heather calls herself a machine embroidery addict enabler and she digitizes large ITH table mats and mug rugs using pellon and water soluble stabilizer. I was intrigued, bought a design, and quickly realized that the very sturdy edge she created for these designs would work, with a little editing, to make frames for embroidered pictures. The sturdy edge would hold up with lots of handling and abuse. and the pellon would be sufficient support on an easel. I have been collecting designs that would make beautiful pictures for decades and now with a few inches of fabric, pellon and water soluble stabilizer, Heather has enabled me to be able to make many pictures to display and enjoy in my embroidery machine. At this point I have made over sixty pictures using quilt blocks, applique and embroidery designs. They don’t take up very much room to store and I can change pictures to display quickly and as often as I want to. Seasonal designs have become a focus decoration, but I display something all of the time.
For frames I use Heather’s 8X10 ITH rectangular coaster (ITHRC). I edit out everything but the edge which has a placement stitch thread run, tack down thread run, and a third thread run for extra security that is stitched before the face fabric and back fabric are trimmed away. Then a zigzag stitch and final satin stitch topped with the decorative stitch is sewn to finish. The witch and Christmas bird are examples of this framing.
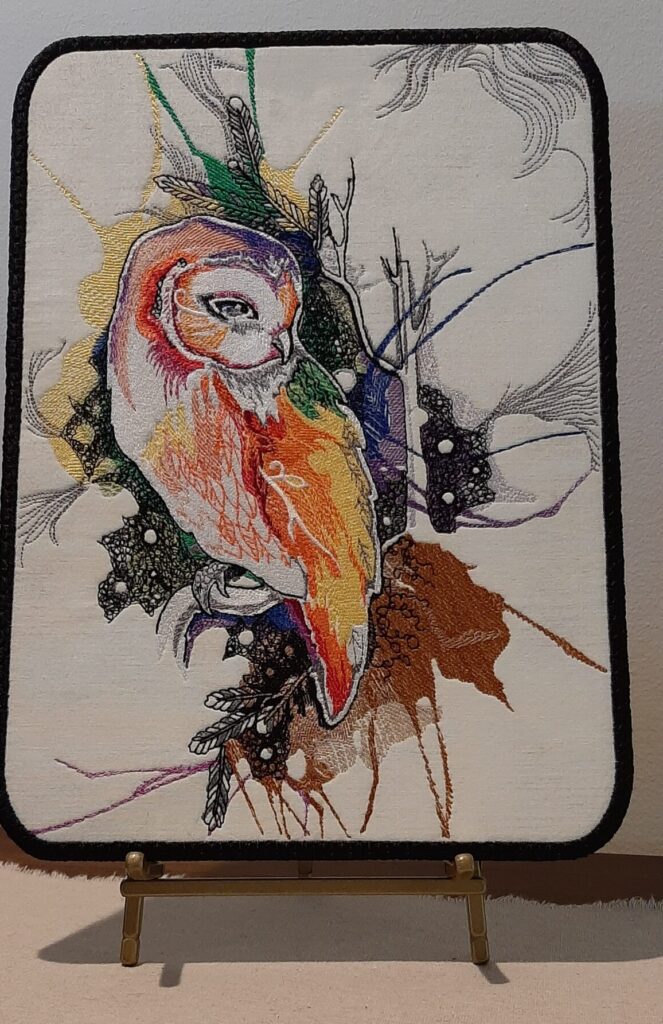
This framing design has rounded corners and being circular is resized easily without distortion. I have not been able to find a framing design with 90 degree corners that will resize very much without noticeable distortion, meaning the width of the top and bottom of the rectangle may be wider or more narrow than the sides depending on how dimensions are altered. If a picture requires a square corner I manually stitch the satin stitch edge. The attached Ladybug design is an example of my manual edge.
In the software the edited frame design is added to a selected embroidery design. The frame dimensions are adjusted to fit with the embroidery design and the two combined and saved as a new design. Resizing the embroidery design is also works. I usually use one layer of water soluble stabilizer and I only use the nonwoven fabric like wash- away stabilizer. I prewash my face fabric and back fabric to avoid possible shrinkage causing problems. Pellon cut from a bolt will usually need to be ironed flat using a non-stick applique pressing sheet. I found it’s best to use a light fuse, no steam, to fuse the face fabric to the pellon to avoid hard wrinkles. Very dense designs can cause distortion if the fabric is bonded too tightly. Any problems can usually be steam ironed away as the design is pressed flat after drying.
The embroidery is completed before the back fabric is attached. To make the back of the picture look the best I prefer to pin the back fabric to a piece of non-fusible pellon before securing it to the back of the hoop. I use 4 flat head pins to secure corners of the back fabric, not tape.
I re-run the placement, tack down and securing thread stops to attach the back fabric. The hoop is removed from the machine and the back fabric is trimmed away first. After the face fabric is trimmed, the hoop is back on the machine to complete the zigzag stitching and satin stitching. The stabilizer is dissolved and thoroughly rinsed. away and after drying the picture usually requires a little steam ironing to flatten.
Your Stained Glass daisy design was easily adapted for displaying on an easel. After centering fused fabric with pins all of the colors were sewn except for the black stain glass stitching. To be able to add the back fabric I just had added a color stop in the software at the point where the black stain glass stitching moved to the edge. By moving to and repeating the added color stop, the back fabric could to be attached and secured before the fabric was trimmed away and the edge completed. Depending on how designs have been created or combined it is often necessary to move forward and back through color stops as necessary to achieve goals for creating a picture.
I hope this information is helpful and clear. Please use and edit as much of it as you see fit in your blog.
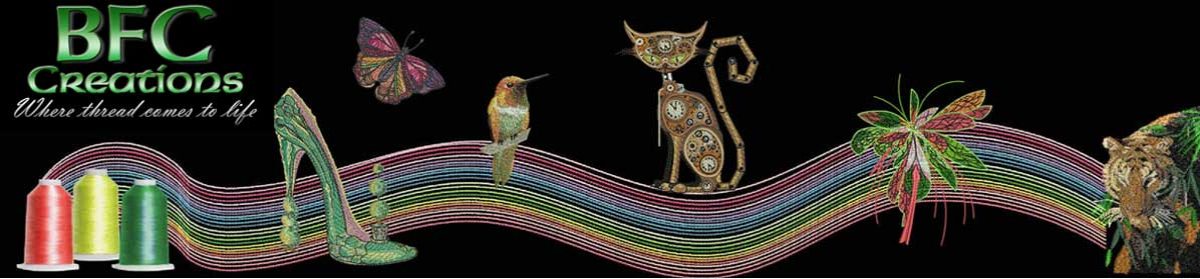
BFC1204 Ching Chou’s Barn Owl
BFC1567 Ching Chou’s Stained Glass Ladybug
![]()
 BFC1202 Ching
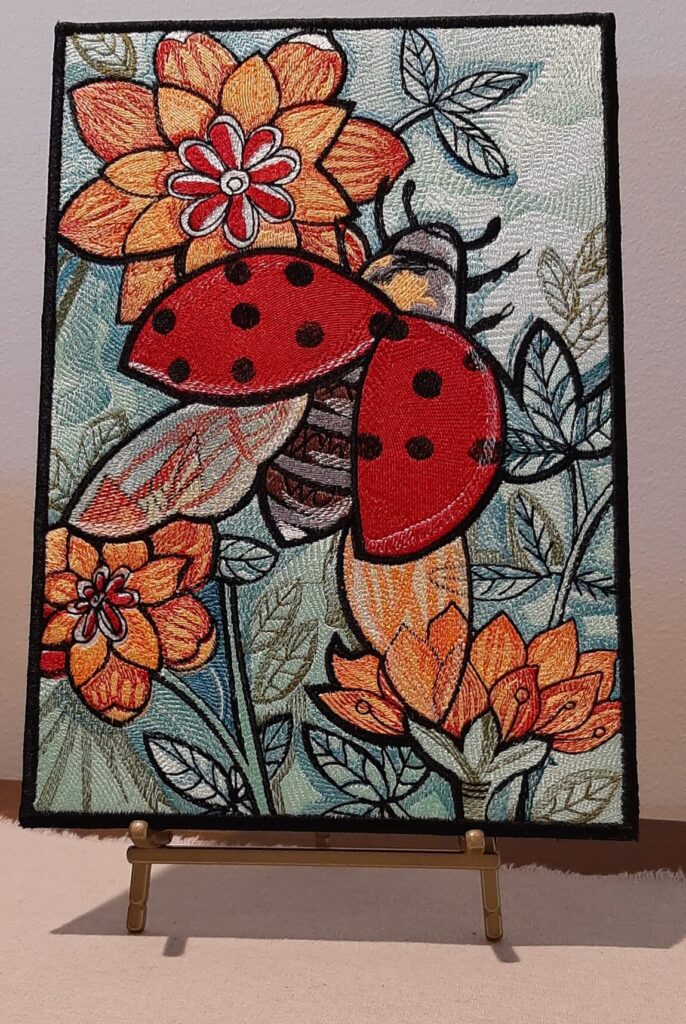
BFC1202 Ching Chou’s Hummingbird
![]()
BFC0580 Blue Study with Birds
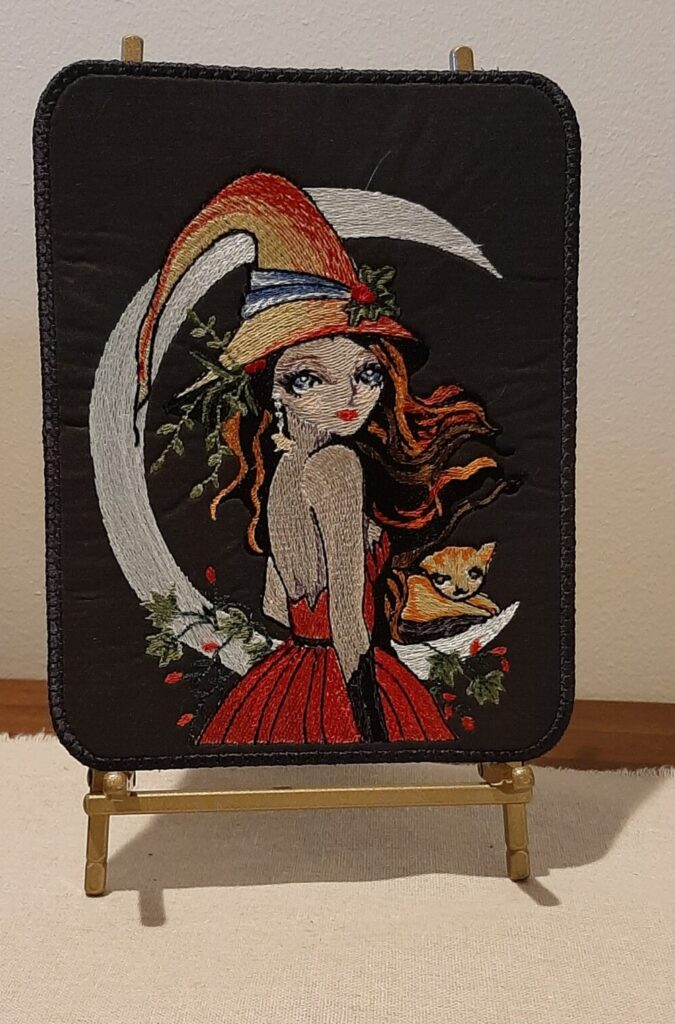
BFC1005 Fantasy Ladies – Fairy Witchery
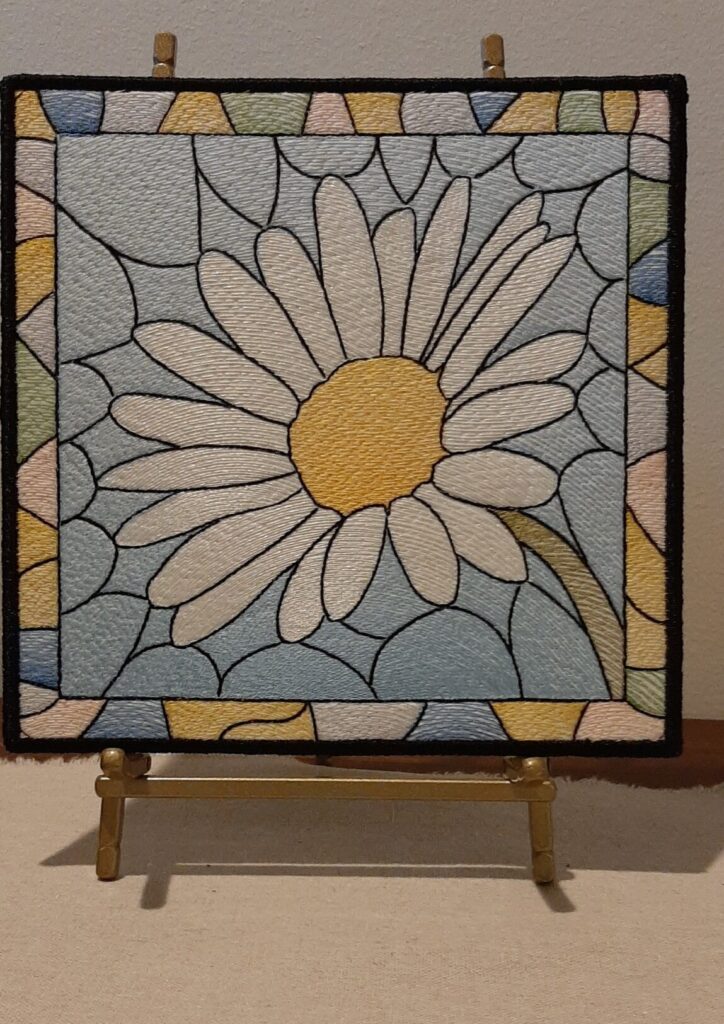
BFC1481 Stained Glass Floral Squares