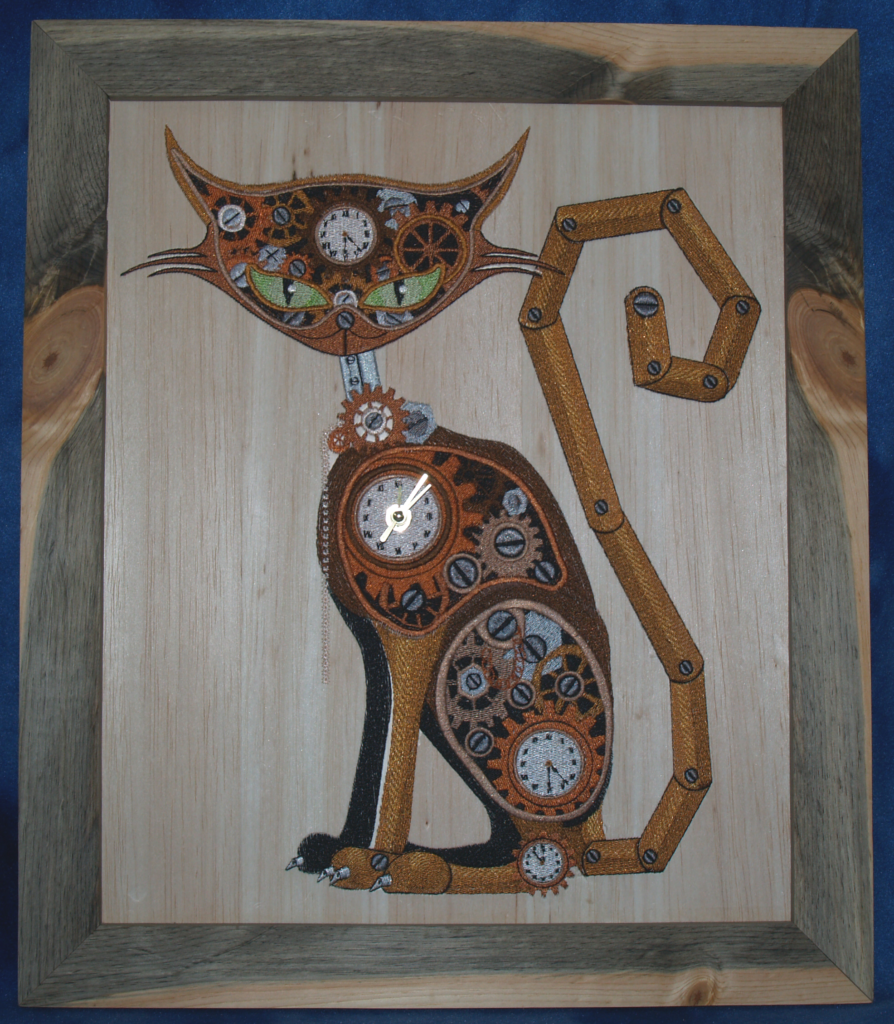
John does beautiful embroidery work on Balsa Wood. They make gorgeous framed pictures!~! 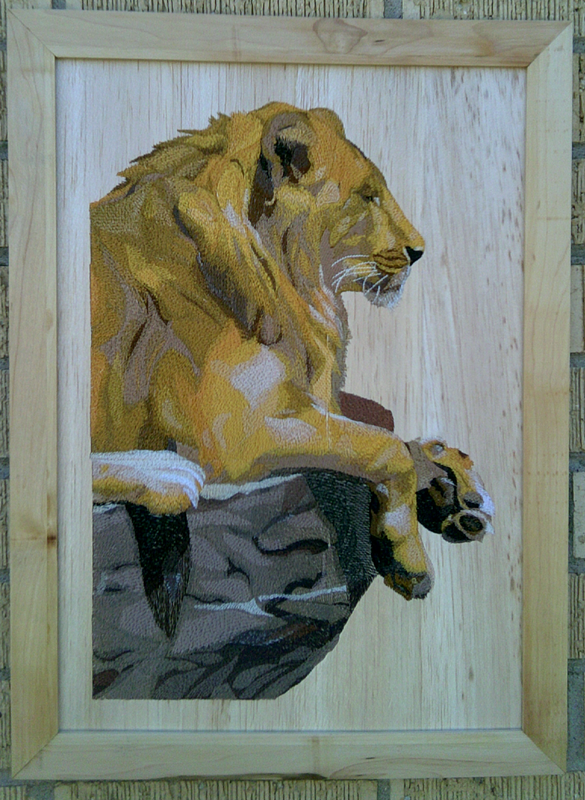
BFC0820 Lion Series-Lion-The Proud King
BFC Creations – Where Thread comes to life!
John does beautiful embroidery work on Balsa Wood. They make gorgeous framed pictures!~!
Wouldn’t that be nice!
Yes I use lots of fibers in my work!! I’d love to work with you. My time a the moment is limited because I am still working 2-3 days a week……at 68! However, I am planning to retire next June—earlier if ………..
I’ll send you some photos of my work.
I am feeling very honored with your suggestion.
I’ll send the pictures separately
June
This one is great June! I do love your work too.
Suz
Hello,
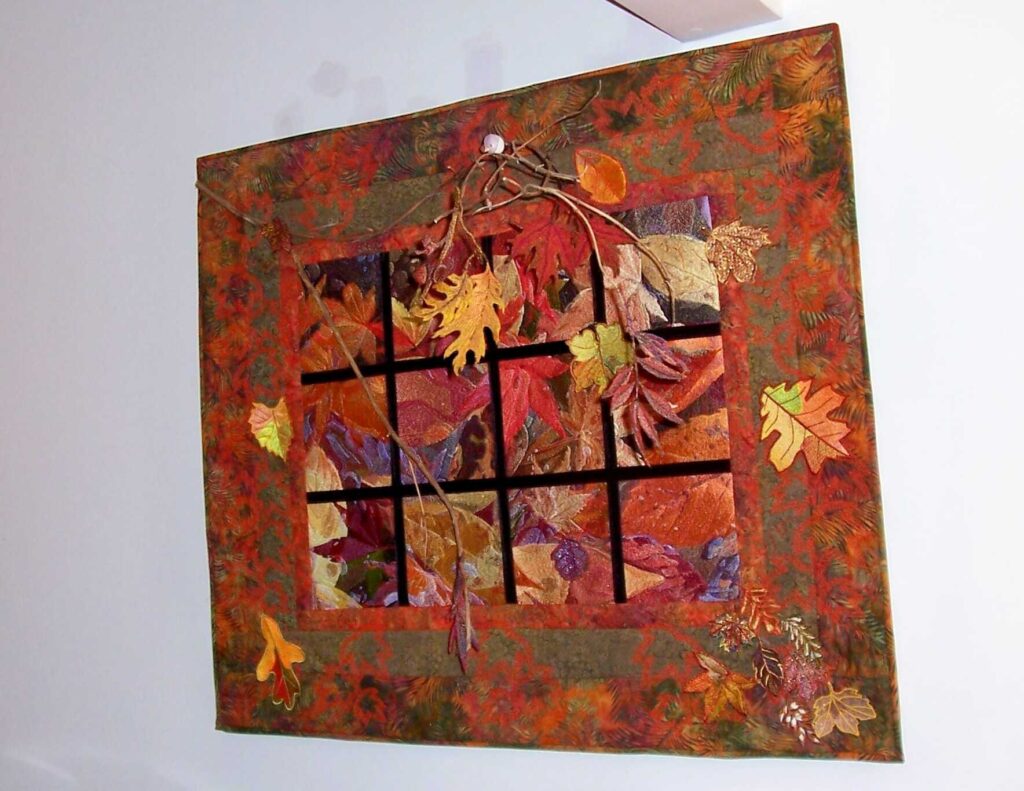
I’m an embroidery fan from The Netherlands for 2 years now and finally dare to make one of those fine projects I see on your website.
After learning about embroidery en purchase a machine (Pfaff Creative Vision) and lots of try outs I now finished a quilt from your site.
I thought maybe you like to see that even in Europe people love your artistic projects.
So herebye…Kind regards
Tiny from Eindhoven (The Netherlands)
It is beautiful Tiny!!!!! This has always been one of my favorites. I have it hanging at the top of my second floor stairs. Thanks so much for the photos of your project! Suz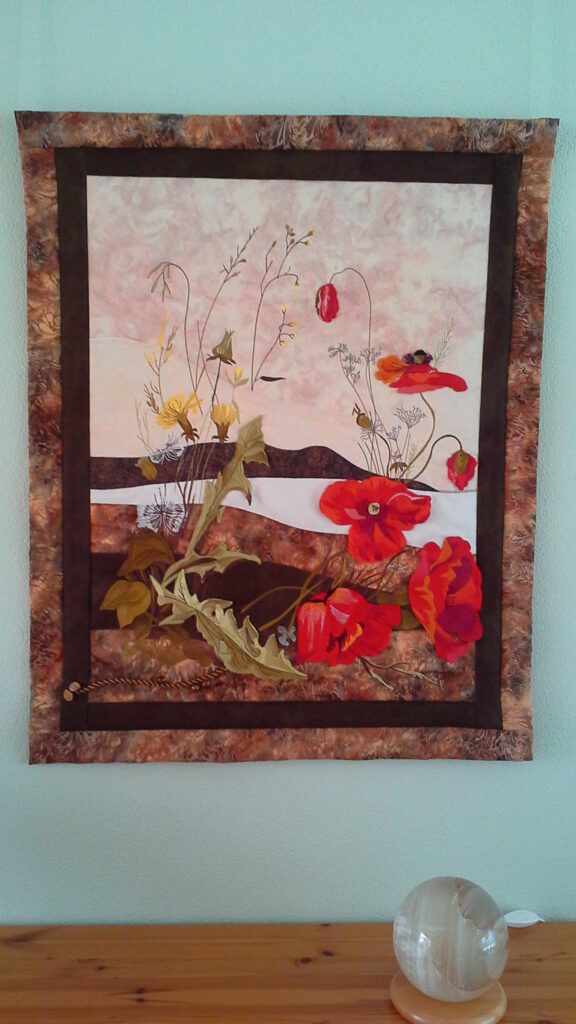
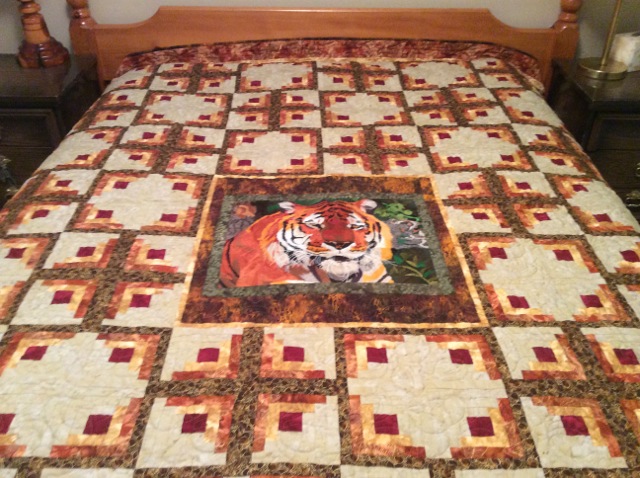
Tiger quilt made for friend. King size, log cabins are 6″.
Sorry about the blurry pic, but hopefully I’ll be able to get a
better one when I can find someone to hold it up for me…(maybe two or
three someones)
Thanks for your help on lining
up the tiger Suz. Verona
Yesterday I stitched out a 40 minute design on my bernina 830 using your silver metallic thread with only 3 thread breaks! Full speed with a 14 well used needle that should have been changed before I started. Amazing!
Lorraine joined our new Facebook Group and posted:
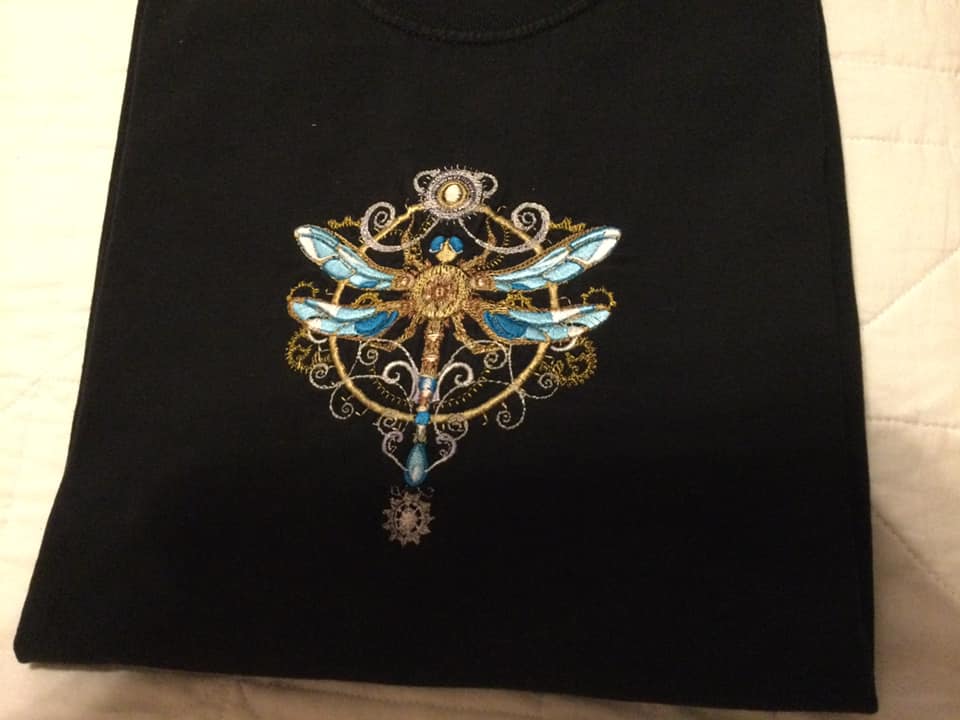
I’m so happy that BFC-Creations has a FB page. I love the designs. Here’s a tote I made in 2020.

This bag is aperfect example how much different designs can lookw ith diffeernt colors! A beautiful bag Lorraine and love the fractals!
Unbelievably, Jim is a relatively new embroiderer! You sure wouldn’t think that from his work. The Four seasons are 4 separate sets of designs that can be hung separately or together.
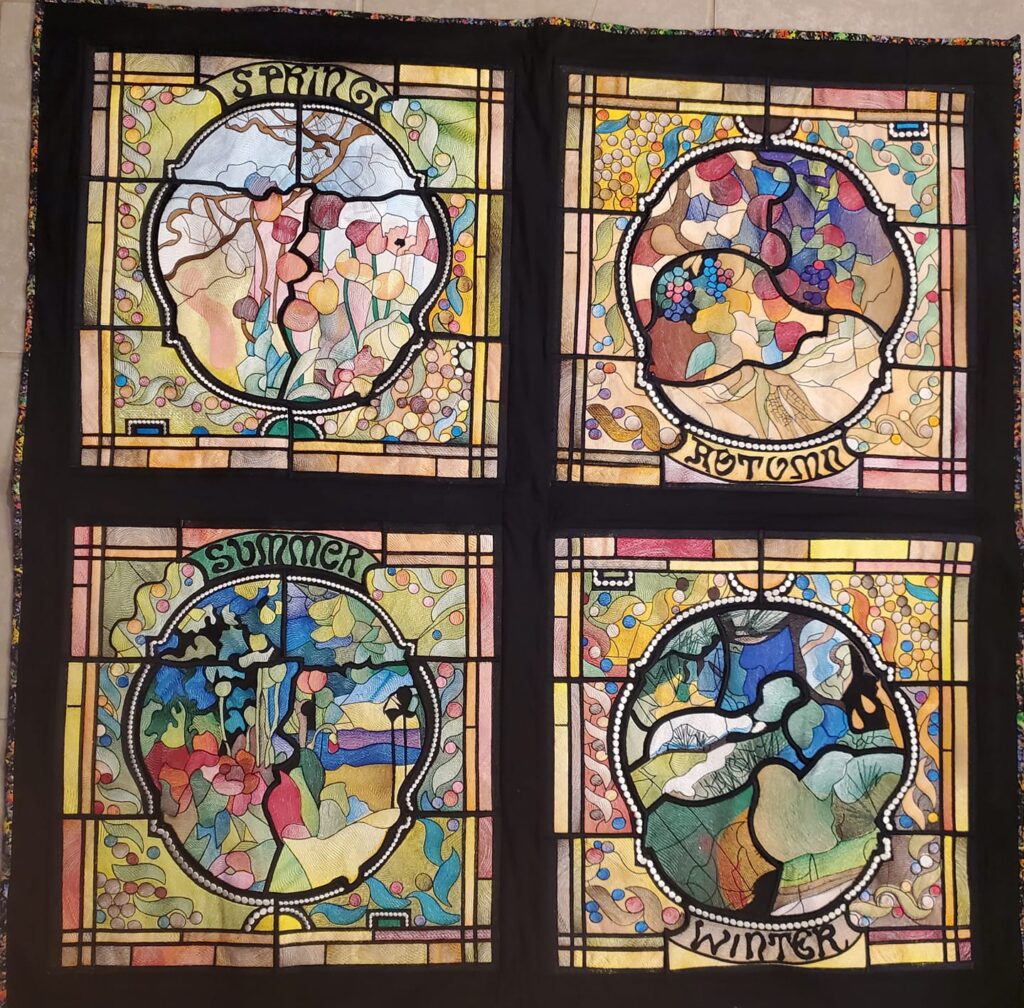
Scroll down to see the related designs .
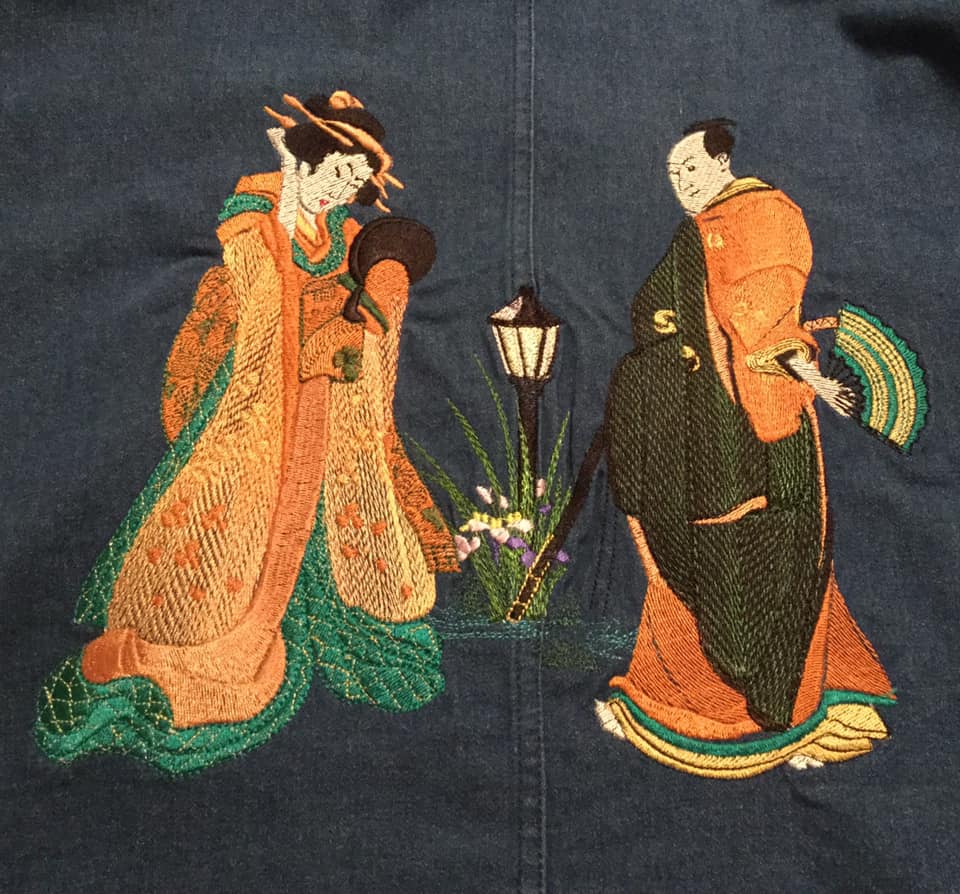
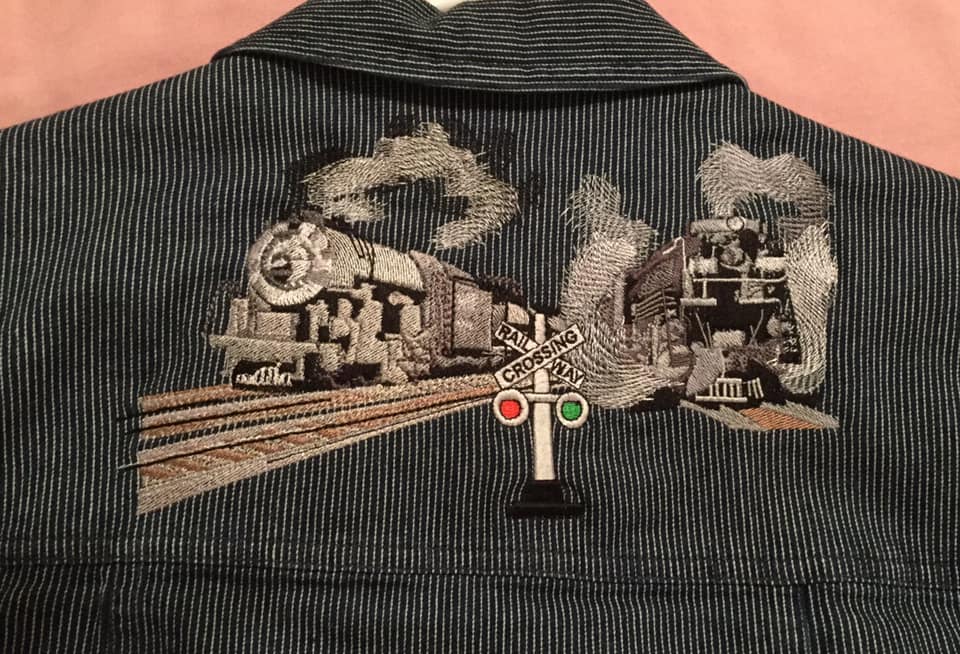
Bernice does beautiful work and so much of it!!! She always amazes me. I love the way she will put designs together to create a mini scene.
From Bernice. Although these were done a long time ago I thought I would show them. The thing I love most about BFC designs is that you can work with them, such as the steam from the engine needed to be shortened. I made the scene using the freebie, and sizing the design to fit the yoke, I also used the freebies between the kabuki dancers, Suz is one of my favorite designers.
From Laura:
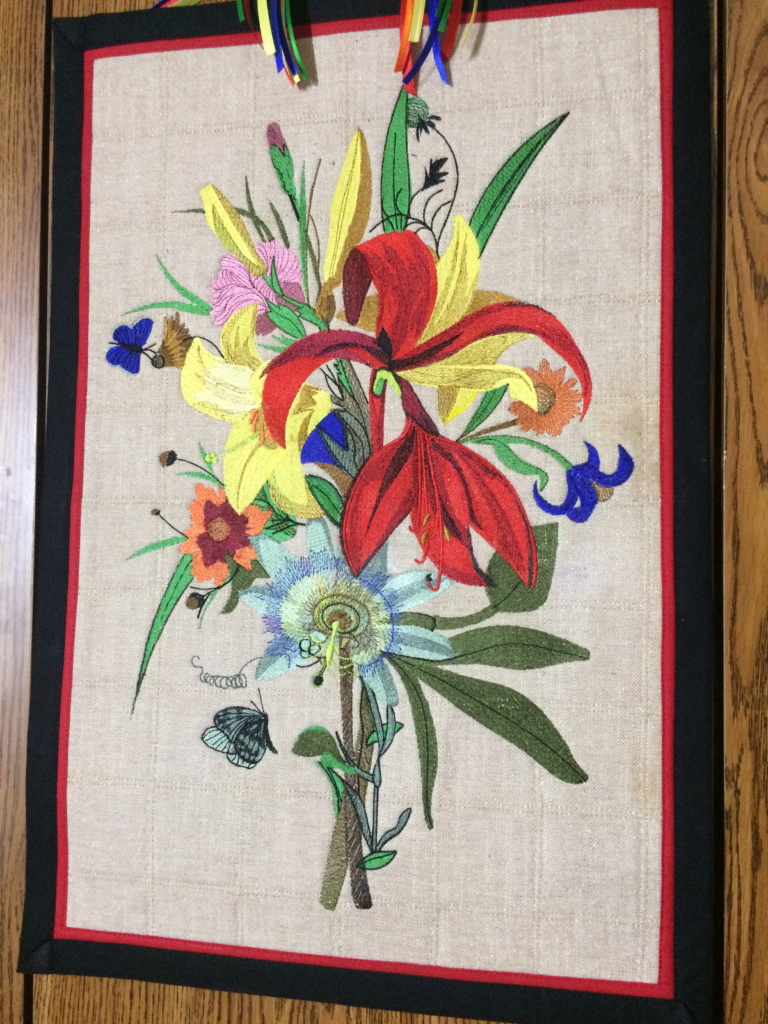
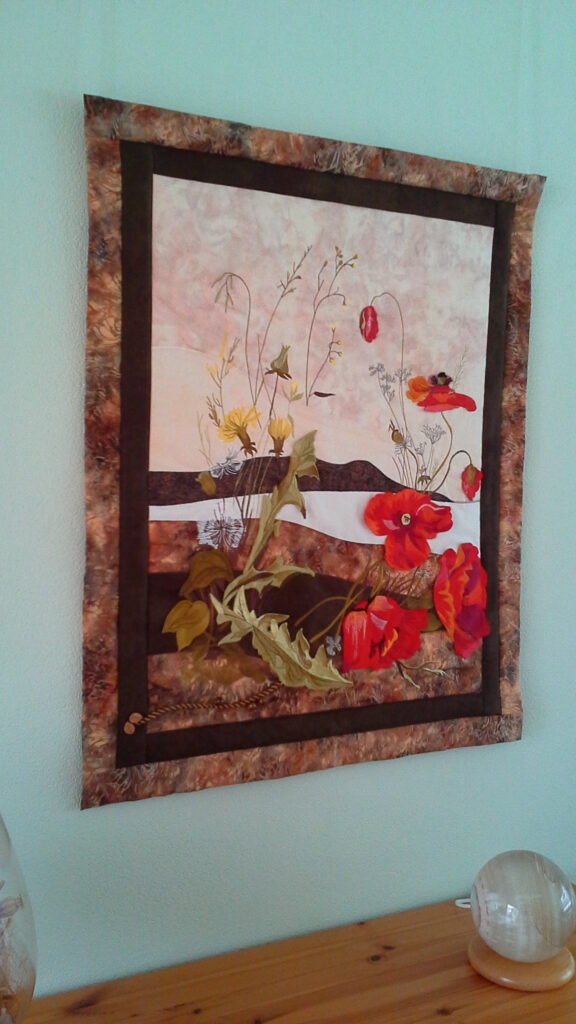
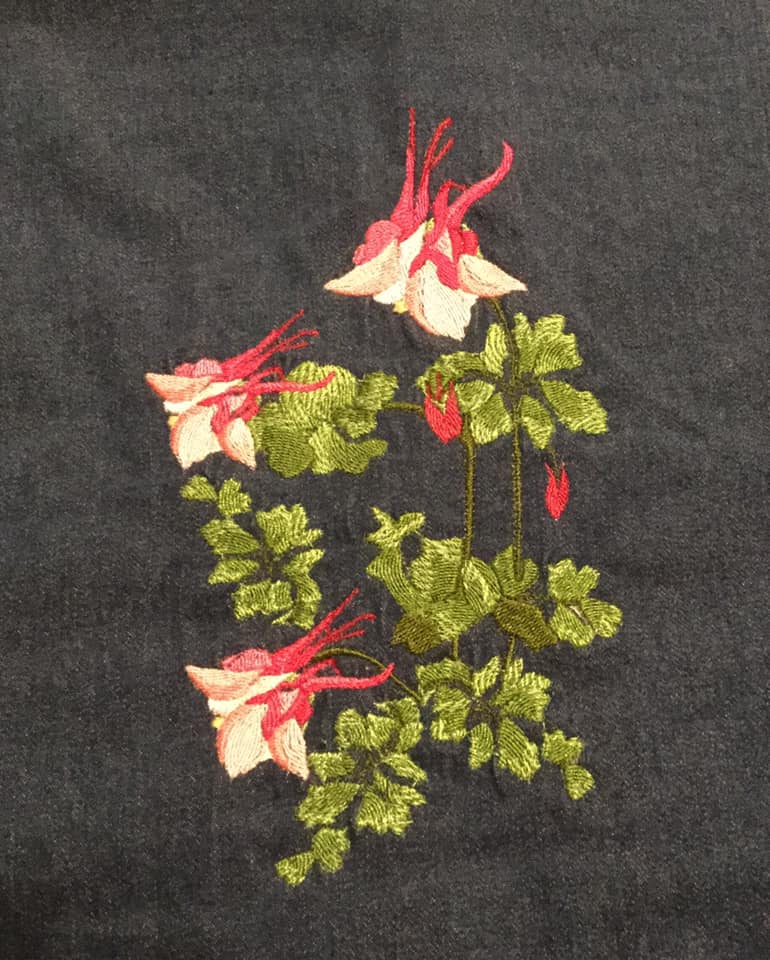
Good morning. Hope all is well. Here is a pic of my latest , finished embroidery, your design 1780, Large bouquet featuring an Aztec Lily. Although I have done many of your large designs, for some reason, known as “User Error”, I had some problems with placement on this design. Once one part of the design is off, all can be off. So I’m sending this picture as proof there is magic in fabric markers! What didn’t match up, I colored in with markers as close to the embroidery thread color as possible, and ta-da, if I didn’t tell you there had been issues, you would never know.
Also, what is hard to tell in the picture, is the background fabric is a linen blend with a metallic thread running through it. I double-needle quilted it before doing the embroidery, much easier than doing it after, however, whether it be the metallic thread in the fabric or the the metallic thread I used to quilt the fabric, in places it shows through the stitch-out. That doesn’t interfere with the finished design too much, but I did think it was a point to use as a “learning experience”.
Thanks again for all your amazing designs! Until next time, Laura
Early on I learned the beauty of a lot of colors of markers! LOL The slightest thing while stitching can cause little *blips* and the markers are a much better option than starting all over again. fortunately my current machine doesn’t do it, but a prior machine was great for forgetting to back up after a tread break and prior (LOL) operator hated those little blips with just a few stitches missing. The markers take care of those with just a quick touch! Make sure you get markers that can handle being washed.