Very appropriate with what is happening to the Ukraine. Thank you Kelly..
BFC Creations – Where Thread comes to life!
Very appropriate with what is happening to the Ukraine. Thank you Kelly..
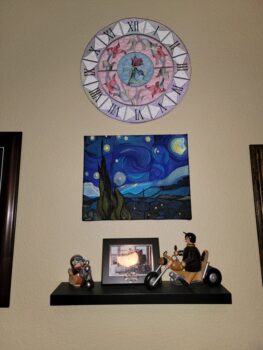
So I had my starry night framed and the guy was so impressed, he framed it for free!!! Larry
Now that’s a statement!!! 🙂 Suz
Just finished the Dove of Peace. Seemed appropriate at this time.
Perfect Gerda!! It came out beautiful! Suz

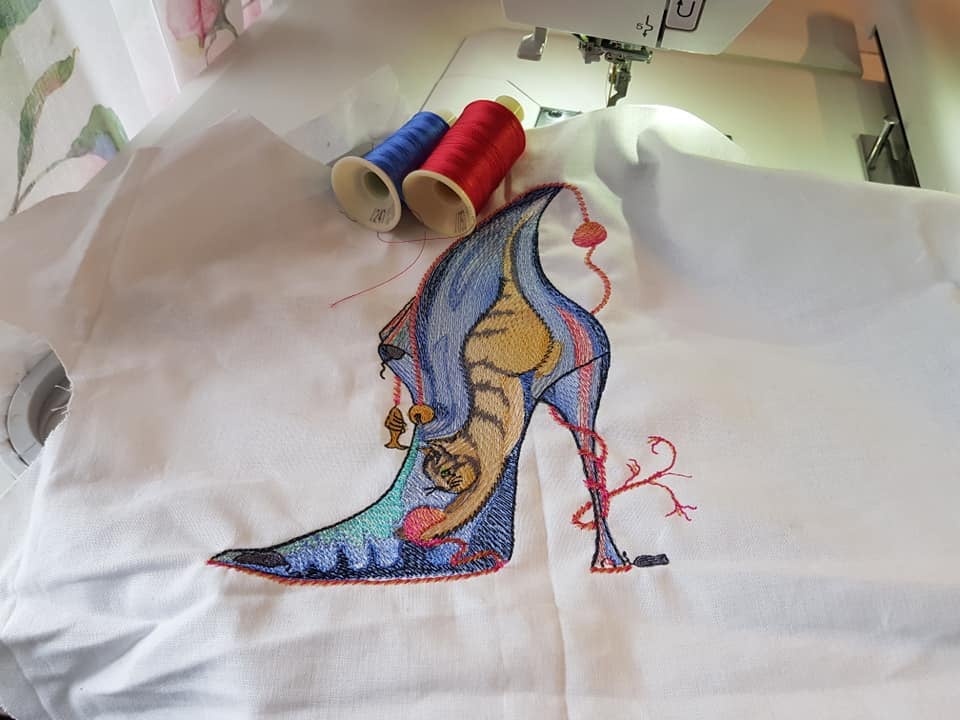
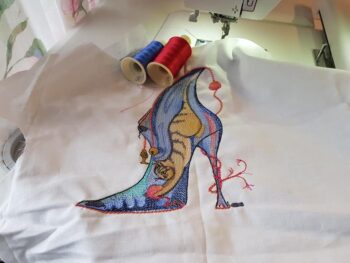
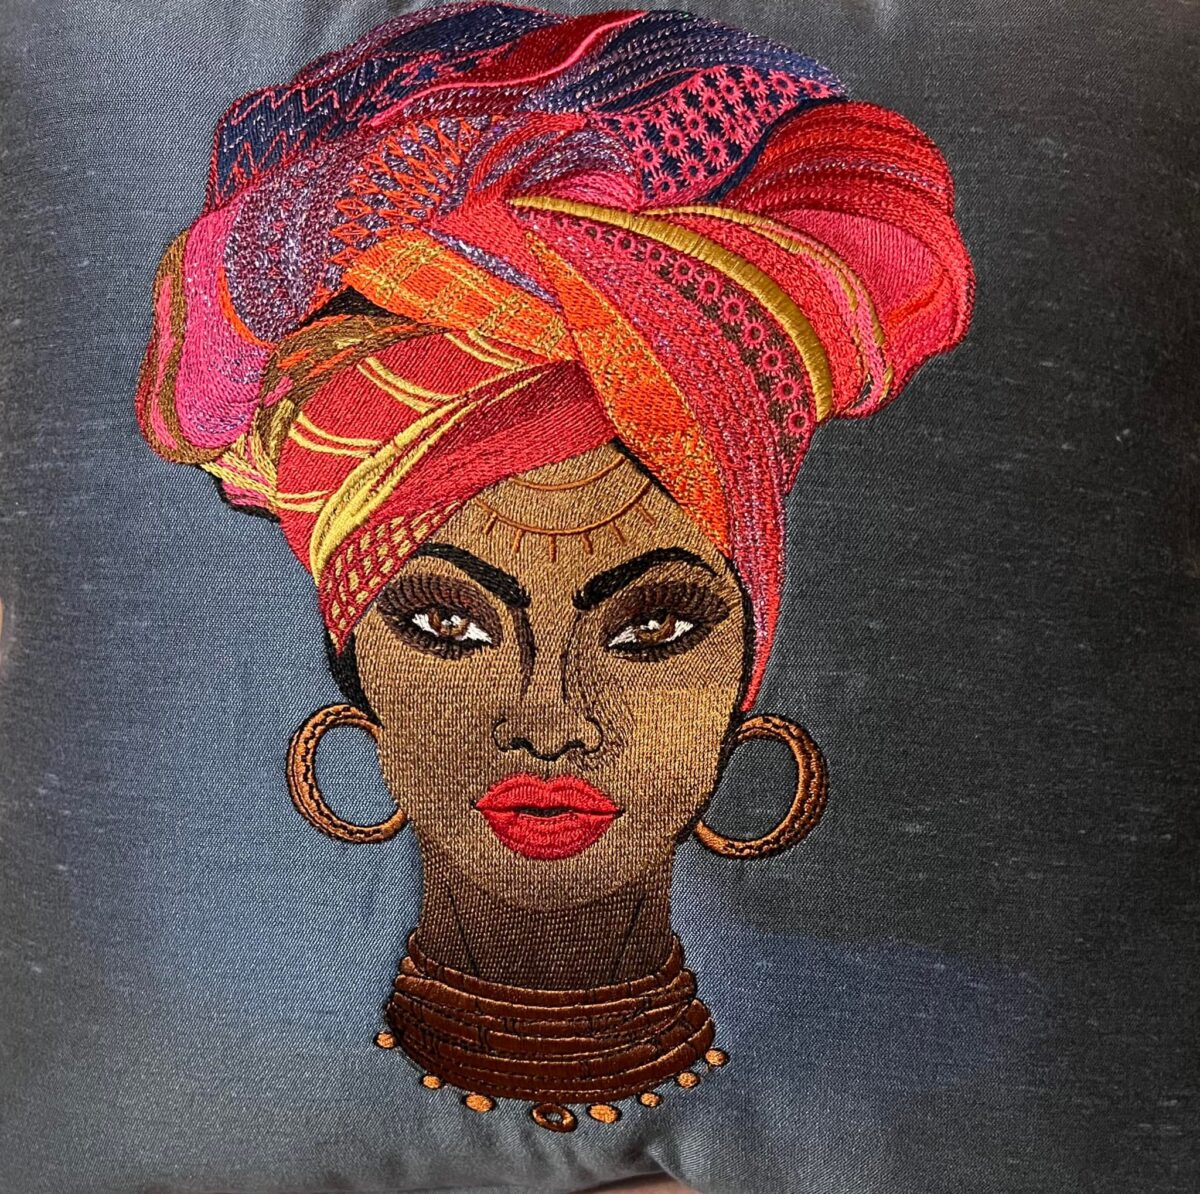
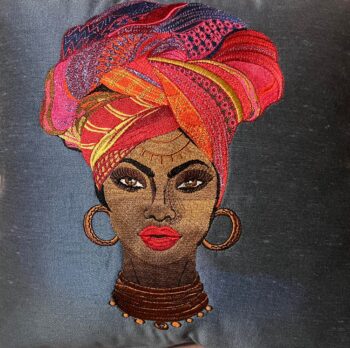
She is beautiful
A comment from another customer: I think it is rare to find an embroidery design of a face that actually looks good. Suz does a great job of digitizing people. This is absolutely gorgeous. Veronique
Thank you both! Belinda, I love the sheen of the fabric you used. It really sets off the lady.
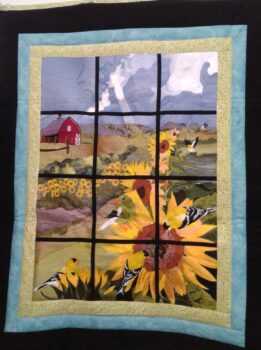
Look how beautifully this stitched out. Customer will be so pleased.
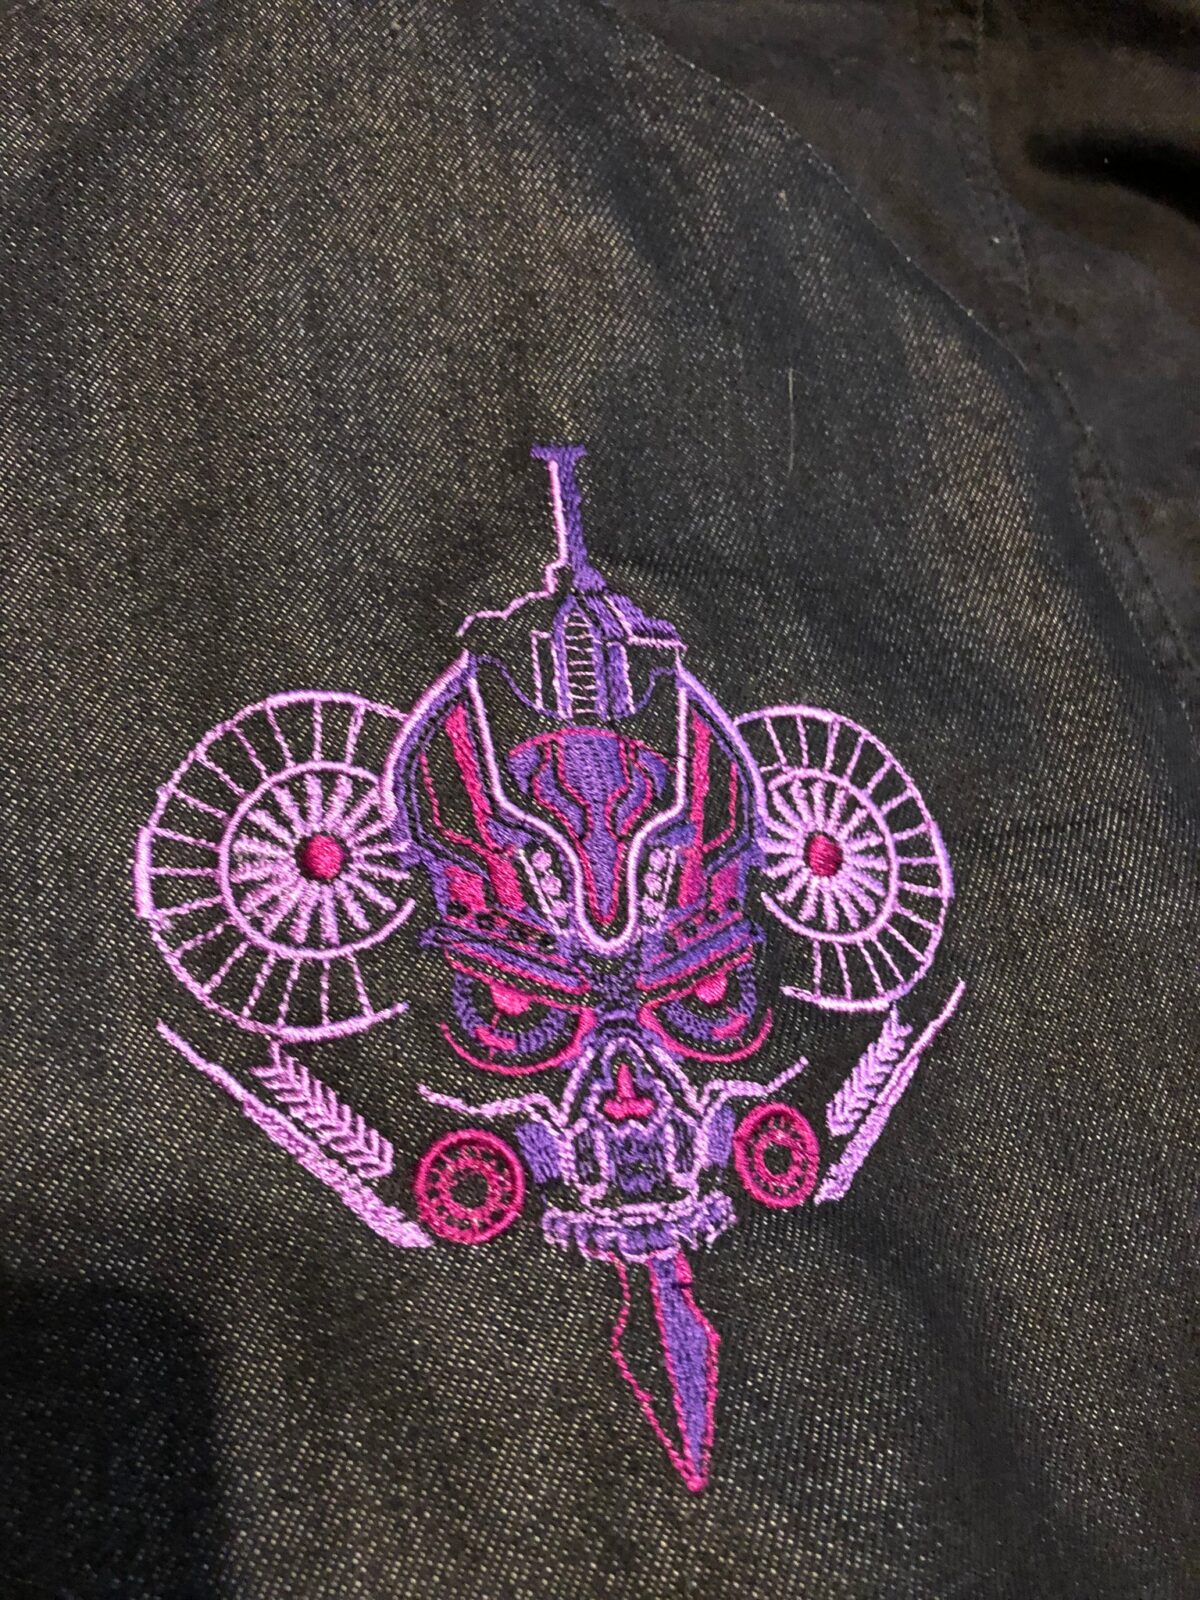
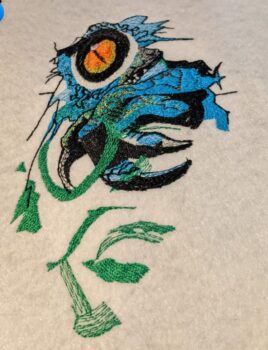
Now I can’t wait to do the Dragon Dream Catcher! Thank you for the fabulous designs!! I am in a booth at a renfair and one of the curtains got mauled and has a hole ripped into it. Their booth theme is dragons so I made this to pin behind the hole so it looks like one of the babies is trying to escape. They will be so tickled!!
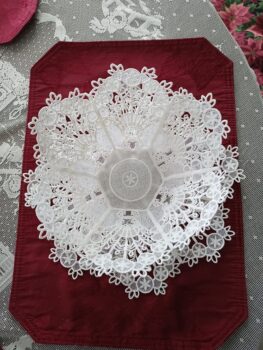
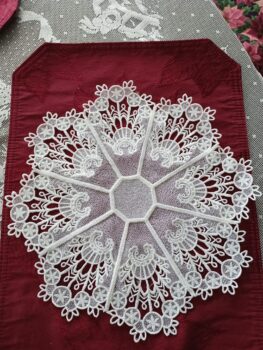
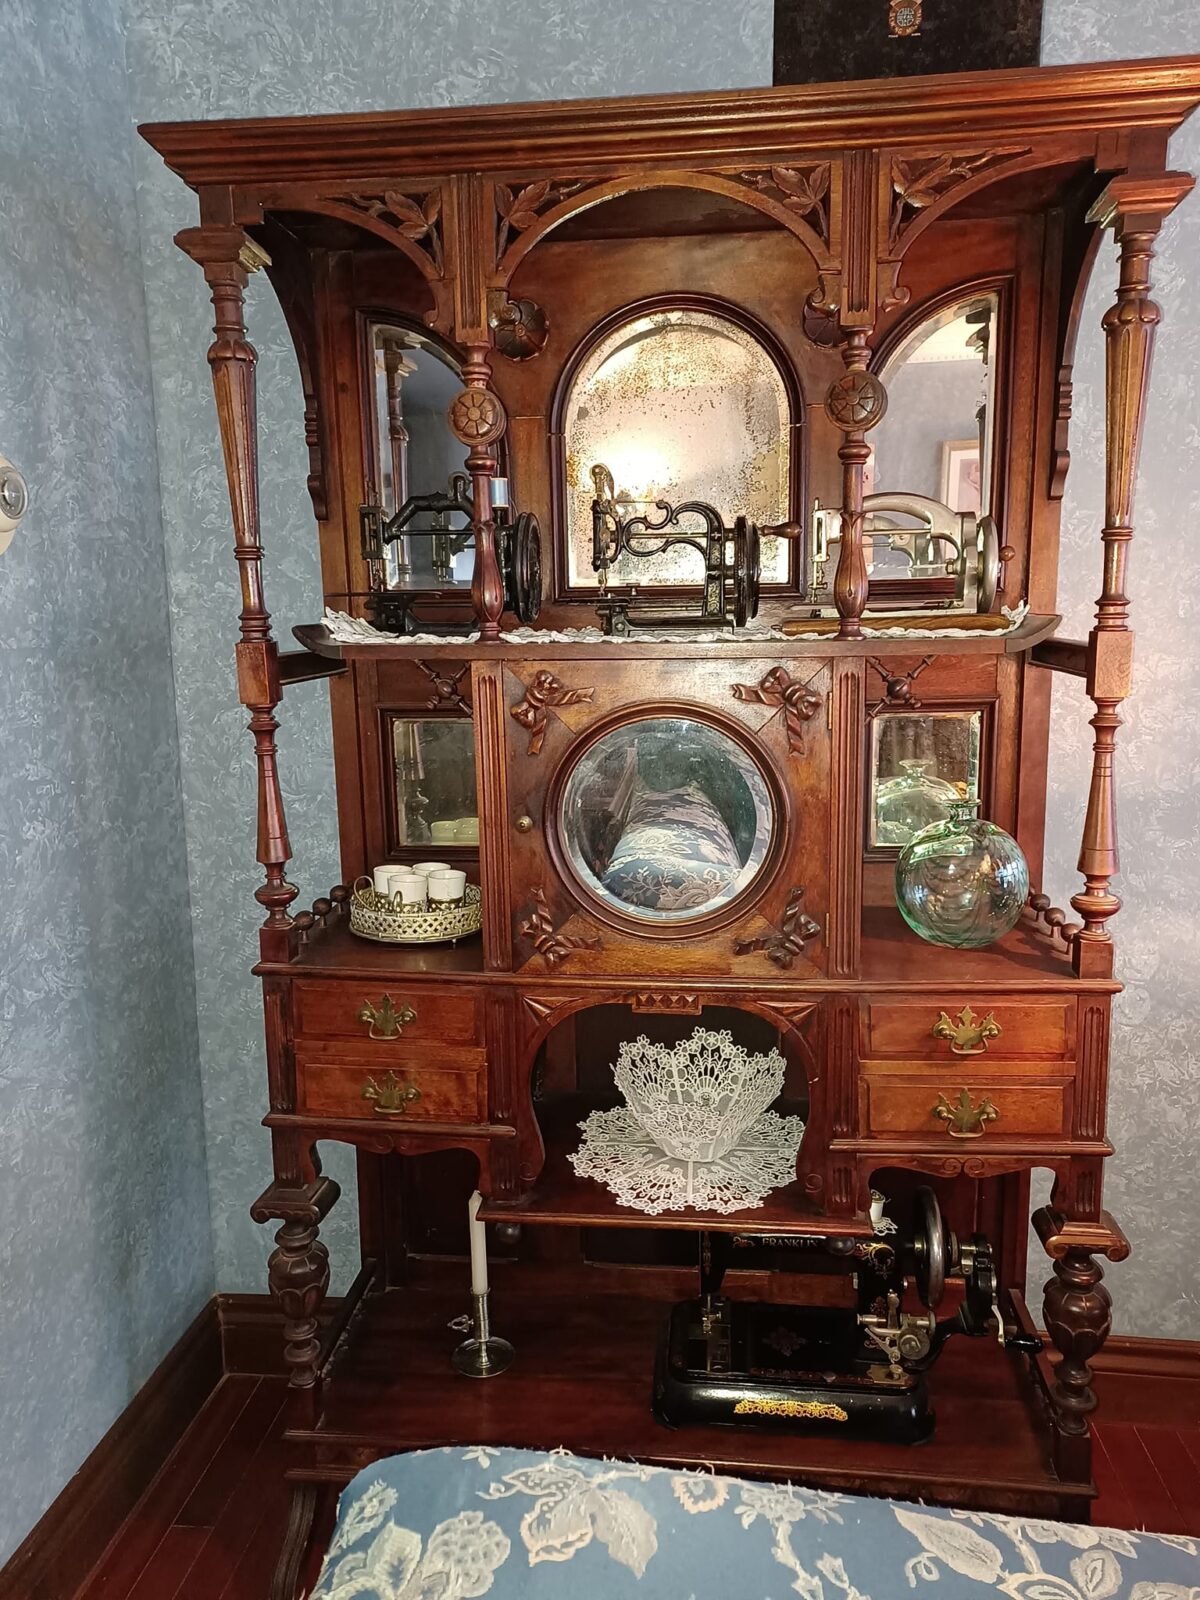
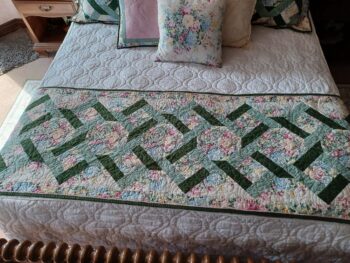
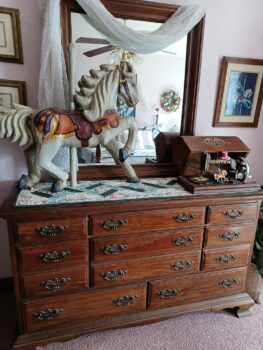
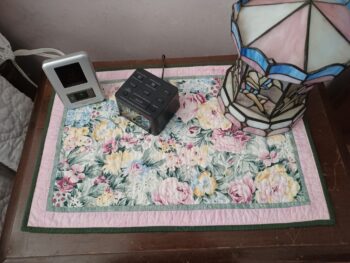
Dolly posted a lace bowl she had done along with pictures of her room. She explained she changed the whole room for the different seasons. Here is her second season: (I love to look through these – so many great ideas!!!)


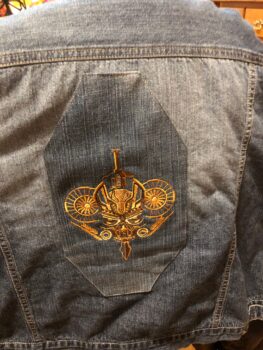
Barbara has come up with two different jackets. I like the way one has the patch added. Makes it easy to do, you can check to make sure you like it before finishing and adds to the design of the jacket!

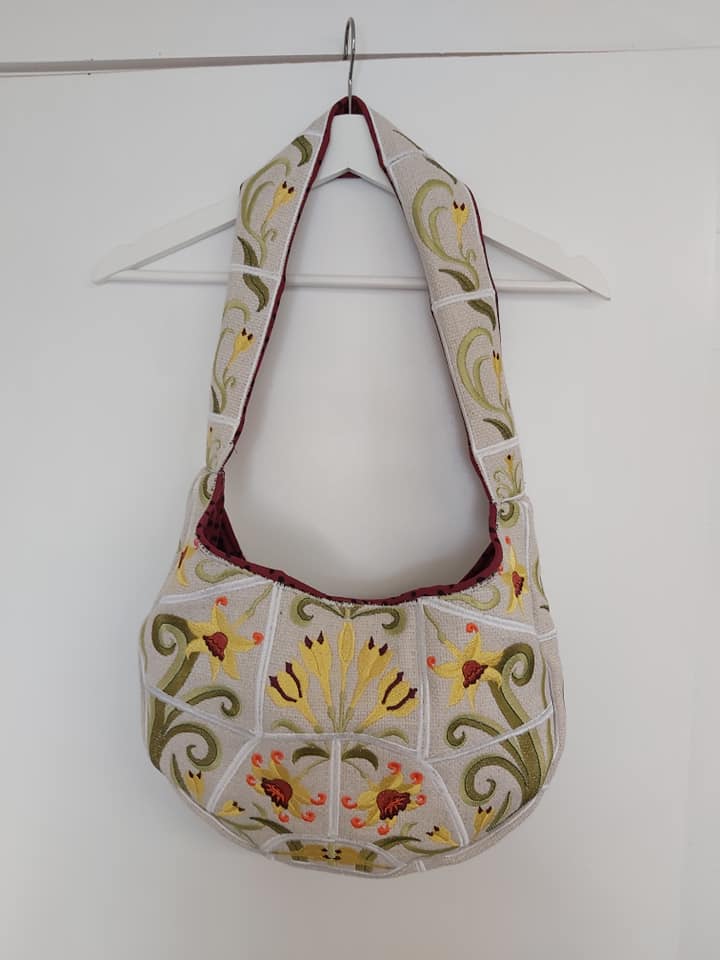
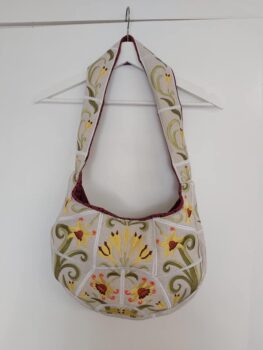
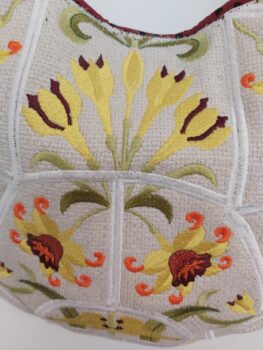
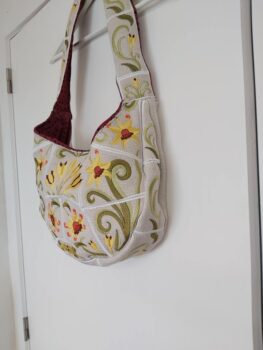
Great job Veronique! This is quite an easy bag to do compared to how it finishes up! Perfect for this time of year.
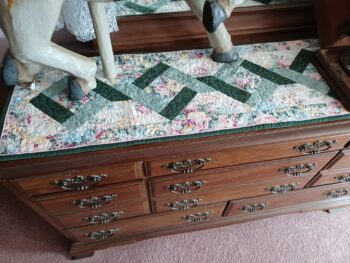
Dolly certainly has a beautiful place with gorgeous furniture to show off her lace embroidery!