Hi Suz,
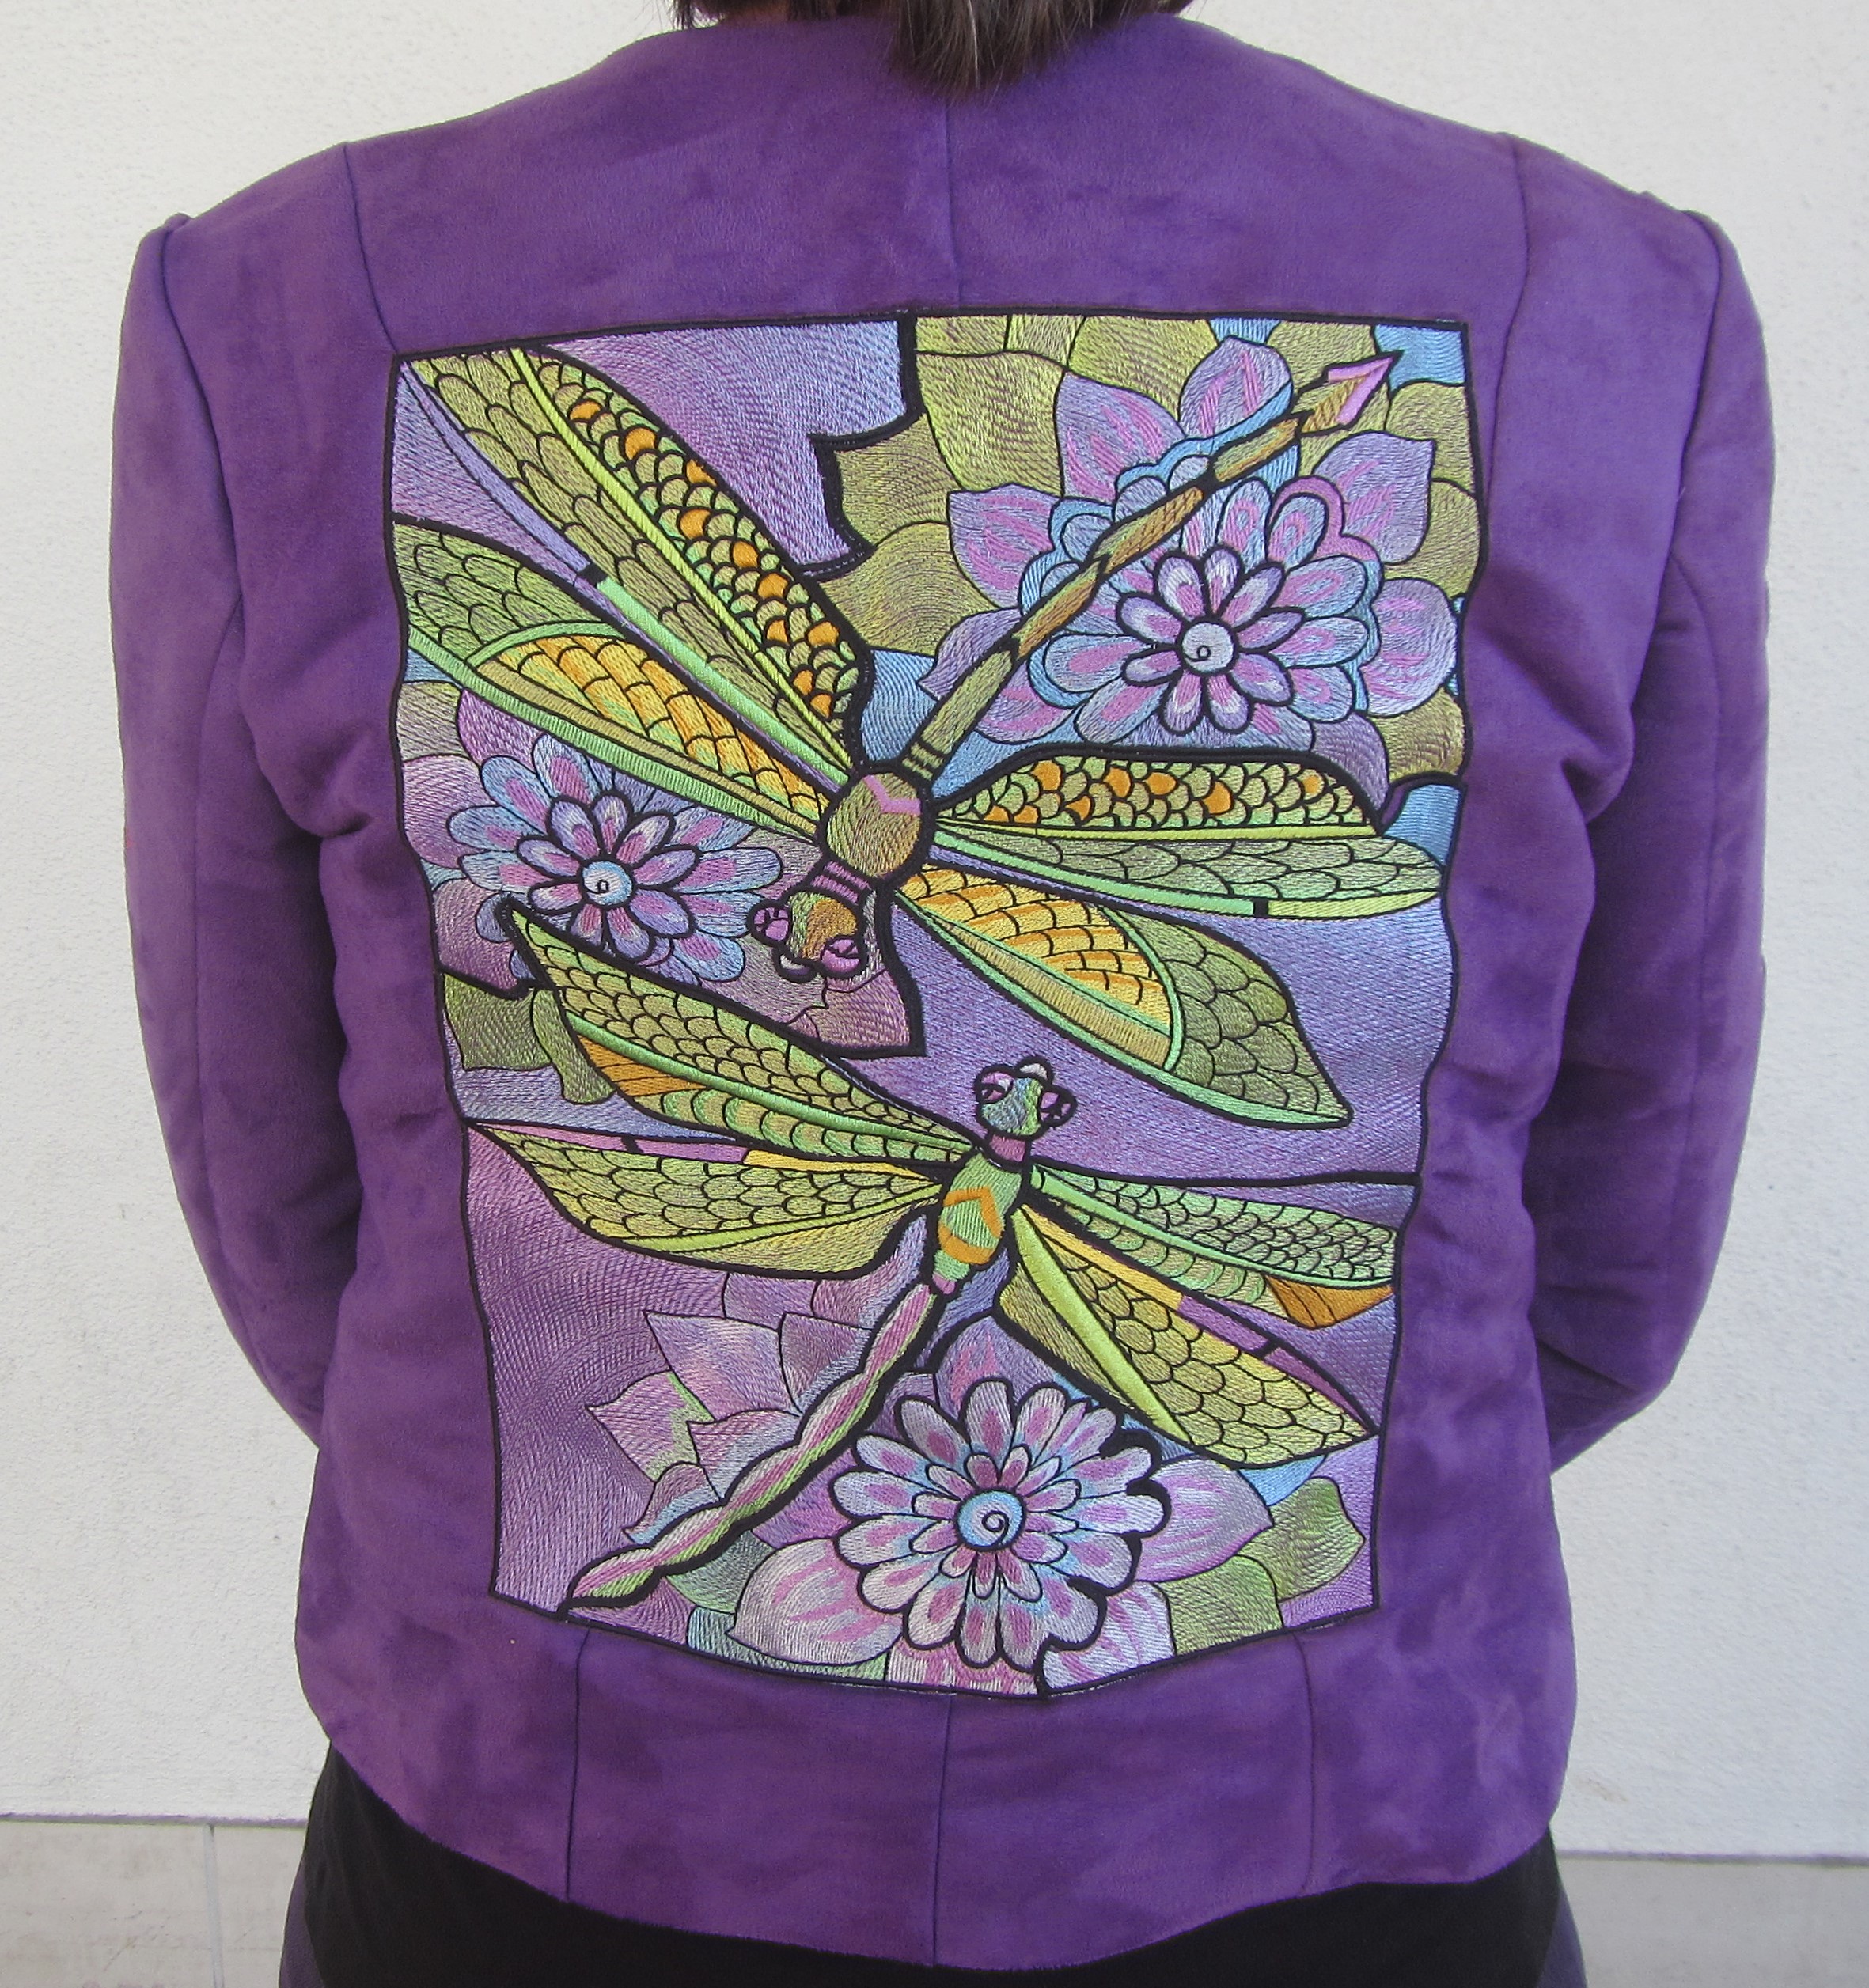
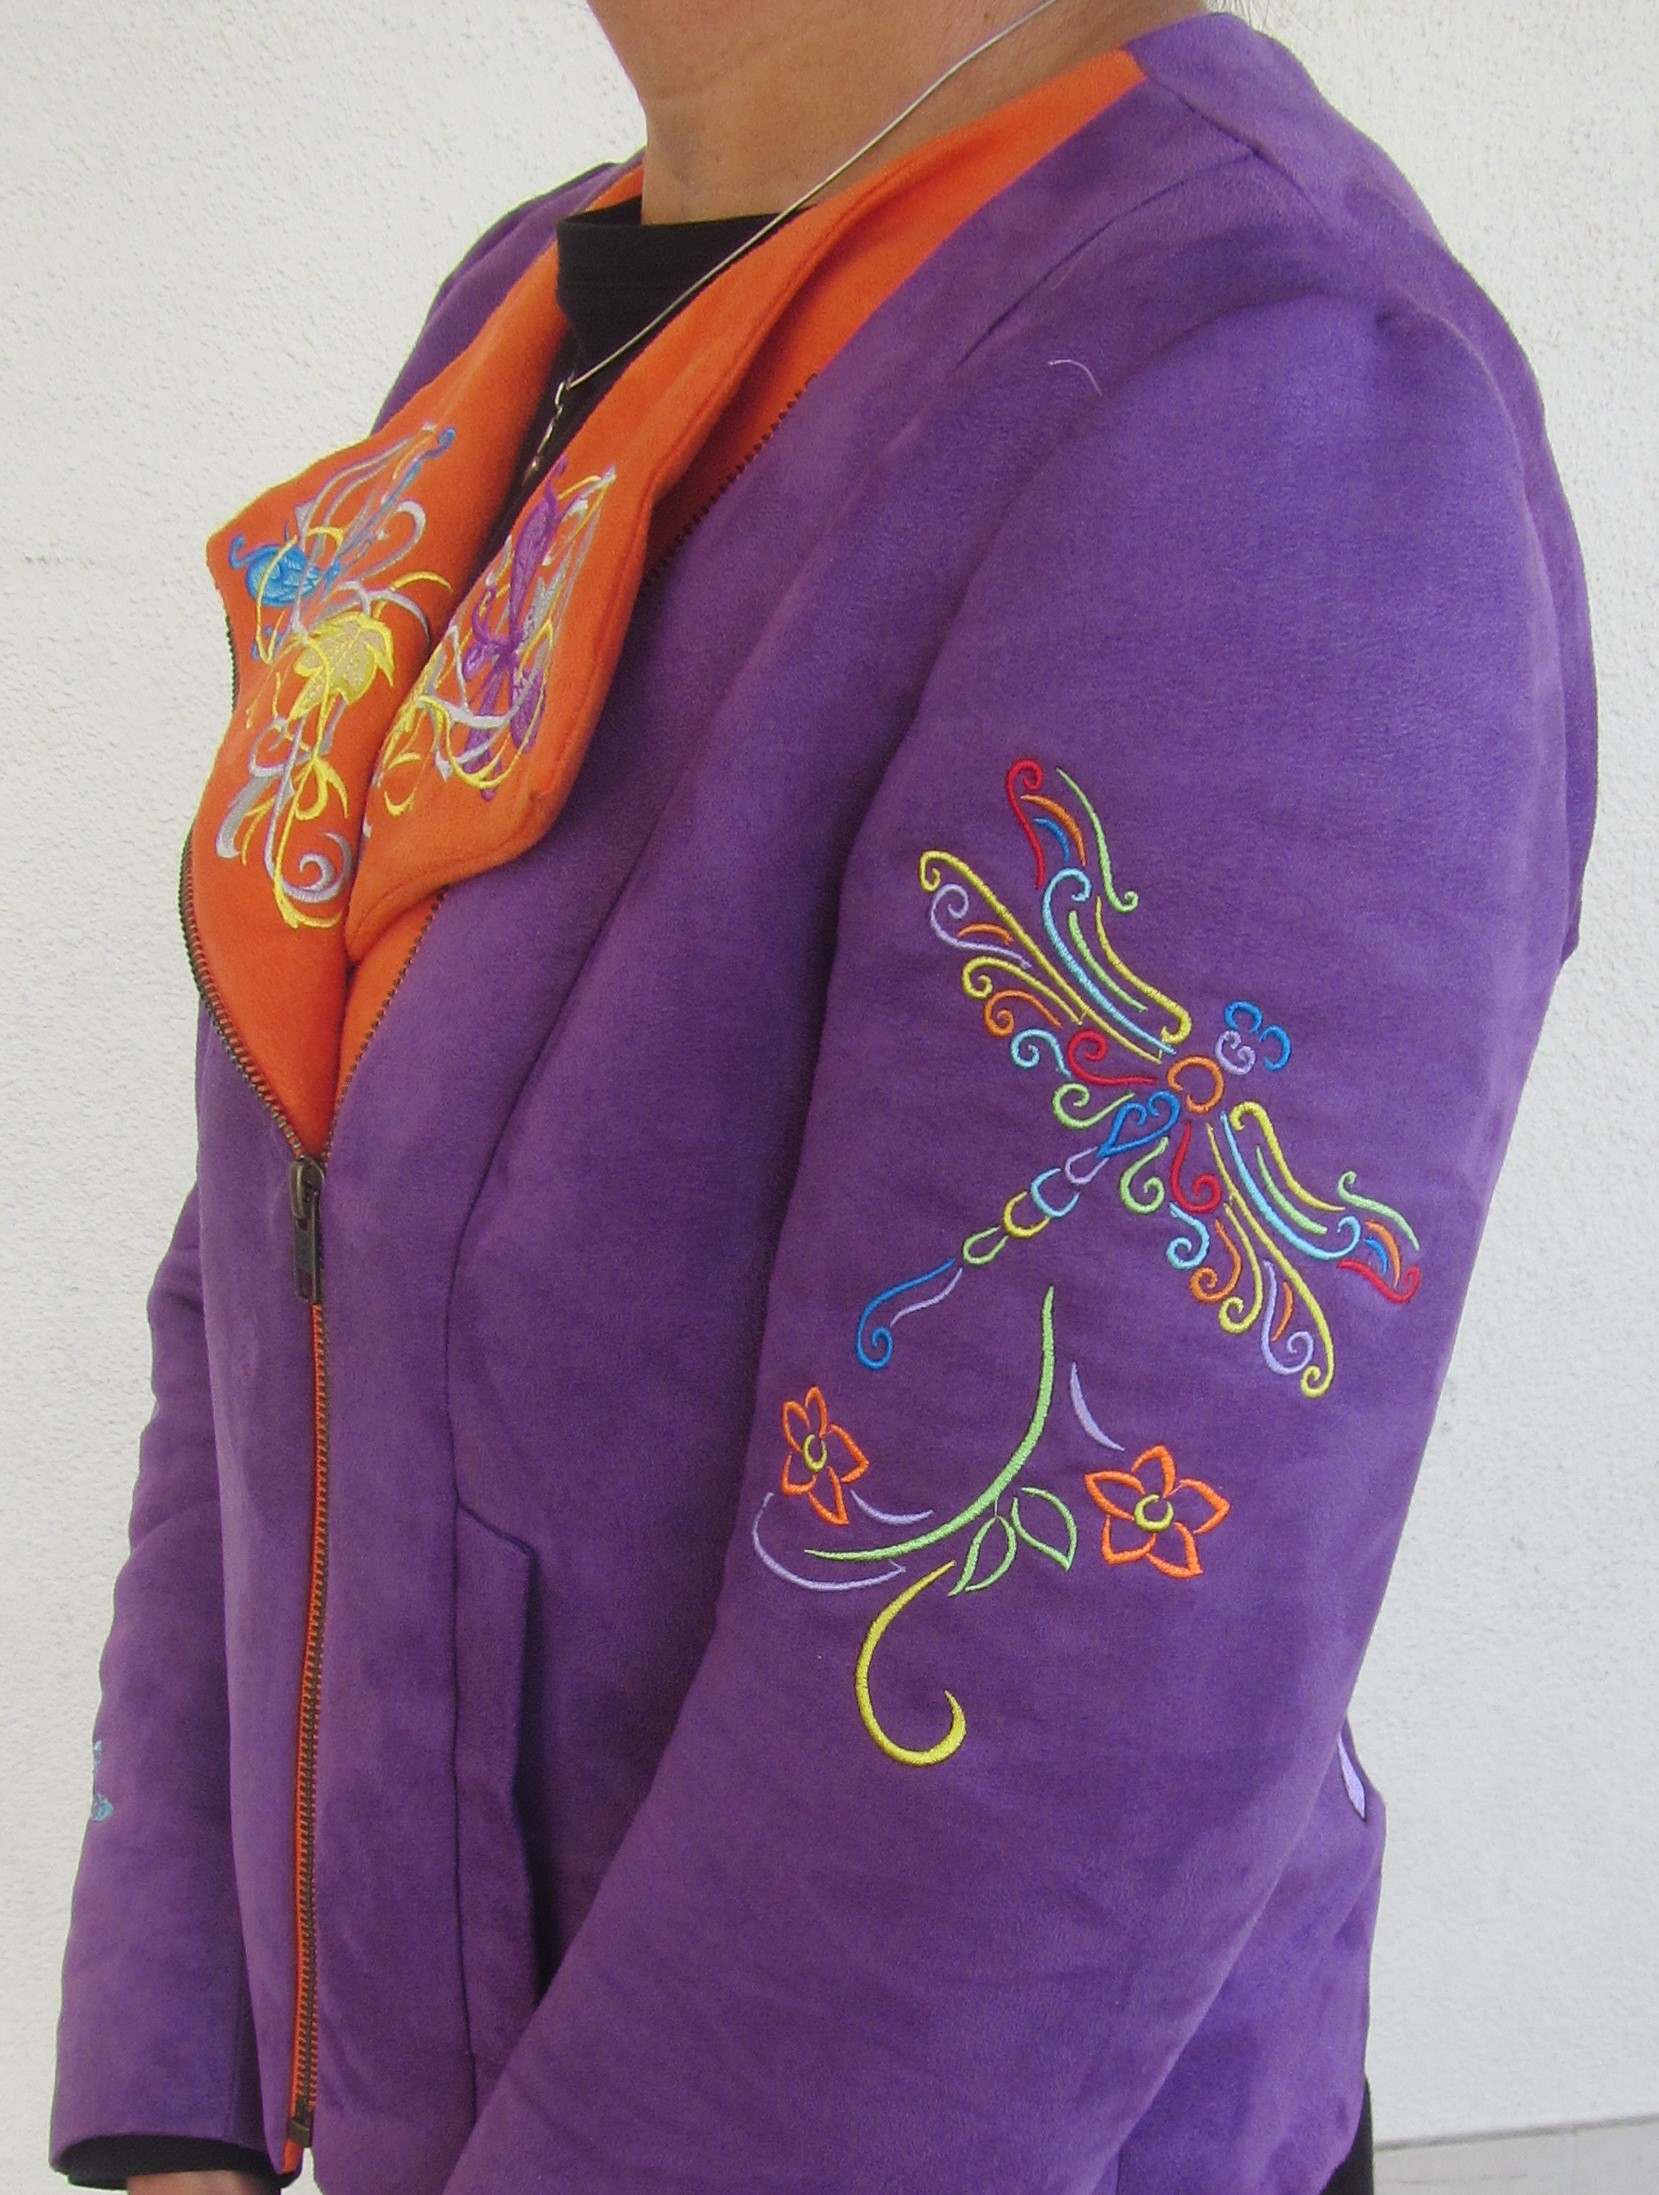
Here are photos of a jacket I made. This is how I found BFC! I wanted a large dragonfly design for the back this came up in my Google search. It was perfect – dragonflies, large design, beautiful colors.
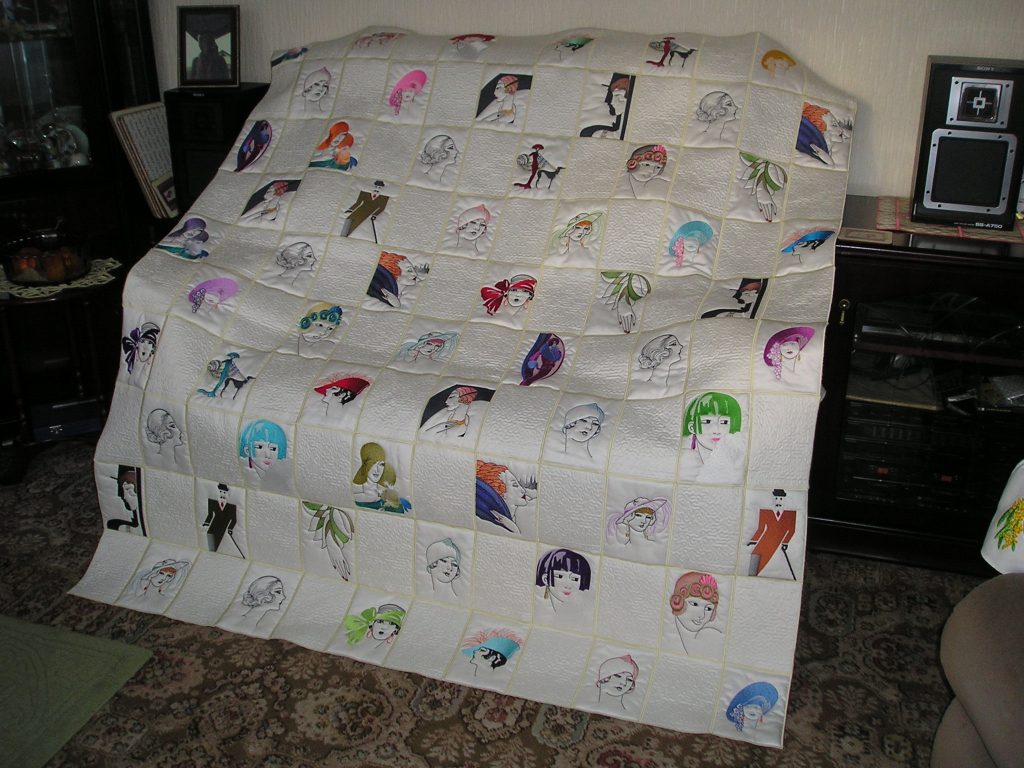
I have a multi-needle, so I decided to figure out a way to work it in only 10 colors. I( don’t always do this, but my previous project was an embroidered quilt and each block had more than 10 colors – I wanted a break from changing threads!)
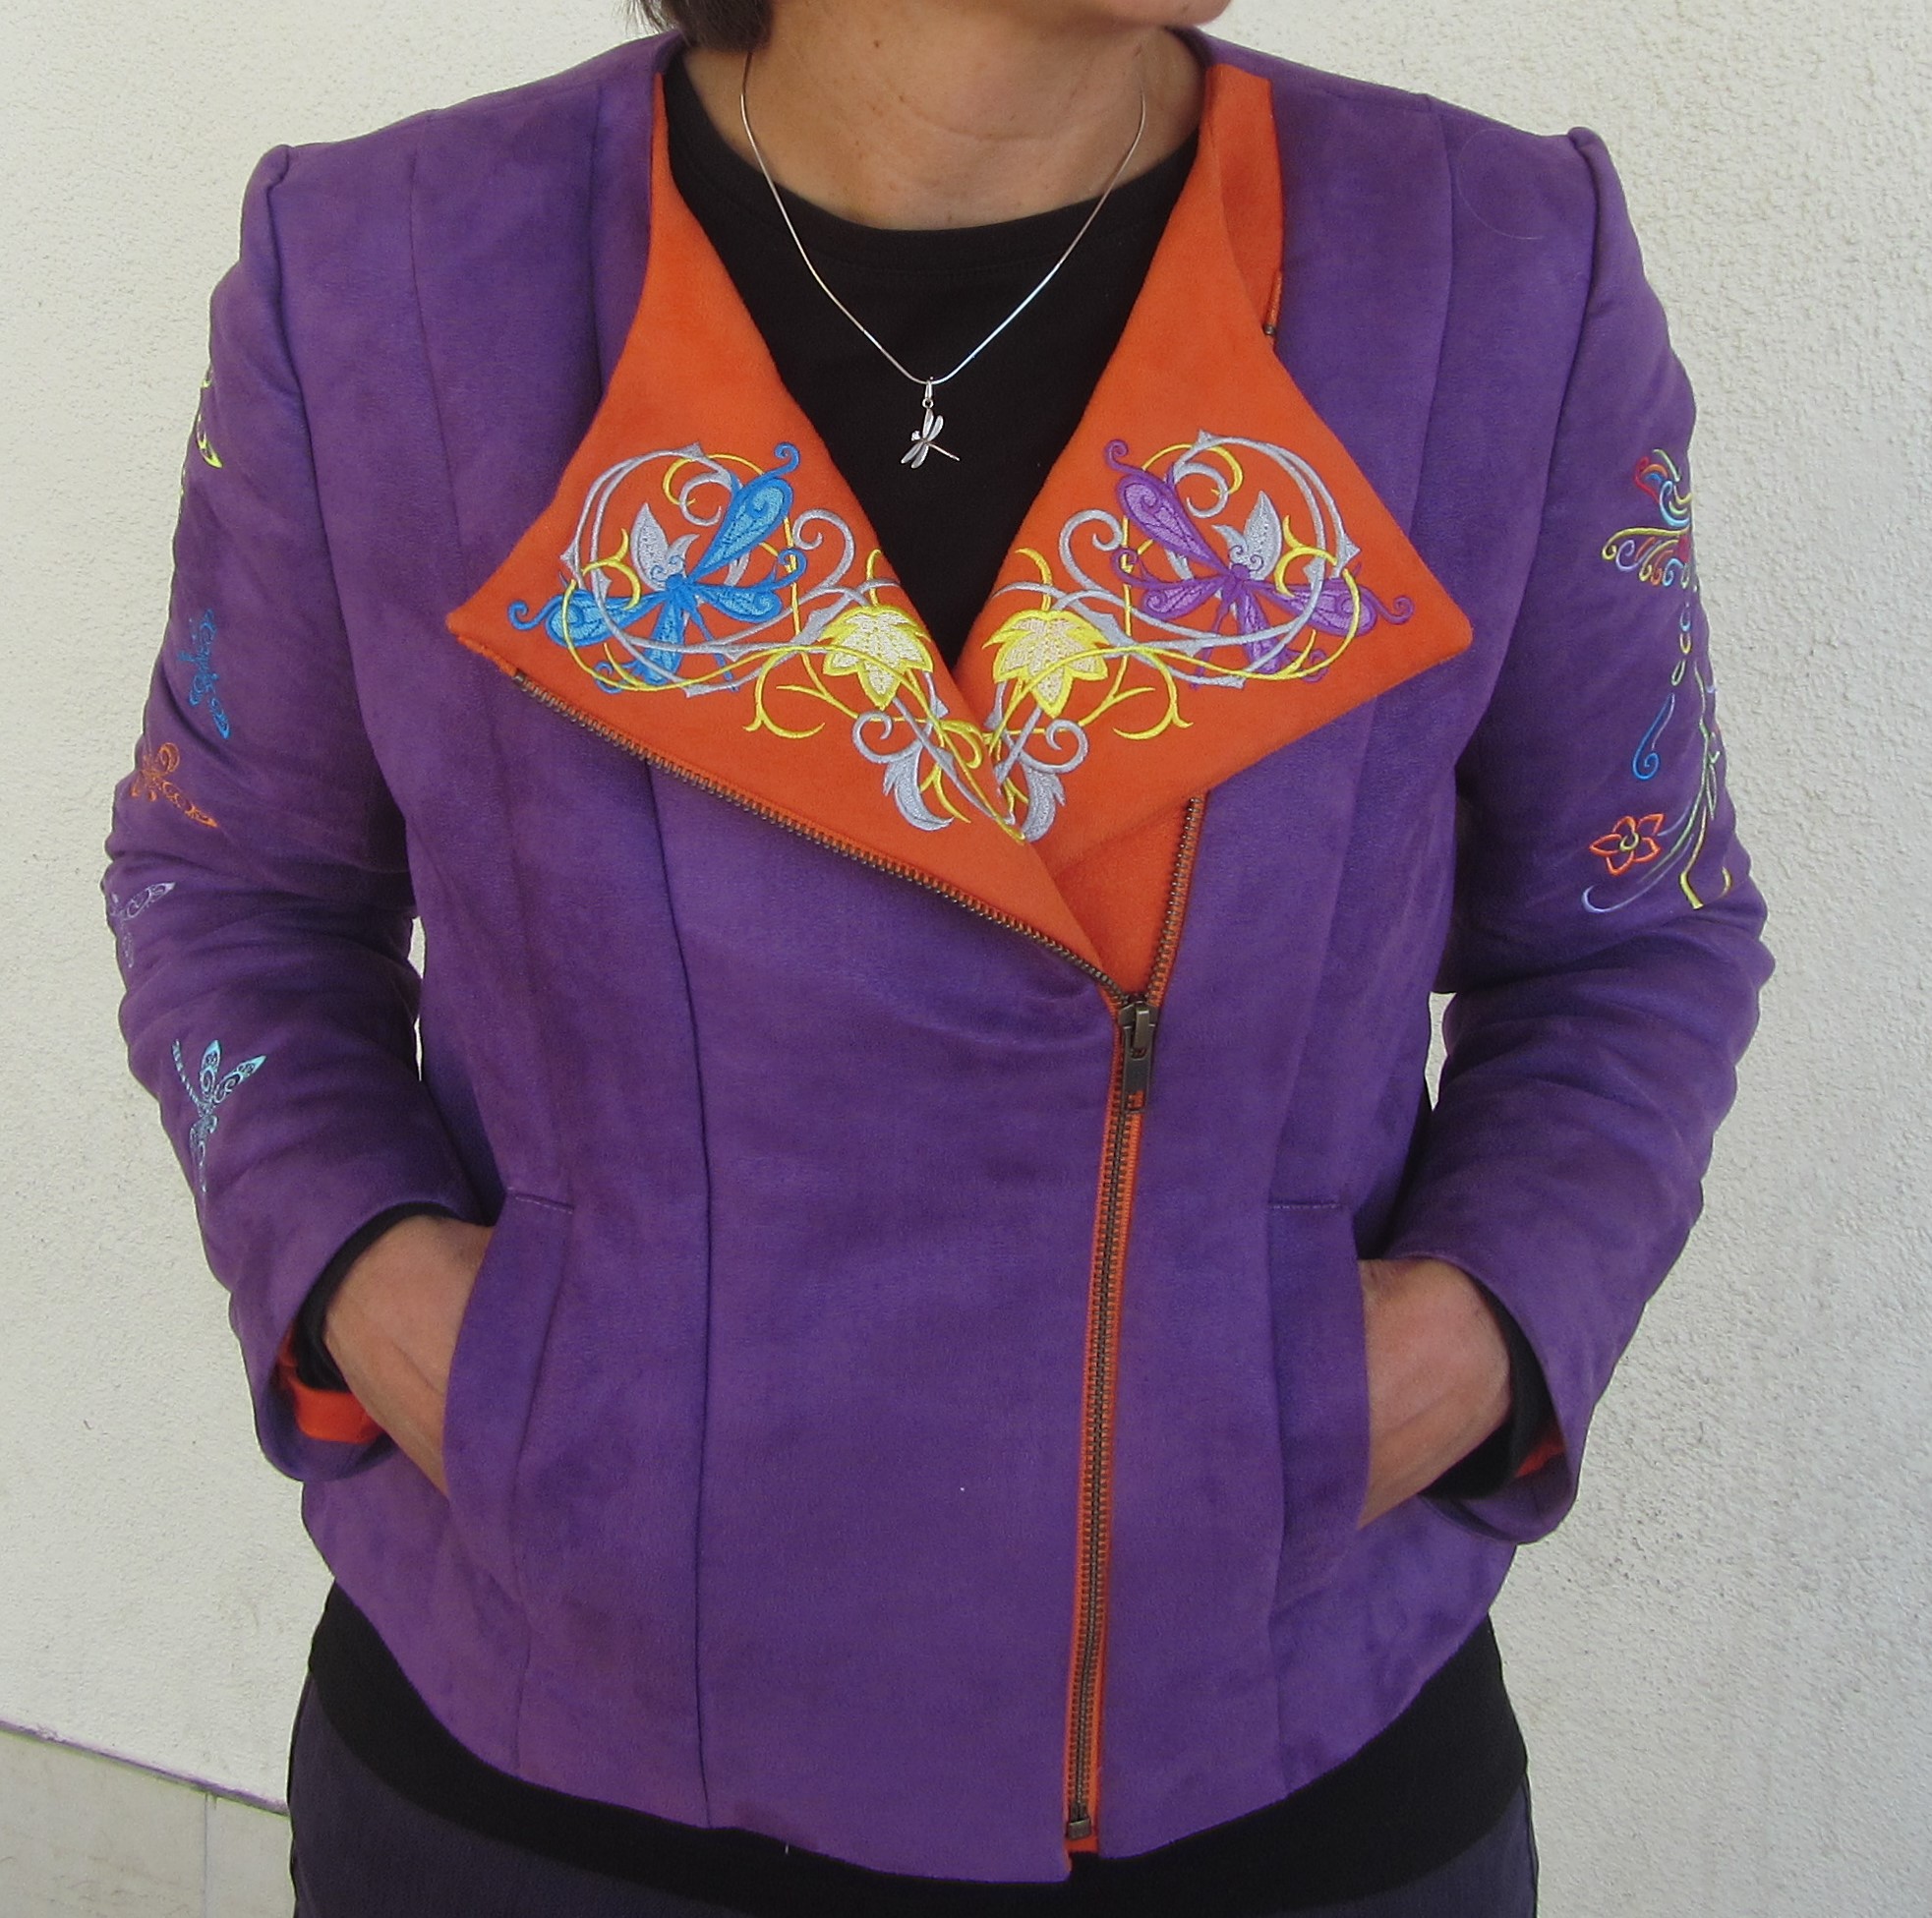
I did a test stitchout because there is so much shading and I needed to know exactly where every color was used to be sure I didn’t end up with something odd. I think I did a second test stitchout because I still was undecided if jacket would be orange it’s purple lapels or purple with orange lapels. I have learned that colors on a purple background look different than those same colors on an orang background. But, it is worth all the time doing tests.
The other embroidery designs are not yours, so I understand if you don’t post those pictures.
I am happy I found your site. I previously sent pictures of a couple things I made from your designs for my mom. She loves them. The angel was hung up right away and then moved several times as my mom looked for their perfect spot. I was so happy to make something for her that she loves.
Nadina
I asked Nadina about the jacket pattern: N
Thank you. The pattern is from Lisette for Butterick B6169 https://oliverands.com/shop/lisette-for-butterick-b6169-sewing-pattern.html
Yes, the jacket is all mine! And I wear it. I should have left a bit more ease in the back to account for the stiffness, but I don’t care. I was pleased that I finished it (first time making a lined jacket). Yeah, I know the bright colors aren’t for everyone, but it is very me!