Large Embroidered Tote

From jc:

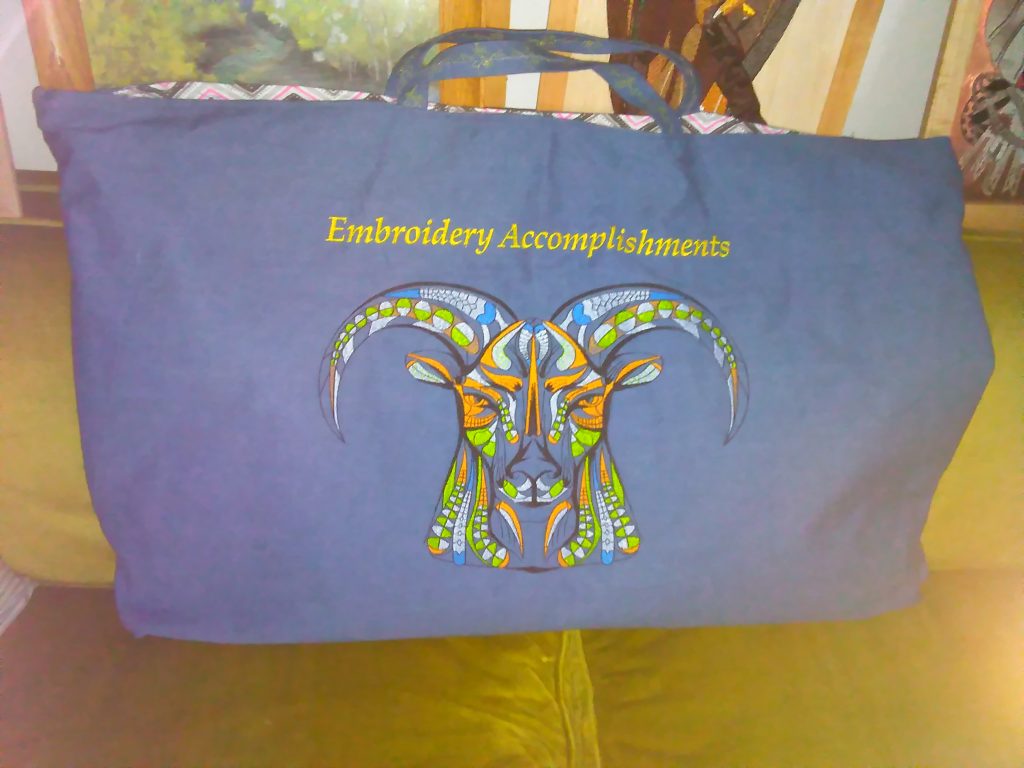
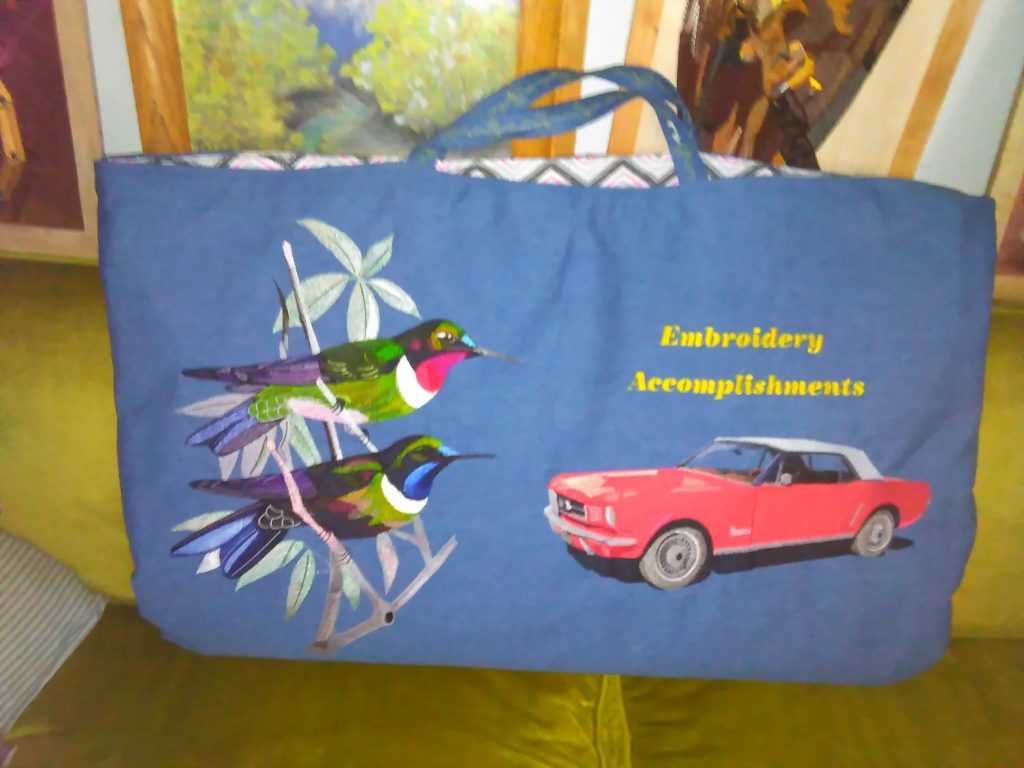
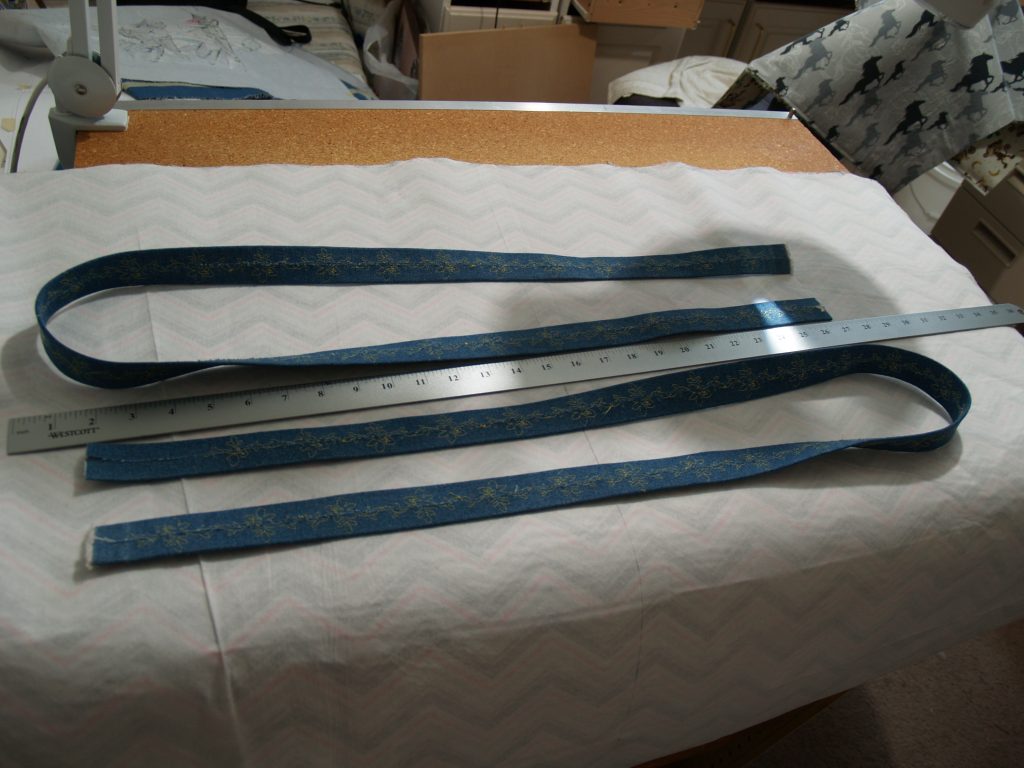
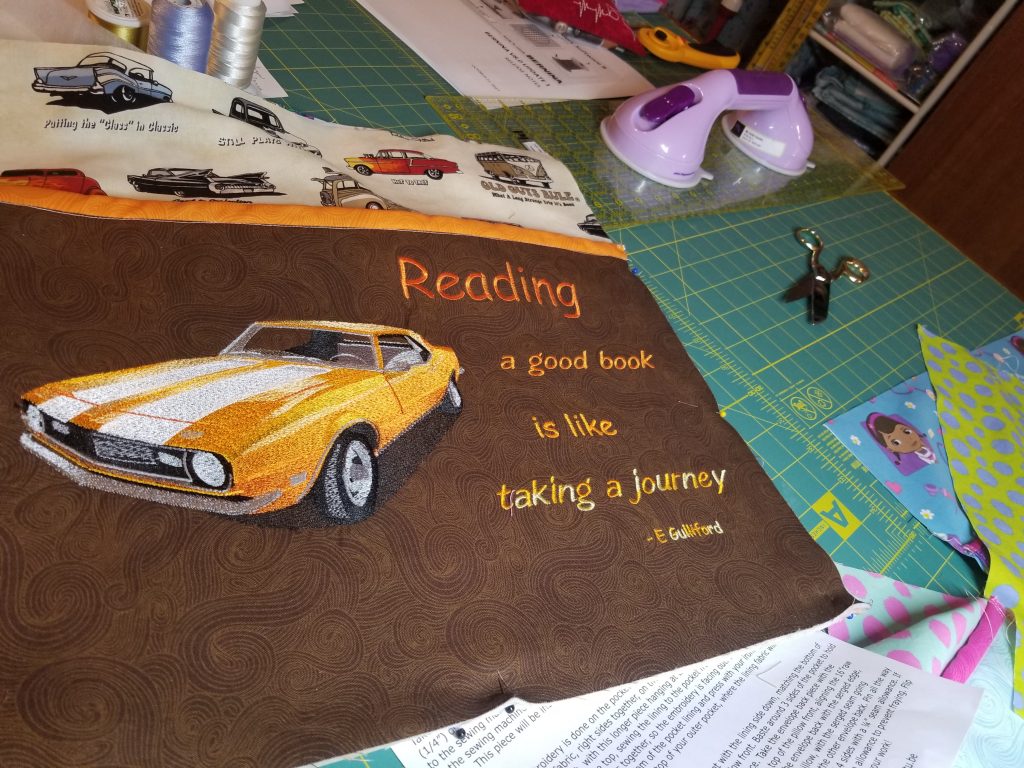
“I made this 24″ x 36″ 4 compartment tote to transport my wall hangings.

The handles are over 5 feet long and have a continuous embroidery design on them — Both the top and bobbin threads are continuous; no cuts or pieces.”

I LOVE Tote bags and use them for many things.  (that will be a tutorial later on) but I hadn’t thought of making one large enough for wall hangings.  I think this would be a great way to store our embroidered pictures when they aren’t gracing the walls.  You could hang them on hooks int he back of a closet or a similar space.  It would keep them clean and neat.  You could even make totes for different types!  I might add a zipper if I was going to use them for storage to make sure the embroideries didn’t get dusty.

This would be a great way to practice doing large designs too!  If there is a little *boo-boo* somewhere it wouldn’t matter and you would have very interesting Embroidery Tote bags!

Great Project jc!!!!

Velda’s been busy!!!

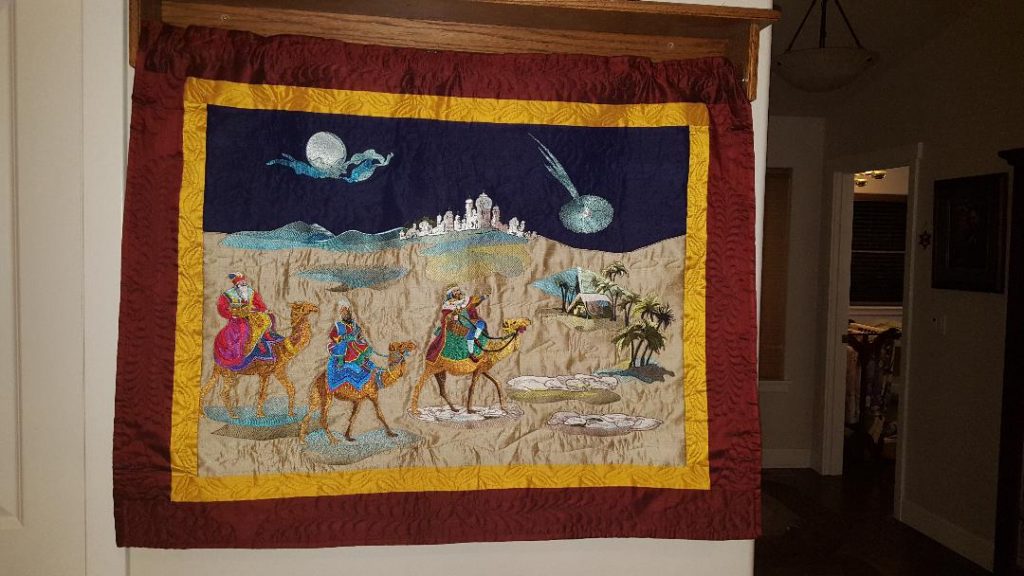
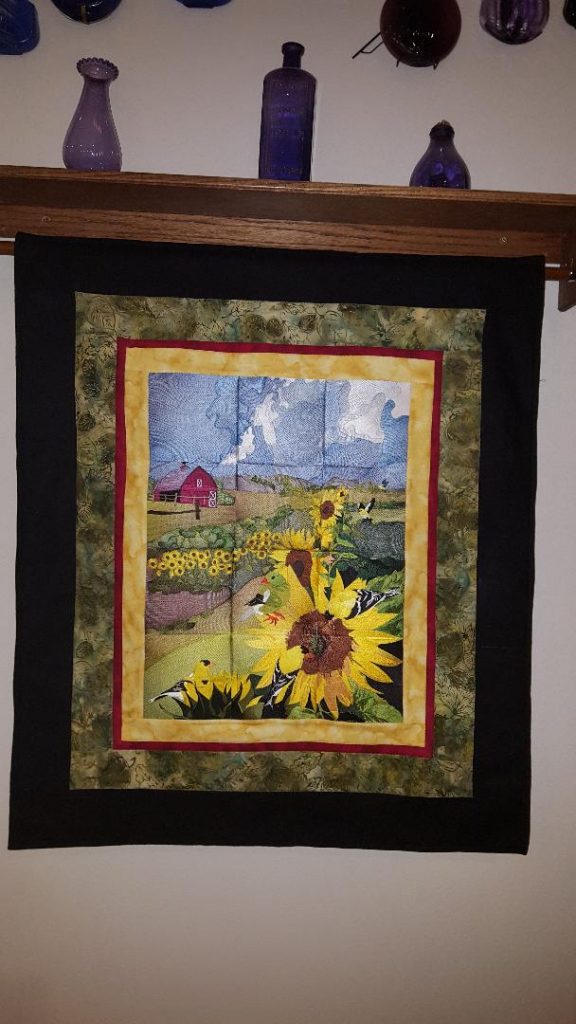
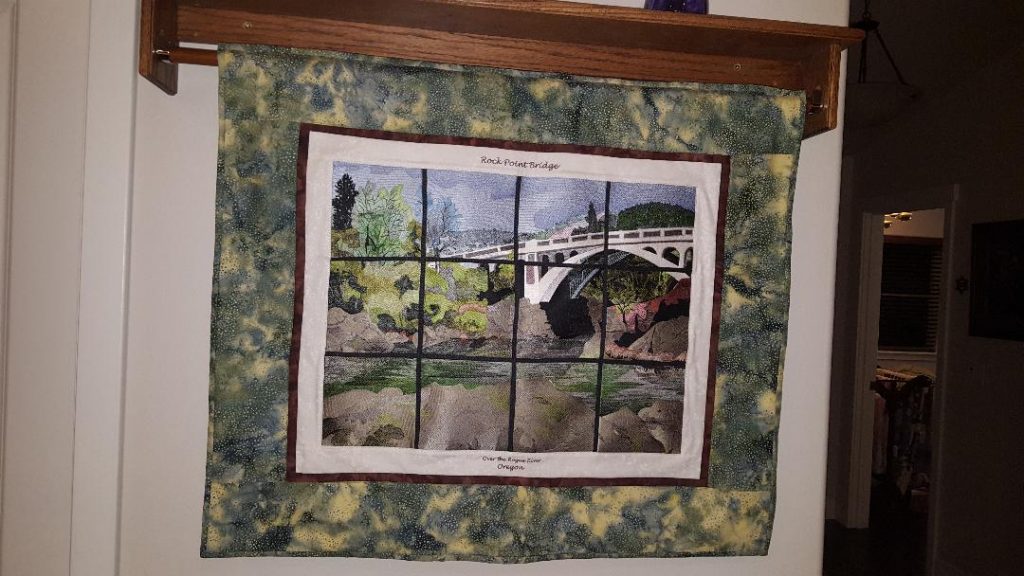
It was a lot of fun to get Velda’s email with all her projects.  Here is her words:  “I’ve been working on some tile scenes that are my favorite.  I love your work!  I will say Winter Peace took  me 3 tries.  I embroidered it twice.  Finished it 3 times.  It’s important to square everything as you go.  Learned that the hard way. Velda”

They are all beautiful Velda – you did so much work on them!! 🙂

BFC1504 Approach of the Kings – Complete

BFC0593 Window – Sunflowers and Finches
BFC0573 Rock Point Bridge Over Rogue River Oregon
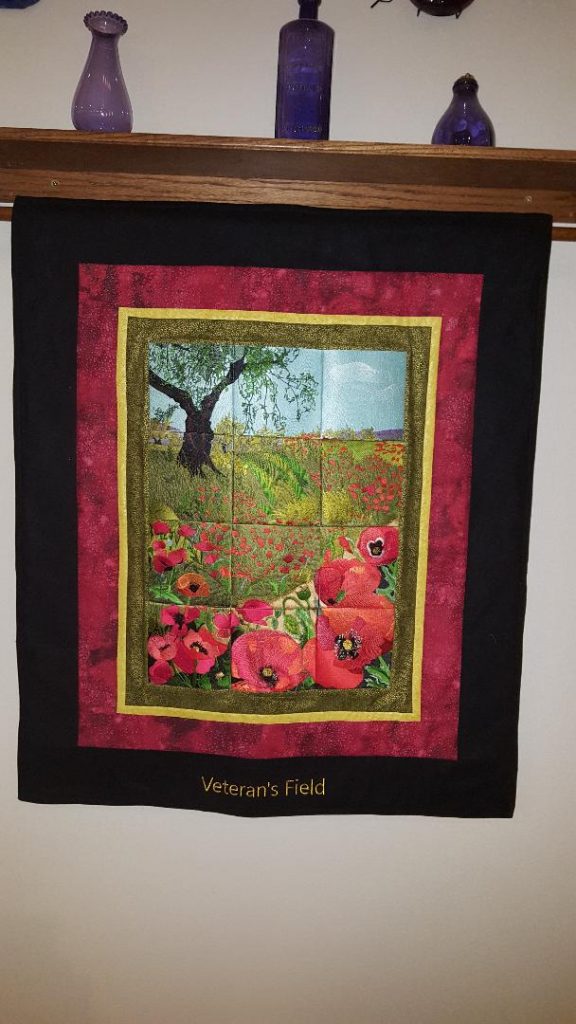
BFC0496 Window – Poppy Fields
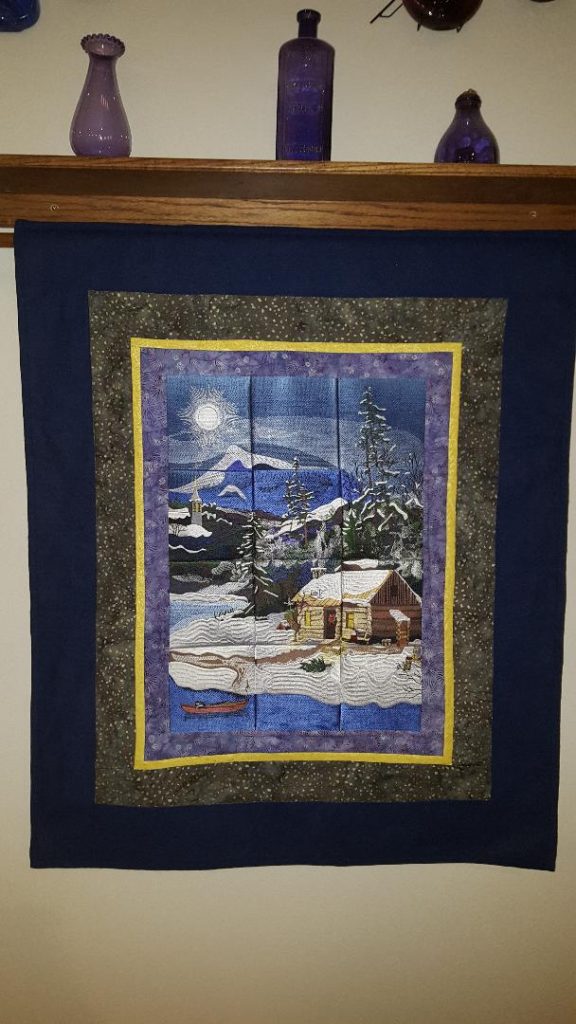
BFC0783 Window – Four Seasons – Winter Peace


A wonderful Sewing Worktable

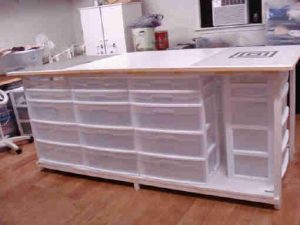
SueP of my Yahoo group told us about her new table!  It sounds and looks wonderful.

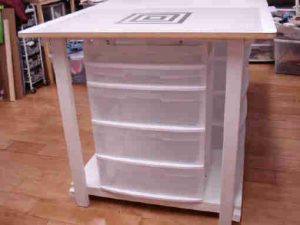
SueP: “My new sewing room is now done. Hubby finished his part of the cutting table tonight.  I still have some touch-up painting to do on it then I can start to unpack and sort all the supplies into the 35 new drawers. It is 93″ long and 42″ wide. I can’t wait to work on it”

Sandy: “What type of wood did your husband use to make the table? I had thought of getting some type of pressed board to make a large sewing table. I’m not sure of what it is called, but it is the size of plywood (4’ x 8’), but denser and heavier. I didn’t know if it would sag in the middle due to its length.”

SueP: “Thank you. Yes, you are describing the material he used. He built a frame under both top and bottom with 2×2 & 2x 3 lumber. Like you would build a wall. The legs are not adjustable; but we measured the height that I wanted to work at. It is slightly higher than a standard counter. He then laminated it with a smooth product used for making kitchen counters. I bought the drawers at WalMart.”

A Mermaid Bag

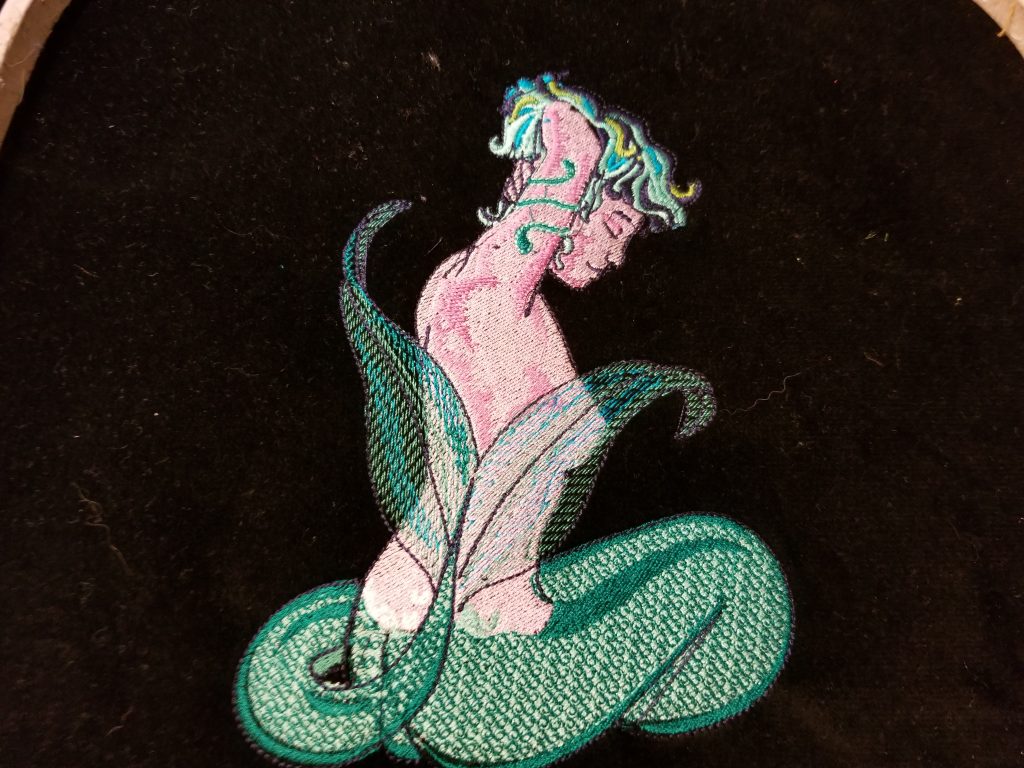
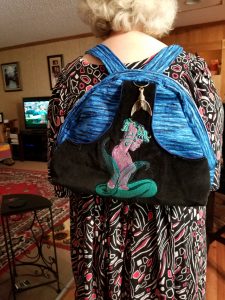
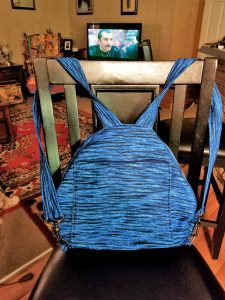
From Karen:  “I just finished  a bag  I have  been  designing     On what  fun      Thought you would  get a  kick  out  of  it    The embroidery is  done on black  velvet    The colors are what II saw last  time  I saw them  ggggggggg”

BFC0114 Women of Fantasy

Great Bag Karen – perfect for the tow ladies – the Mermaid and the Model!


I’ve always had a soft place in my heart for this mermaid.  I did her in Dec, of 2003 – I started the website in Nov. of that year so I was still very new to all of this.  I remember how excited I was when I discovered I could make her tail sheer .  LOL  I was afraid someone would be offended so back then I added something about if they  would prefer, the tail could be stitched two or three times.

Pre-Shrinking Stabilizer

Yesterday someone asked my Yahoo group about whether stablizer can shrink and if so, how to prevent that?  We’re getting some great answers:

ROBERTA:

I really would like to get some feedback on a particular issue: SHRINKAGEI recently read somewhere that some people both prewash their fabric AND stabilizer to prevent shrinking after a newly embroidered garment is washed. I would like to get some feedback about this. I have been using Sulky stabilizer (nylon mesh) for tee shirts. After continuing to get the same results, i.e. puckering after washing an embroidered tee shirt, it finally occurred to me that the stabilizer was shrinking.

Are there any brands out there that don’t shrink? Does anyone on this list prewash their stabilizer? Any help I can get with this issue will be appreciated.

SUZ:

I’m not aware of any stabilizer that doesn’t shrink at least a little.  I don’t prewash, but I use my steam iron and just shoot hot steam on the stabilizer – it’s quick and easy.  Be sure to let it dry before using it or it will stretch in the hoop.  That seems to do the trick with all the kinds I’ve used.

LINDA:

I just steam mine before using   Seems to eliminate any shrinkage.  I think they all shrink some, even the non-fabric based ones.  Don’t touch the iron to the stabilizer, just hold it about ½ inch above.

DOREEN ABOUT FUSIBLE STABILIZER:

I run under a tap of warmer water and hang to dry. Steam by holding the iron above the stabilizer and then fuse

LINDA:

I lay my fusible stabilizer with the fusible up when steaming.  Then I turn it over to fuse it to my fabric.

In response to my question about what brand of stabilizer, Marge replied:  I use Floriani’s nylon mesh, like his best.

Responding to a question about using this method for Jeans, Marge replied: I would use a product like Wonder Under, fuse the design to the jeans and then applique it by hand.  It  should stay on without a problem.
 

A Fantastic way to Embroider

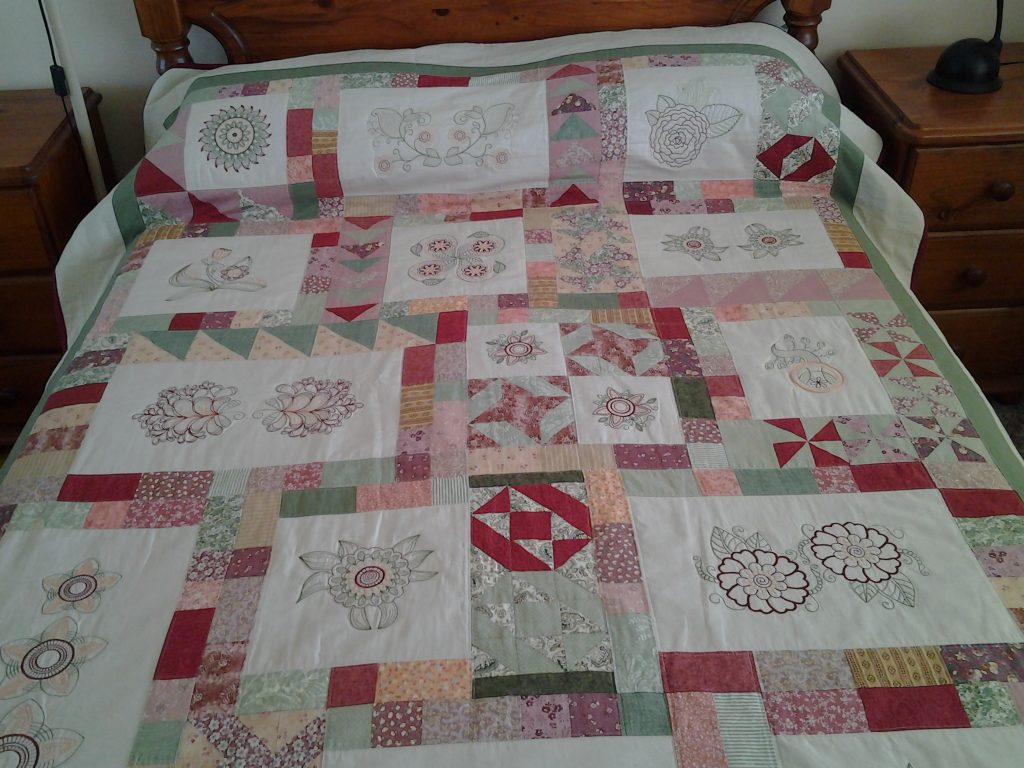
Marge has been doing her embroidery this way for quite some time and she is sharing her method with all of us!

*Adding embroidery to any item makes it more beautiful.  But if you are like me how many times has the placement been wrong or a little off?  Embroidery is very hard to remove and even if you do on some fabrics it leaves unsightly holes.

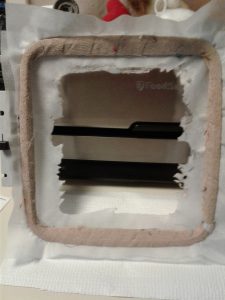
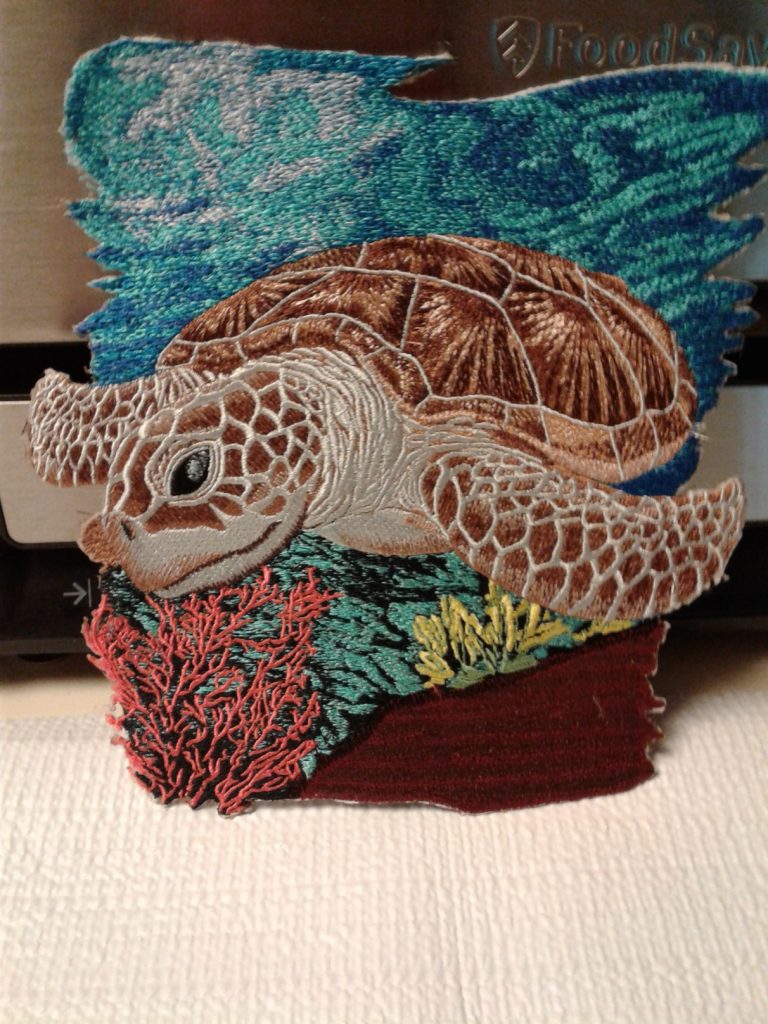
I do ALL embroidery that goes on clothing on nylon mesh.  It doesn’t matter whether a small stitch count or very large. Any design under 60,000 stitches goes on ONE sheet of mesh, over that I use two.  I know what you are thinking, it used to be 1 sheet for every 10,000 stitches.  The turtle I am featuring here has 167,000 stitches, would you use 16 sheets of cutaway?  I did it on 2 sheets of nylon mesh.  After  the design finishes you just appliqué it where you want it.  It never is crooked or has any puckering.  As you can see the turtle does have some puckering, now this would not be very pretty on a shirt but after removing no puckering.

When doing tee shirts or baby onsies this is the way to go.  With the onsies or and kids chlothing I put a card in saying that when he/she doesn’t use it anymore the embroidery can be removed and put on something else.  I hoop one or 2 layers of mesh and proceed with the design right ON the mesh.  When it finishes stitching out I use a stencil burner or if you don’t have one you can cut is out with a sharp pair of scissors.   I leave the design in the hoop till I remove it, it is much easier to do it this way.

If you have any further question or comments please let me know.

Marge in Fl.*