Bob’s Clematis Wall Hanging

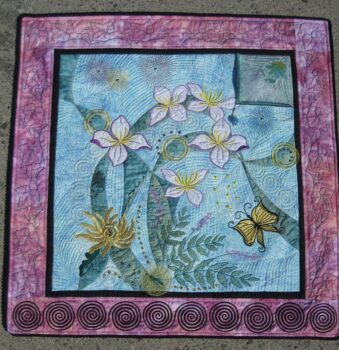
Clematis and Friends

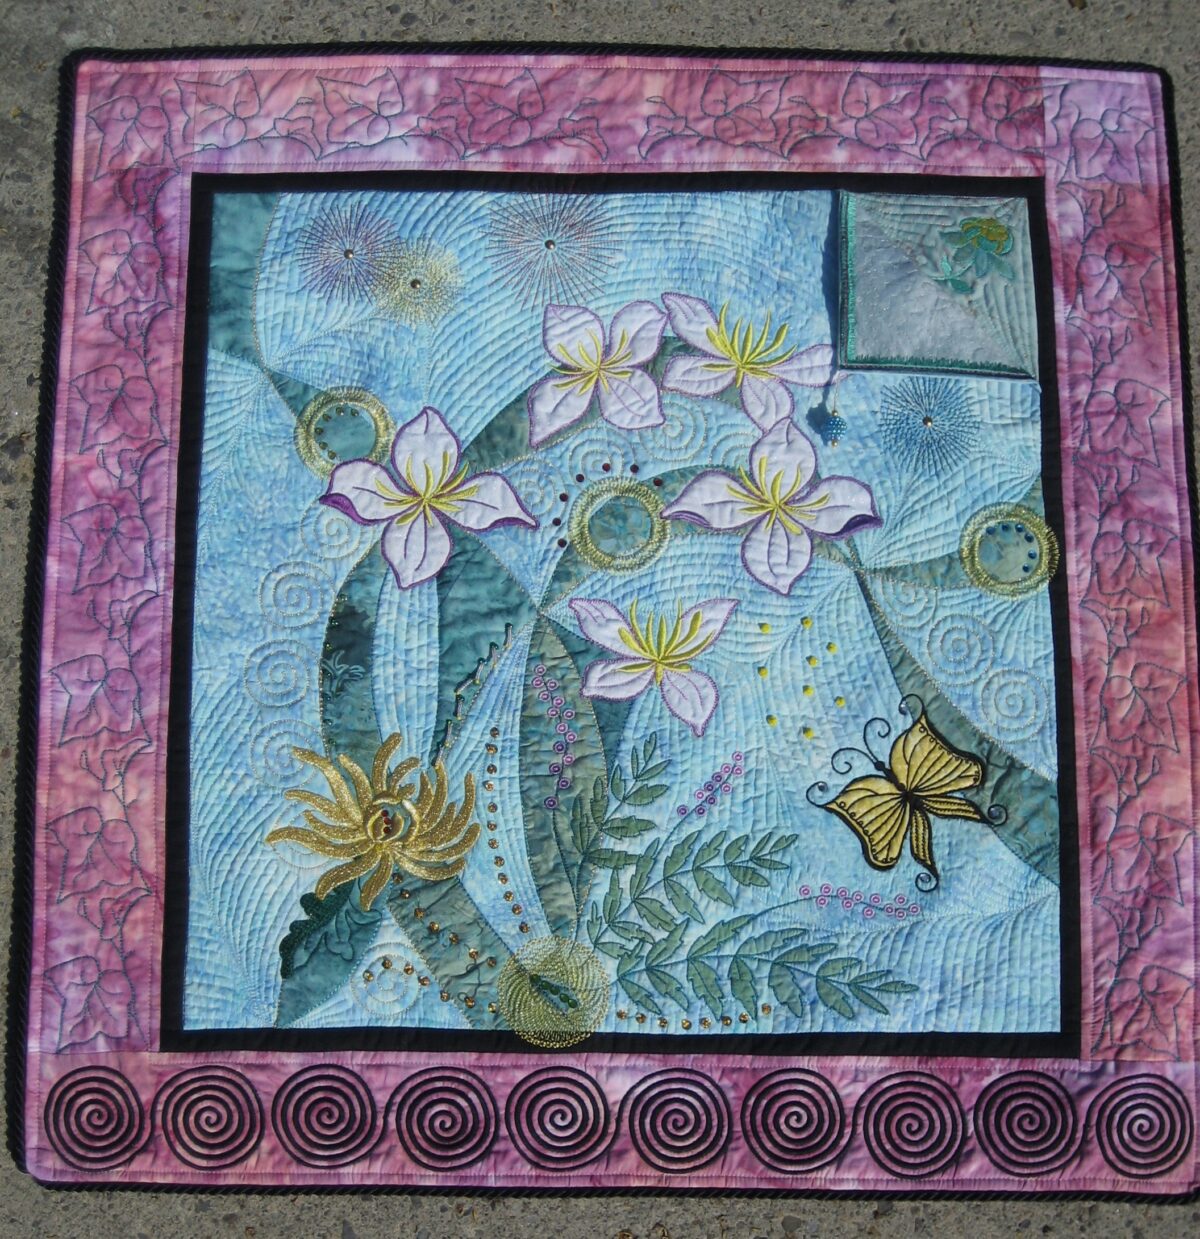
This wall hanging is approximately 26 inches square with borders.

I begin with the quilt ‘sandwich’ consisting of the top fabric (batik), cotton batting and fusible light pellon.  These were based together and the pellon was fused to the batting.

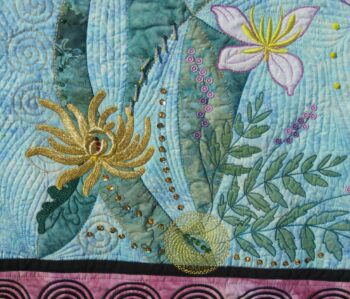
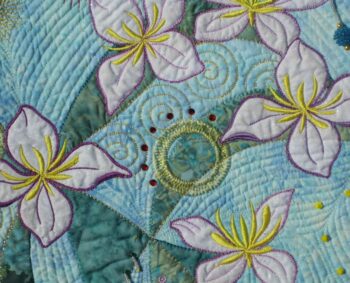
The trellis strips are raw edge appliqué with triple stitch edges.  The various designs have been applied in layers in an attempt to give depth to this piece.  The background designs were embroidered and the piece was quilted. The upper right hand corner has a fold back to suggest that that a new design can be revealed by pulling the top back. Additional layers of light pellon are fused to the back as needed to prevent curling.

Now I added the forward designs. I do not find open designs effect on a multi-coloured background.  Consequently, I used many of the designs as appliqués.  After embroidering a design, the excess fabric was cut very close and 3 lines of triple stitch were added to the edge of the design. The green in the fern leaves is fabric paint.

A cotton back was added just before the robe edge was sewn.  There is additional stitch-in-the-ditch to hold the backing. The piece is finished with beads, sequins and crystals.

HIi Bob – you used all the things i love in your wall hanging! – fabrics, embroideries, various quilting stitches and embellishments!  Great job…  Suz

Bob

Paula’s Cat Wall Hanging

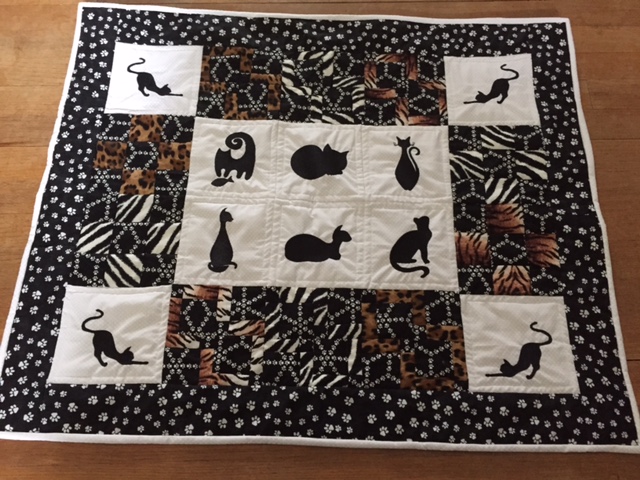
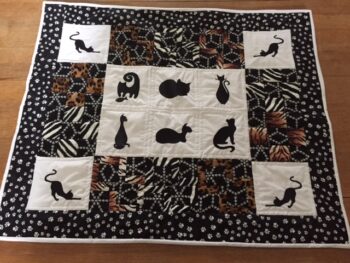
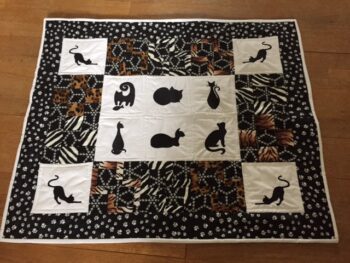
My wall hanging  last night is done with cat’s outlines and silhouettes. I stitched out the cats then planned my wall hanging using 9 patches and disappearing 9 patches. I had a charm package of animal print I had fun using that. I did quilt it in the ditch and put a hanger on it so I can put in on my wall.

That’s so cute Paula and my favorite subject!  🙂   Suz

BFC1343 Cats – Outlines and Silouettes

Pat’s Dragon

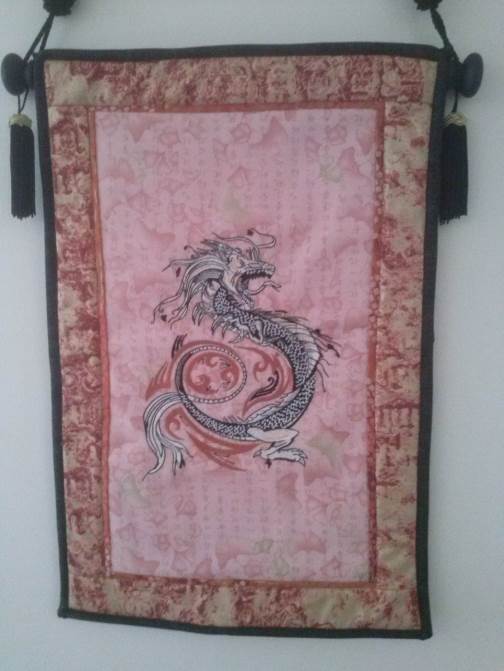
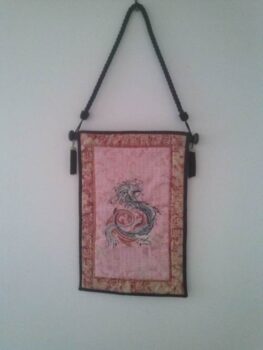
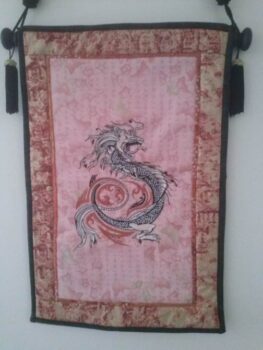
It was a test stitch initially which I made into a wall hanging and gave to my husband who adores my creative work. I’ve stitched out the file for commercial machines, I have a Janome MB4, but needed to reduce it and rotate slightly to fit my 200 x 240 mm hoop.  As always it stitched out beautifully.  I’ve used quilting cotton, Lonnie Rossi designs for Andover Fabrics from the Paint Box Range throughout.  The centre fabric is pink with gold embossed Gingko Biloba leaves in the background. There is a deeper in a colour to match the tan design around the dragon’s tail then a gold and tan fabric as a 2 inch border.  I’ve used a black for the binding, the rope hanger and tassels.  I’m so pleased with the result as is my husband, he took the semi-finished hanging to a group he belongs to and I ended up with orders for the design from other quilters.  I will attempt the large design next so I can play with placement and split designs.Pat

How great to have a hubby that appreciates your art!!! Beautiful job with the fabrics you chose ……Suz

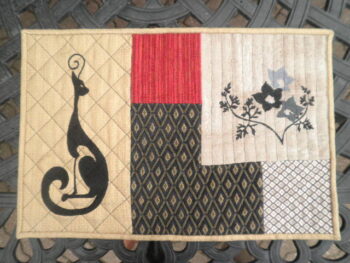
Bob’s Feline Placemats

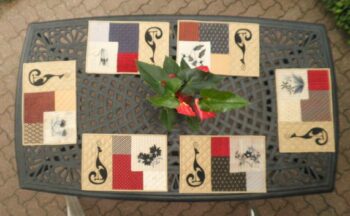
Freebies used 121, 276, 505, 655, 661, 713, 917, 920, 1001


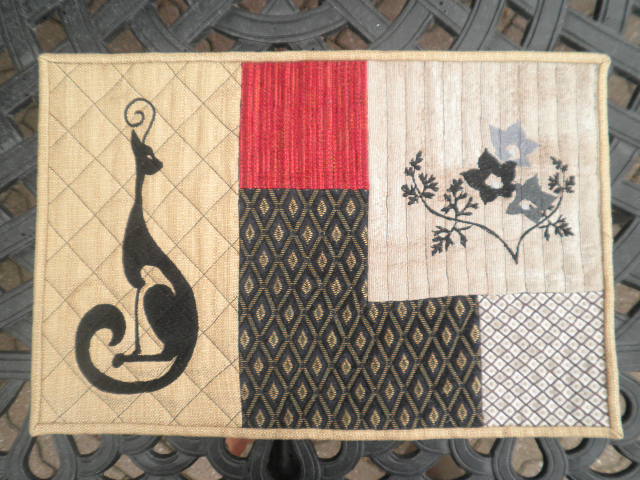
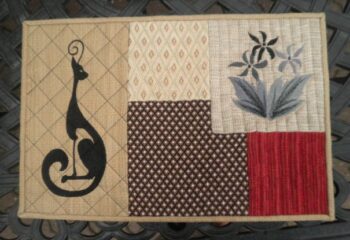
This set of six place mats began with a bag of upholstery fabric samples and remnants most of which are chenille.. I wanted both consistency and difference in the design of the individual mats. I choose to use a gray scale for the embroidery in order to provide a unifying factor and to eliminate the competition with the bright colors of the fabrics. While the arrangement of fabric blocks is the same in each of the 12″X18″ mats, the sizes wary depending on the size of the embroidered square block. The unique embroidery compositions have been obtained by varying the size and orientation of the freebies. Some compositions use multiple and truncated application of the freebie design

I love the way you have combined the designs into very similar but yet different arrangements!  It adds so much interest to the table!  I can also see a whole quilt done similar to these mats.  Thank  you Bob!   Suz

OLYMPUS DIGITAL CAMERA

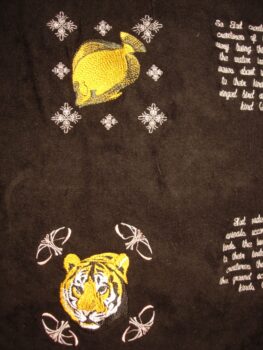
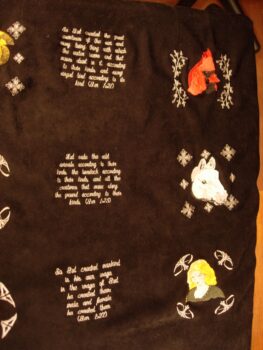
Sr. Kateri’s Entry for one of our Freebie Contests

I am a Catholic sister who makes vestments for my order and I acquired
my first embroidery machine this July so I could embroider little
crosses on our habits and such. I immediately began scouring the
internet for patterns and lucked onto the BFC site. So many beautiful
designs; just add thread and time and wait for the beauty to emerge! As
I collected the freebies on the site, I began thinking how Fred’s
designs represented all God’s creation so well. And, as you know, God is
everything to us sisters. I immediately made a list of the religious
designs I would like to acquire someday, and when I saw the freebie
contest, I knew I had to enter because it represented my chance to
obtain those designs. I went through my downloaded files to find the
“Give Thanks” freebie that started it all and thought of building a set
of placemats around that idea. Then, as I looked at the animals again, I
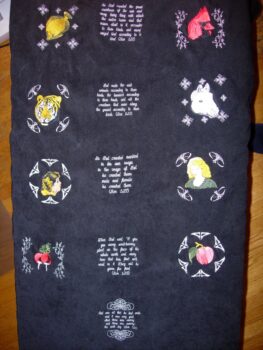
decided to embroider part of the Book of Genesis as a wall hanging for
one of our prayer areas.
In keeping with our vow of poverty, I cut up one of our winter habits
to obtain the fabric so it was a nearly bulletproof heavy black fabric.
In hindsight, black was not the best choice because the outlines had to
be changed from black to other colors so they could be seen and
photographing the final product was nearly impossible, especially given
the poor lighting in our sisters’ residence. Also due to that vow of
poverty, I had to alter many of the designs because I have fewer than 10
colors of thread. I obtained the vast majority of those during that
fabulous BFC sale a couple weeks ago. So, this really is a BFC design in
many ways.
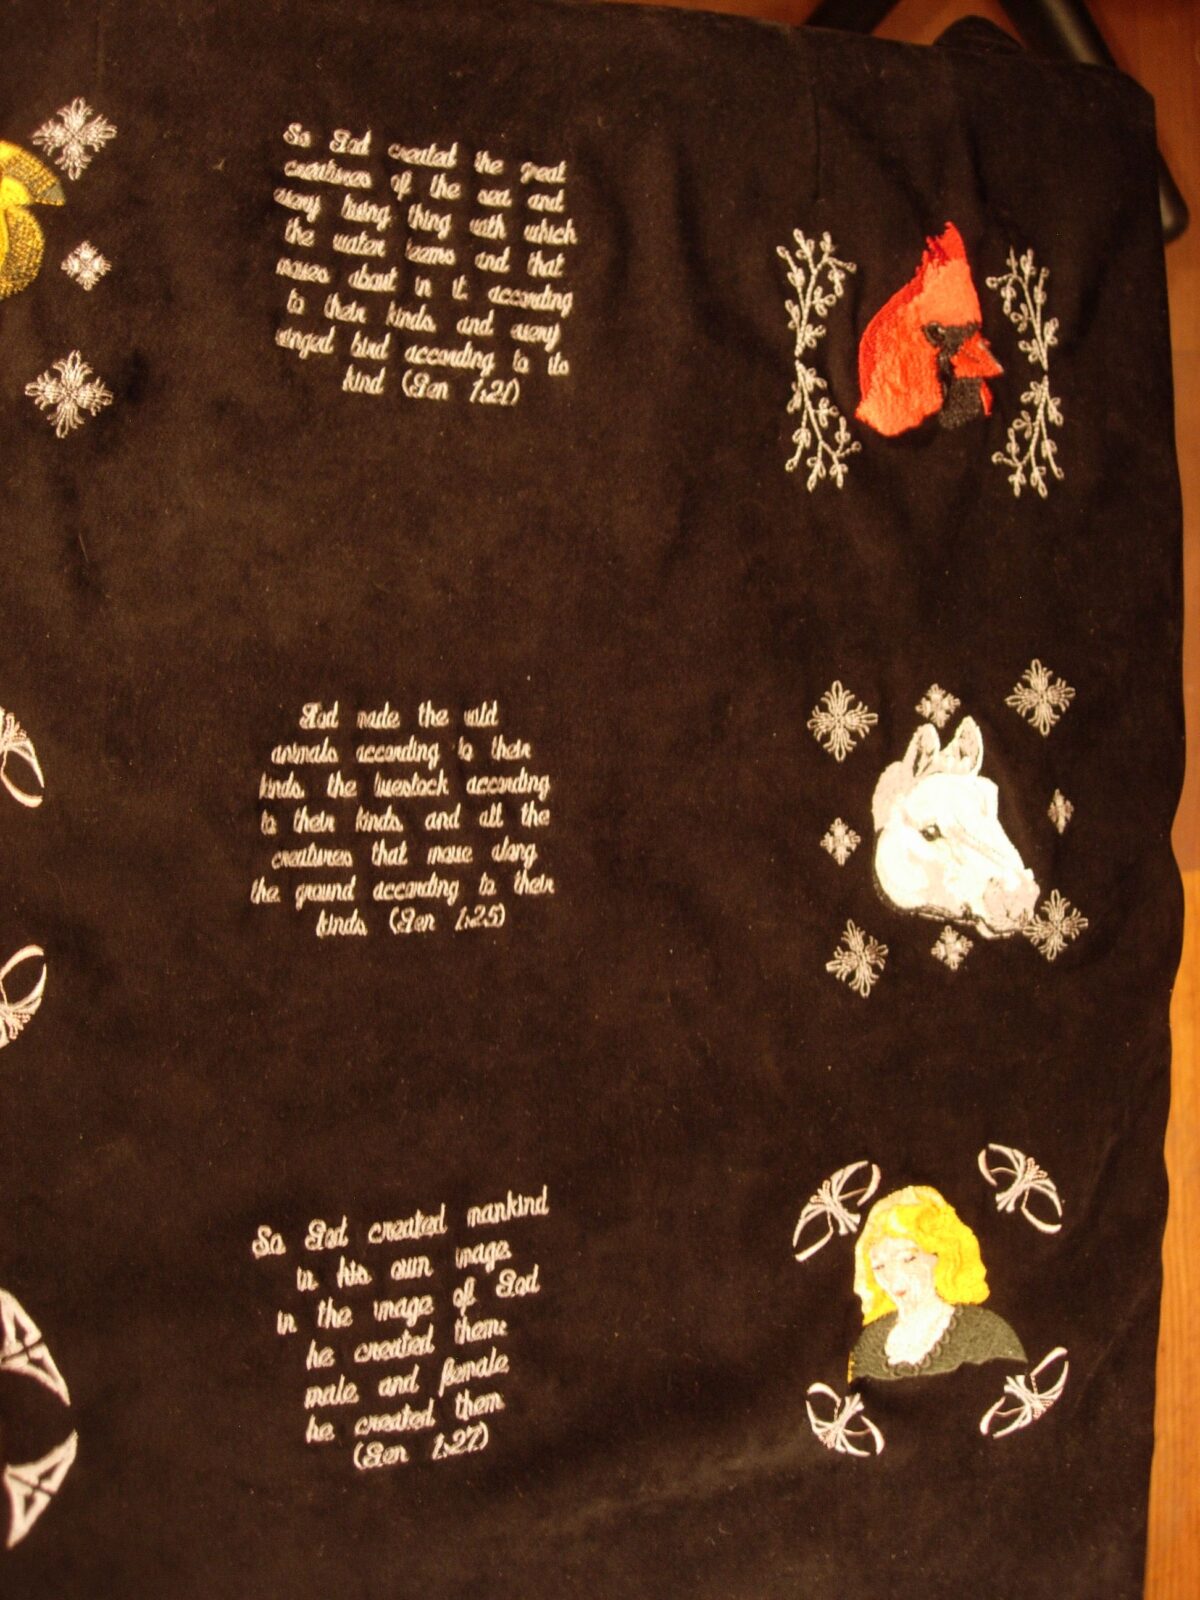
In the end, I used eight picture graphics (to represent sea creatures,
winged birds, wild animals, livestock, man, woman, edible plants and
tree-born fruit), a frame, a scroll, and three elements combined and
moved around to make custom frames. A freebie Byzantine quilting block
was transformed into a frame around two of the graphics because it
resembled a cross and I wanted that imagery present in the panel even
though it is based on the Old Testament. A freebie crewel element was
shrunk and mirrored to become a frame for the cardinal and radishes. A
freebie Art Nouveau element became a frame for the tiger and Eve. Two
angels became Adam and Eve. There was plenty of graphics to choose from
to represent the text I included from five Genesis scriptures (1:21,
1:25, 1:27, 1:29, and 1:31). My superior is rather bemused with the
final product and happy this contest motivated me to create it. Now, I
submit it for consideration.

I LOVE BOTH YOUR ENTRIES AND YOUR NARRATIVE!!!  People will love reading about you and your projects 🙂  Suz
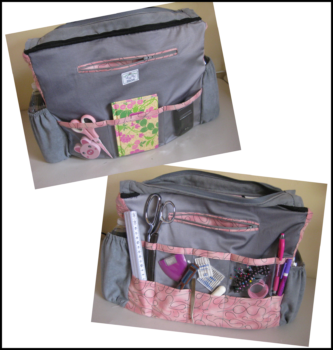
Lorraine’s Freebie Contest Handbag

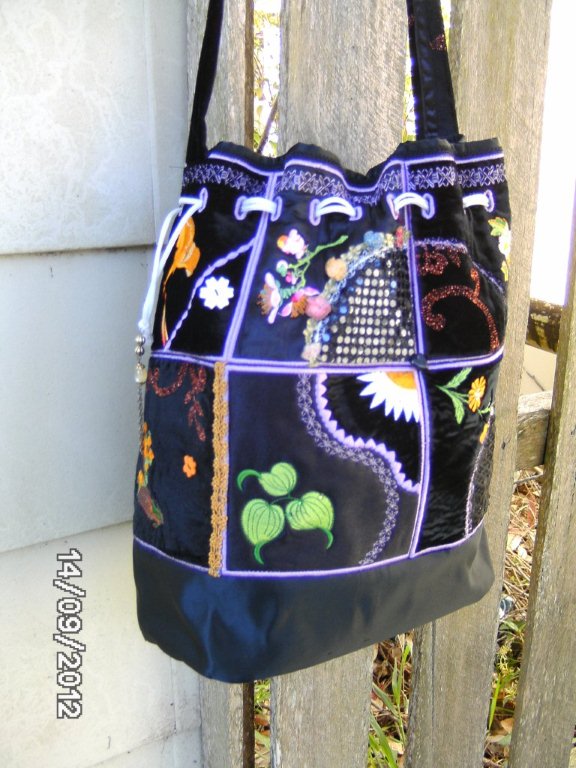
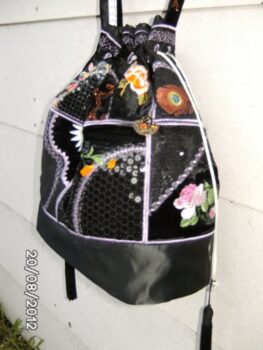
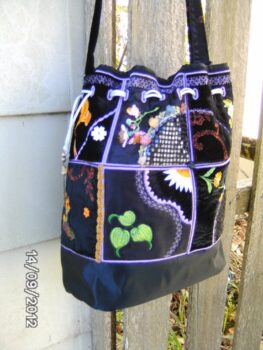
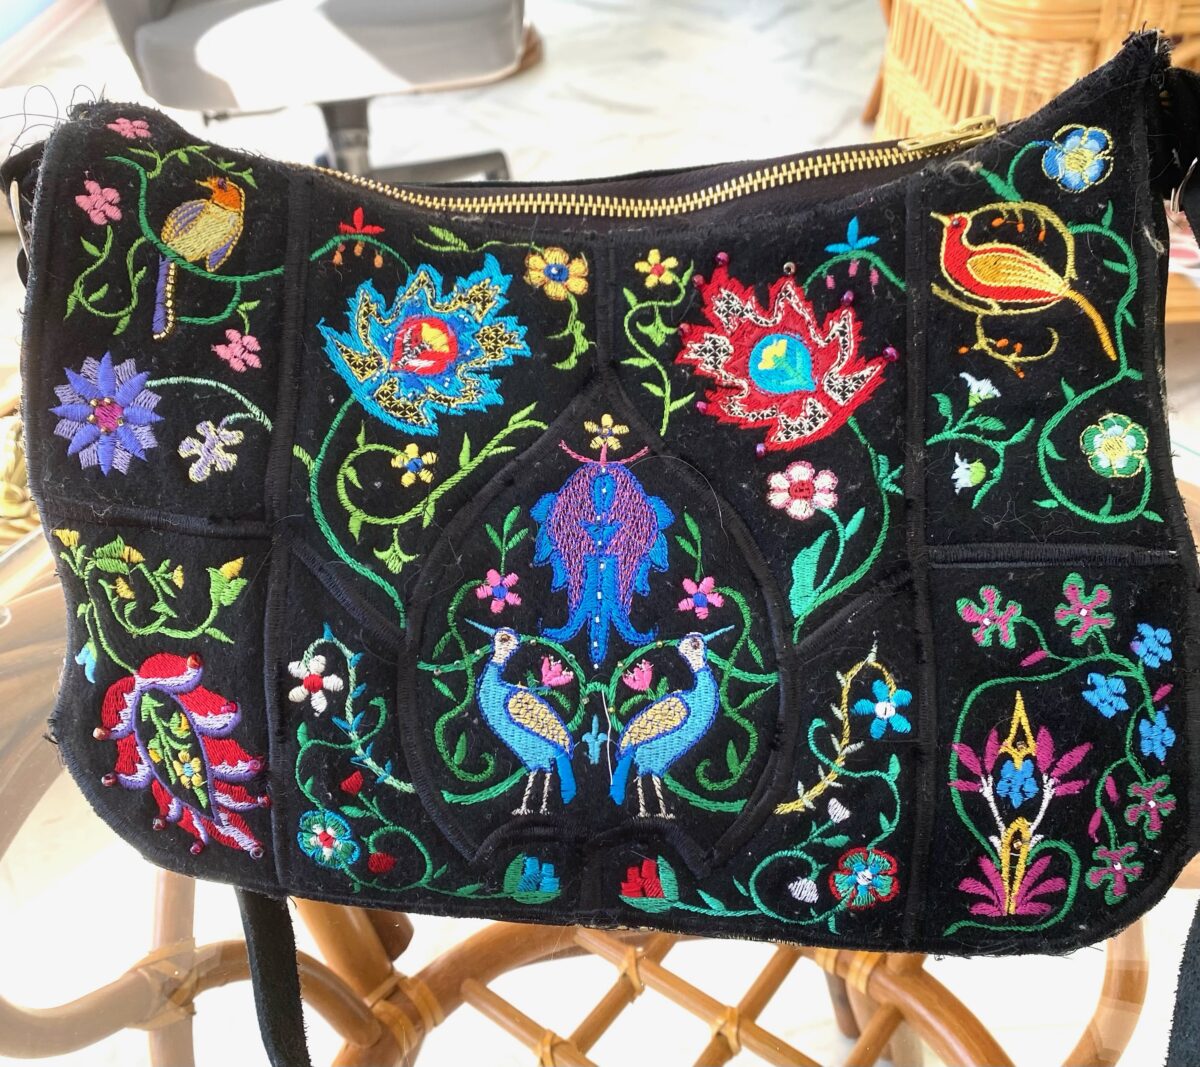
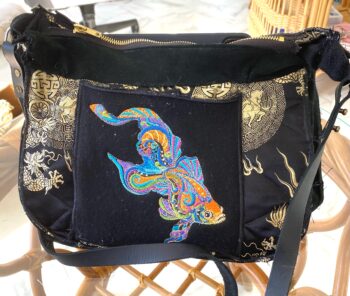
Hi Suz  Three weeks ago, after making the medium QIH tote, I made the large size size for myself, but added eight of your freebies to your QIH designs.  Ever since I’ve been trying to get it to photograph well, but my photography skills are just point and click, so the tote doesn’t show to advantage. Since making it I’ve used it while travelling to Darwin (NT, Australia), then on The Ghan train to Adelaide (SA, Australia) and home to the mid north coast of NSW. The pockets all round the inside securely held travel documents, make up etc and the tote is as good as new. It’s made from a collection of velvets, brocades, sequinned fabric and laces. The base fabric, including the stiffening, is part of an antique obi I bought when I was in New Zealand last year. I used cutaway stabiliser simply to give the whole bag a degree of stiffness, laid cotton batting under the fabrics and embroidered most of the designs with BFC-stash threads.Thank you again for your beautiful work.  Lorraine

Beautiful and very creative Lorraine!   Suz


Suzanne’s Thread Wall

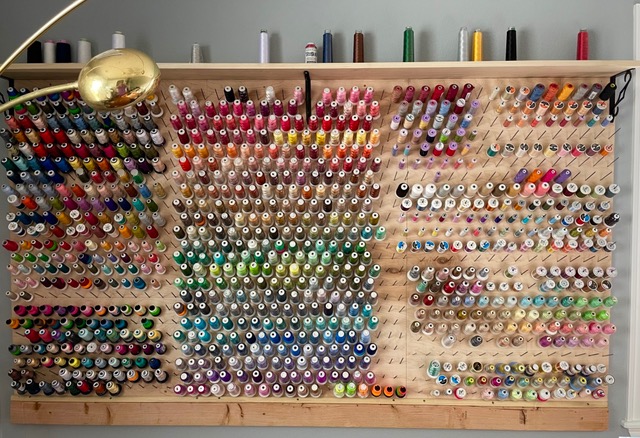
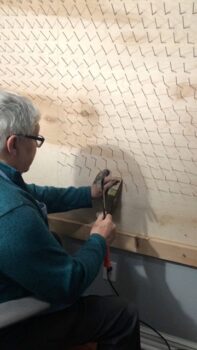
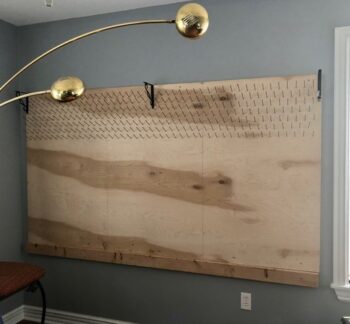
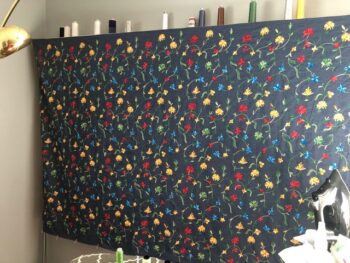
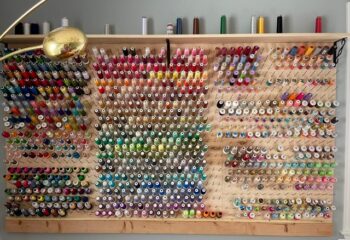
Here’s the big project – old brain forgot to send with the letter. Arrrgh! I made a curtain to protect the threads from embroidered denim bought at Joanne’s…but it’s too heavy and cumbersome when I need to get to them. So, down it came, and I’ll cut it in half and fix some tieback thingies on each side to provide better access…especially to BFC, in the center!

VERY IMPRESSIVE SUZANNE!!!! 🙂  I can’t help liking the center section best.  LOL   Suz

Lori’s Sewing Tote

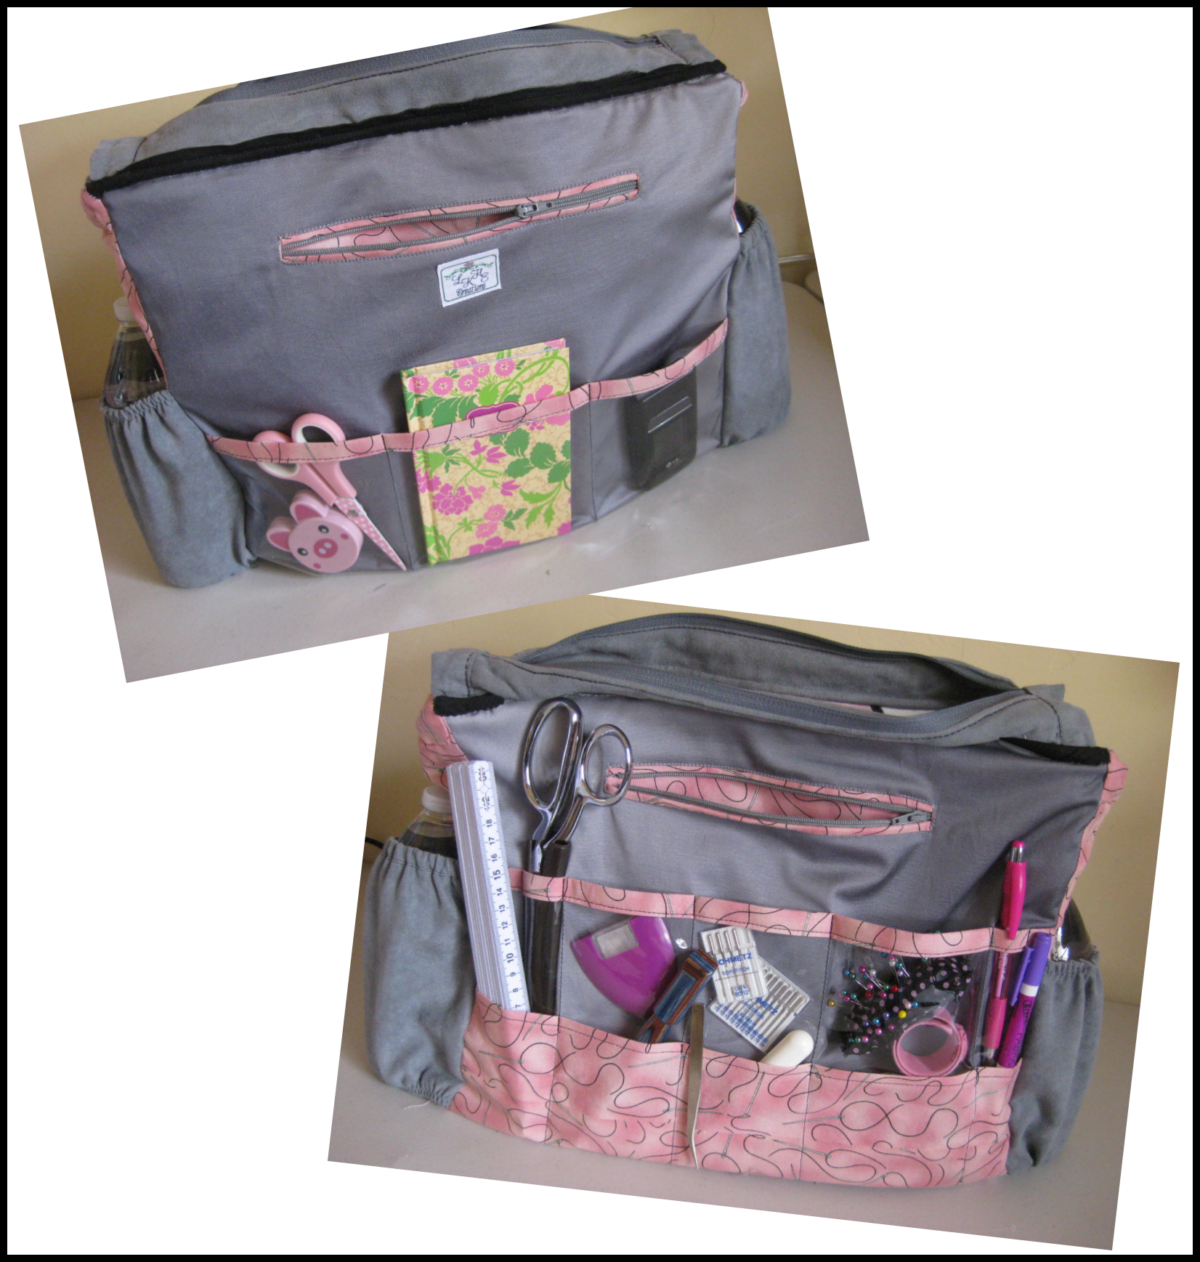
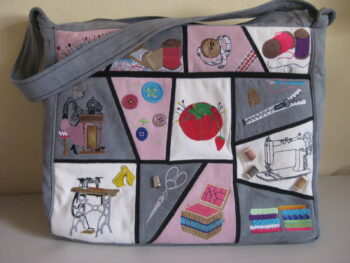
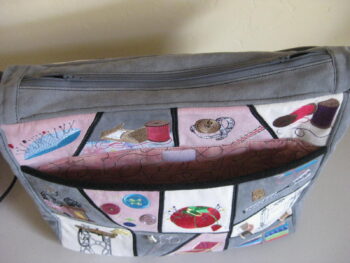
Here is my entry for the Handbag Contest.  It is my version on BFC884-Sewing Tote which I purchased on Order #1420037725.  Please just use my first name (Lori) when you publish this.


I am attending the Sewing & Stitchery Expo in Puyallup, WA for the first time and thought this tote would be perfect for holding my smaller purchases as well as information I pick up while walking the convention floor.  The outside patches are embroidered on 3 different colors of Ultra Suede and the outer pockets are edged in black Ultrasuede to coordinate with the black satin stitching which holds the patches together.  The interior lining fabric is a grey oilcloth.  The trim fabric (used to edge the vinyl pockets, line the outside pockets, interior zipper pockets, and interior gusset) is a needle and thread print I found at my local quilt shop.  Instead of putting side pockets on the outside of the bag as was suggested in the instructions, I put them on the inside of the bag to hold my water bottles.  That way the weight of the bottles is supported by the foam core board that I  used in the bottom of the tote for structure.  I also added a two-way zipper to the top of the bag as a closure instead of the tab closure suggested in the instructions.  I embellished the bag with a several sewing themed buttons and pins.  Lori

I love the details you added Lori!   Suz

June’s Heron

I had the idea of creating a wall hanging with a Large Blue Heron for many years. I bought the Heron design in 2008 and he flapped around in my head until the Fall of 2014!

I knew he would have to be Free Standing in order to give me the freedom to ‘land’ him in his chosen spot! And because of that, I had to stitch the background completely before I could stitch him in place.

I stitched him on organza sandwiched between 2 layers of WSS. Then as his layers stitched out, I continually added more organza for texture.

The green background is made with 7 different Batik fabrics, cut into 2 ½ inch strips of random lengths. These were sewn short ends together until I had a very long strip. I cut the strip horizontally in half  and stitched the 2 pieces side by side length wise; cut it in half again and continued stitching and cutting until I had a good sized rectangle. Then I cut this rectangle into 2 ½ inch strips on the diagonal and repeated the previous process all over again. This way I created a very richly textured background.

I did the same with the blues for the water, except I cut them in 2 inch strips.

When I had finished both, I sewed them together. The whole piece was carefully Free Motioned. This was a difficult process because of the great number of seams. (Lots of broken needles here!)

The joined edge between green and water was ‘smoothed out’ with silk roving covered with fine tulle and Free Motioned in place.

The log is one piece of fabric fused in place. However, it did not fuse completely, giving the log lots of depth! A very Happy Mistake! The log’s watery edge was ‘smoothed out’ with pieces of fine yarn, covered in fine tulle and Free Motioned in place.

I trimmed away as much of the tulle as I could.

It was now time for the reeds. Their shapes were cut and then fused together with a piece of fine wire between each layer. This gave me the opportunity to position them as I pleased, once they had been stitched in place. I embellished them with Oil Pastel Paints helping  them stand out from the background color.

Finally the Heron landed on his log and was tacked in place with nylon thread.

I chose to bind this piece instead of adding borders. I did not want to detract from the focal point—the Heron!

I’m speechless June!!!  Thank you so much for such great detailed info on how you created this beautiful wall hanging. You’ve made me want to touch and feel it and look at every detail….Suz

Just a thought – I’ve been working with the Dupioni Silk a lot making up Silk Packs for m ETSY shop.  There are always scraps and I wonder how a background of silk pieces done with your method would look. Just a thought, but with the way the silk shimmers and shifts colors, this might make a very unusual background!

BFC0712 Large Blue Heron