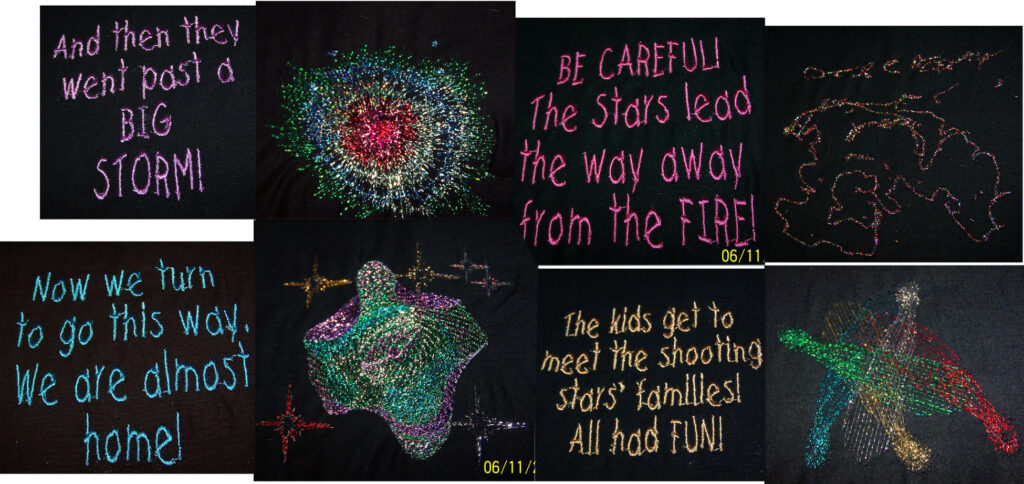
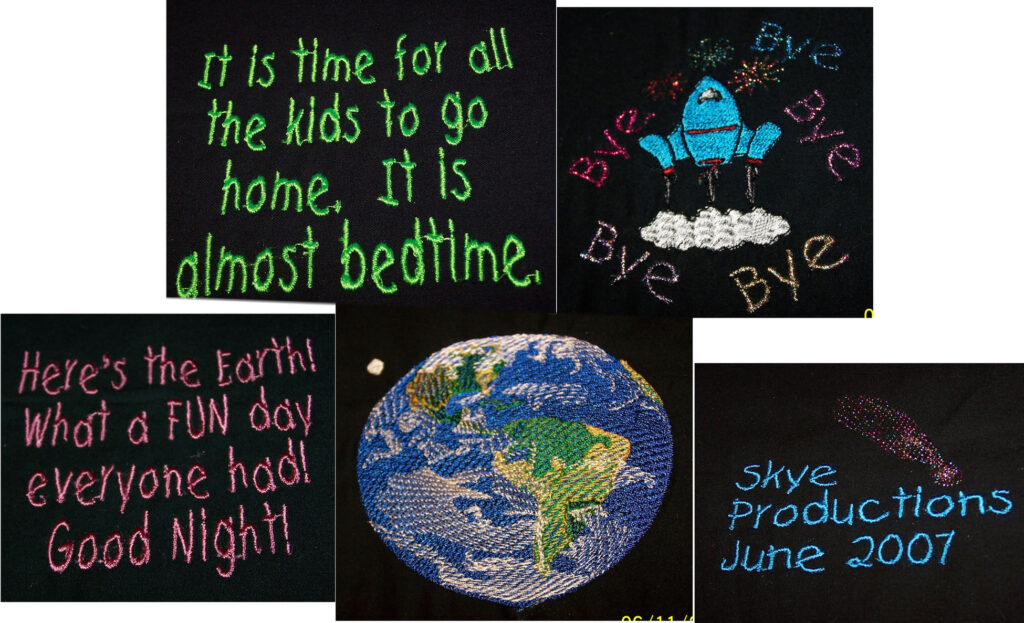
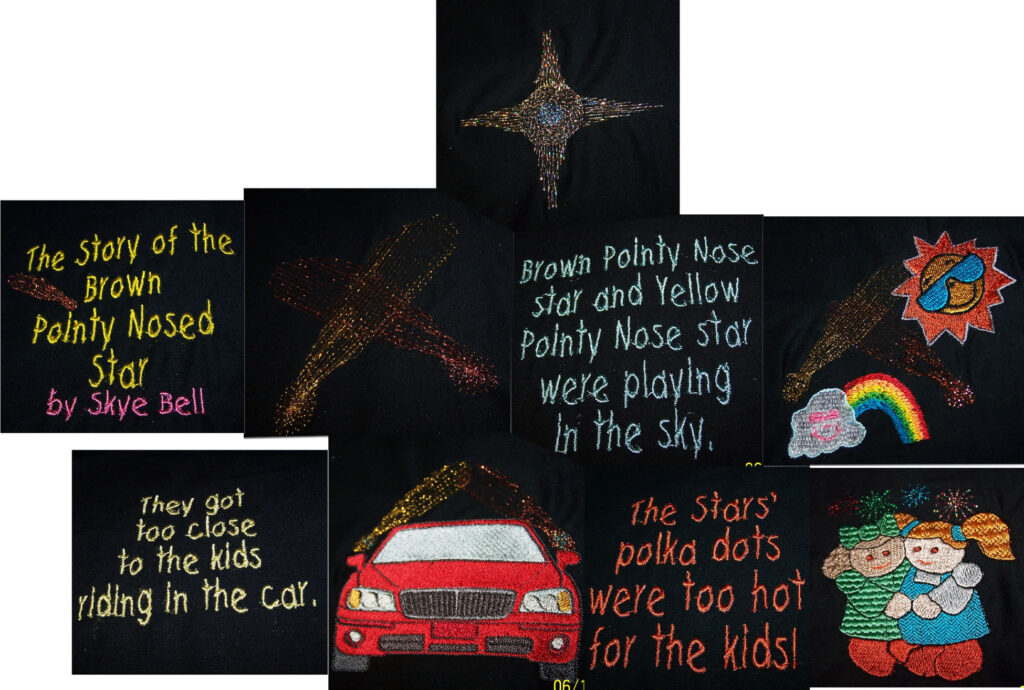
We were discussing constellations and outer space and this was written by Renee:
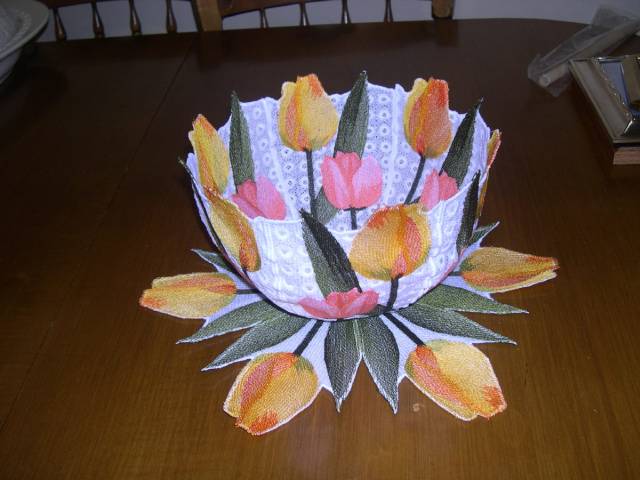
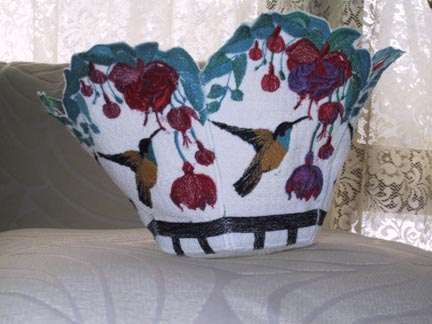
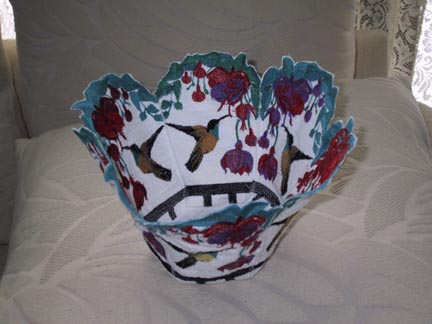
These include some designs from elsewhere on here also, but this was very special. Skye had a dream one night, and told me about it, I wrote it down. THE NEXT DAY you posted the outer space designs and when Skye looked at them she said YES GRAMA! Those are the pictures of my dream! So we made her ‘book’. The ‘fire’ one she designed herself. And she was 3.5 at the time. This is the Outer Space designs.
Renee, Skye and I have been friends for many years through BFC. Skye is off to college this year!!!
I think we can take a great idea to help our children develop their creative size. I can think os several ways to do this. One is to look through designs with your child and ask for their thoughts and opinions. Make note of ones they really like and what they say about them. Another is to give them a topic – might be pets, family – or Outer space – and look through designs with them for things that express the topic. Again record their choices and write down what they say. You can make a wall hanging, or a book of the results. It would be great to look through as they developed new ideas!
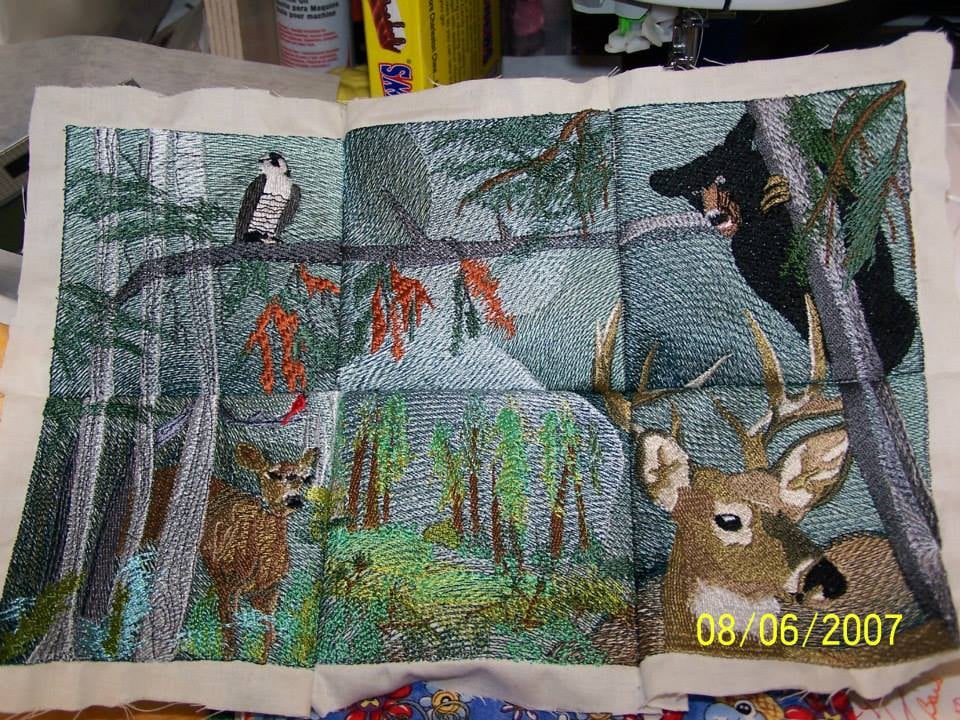
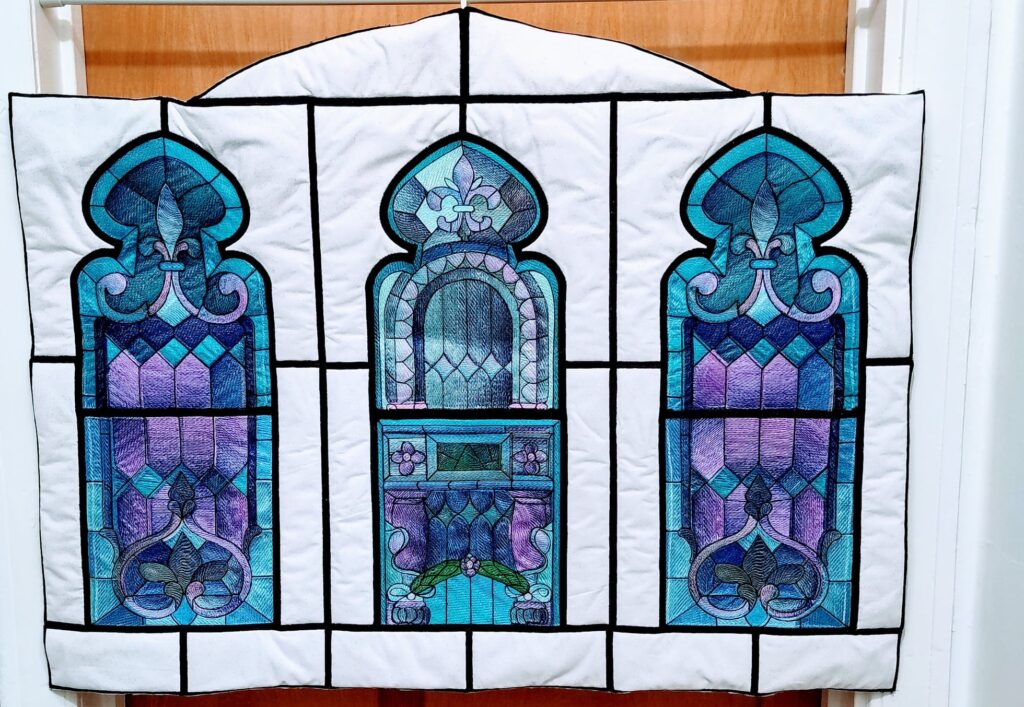
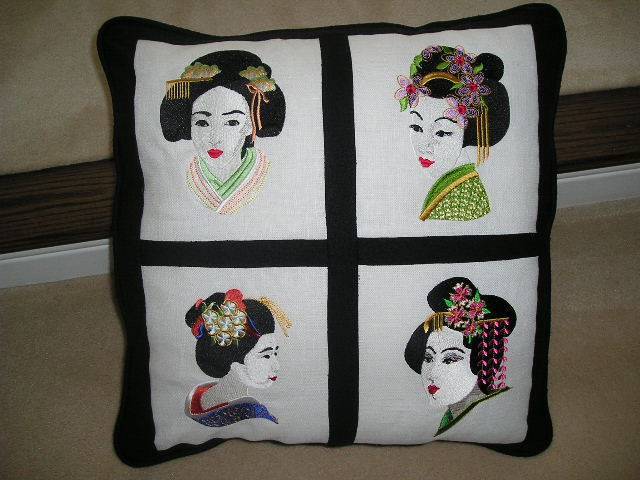
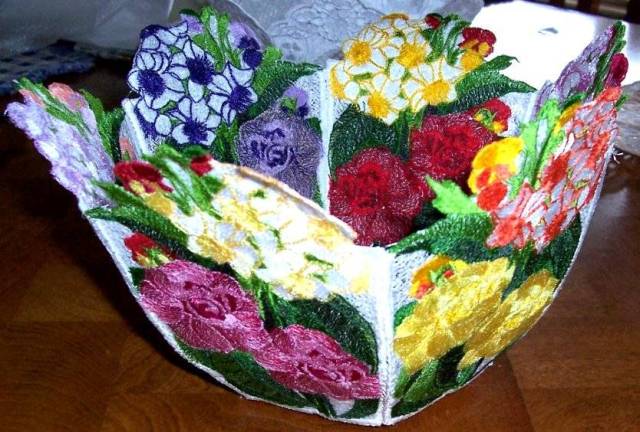
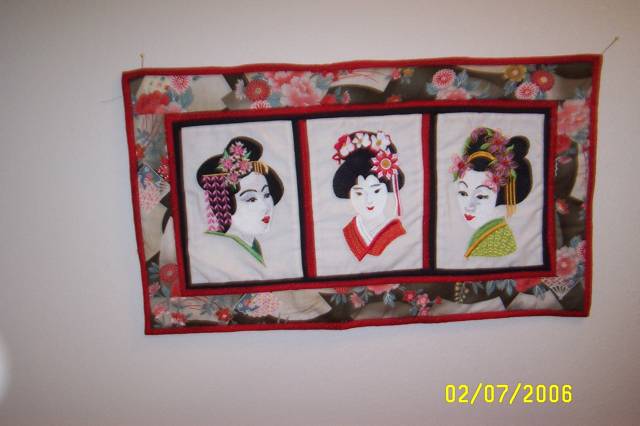
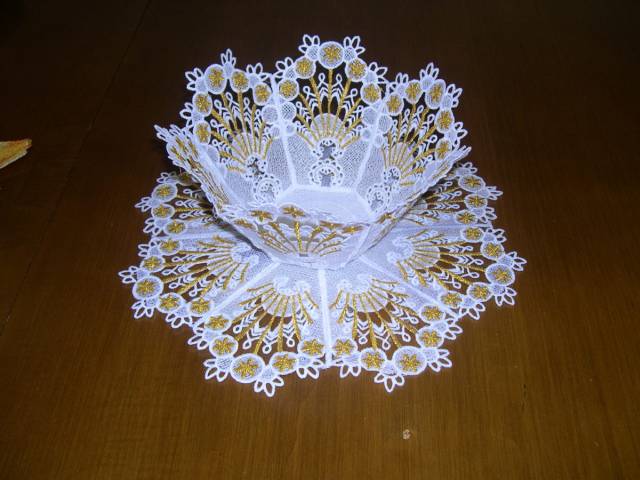
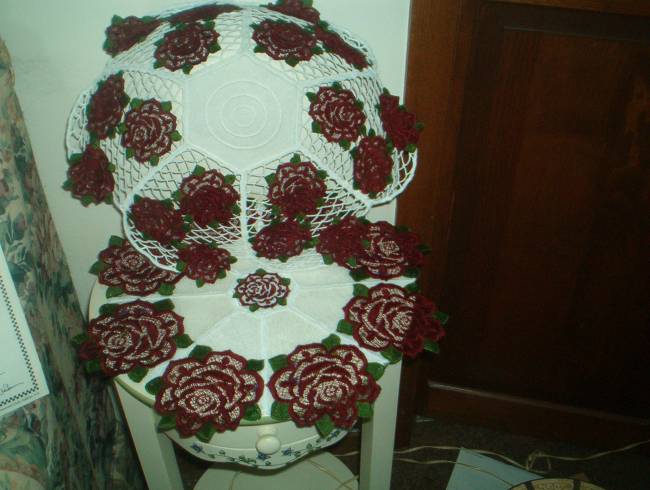
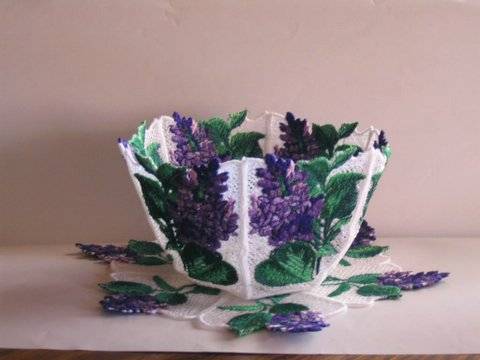
I’m happy to say I’m finished and even with my boo boo’s I absolutely love it ! my learning curve has taught me several things for my next one . Oh and while Im no where near y’alls level 2 things that greatly helped me and I quickly figured out was 1 while sewing panels of all embroidery together was to use quilting gloves the grip you get is fantastic and it never hurts the embroidery at all making feeding it to your machine a breeze , # 2 while my feed dogs and foot worked together the grip of my foot seemed to ever so slightly mis-align my pieces from bottom panel well a teflon foot ( I know supposed to be for leather lol ) stopped all the misalignment hope this helps someone . Here is my version of Kentucky Triptych
Tzu has not only come up with a beautiful version of this design but also given us a great hint for all designs that require stitching together. Fantastic! I’m going to use this next time – I always have at least one seam that no matter how hard I try gets a little bit *off*.
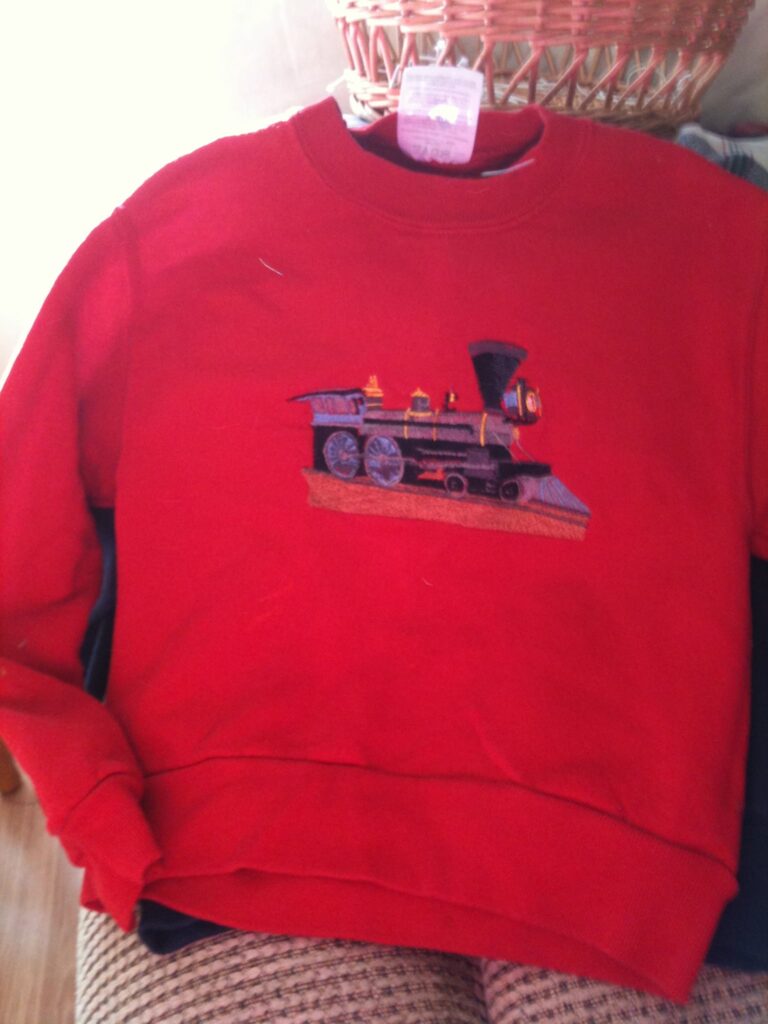
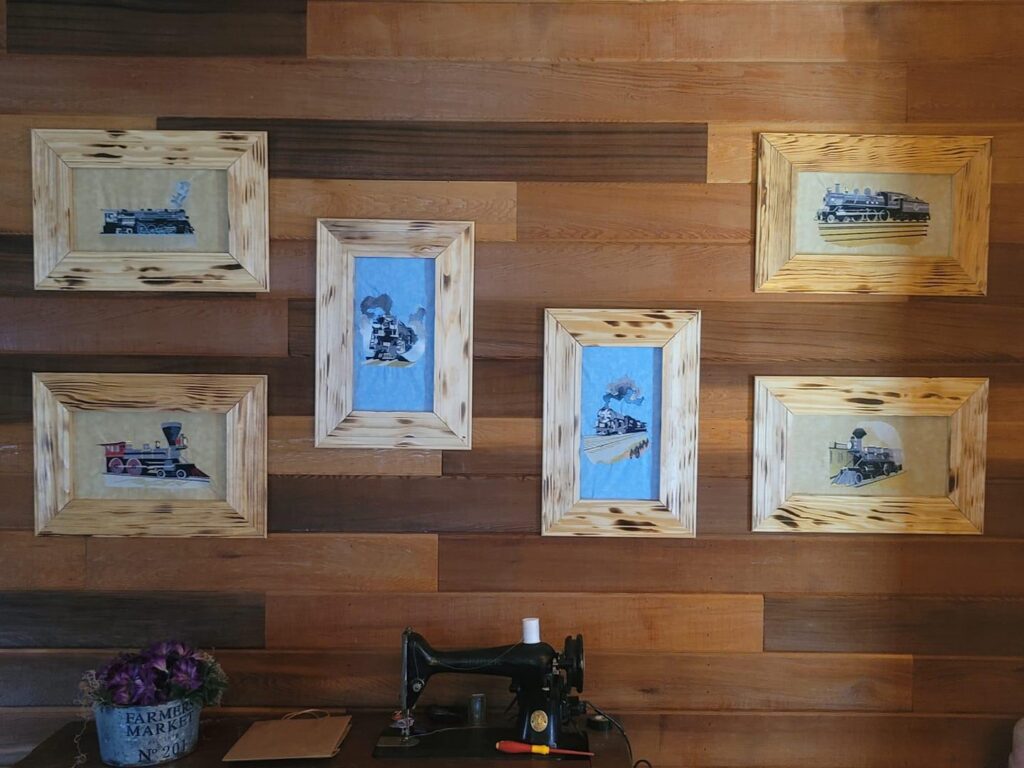
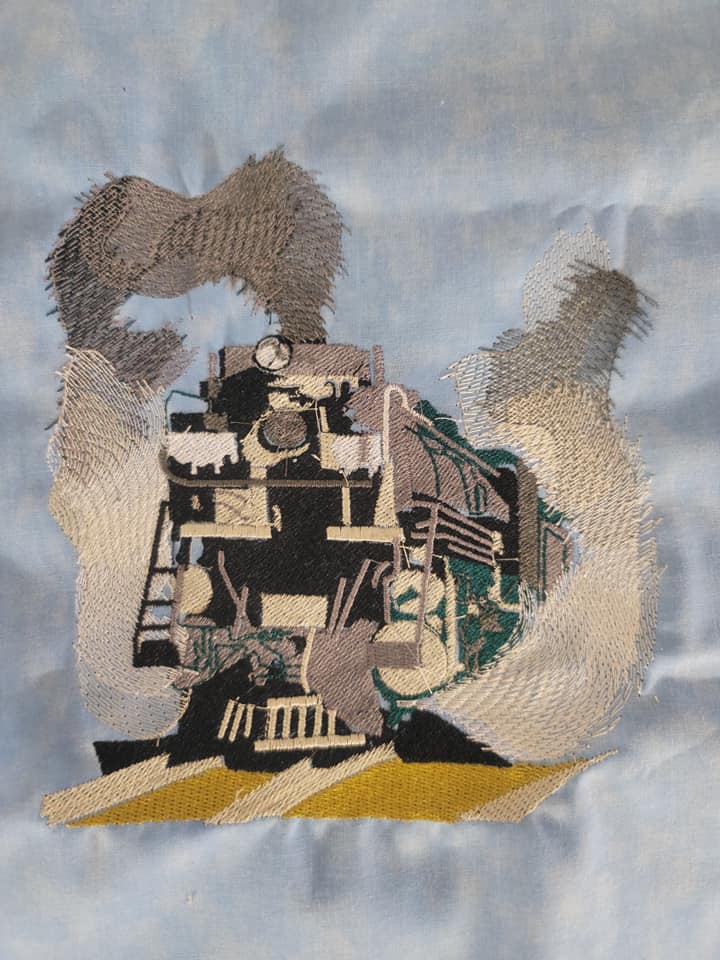
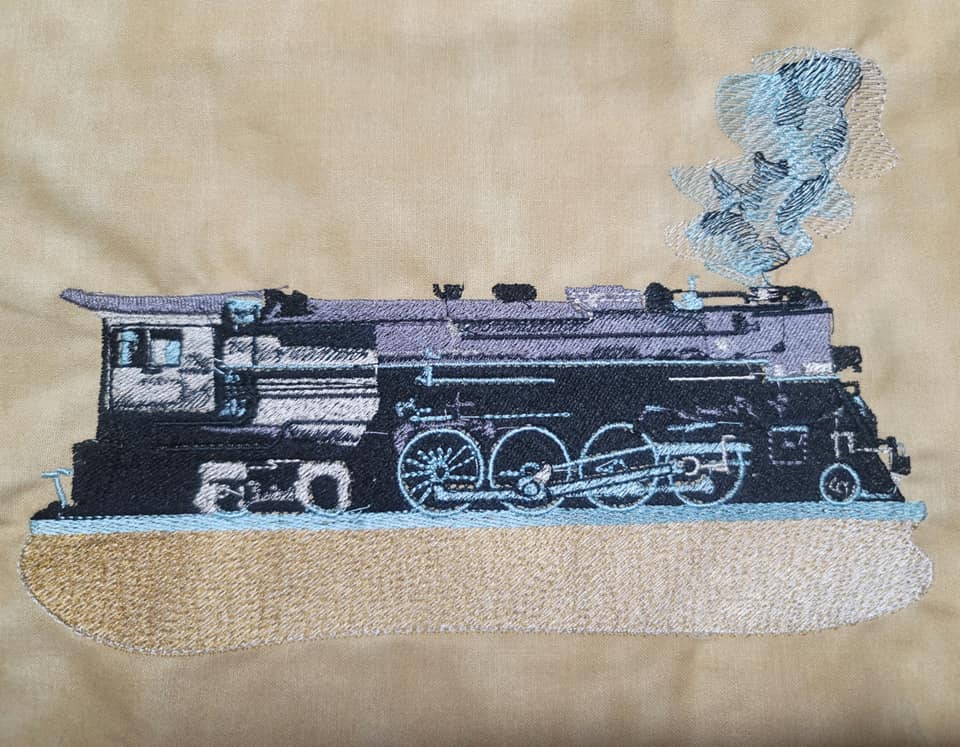
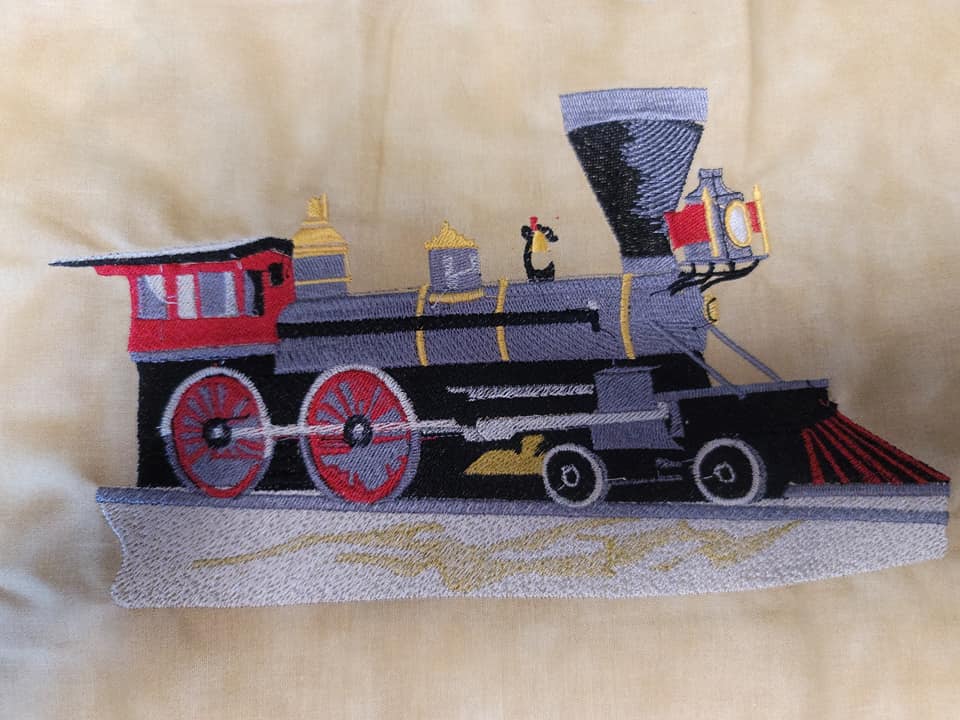
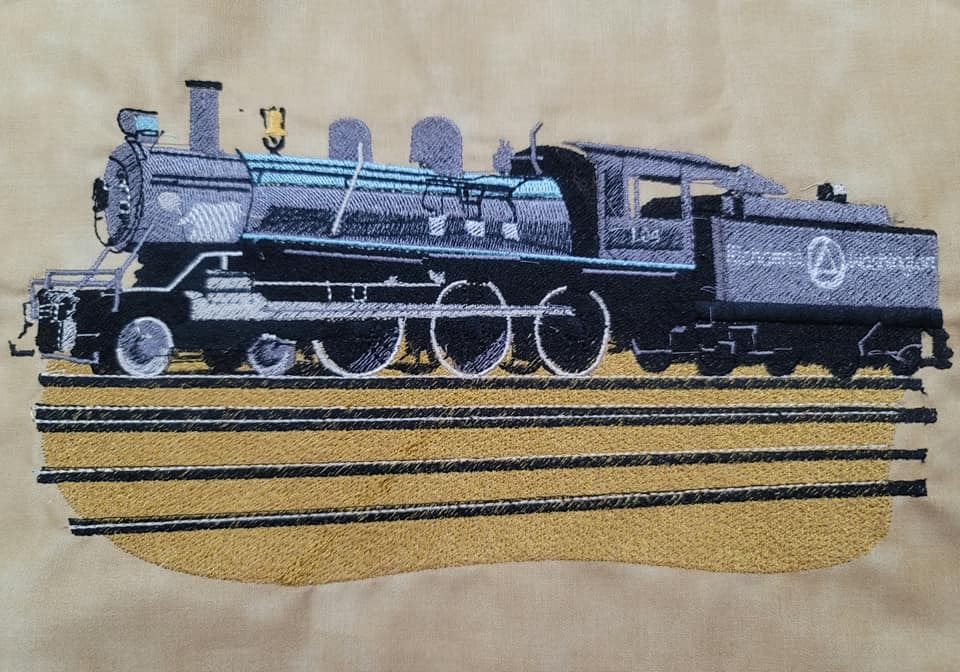
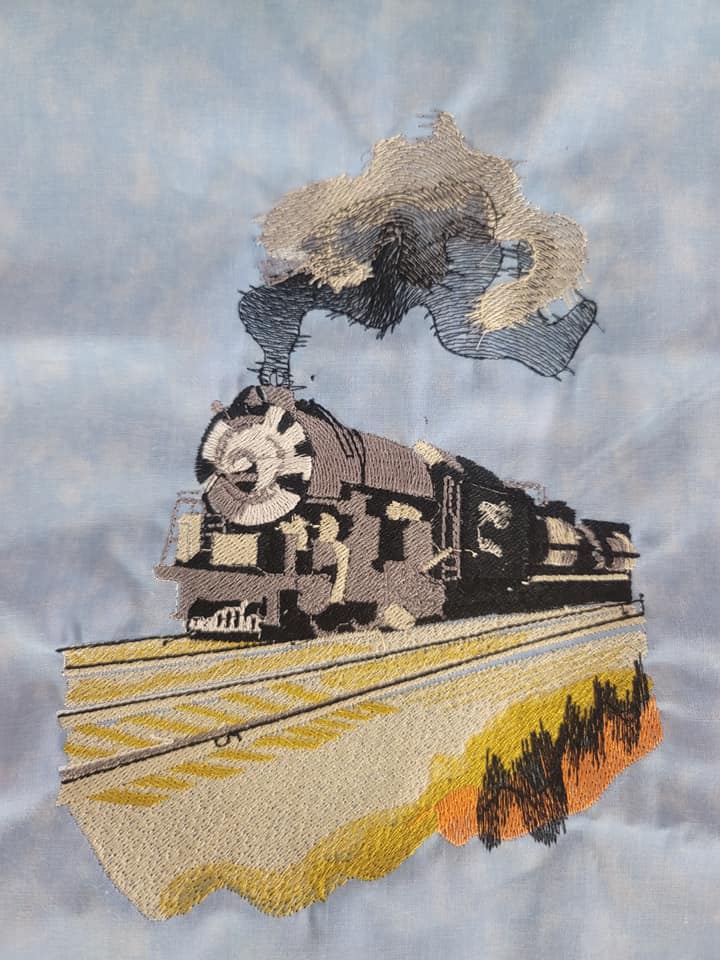
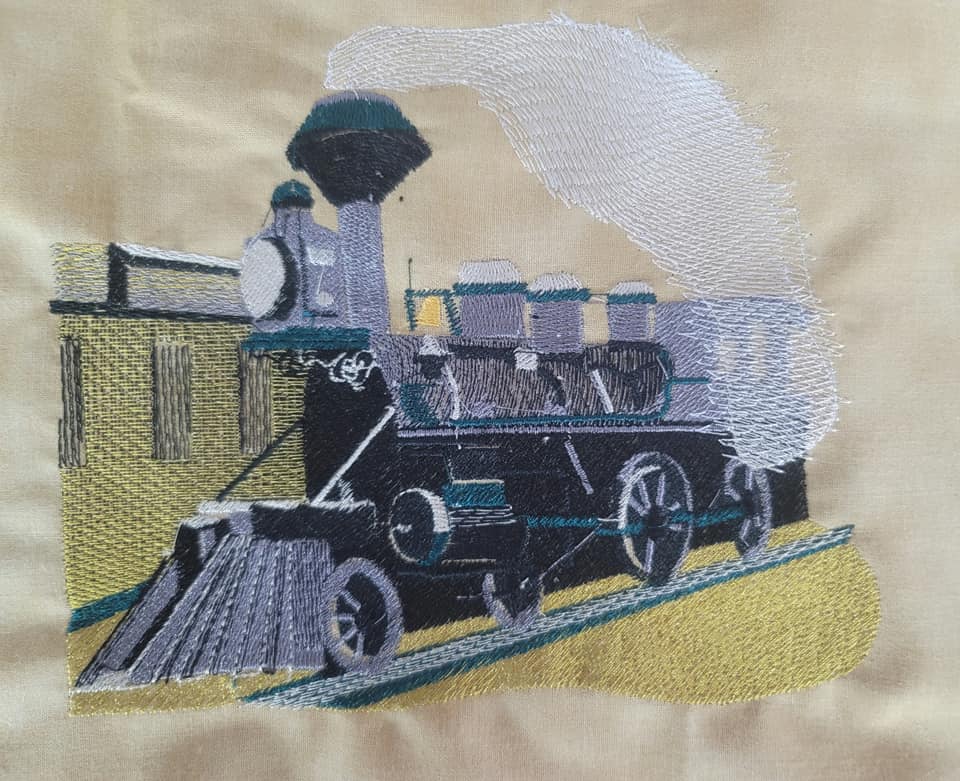
Cathy made these trains for the Cedar wall in the den at her husband’s request. I was amazed how quickly she got them all stitched and framed and on the wall!!! Great job Cathy. *Pop Butler* would be proud to see how great you’ve made his trains look. You can read about the trains and Pop Butler on the page. When asked about them Cathy replied *they stitch out beautifully*.
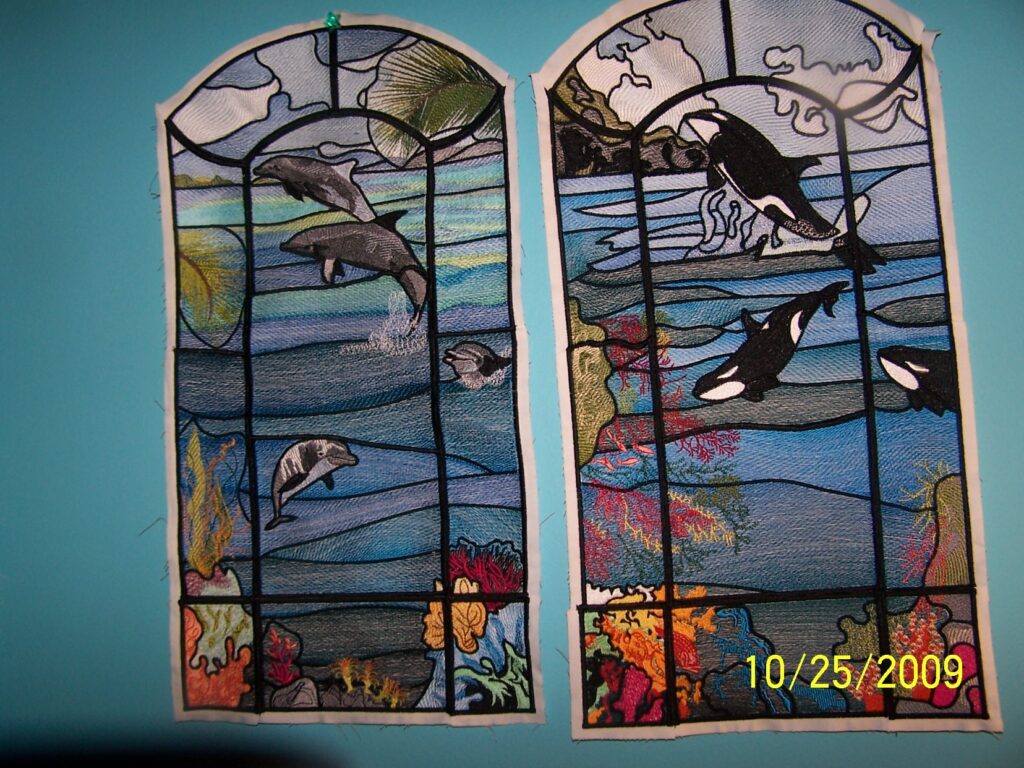
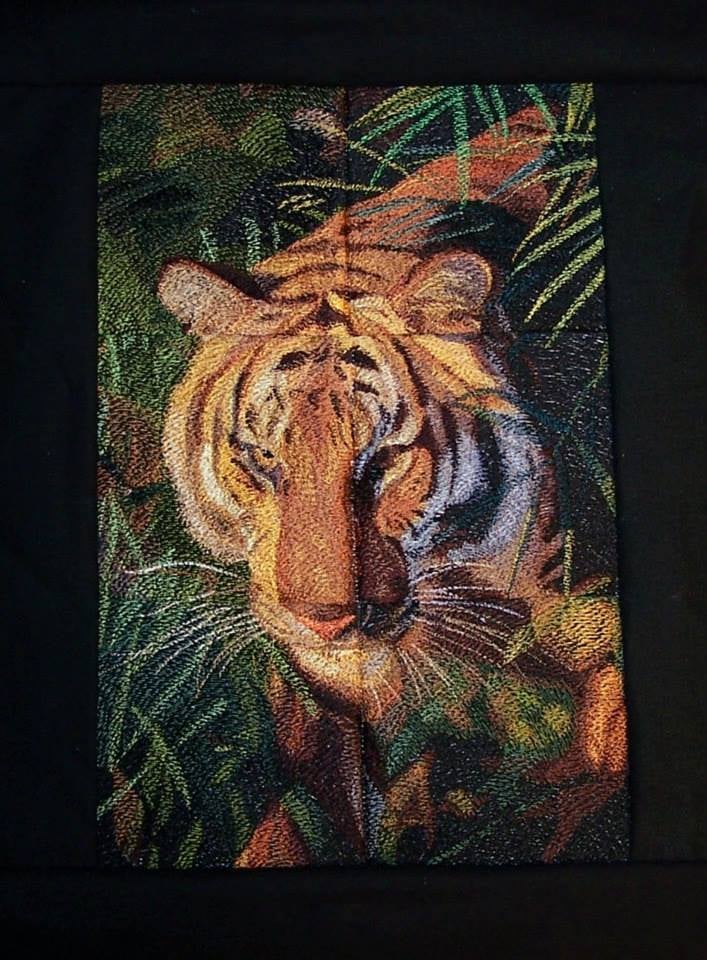
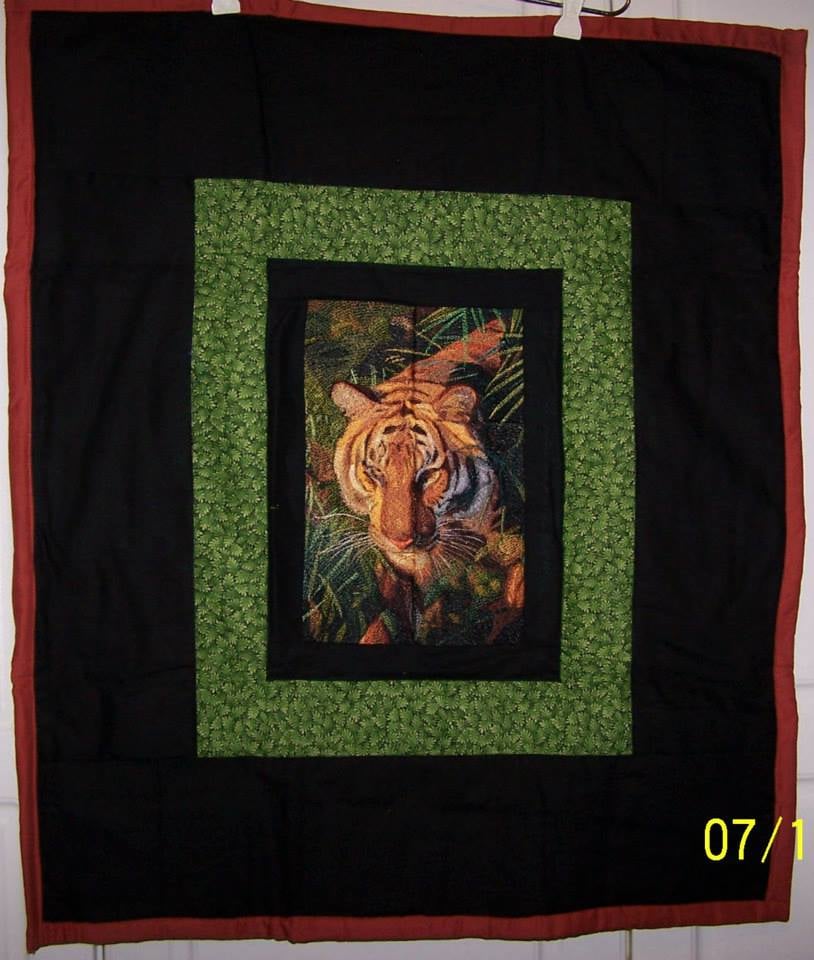
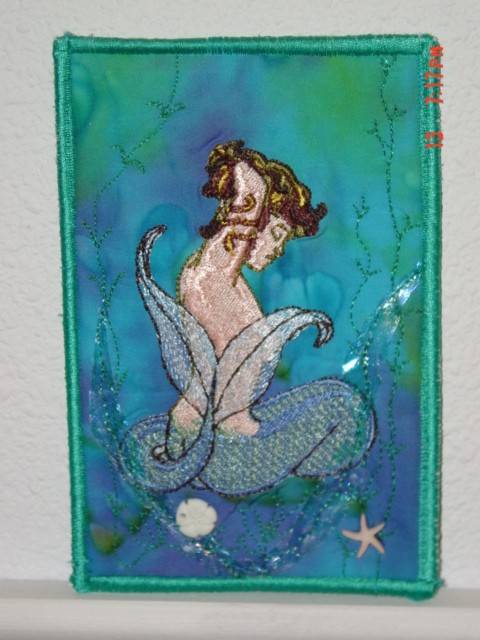
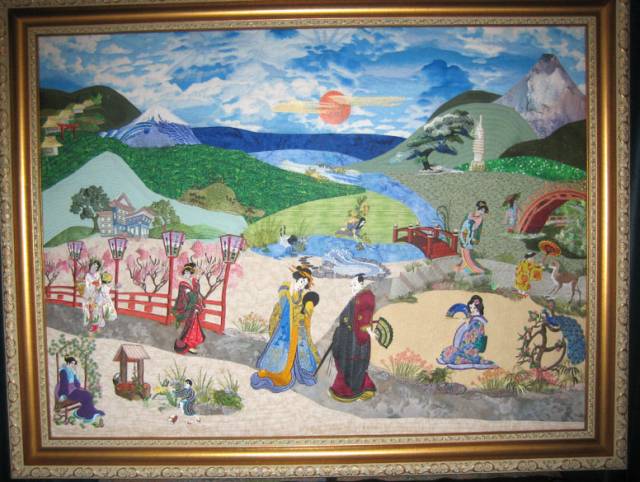
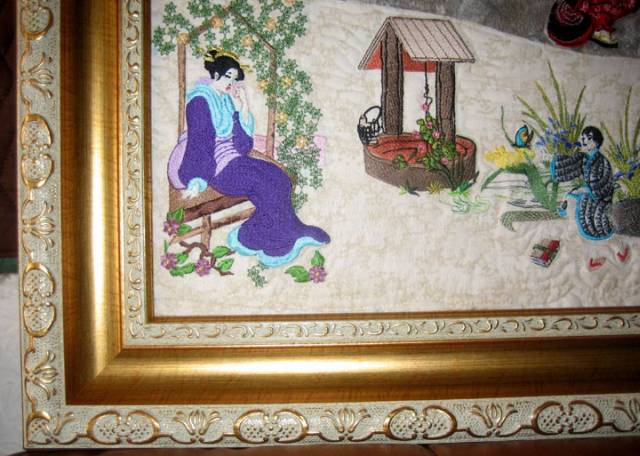
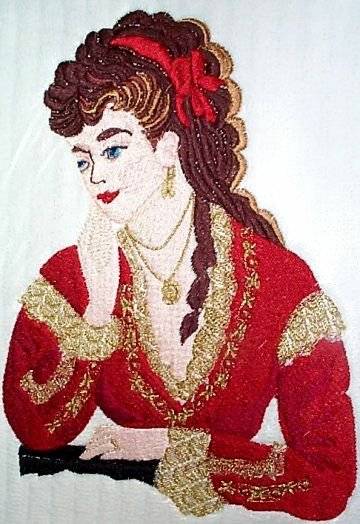
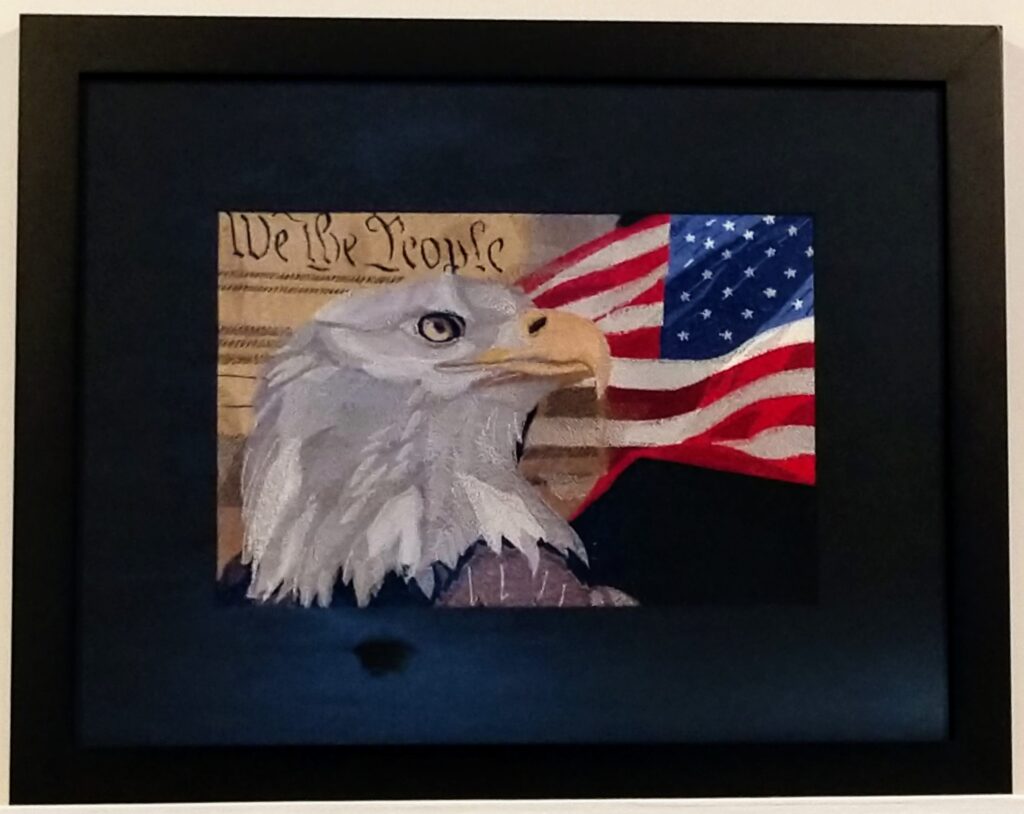
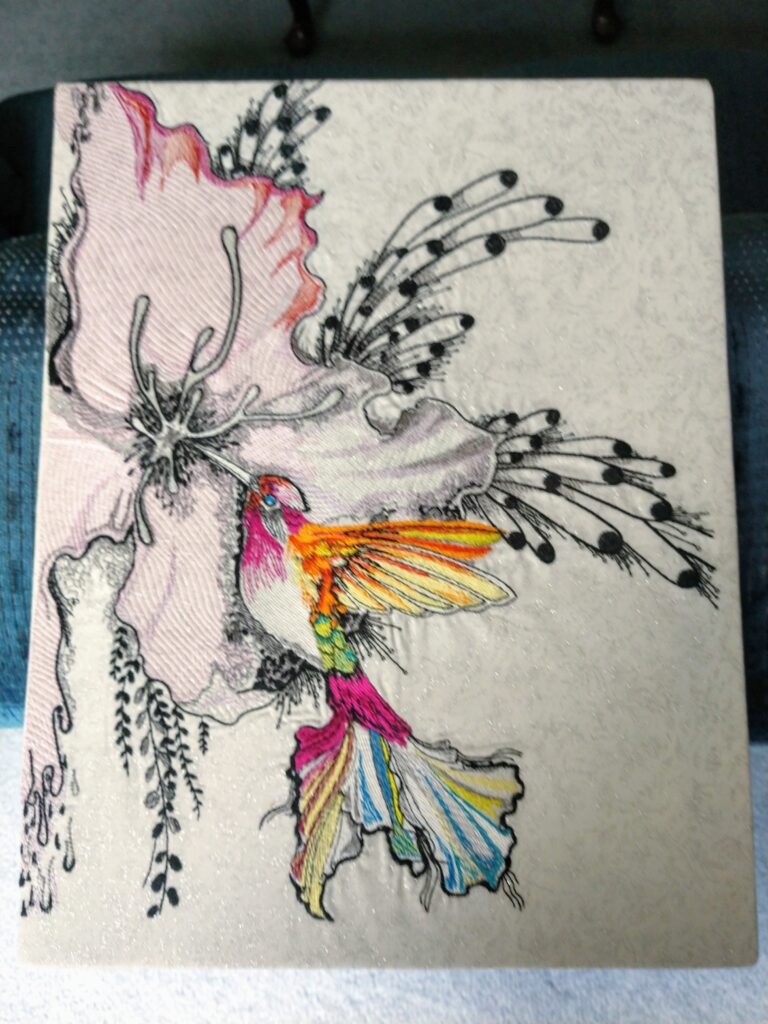
Genene made a gift for her son Adrian. From Genene:
Well, We were able to get the whole thing matted and framed this morning and then wrapped and packaged up so Mark is taking it to the Rhode Island distribution center to give it a jump start on its trip to Adrian I think the black frame and black mat worked out much better than I anticipated. It looks really nice
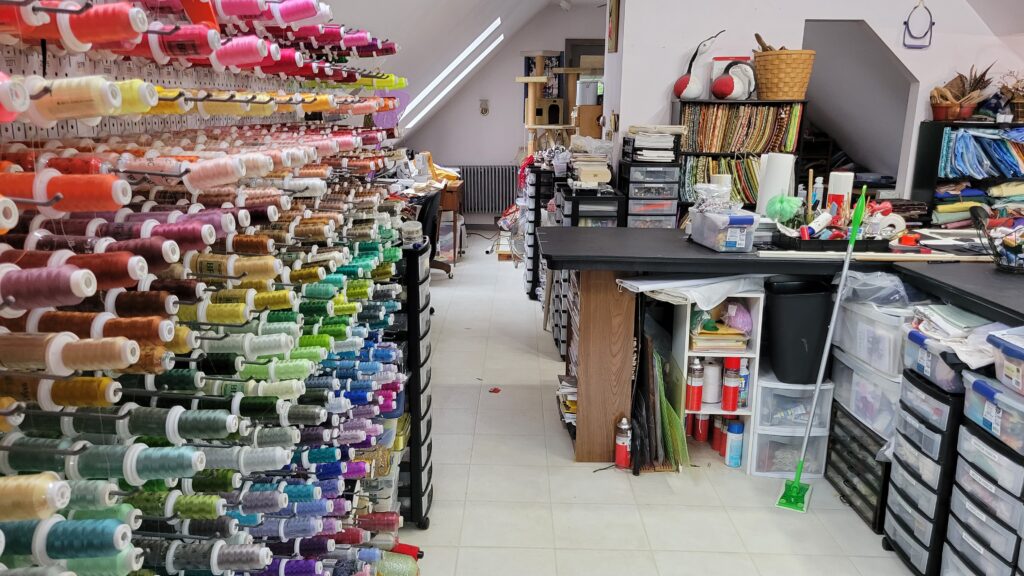
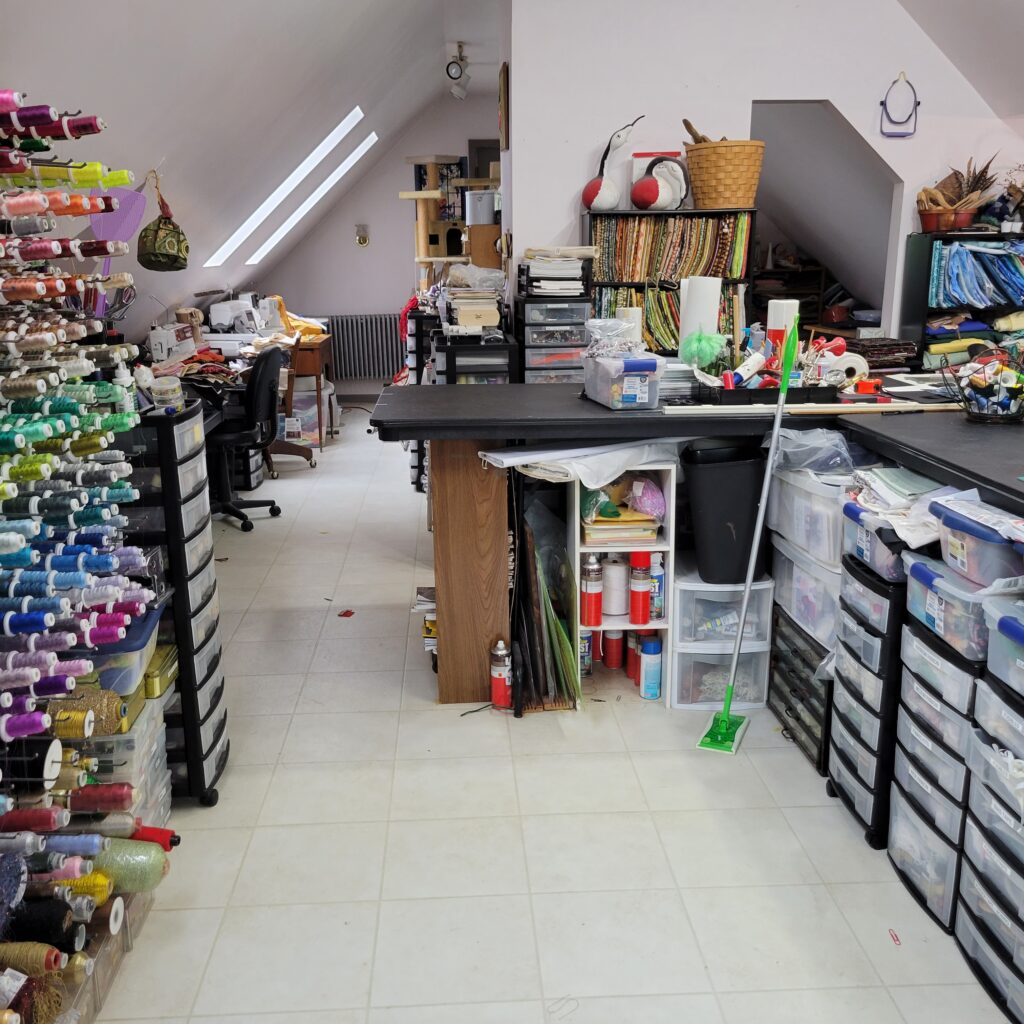
I keep thinking I’m going to get my studio up here on my third floor cleaned up so I can take pictures and share them. Well, many years later I’ve finally realized that day will never come. LOL LOL Last week Rick took some photos up here without me knowing it. So I’m going to cringe and post them all 🙂 Please understand this is during areal bad heat spell. haha I’m trying to make excuses, huh?
Ok – i’ll be brave, here goes…
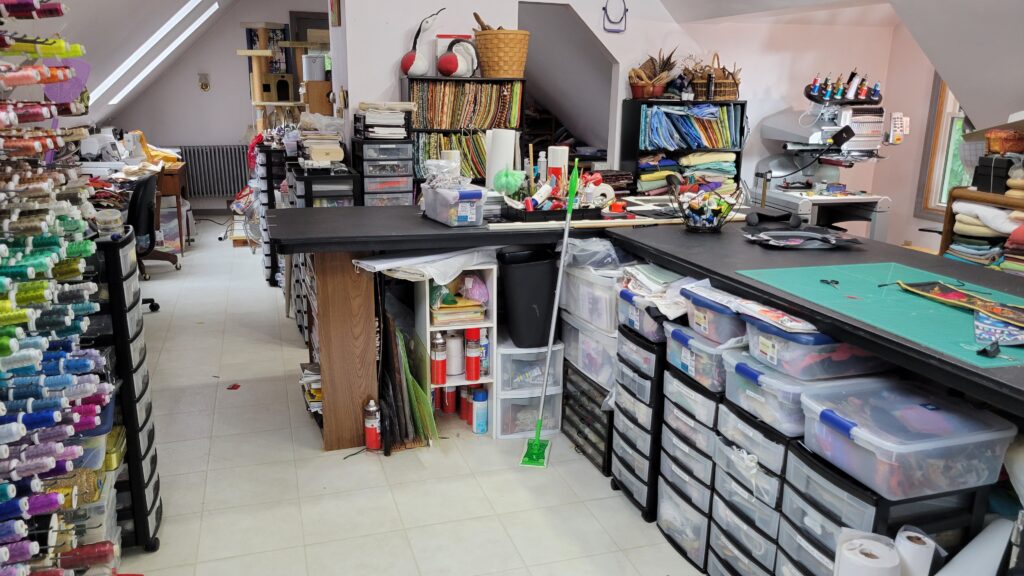
My back is to this view while I’m sitting at my desk. There is a big window above my desk, so I get to see birds on top of the telephone polls and flittering through the trees.
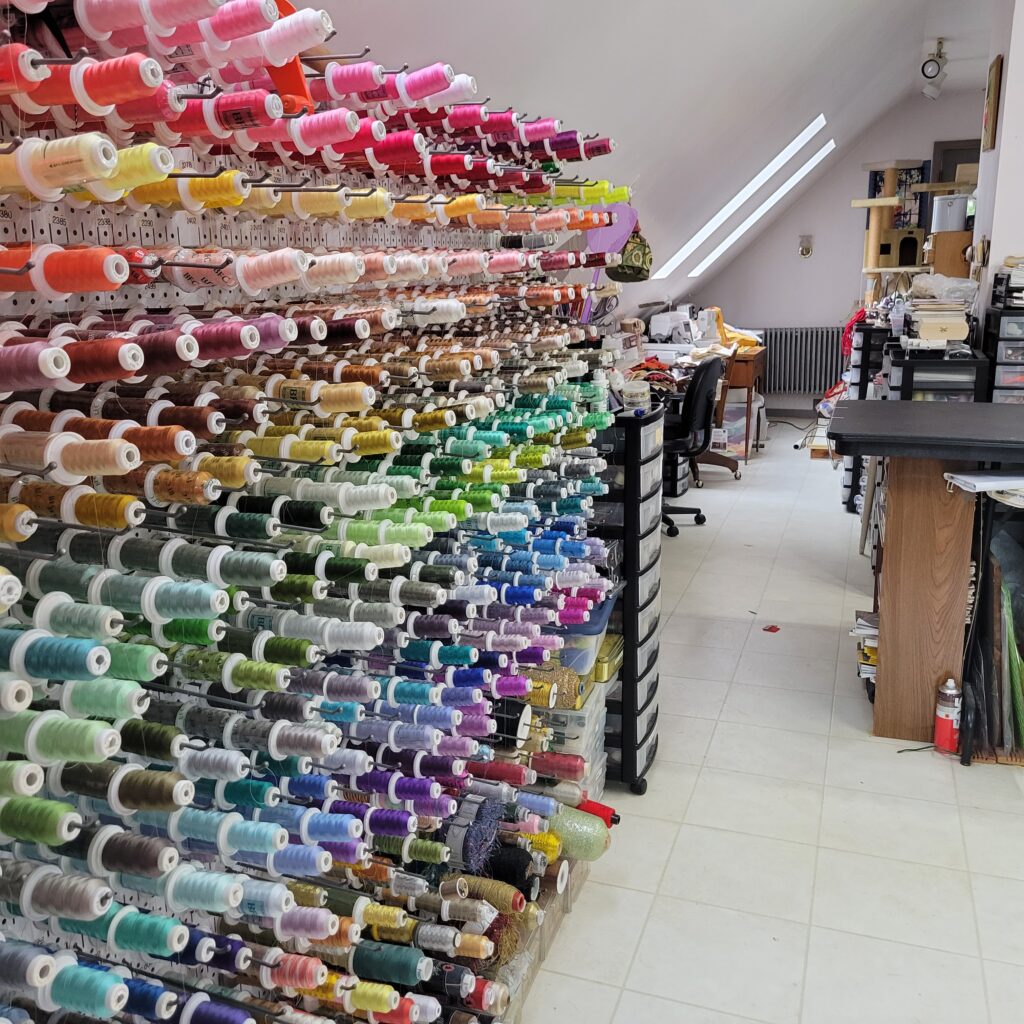
This is the top of stairs that go down to the second floor.
I love my thread wall – i often sit in front of it when trying to decide on colors for a design
On the other side of the opening in the wall is my *kitchen*. The people that had the house before us left a clawfoot bathtub up here. They had it taken out of the bathroom and replaced it with a hot tub. Not sure about that decision LOL you almost had to shimmy to get to the throne. Needless to say the hot tub is history and the clawfoot tub is my *kitchen sink* I make coffee, have a little frig, a microwave, and cat food (most important!)
OLYMPUS DIGITAL CAMERA
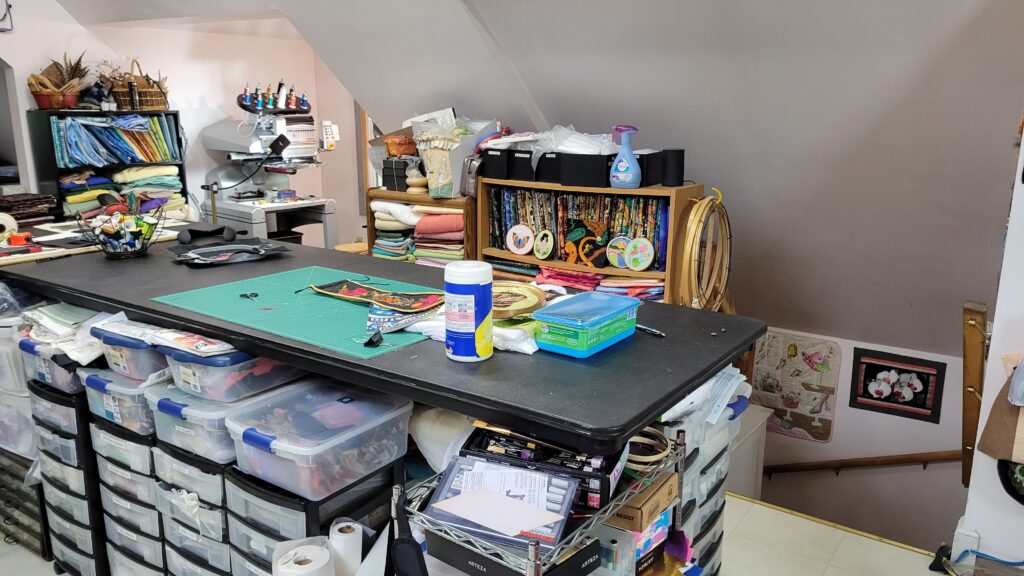
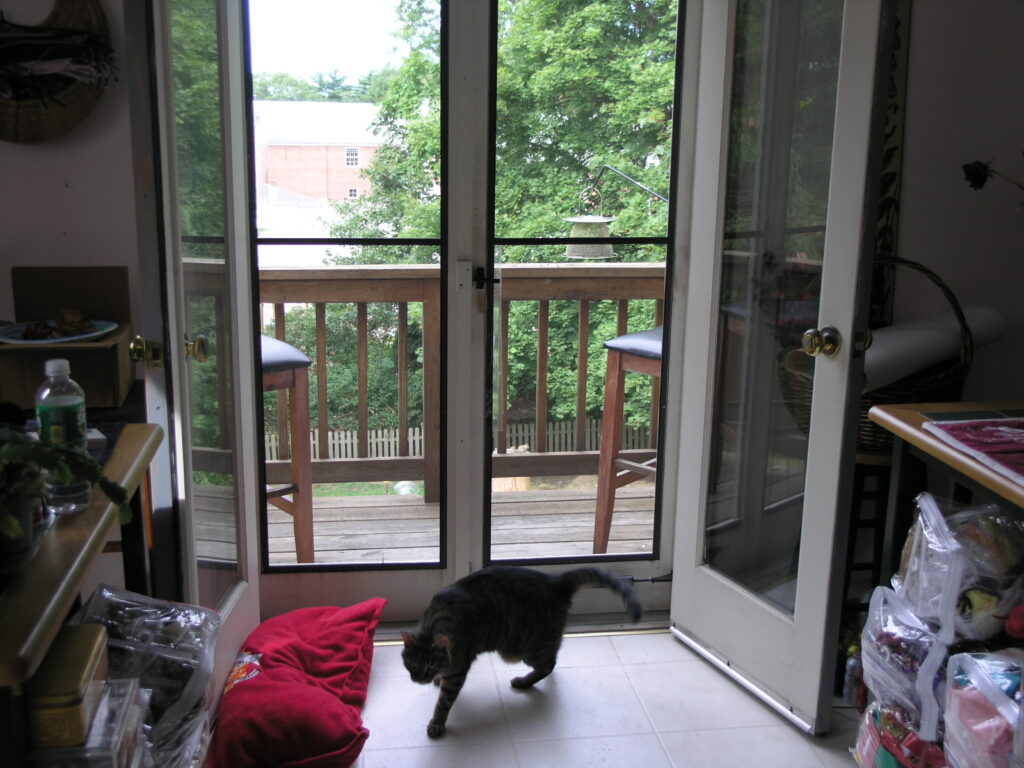
This is the back side of the studio. There is a little balcony. After this picture was taken I have it all screened in so the cats could go out. A very popular place up here.
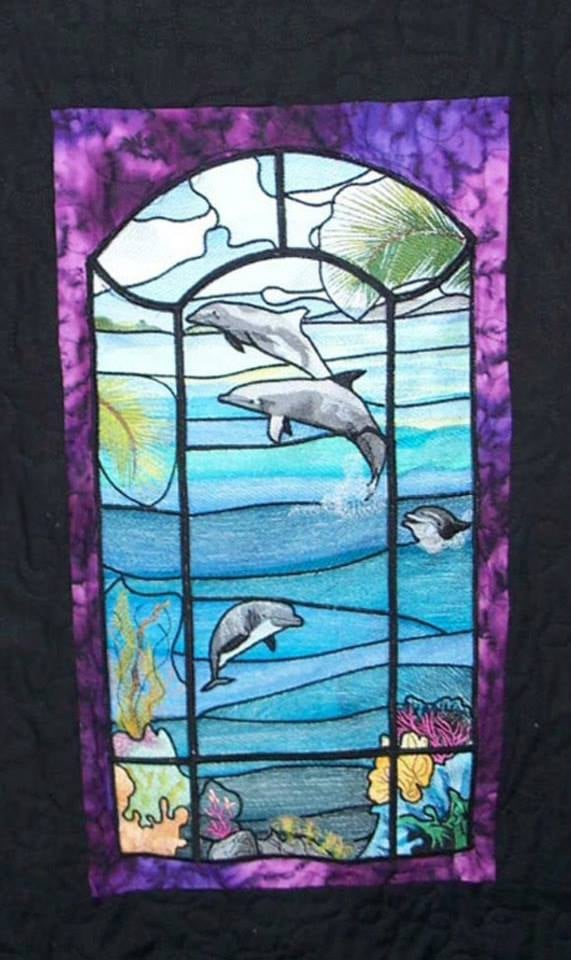
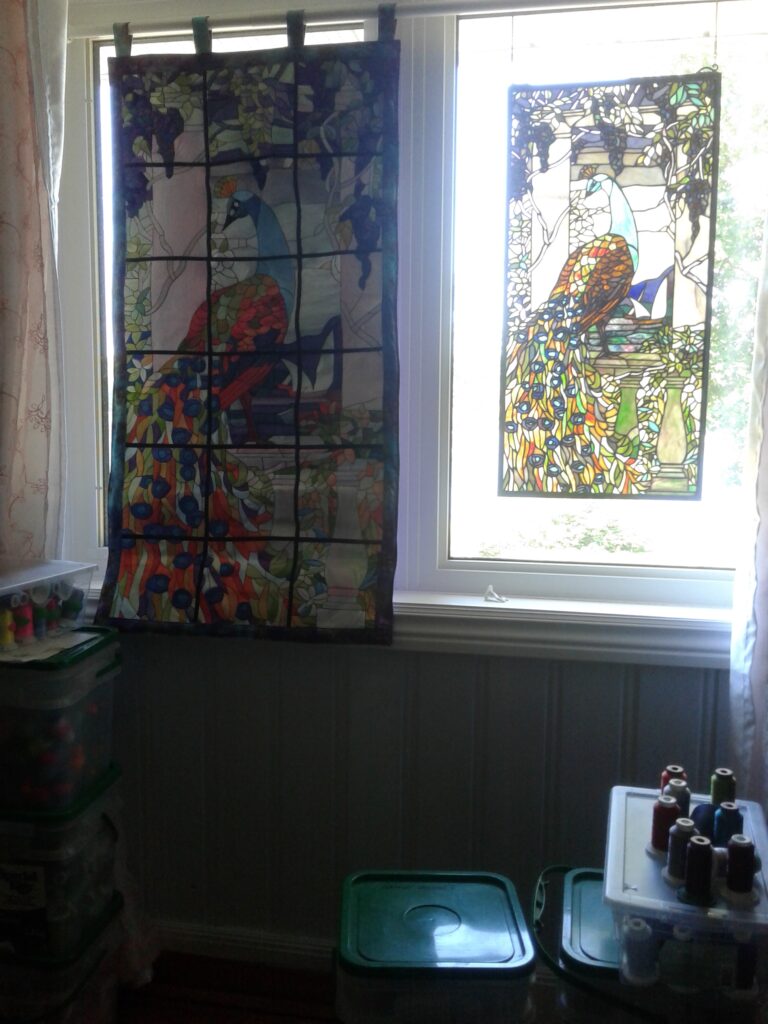
Your designs are just amazing!! I am sending a picture (as promised) of the Tiffany Peacock, sorry the picture isn’t better I think I am getting a glare off the lake. As I mentioned earlier, you can see the colours are spot on if compared with the actual stained glass. I am very pleased with how it turned out, and this one is just for me. Friends and family see what I have done and now they all want one. I have also found that working on the designs (and e mails back and forth with you) I have also learned more.