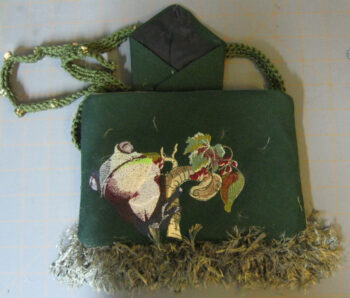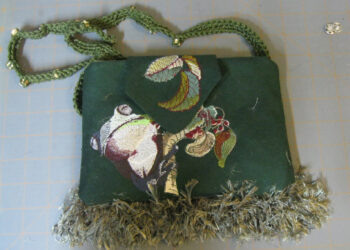
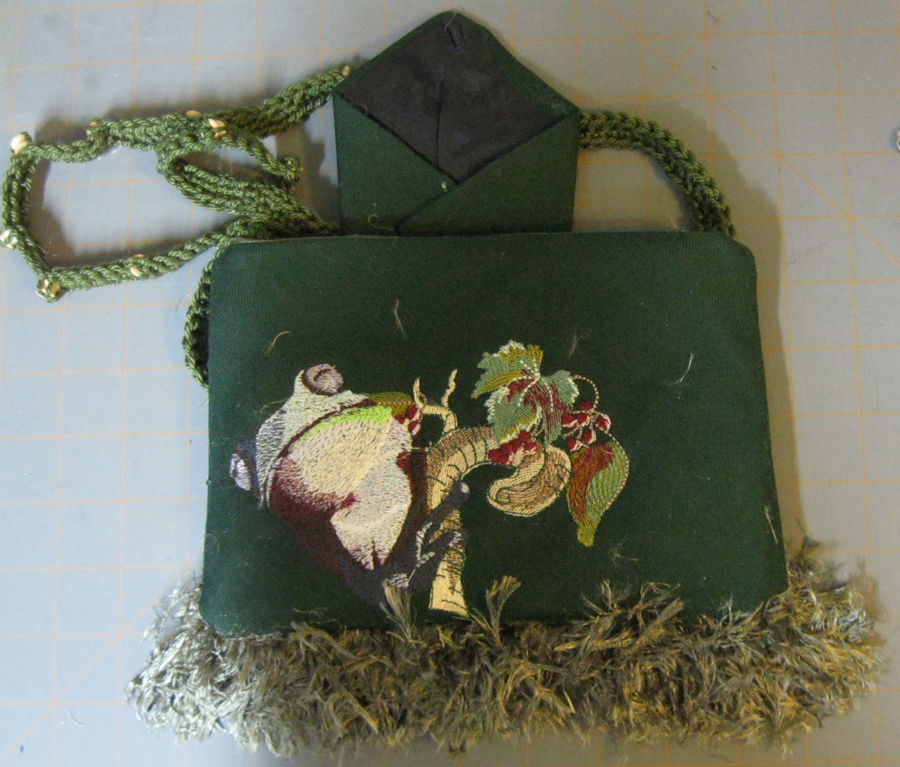
I began with downloading all the free designs into a file folder and
then studying them all together, I chose the following 3 designs:
FBFC902, 1060 and 1148. The project was a local challenge of making a
purse from a mans tie.
Tie Purse
1 tie
lining fabric
craft fuse
purse handle or rat-tail cord
washer
stabilizer
embroidery designs
thread to match
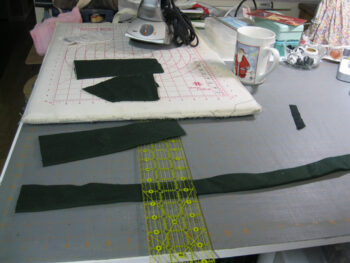
I took an old Green wide tie, this one is raw silk, and cut it into
several sections. Section 1 is 5.5 inches, section 2 is 7.5 inches,
sections 3 and 4 are 8.5 inches in length.
Next I took a seam ripper and opened up all sections except the first
one. Leave the V part of the tie intact.
Take section apart on one side to open it up to embroidery on. Stitch
the design and resew it back to original shape and size.
At this time place a washer into the point of section 1 to give weight
to the flap.
Next press all sections out and place top side up on table.
The section 2 is the front of the purse.
Section 3 is the center back.
Take section 4 and cut it down the center of the width and place on each
side of section 3 and sew together. This will form a back that is larger
than the front.
Place front and back wrong sides together and trim to the size of the
front.
Now cut 2 lining to match this shape.
Stitch the front lining to the front and use this as a pattern to cut
out 2 inner facing sections from craft fuse.
Press this to the front sections.
Take back sections and press to stabilizer and stitch design.
Take the section 1 and place in the center of the back section between
the tie and lining making sure that the section 1 is folded properly to
look like a tie with the lining showing on the back making sure that
when stitched it will flip over front properly.
Stitch across the top of back and lining sections. At this point you
can put a pocket into the purse.
Press craft fuse to back section.
Now you put strap into the purse at the sides where the lining meets the
outer fabric.
Sew from lining side 2 inches from corner, to corner and up side to the
other end across it and down the last side to corner and another 2
inches into the beginning side. This will allow you to turn your purse
right side out.
When turned top stitch the bottom of the lining together.
Have fun. I will put the instructions on my blog
http://gingersdolls.blogspot.com/
Great job Ginger!!! And thanks for the great instructions.