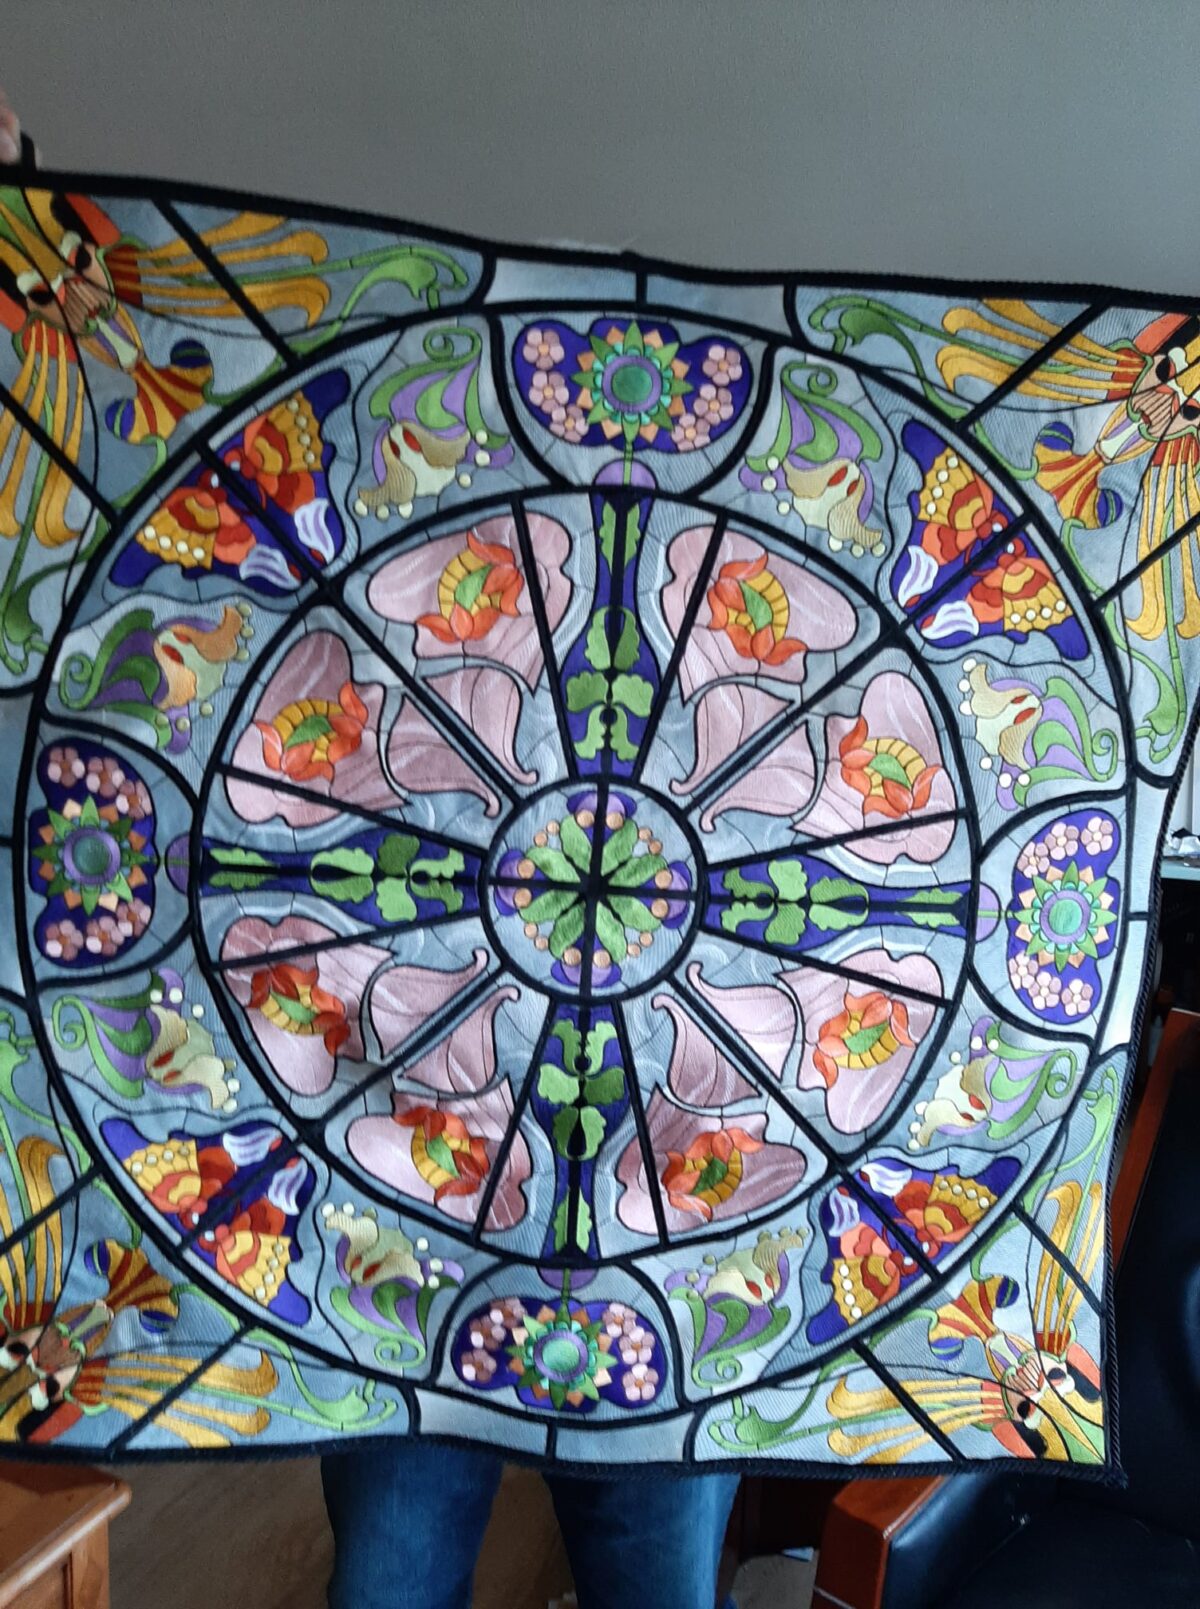
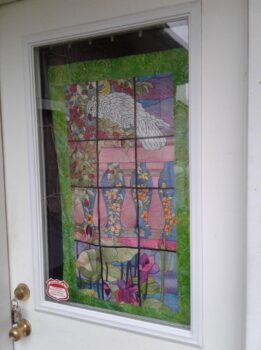
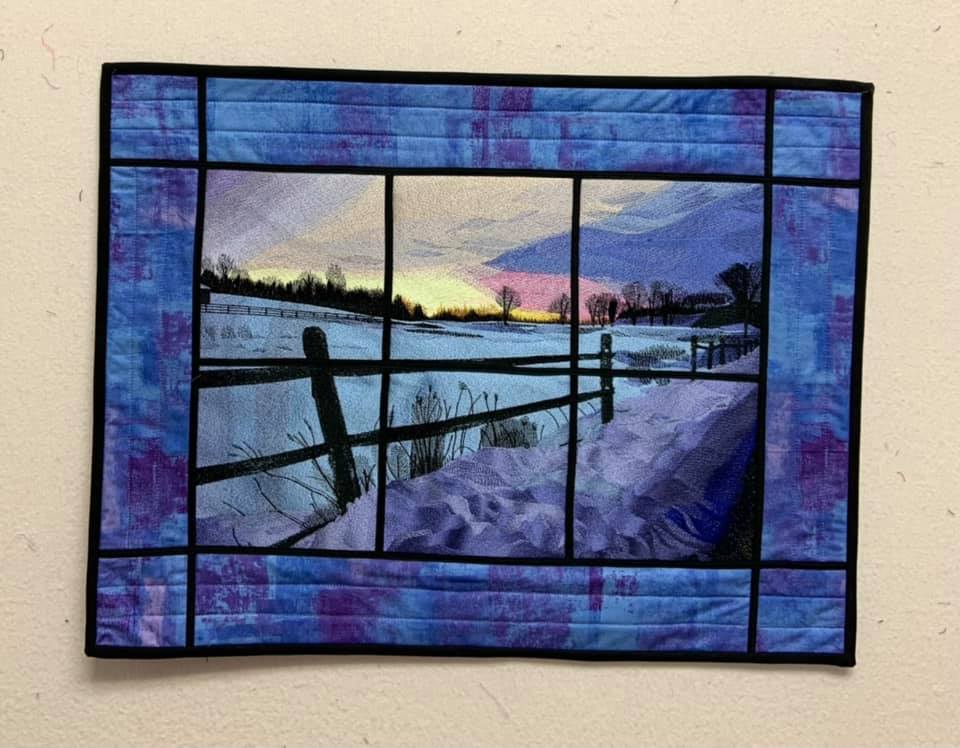
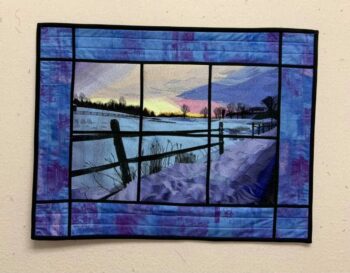
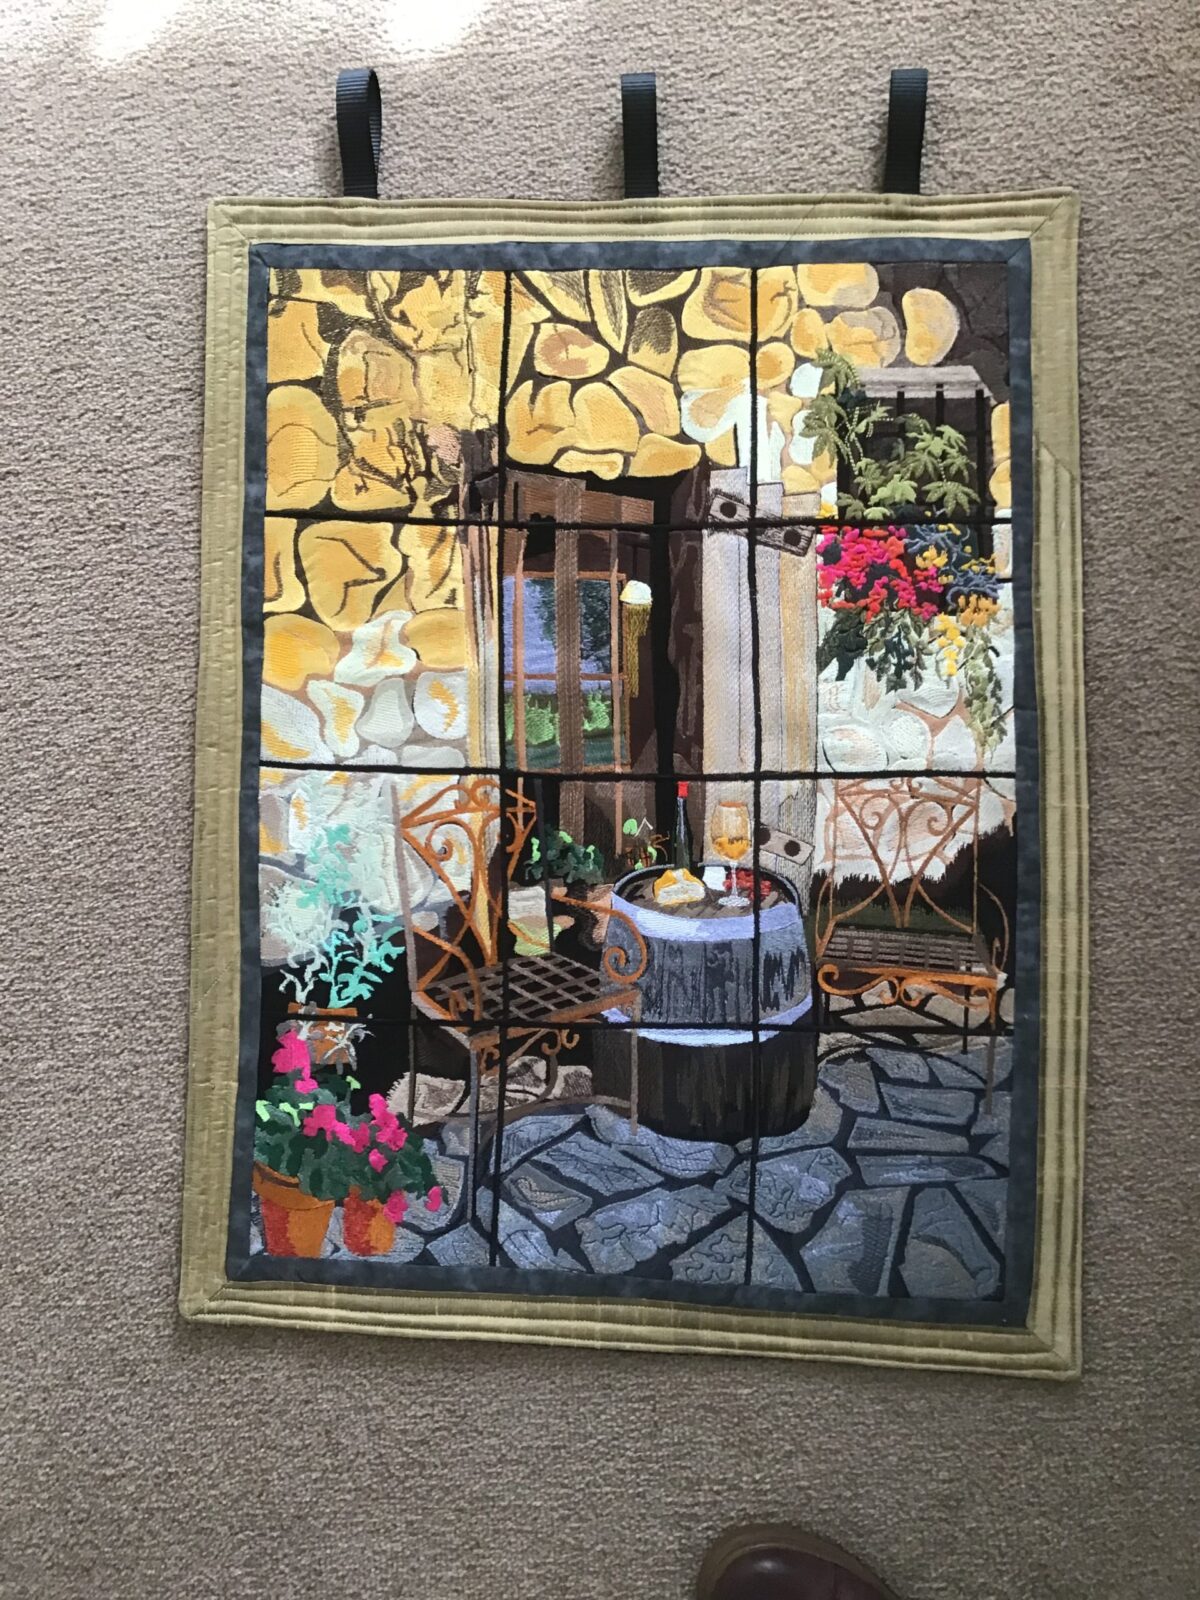
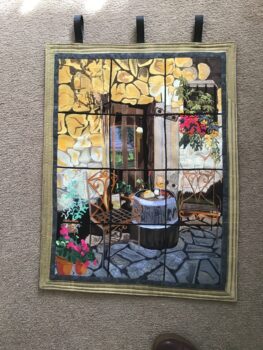
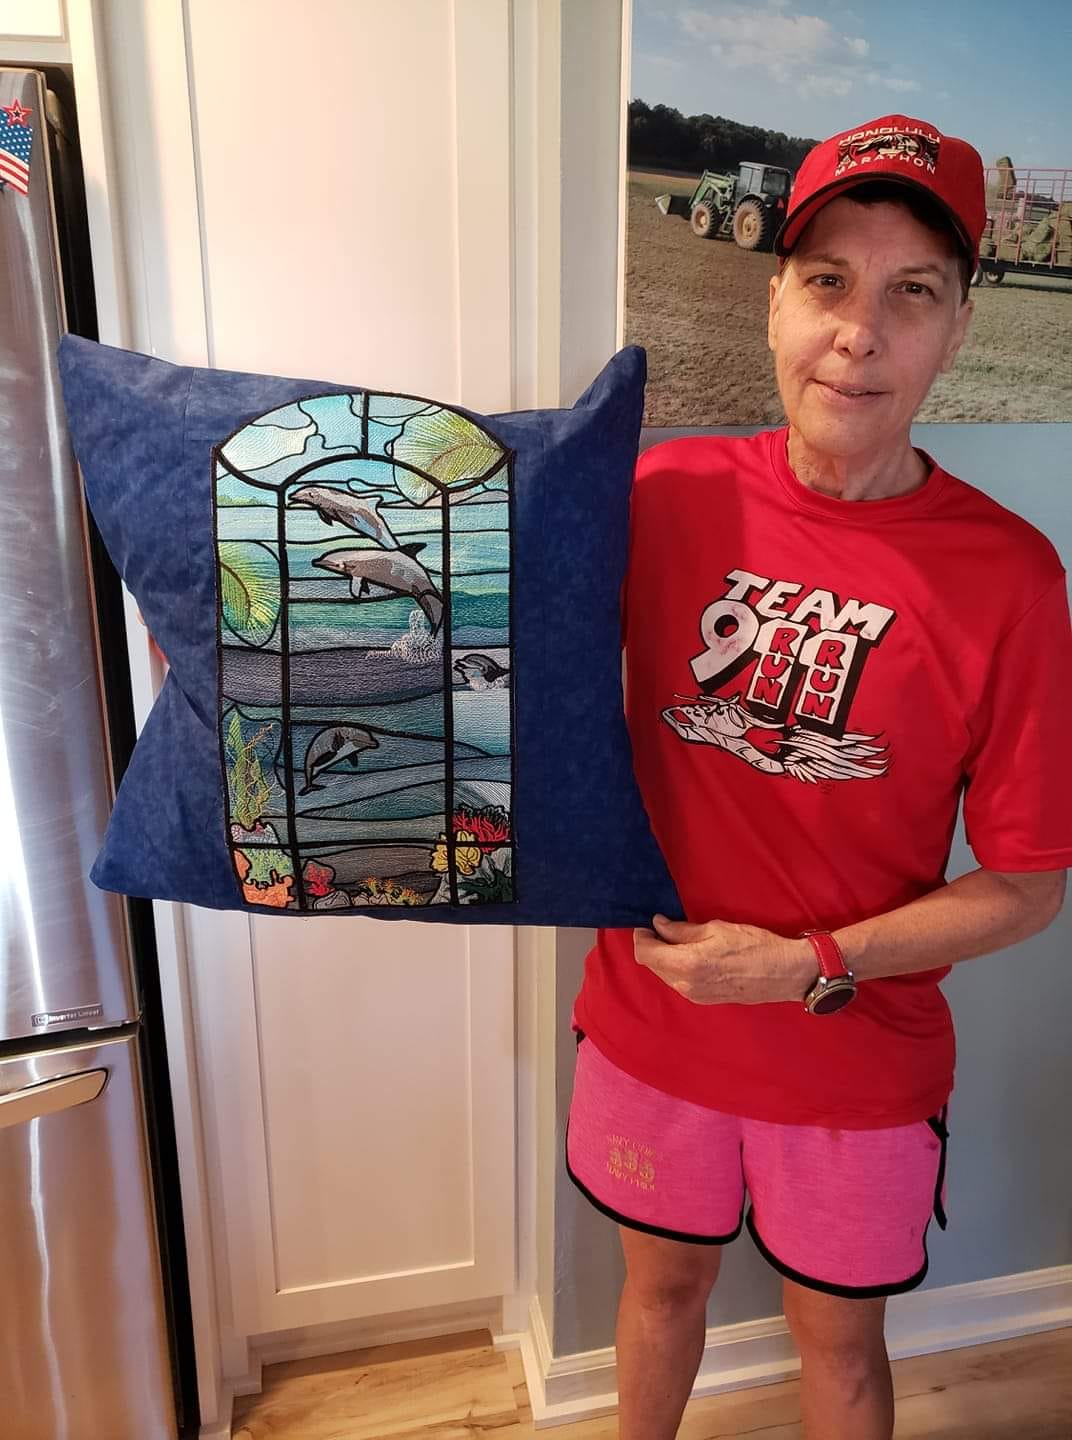
Charlotte’s *Smilodon*

From Charlotte: Thank you so much.  I so love your creations and especially the Tribals.  I will be back for more. I’ve made the Saber Tooth as practice and I am thrilled with it. (I’m fairly new at this). I am going to try the bull next. I am now in the process of reloading all my designs that I downloaded to that new new drive to my old reliable one. Thanks again for such wonderful designs.

You did a fantastic job Charlotte – I can’t believe you’re new at this 🙂  We’ll all have to move over once you really get going 🙂   Suz

BFC1927 Large Saber Tooth Tiger


Laura’s Bonsai

From Linda:

Bonsai!!!  It’s just such a fun word to say, and stitch.  Here’s my latest wall hanging from your wonderful designs.  As you can see, the tree in the bowl with the flowers is a combo of two of your designs.  It turned out well, however, it took awhile to do since it had 50 color changes!  Hope all is well and, again, thanks for the designs.

Your wall hanging is absolutely beautiful Laura!  Thank you.  Suz

BFC0402 Bonsai

Beth’s method for finishing embroidered pictures.

Beth has been so kind and generous to write out directions on how she makes such beautiful finished embroideries that she displays on easels.  You can see some of them here.

Thank you so much Beth!  Download in PDF form:  BethPictureFraming

Procedure steps and tips for creating embroidery pictures using Pellon 71F ultra firm one sided fusible and Pellon 926 extra firm non-fusible stabilizers.

FINISHING EMBROIDERED PICTURES

It is best to use either an 80/12 or 90/14 topsitich needle.

Basic directions
1. In software combine embroidery design and border (frame) design. It does not matter which of the two designs is chosen first.
a) If more than one embroidery design is to be combined before adding the frame design, it is helpful to sequence the order of stitching in the software but moving forward and back through color stops in the embroidery machine to achieve the correct stitching order works as well.
b) It will be necessary to move forward and back through color stops to stitch the frame for the embroidery picture.
c) Edit the size and dimensions of embroidery design and border/frame design independently as necessary before joining them. Once combined as a new design, the dimensions can be adjusted further as desired.

2. Hoop one layer of water- soluble nonwoven fabric- like stabilizer.
a) The best success stitching on fusible pellon is achieved by opening the bottom hoop enough that the stabilizer can be hooped smoothly without pulling it at all. Just smooth it by hand before tightening the frame. The stabilizer should be straight in the hoop, not pulled “tight as a drum,” however, tighten the hoop frame as much as possible. Pulling at the
stabilizer to smooth it after the hoop is tightened only serves to make it crooked. The stabilizer may seem to be too loose, but it will work better stitching on pellon.

3. Stitch the first color stop, used for the border, for the placement of the fabric fused to pellon. a) Cut the pellon, front and back fabrics at least 1.25 inches bigger that the dimensions of the finished border. This will allow a little more than ½ inch to hold on to while trimming the outside away. More allowance may be preferred.
b) Pellon is not 100% uniform. It does have a little loft. This is not usually a big problem. Just be aware that as the design is stitched the pellon will often flex in the hoop. It is a good thing to have the stabilizer a little loose and not stretched tightly in the hoop, especially with densely stitched designs. Ugly creases will be avoided. Let the pellon become wonky. The design has
not been ruined. The action of additional stitching will often smooth everything out. Attaching the back will also help flatten everything. In any case the picture will press flat when completed.
c) Lightly fuse the fabric to pellon. Works better with dense stitching.
d) It is better to use fusible pellon for both the front and back fabrics if the designs are large or
when a very firm picture is preferred. Attaching the back using non-fusible works well for small designs. Quilt blocks using trapunto or quilting stitches look good using non-fusible pellon on the front and fusible on the back. With non-fusible the fabric may noticeably “float” around
stitched designs. Experience and every design will dictate pellon choices.

4. Center the fabric fused pellon in the placement stitching. Stitch the second color stop to tack it down to the stabilizer.

5. Move to the embroidery design and complete the embroidery. Remember that it is better to allow the complete design to stitch without interference. It will probably be wonky, but not to worry. After the stabilizer is washed away and the picture dries, it will iron flat.

6. After the embroidery is completed, remove the hoop from the machine. Turn the hoop over, center the back fabric over the placement stitching and secure it to the stabilizer with pins. If non-fusible pellon is used with the back fabric, it is helpful to pin the two together in the center for a smoother fit.

7. Return the hoop to the machine and stitch the border design color stops one and two to secure the back fabric.

8. Remove the hoop from the machine and on a flat surface trim away the excess fabric/pellon From the front and back.
a) Start with the back.
b) Very sturdy double curved applique scissors are extremely helpful. Pickle Pie Designs sells an excellent pair on their website www.picklepiedesigns .com.
c. Trim carefully as close to the stitching as possible. Avoid cutting the stitching or the stabilizer. If you do cut the stabilizer at bit, pin another piece of stabilizer over the cut to patch the area. The remaining color stops need something to stitch on.

9. Complete the remaining border design color stops.

10. Remove the beautiful, embroidered picture from the hoop. Place it in warm water to dissolve the washaway stabilizer and rinse the excess away. Stand the picture on edge (like in a dish drainer) to allow the water to drain. Do not worry if it is wonky but take care not to bend the wet pellon. After the picture is dry, steam iron it flat using a pressing cloth to avoid damaging the embroidery. Any noticeable wrinkles can also usually be ironed away.

Enjoy many pictures displayed on an easel. Another option is to tack one side of a small metal ring to the back and hang these pictures on the smallest wire “Command hooks”.


Linda’s Peacock, Elephant and Unicorn!

Linda has done 3 fantastic projects and shows how a little embellishment can add do much to a finished embroidery!

The first is her Peacock:

from Linda:

I’m sending a photo of my latest finished wall hanging, your art deco peacock.  As you can see, I did a bit of editing and added a double swirl to the inside area of the peacock where there was a large, open space.  I used the same color thread as for the first swirl, Your thread number 2852, Light Green Amber, which looks like a soft, golden beige, and I love how it blends with the background fabric, yet still shows up and doesn’t compete with the Peacock.  Thanks for the lovely design. P.S.  I forgot to say I “crystalized” the peacock, using three colors of Swarovski crystals, Lt. Turquoise, Topaz and Crystal Meridian Blue.  They went so well with the colors of the design.

BFC1476 Large Decorative Peacock

Next her Bull Elephant:

Look what I did with your Indian Elephant design, BFC 1545.  I found a use for all that fancy beaded fringe I bought, on sale, and had no idea what I was going to do with it!  This design was really fun, and only 6 colors were used!  I gave this elephant a name- I call him “Bull-E”, my sad play on words, but it can stand just for bull elephant.  Thank you for the joy.  Laura

BFC1545 Large Decorative Indian Elephant

And her Unicorns:

Just finished this.  It’s for my 10 year old granddaughter for Christmas.  It turned out almost glowing! For whatever reason, using the mottled, royal blue background, seems to make the unicorns almost look 3D.  FYI, when the embroidery was finished, because of my choice of thread colors, there wasn’t as much definition as I wanted.  Guess what!  A number 2 common pencil worked great to get the details to stand out.  Thanks for the great design.

Yep, it is eyelash yarn.  A good number of years ago I found 2 hanks of it in the remnant bin at Walmart.  One was green and the other aqua.  I believe I had one of your mermaid designs I wanted to do and the yarn reminded me of seaweed.  Once I embroidered the design I then couched the yarn on to make an underwater scene.  Since then I have used that yarn a number of different ways and as hangers on 4 different wall hangings.  It adds a bit of unexpected texture.  It also proves there is a reason we are confirmed stash builders! We never know when we will use a treasure we have stashed.

BFC1749 A Mother Unicorn’s Love

Renee’s Rose Window

Renee made the Jumbo size of our Rose Window.  That is an accomplishment!! – especially with 6 Grandkids helping!!!!!! 🙂

From Renee:

I am so happy with it and it is hung up behind my embroidery machine. A new machine Babylock Pathfinder, that really was put through it’s paces.

Feel free to share on your blog, I hope it helps others. I have used the Command hangers in my kitchen to hang items on the tile was hoping they made what I was needing just had to do a search.

I babysit 6 of my Grandkids so was a little slow in getting this done 3 year old triplet boys for one of my daughters, and then a 6 year old granddaughter and her 2 brothers who are 3 and 1 for my other daughter. Life sure is busy 😊

My idea worked! I used a Command hanger and handstitched a thread loop to the back.

Thank you  so much for another beautiful design

Renee

BFC0879 QIH and Regular Rose Window

Agnes’ Stitches for her Church

From Agnes:  They brought tears to Monsignor Mitas’s eyes and I never expected that reaction.  When I gave him the Easter one in Holy Thursday, the reverence with which he held the parament was something to be witnessed.  That is how powerful these designs are.


BFC1144 Window-Christ Resurrected

BFC0495 Window-The Nativity

Larry’s Tiffany 4 Seasons

Larry has finished the first two designs in this series in Jumbo size.  That is a lot of stitches, but the came out beautiful Larry!

BFC1710 Tiffany’s Stained Glass Four Seasons – Spring

BFC1751 Tiffany’s Stained Glass Four Seasons – Winter

Larry has finished SUMMER:

BFC1715 Tiffany’s Stained Glass Four Seasons – Summer

Laura’s Elephants

Laura had a lot of trouble in the beginning getting this design lined up.  But I was shocked when she sent me the photo and it came out so beautiful!  I think she was doing a lot better than she thought. 🙂  Thank you Laura for making my design look so great!

From Laura,

Well, here is the finished product from my almost nervous breakdown!  Thank you again for all your help with BFC 445, Touch of India II.  It’s a “Happy” wall hanging, full of beautiful colors.  I added lots of crystals and unique outline quilting.  The fabric I found at our local quilt shop, Creative Sew Threads, here in Elkhart, Indiana.  I think the fabric complemented the design perfectly.

BFC0445 Touch of India II

I did some closeups so you can see the details.

I like the quilting – you can see some of it better her.