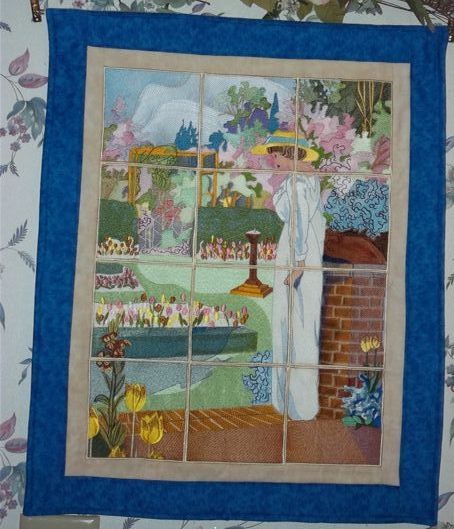
Donna’s *A Spring Afternoon* looks like we are in the house looking out at
the beautiful lady surveying her garden.
BFC Creations – Where Thread comes to life!
Donna’s *A Spring Afternoon* looks like we are in the house looking out at
the beautiful lady surveying her garden.
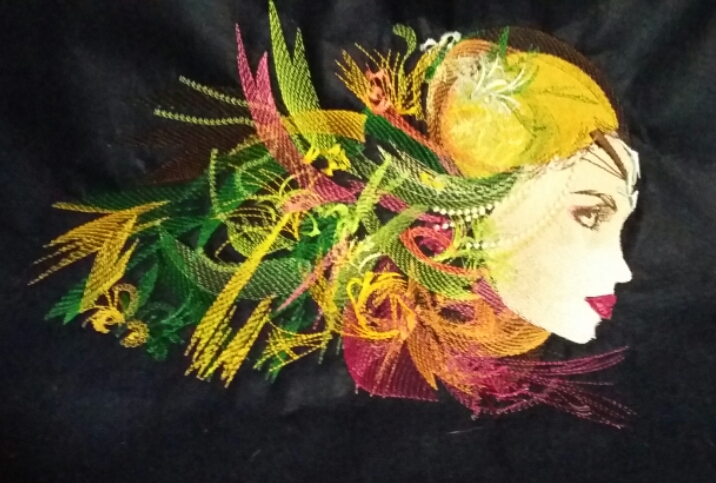
Donna came across our BLOG recently and sent me photos of two of her projects.
The first is our Stained Glass Pheasant. I love the way Donna used the small butterflies to make a top for the picture – it really gives it all a nice finish.
I’m going to hold off on posting Donna’s second project. When I get a photo to post, I first find the set on the site so I can get the link, etc. I couldn’t find it! I thought it must not be in the right category. Not remembering the name made it harder. I enlisted Rick’s help and we looked at everything we could until something dawned on me. I still had Donna’s history in our database so I looked up her purchases and immediate saw *A spring Afternoon*. Yes – that’s the right set. So back to the site – it’s not there! So we had to start looking in our original site (we luckily saved everything from the old site – pictures, web pages, etc.). We found it, but then found out it was actually 4 separate sets having different options! This is going to take some figuring on how to add this to the new site! We must have set it aside when we entered everything…that will teach us!!
Thanks Donna!!!
Suz
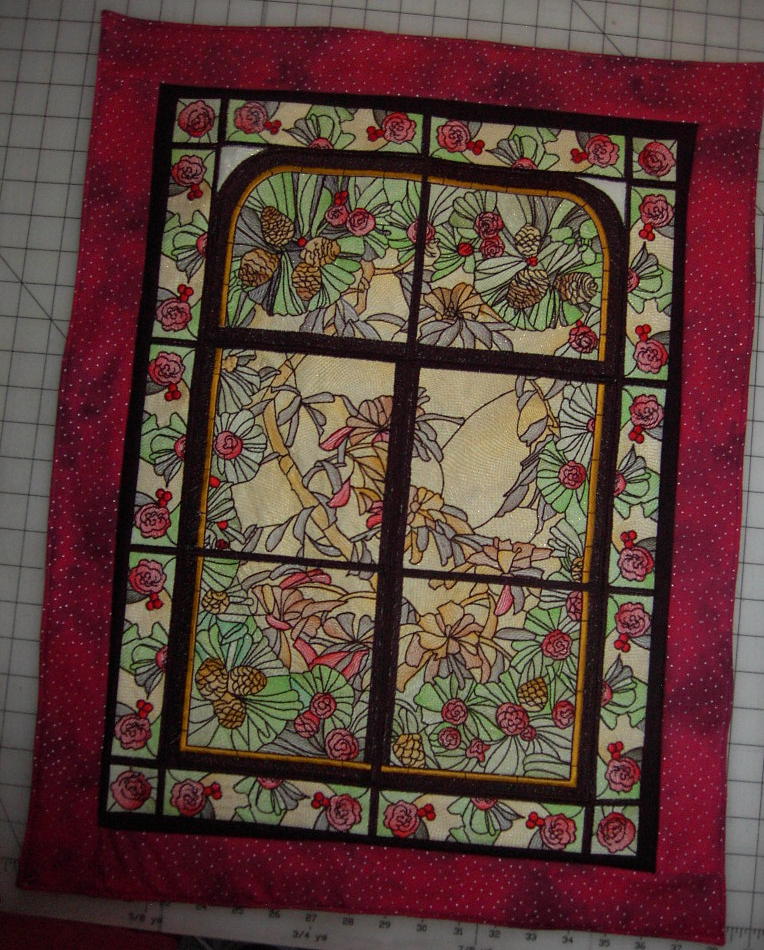
From Mary
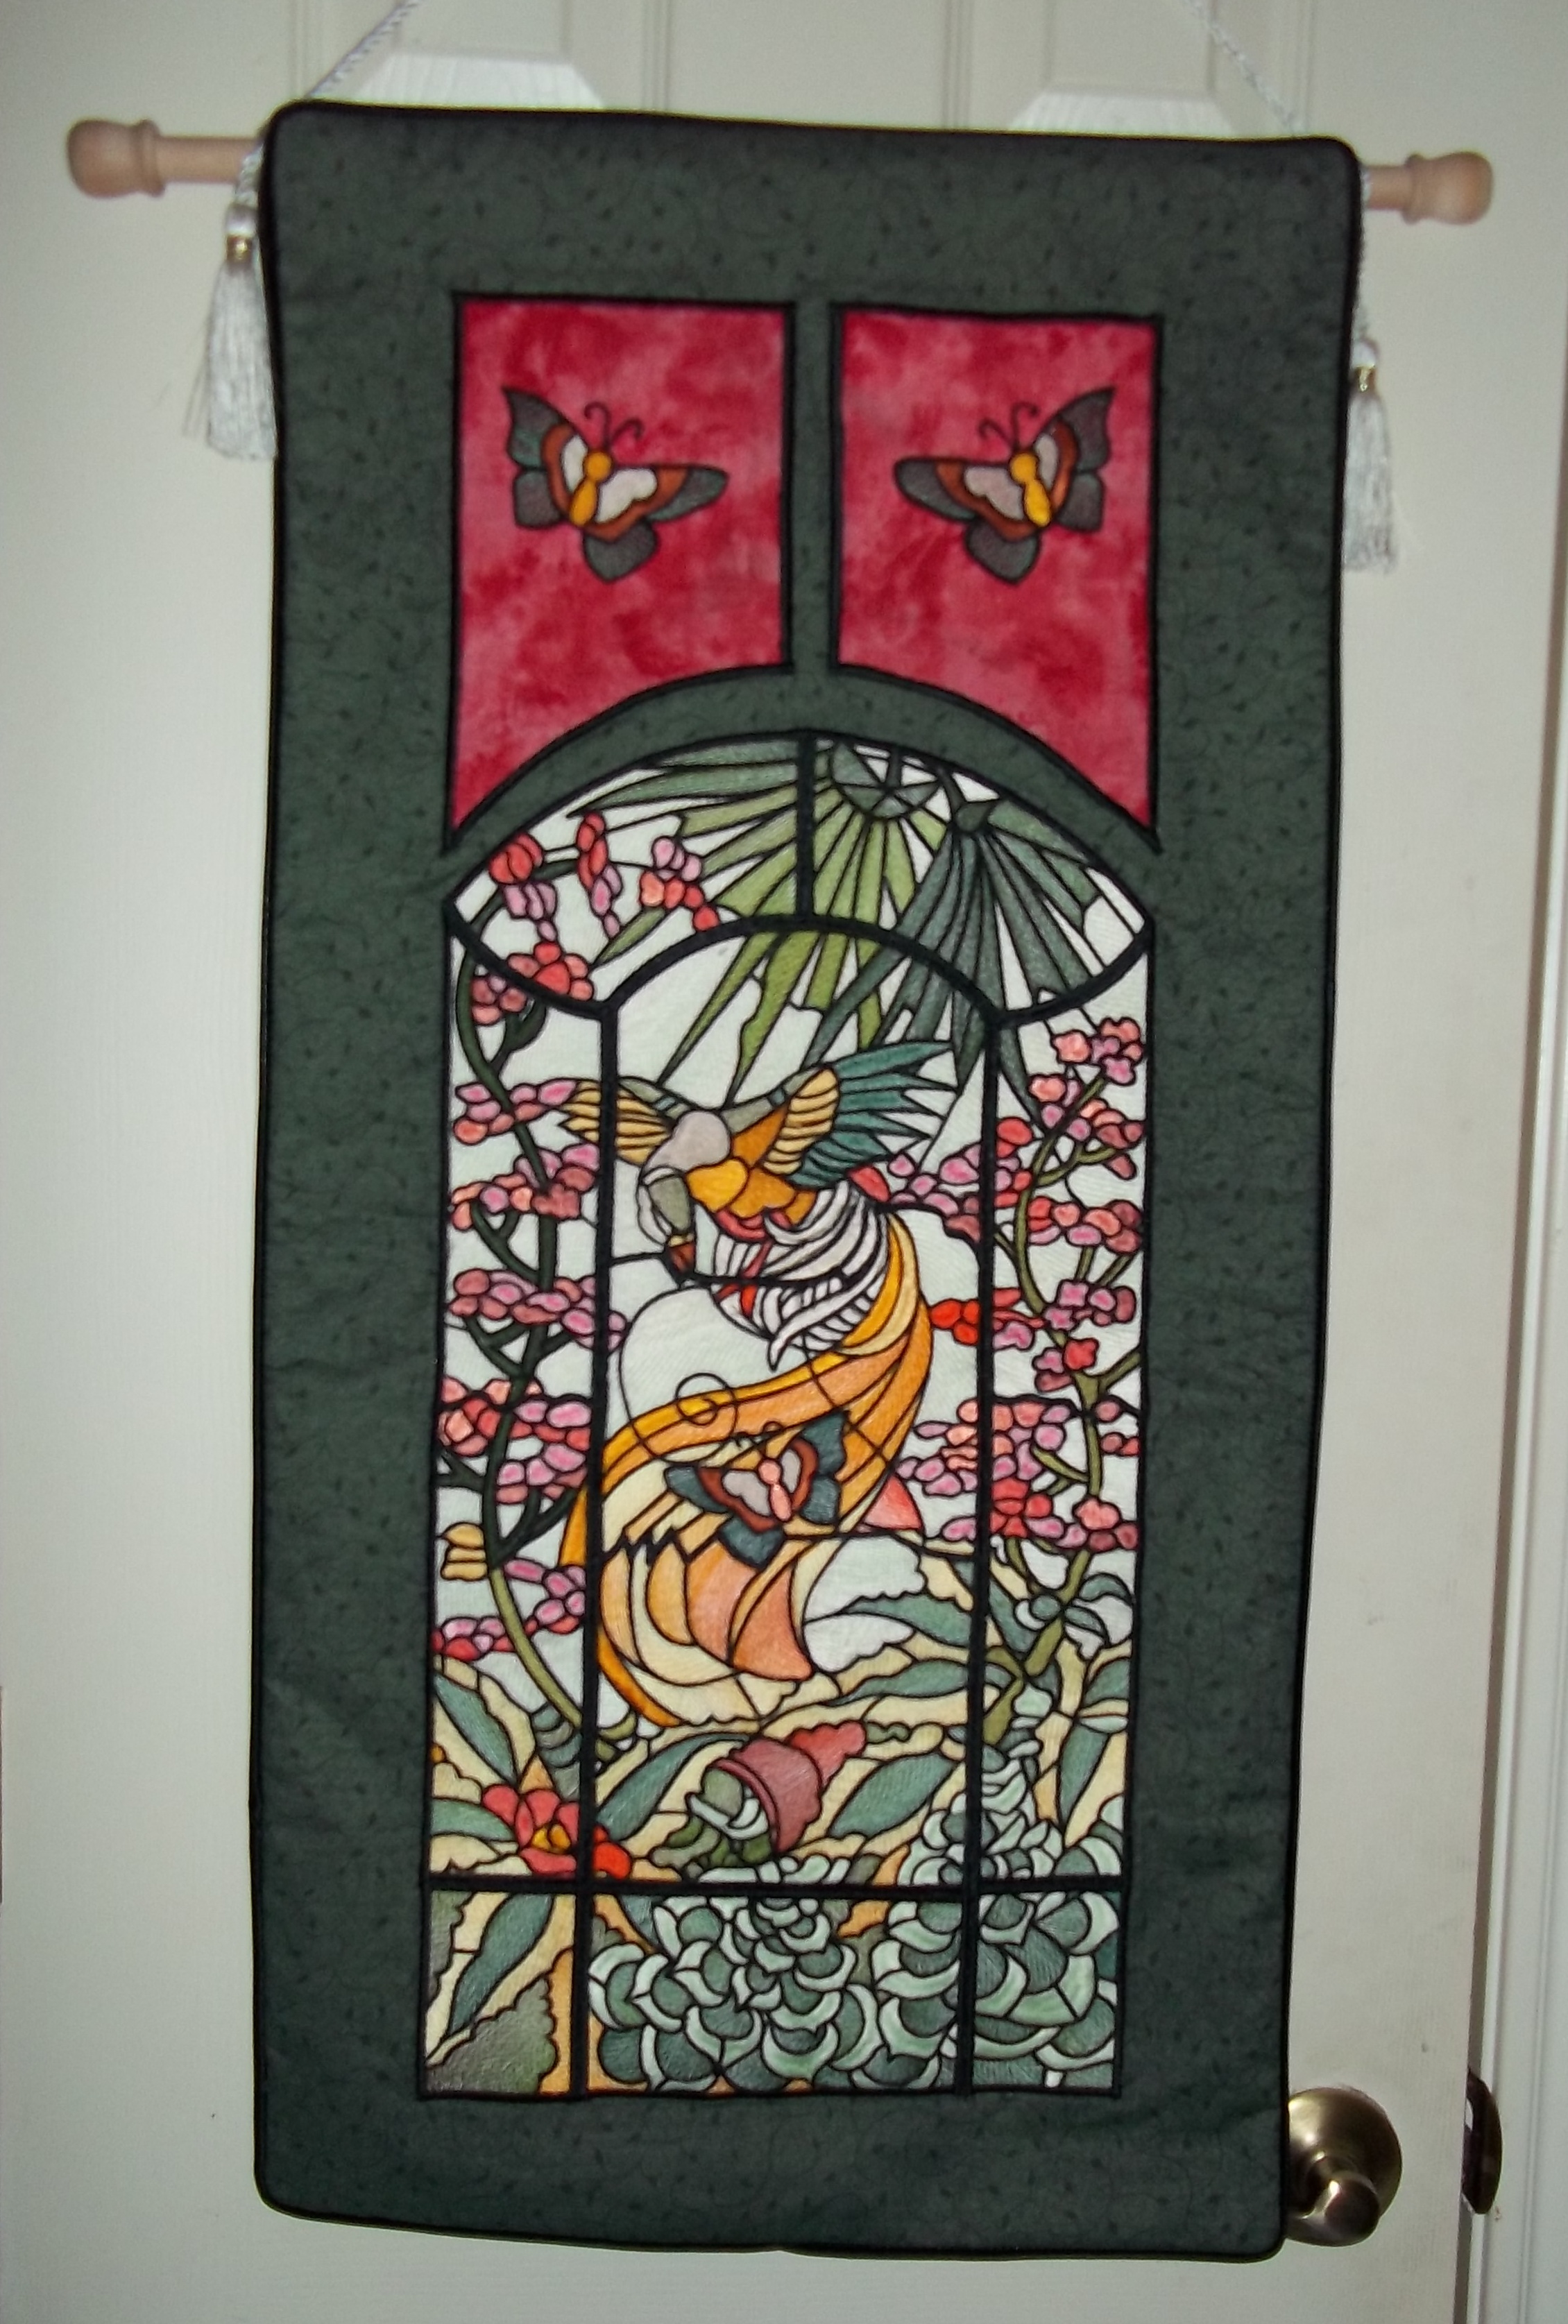
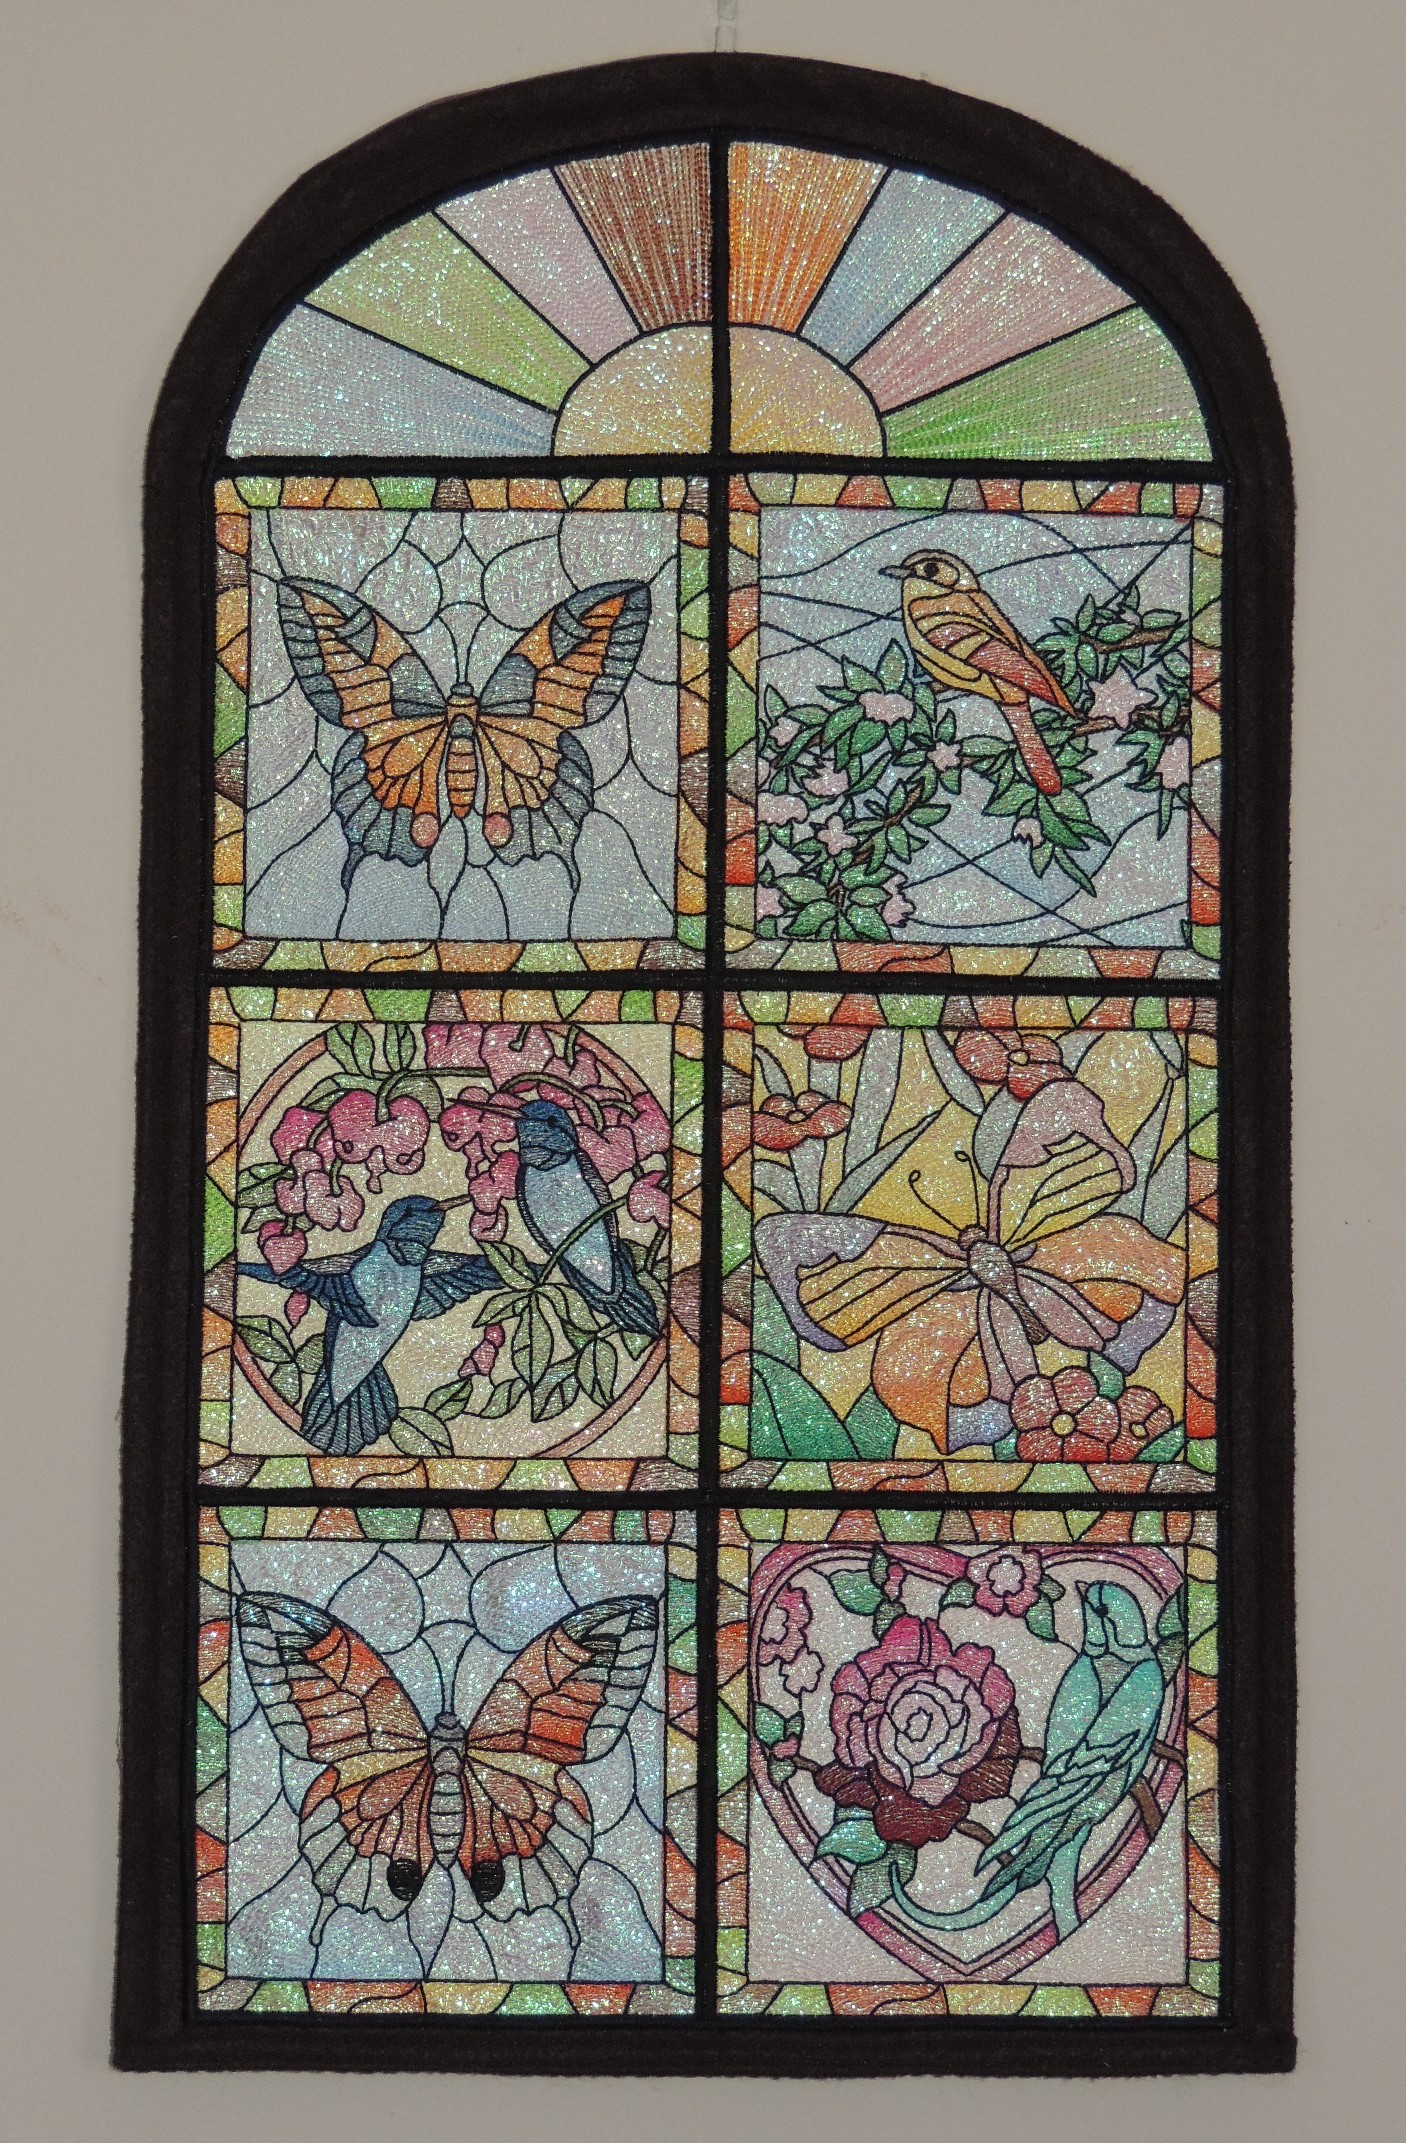
“Here is the stained glass window i made with your stained glass birds
and butterflies. The top is my own design. I hope to sell it at a
craft sale. I loved the designs. Thank you for them.”
Wow – talk about creative! Beautiful job Mary. We have many sets of stained glass squares that this would work for. The top can be made like Mary did or use pretty fabric that goes with the designs.
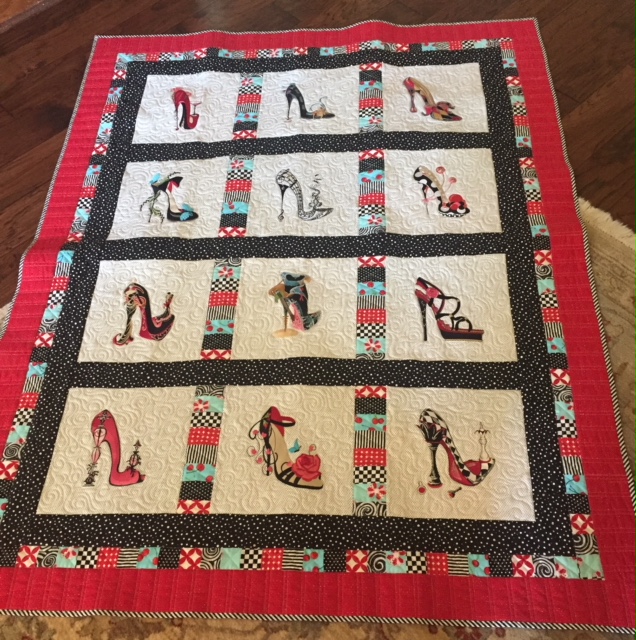
“As promised, here is my finished quilt. Loved your designs .. Peggy”
Peggy really did Sally King’s work proud! I love the vibrant colors with the shoes. They really make them stand out.
I was totally amazed when Lola sent me pictures of some recent embroideries. We often have preconceived ideas of how embroidery can be used and forget to think beyond those boundaries. I will try to never do that again!! Wonderful creativity Lola.
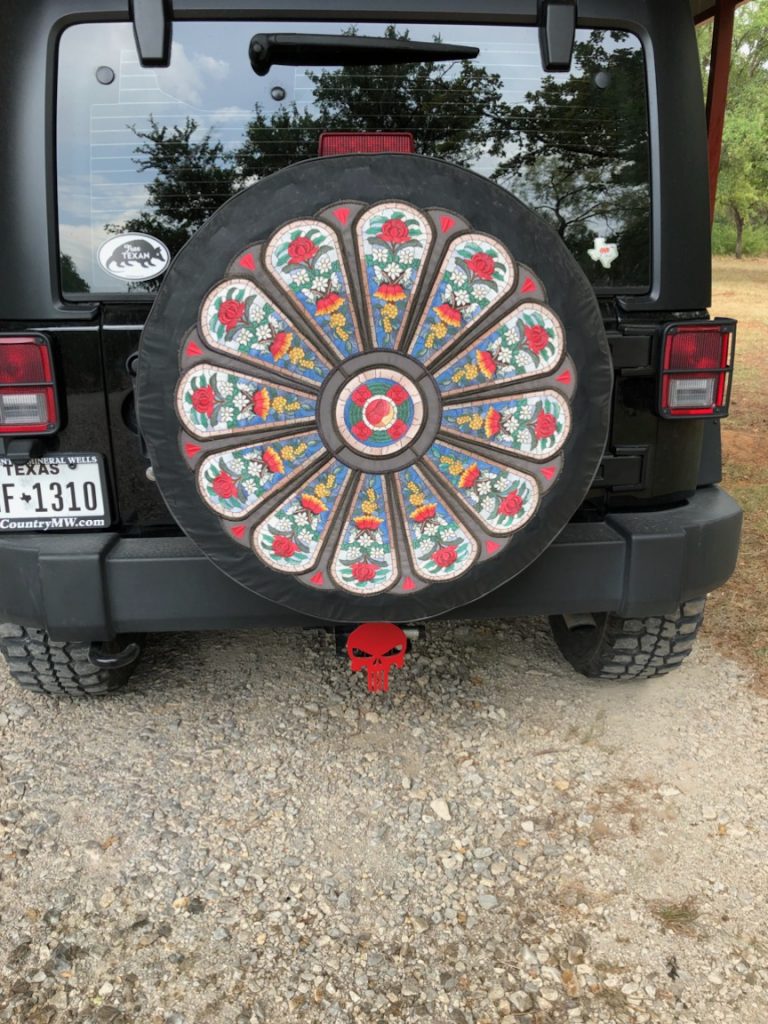
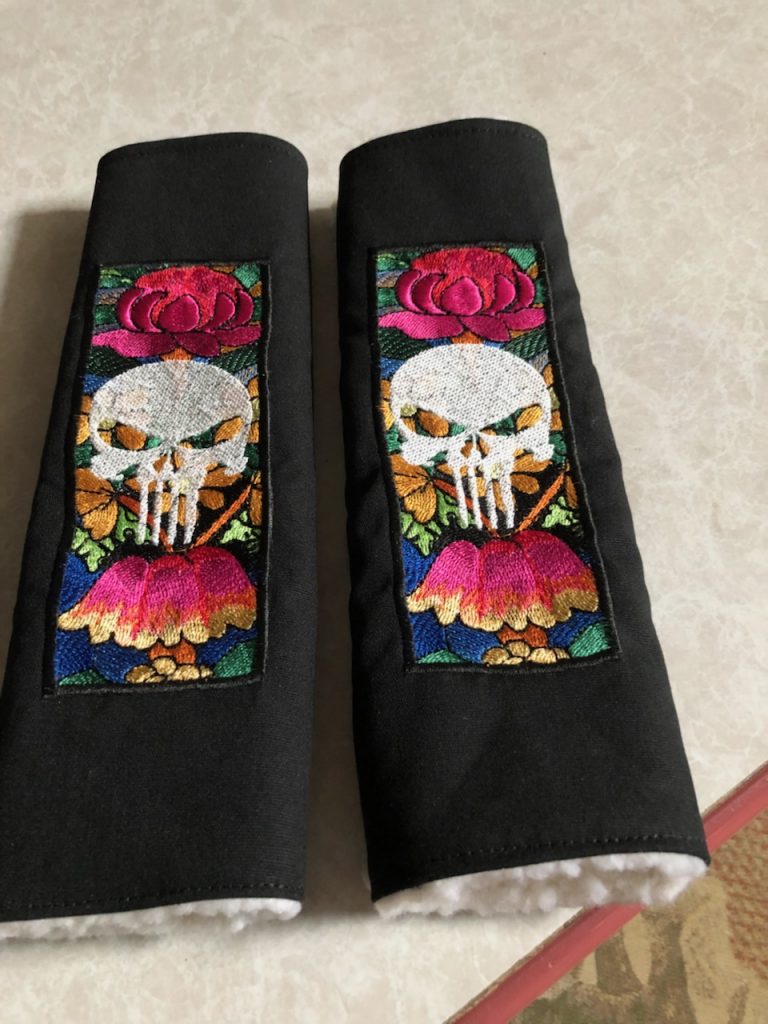
I love the way she used designs from the above Rose Window and added to them.
From Pamela:
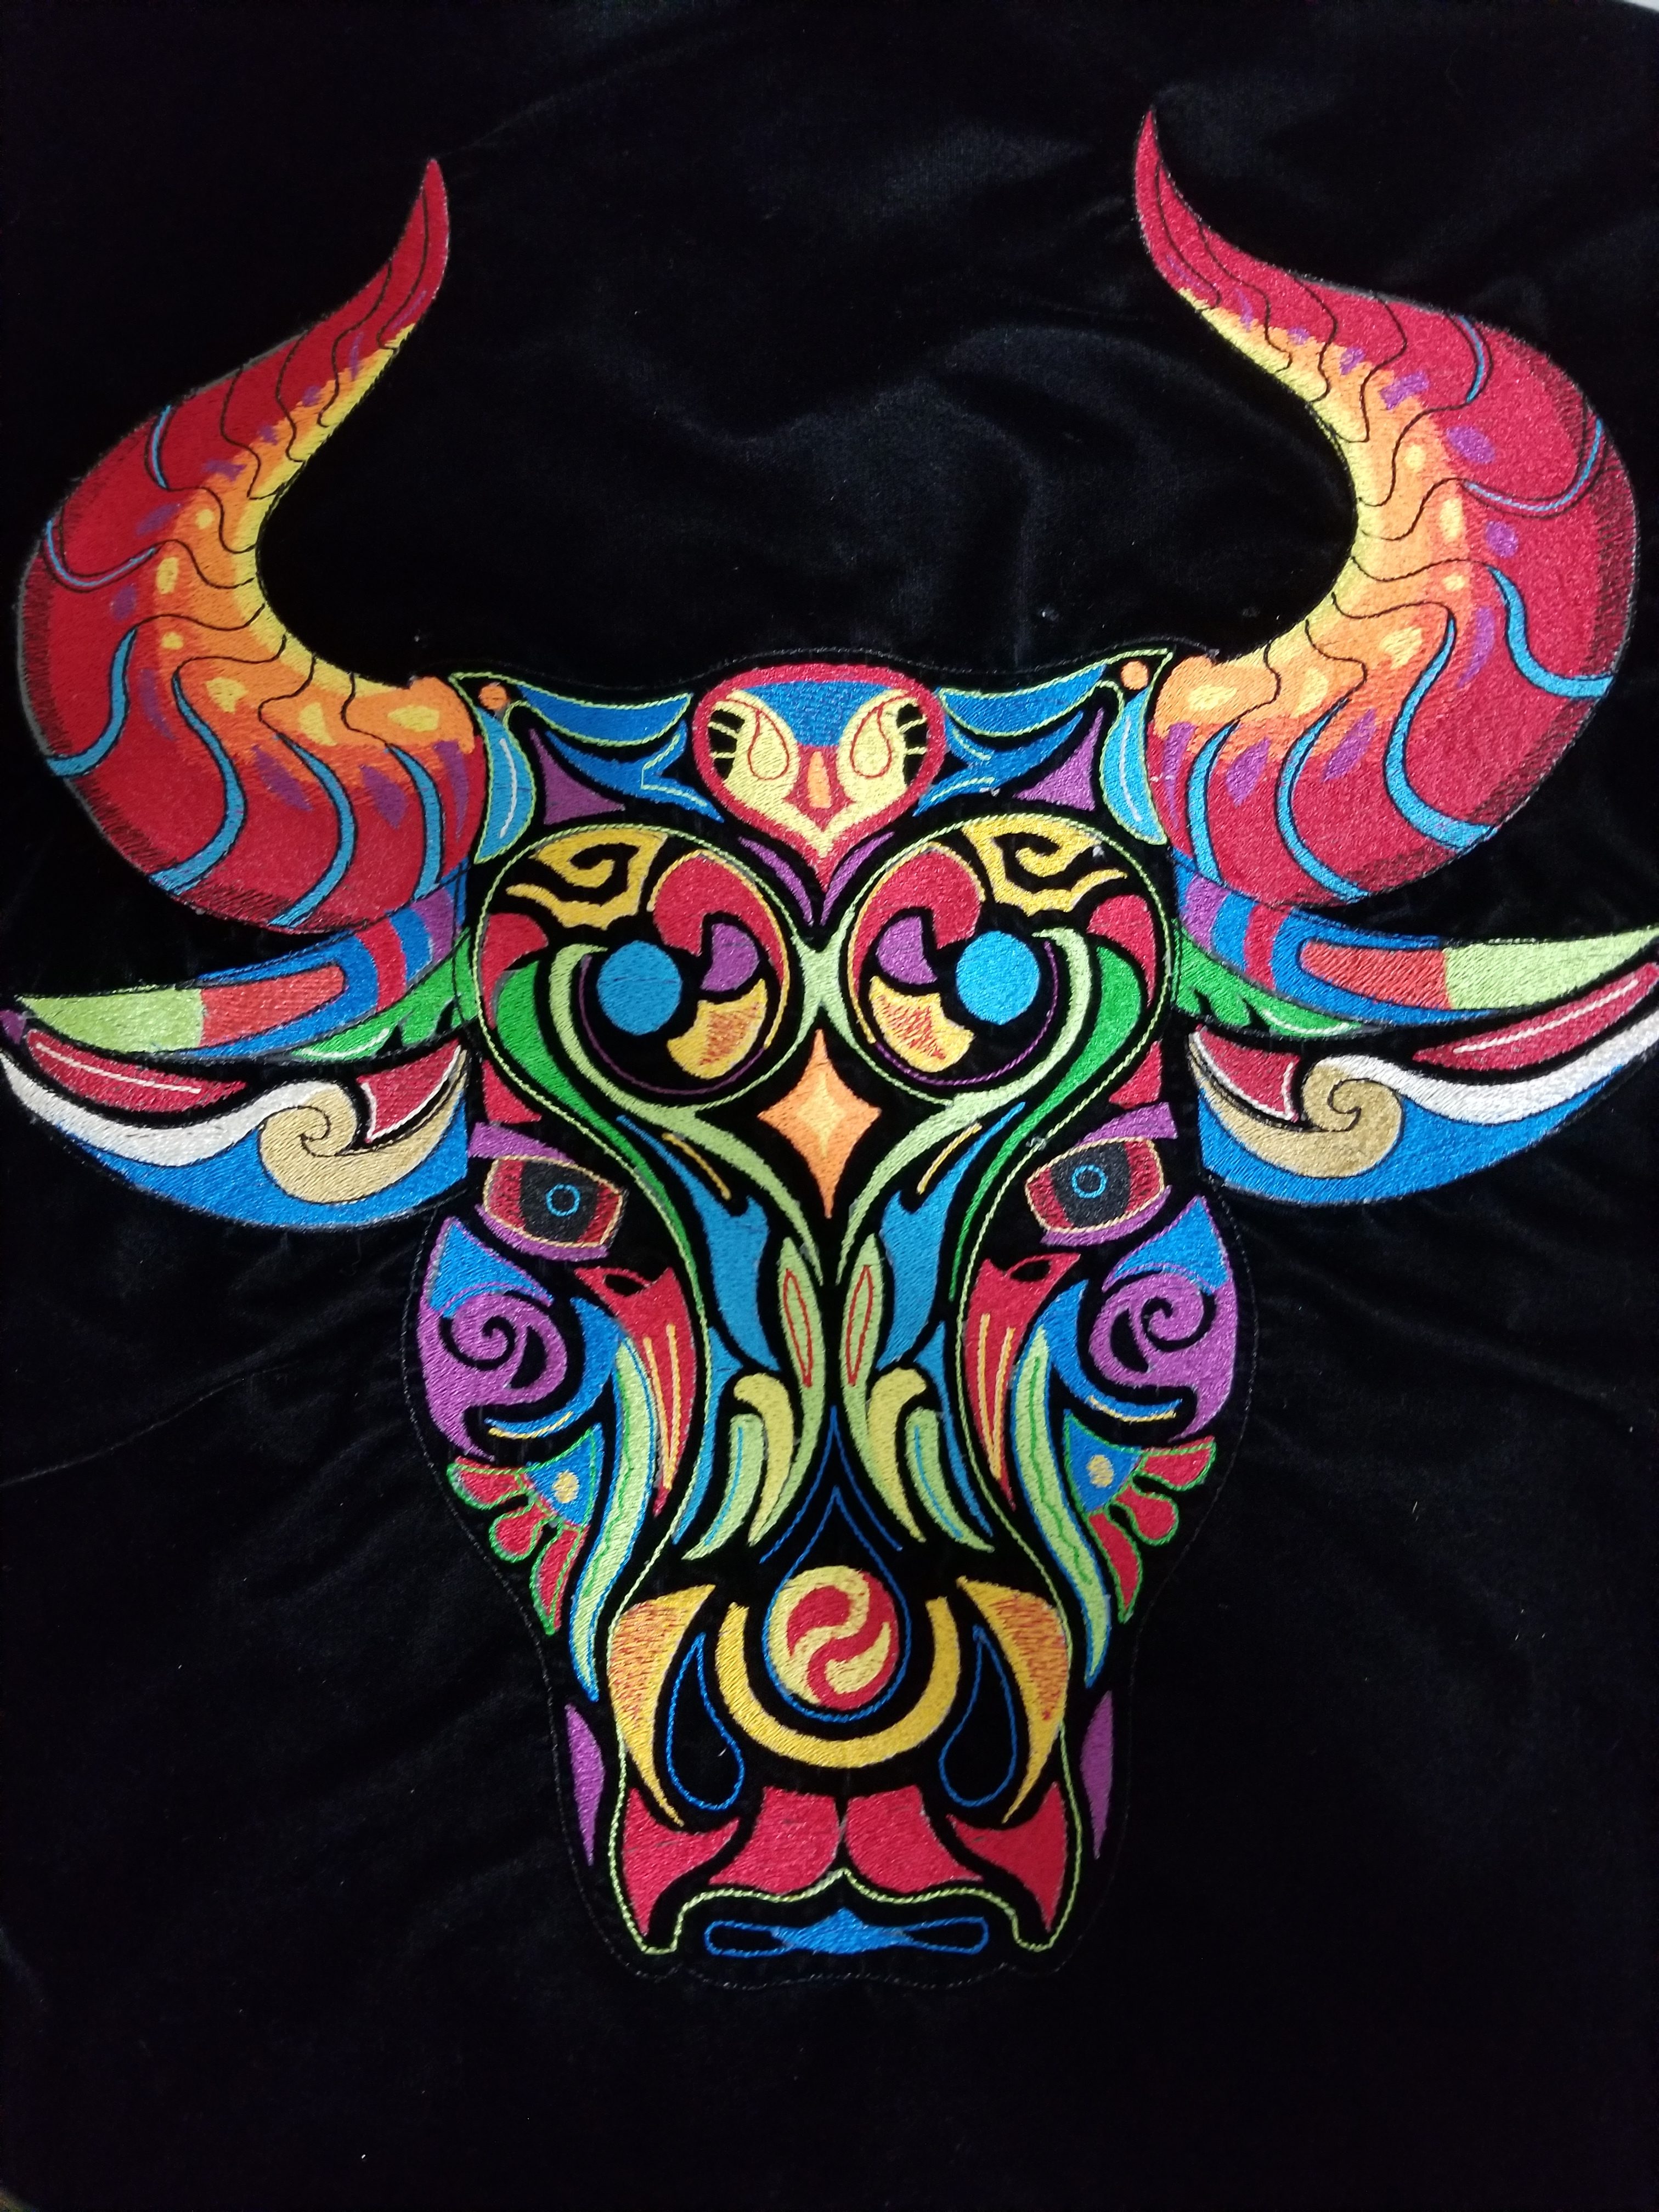
“Couldn’t get into your blog, but wanted to share the 15×16 bull on black velvet, commissioned by a coworker to take back for his brother on a visit home to India. GORGEOUS!!!
(NOTE: I don’t yet have the BLOG setup for postings (getting spam taken care of first). Just email me any project you would like to have on the BLOG. suz@BFC-Creations.com. )
“An intricate yet easy to stitch design that gives a stunning piece of work that everyone can be proud of”
Thank you again for such a beautiful design x Anji
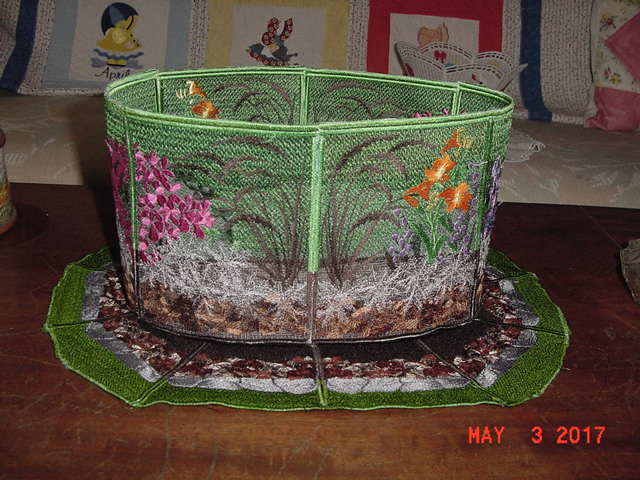
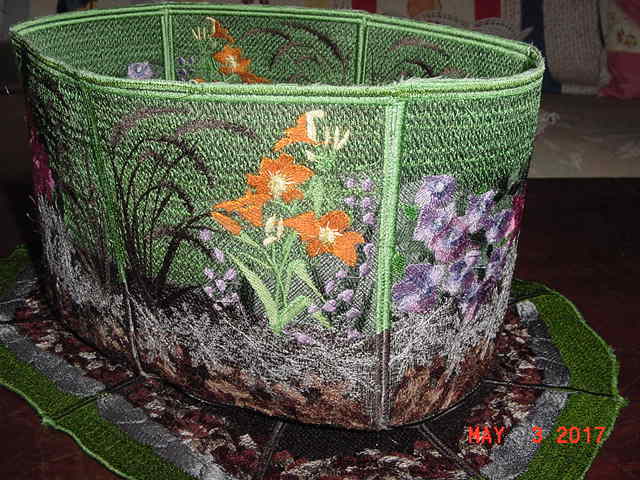
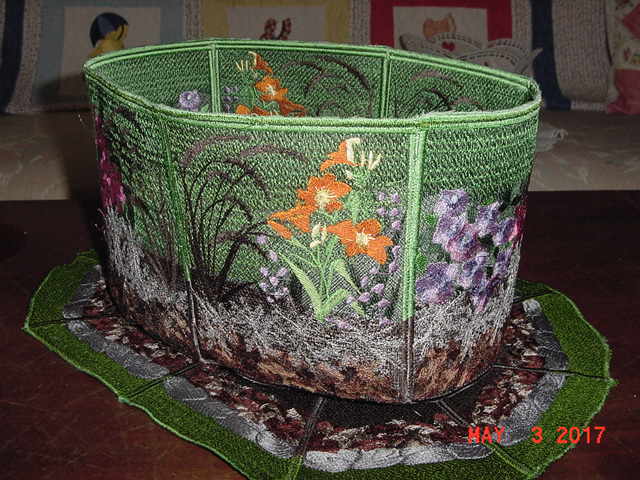
Hi, Can you please post these pics for me. This basket was the hardest one I have ever done and as you know I have done a few, why I don’t know.
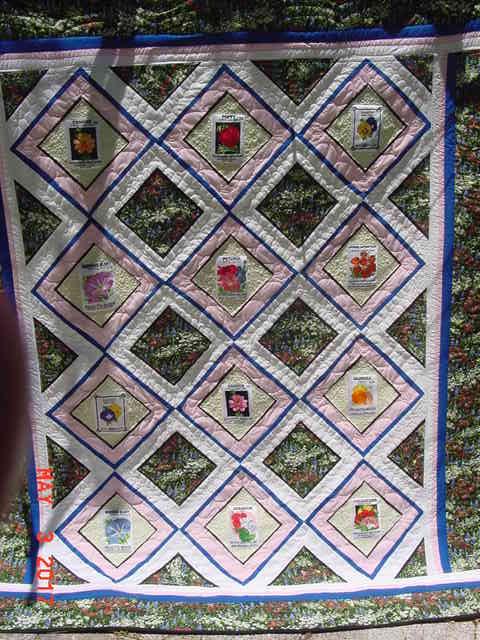
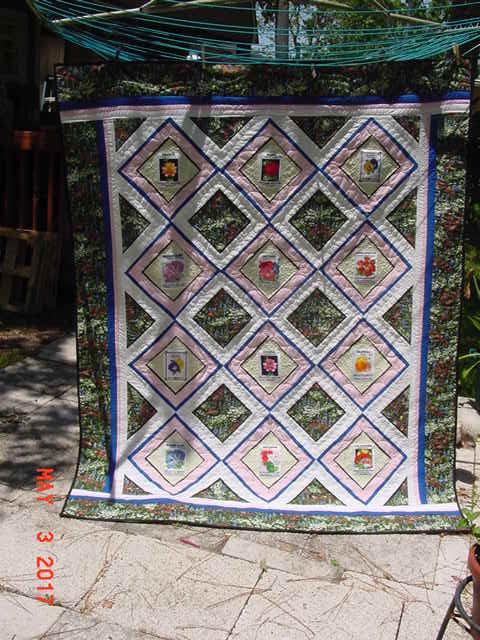
Also the quilt I finished last night. love the way you seed packs came out. They look real. I will be doing one with the vegie packs and maybe I will use this pattern if I can find some vegie fabric.
Thanks for posting for me.
Marge
Hi – I purchased this set last year after getting the corner stone design free. I finally got the time to stitch it out, so I thought I’d send you a picture of how it turned out. I stitched it on white muslin overlaid with a gold organza. I think it turned out beautiful! Thank you for the design! Jeannie
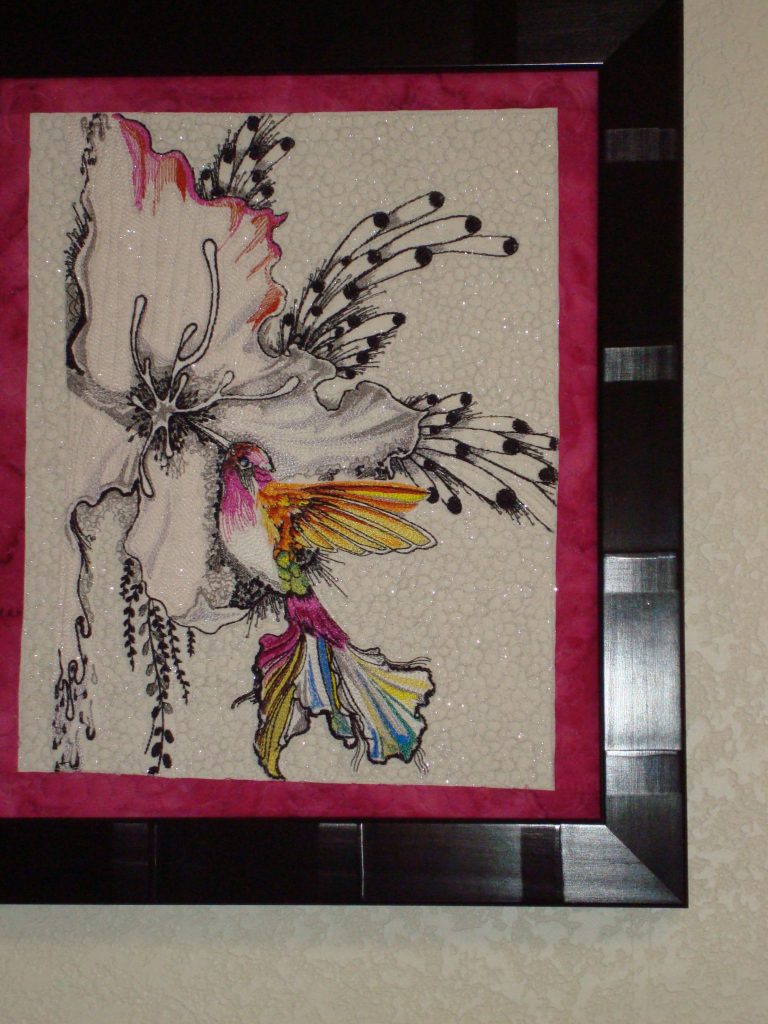
Linda did a beautiful job of stitching and finishing Ching Chou’s Hummingbird.