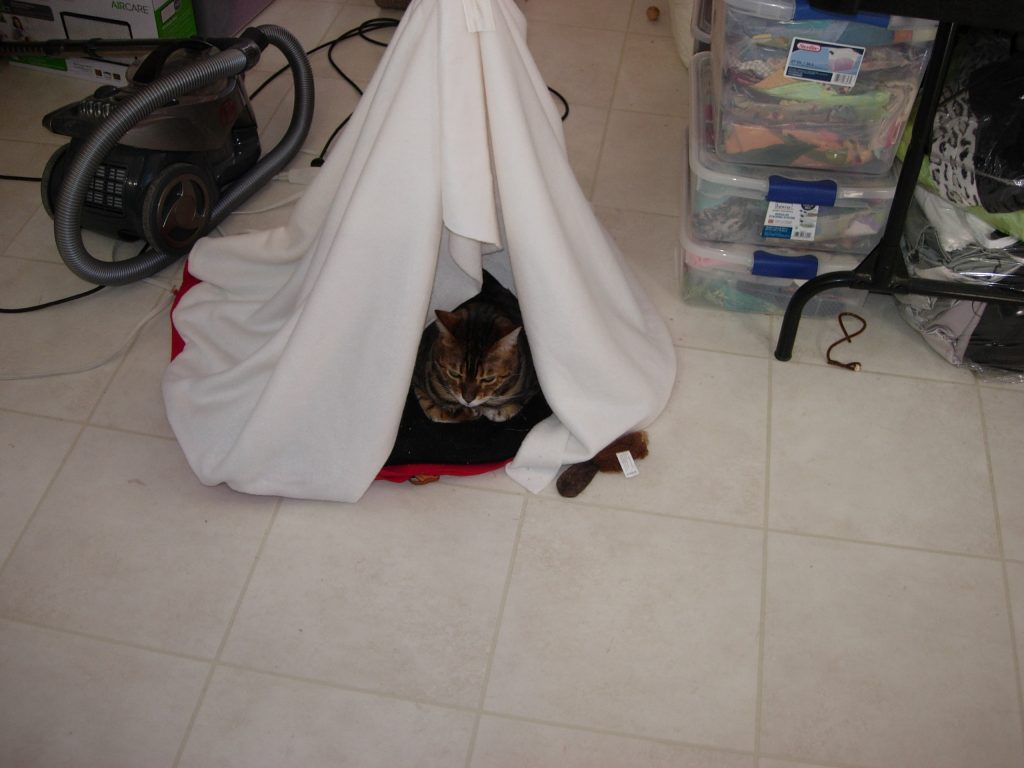
I’m sorry I didn’t take any photos as I was making this, but I will try to explain best I can. I took a piece of fleece and cut out the base. I had a small memory foam bathmat and I used this as a pattern so I could put it inside when the tent was done. I cut two pieces of the fleece. I took some high loft poly fill and laid this in the center of one of the base pieces. I stitched all around the base about a half inch in from the edge.
I thhen measured around my base for the length of the next piece of fleece I would cut. I hung my tent from a hook in the wall in the arch over the alcove. It will also hang and work fine from a hook on a flat wall ( I had tried that just to move it around). I used one of those no mark hooks and so far it hasn’t budged! I decided how high I wanted the sides of the tent and used this for the other measurement on my piece of fleece. So I cut one piece:
length around the base by the desired height.
I stitched this piece around the base I had made. I placed the wrong side of the base along the edge of the side piece and stitched. The seam was inside the tent and doesn’t show. And by using fleece, there was no reveling. I started and stopped the stitch at the center of the base as this would be their flap.
I folded over the flap and pinned it. I then took some big pleats along the top edge to make it small enough to add a hanger. I stitched these pleats from the inside and trimmed the seam allowance.
I then folded the tent together and stitched across the top. This could be done from the inside so the seam won’t show. I stitched a heavy ribbon to make a loop to hand from my hook.
After sprinkling a little bit of catnip in the center of the tent it was ready for its occupants. They spent a LOT of time in this during the winter! I’d often see two little faces at the doorway.
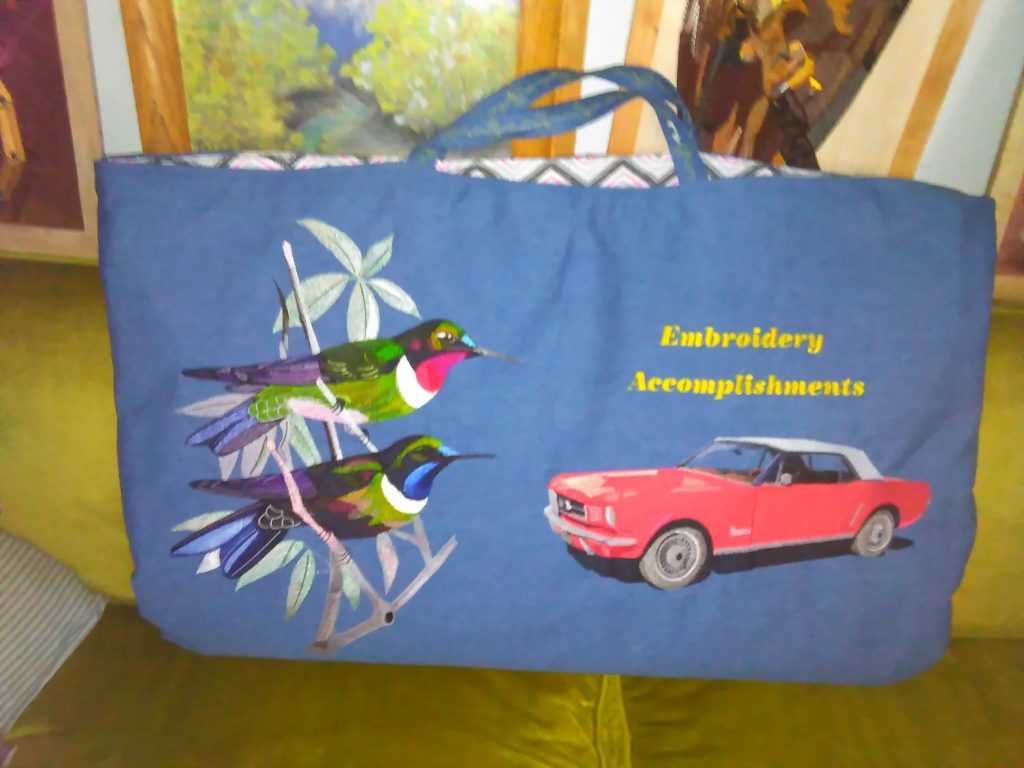
You can of course add some cute cat designs to really make this a custom tent!
Please feel free to ask any questions as I know it’s hard without picture as I went along!
Suz