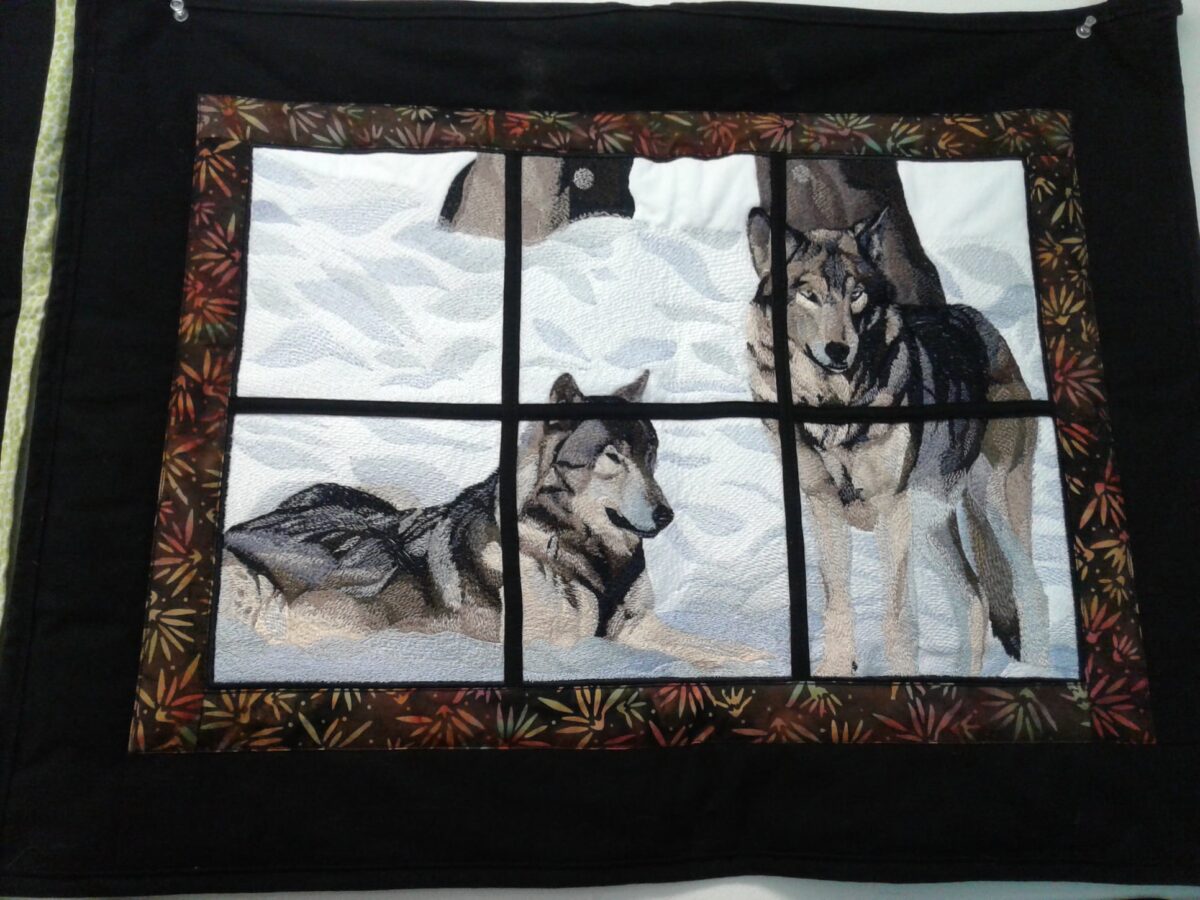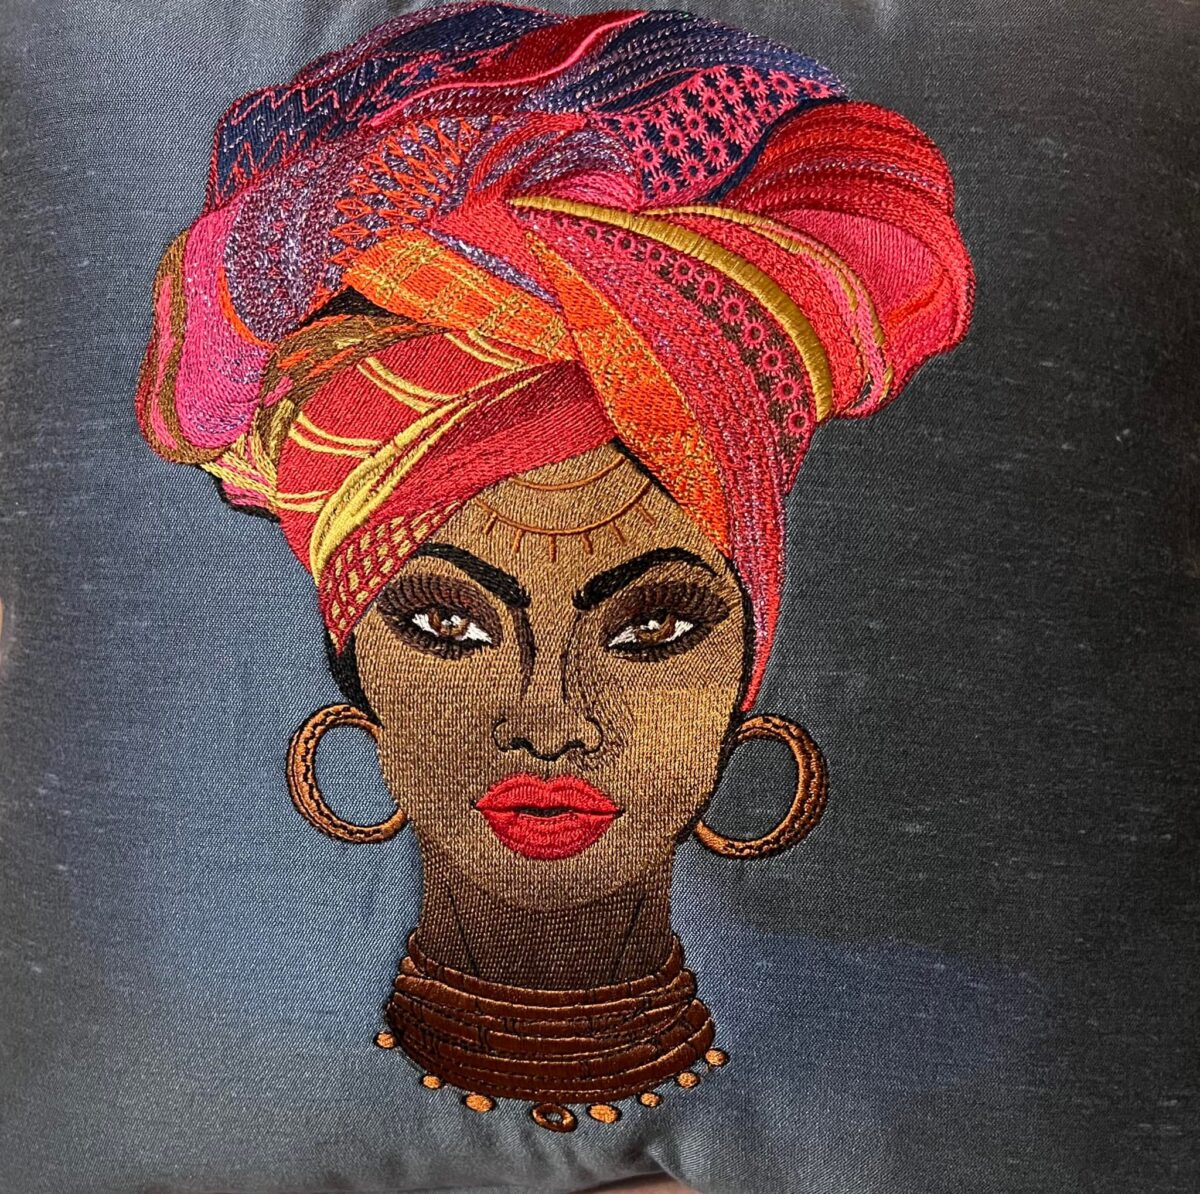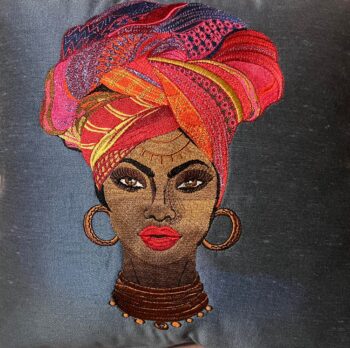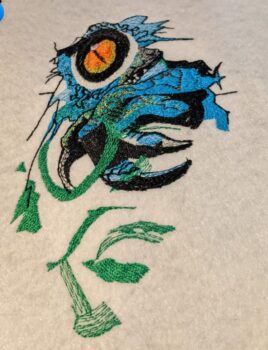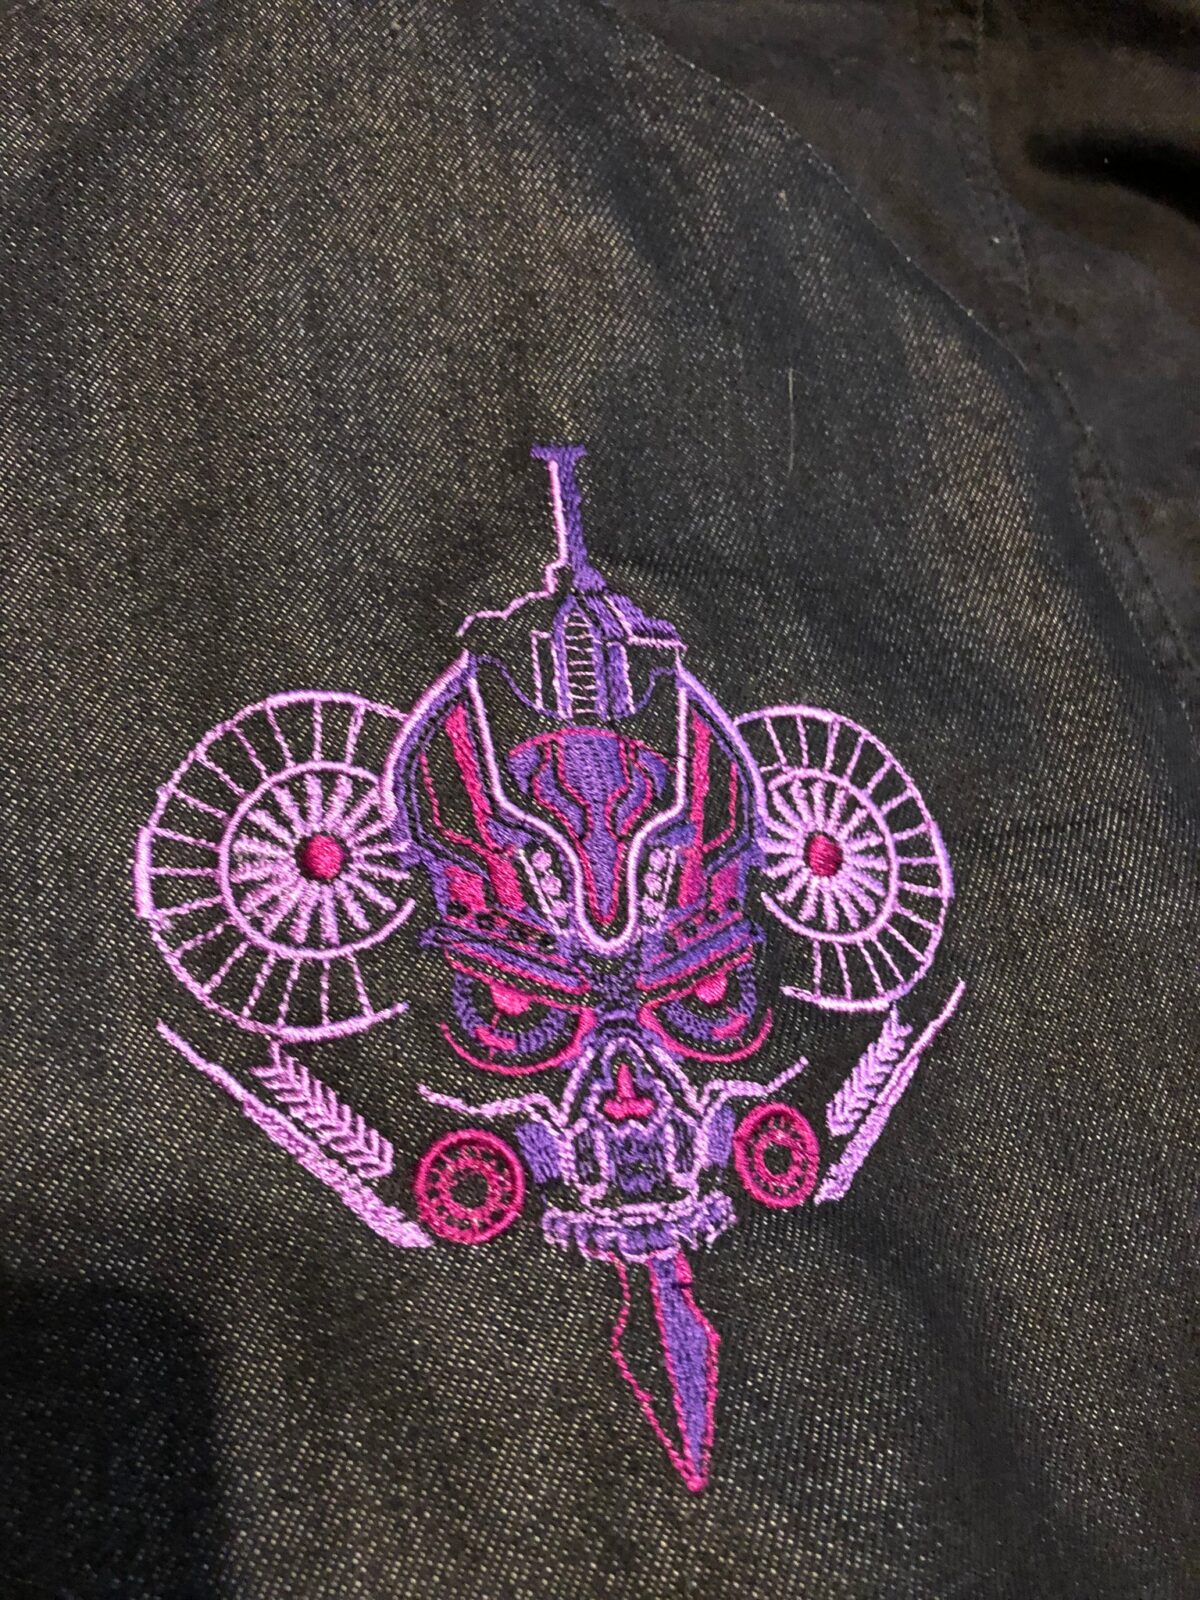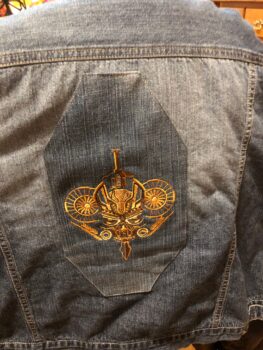
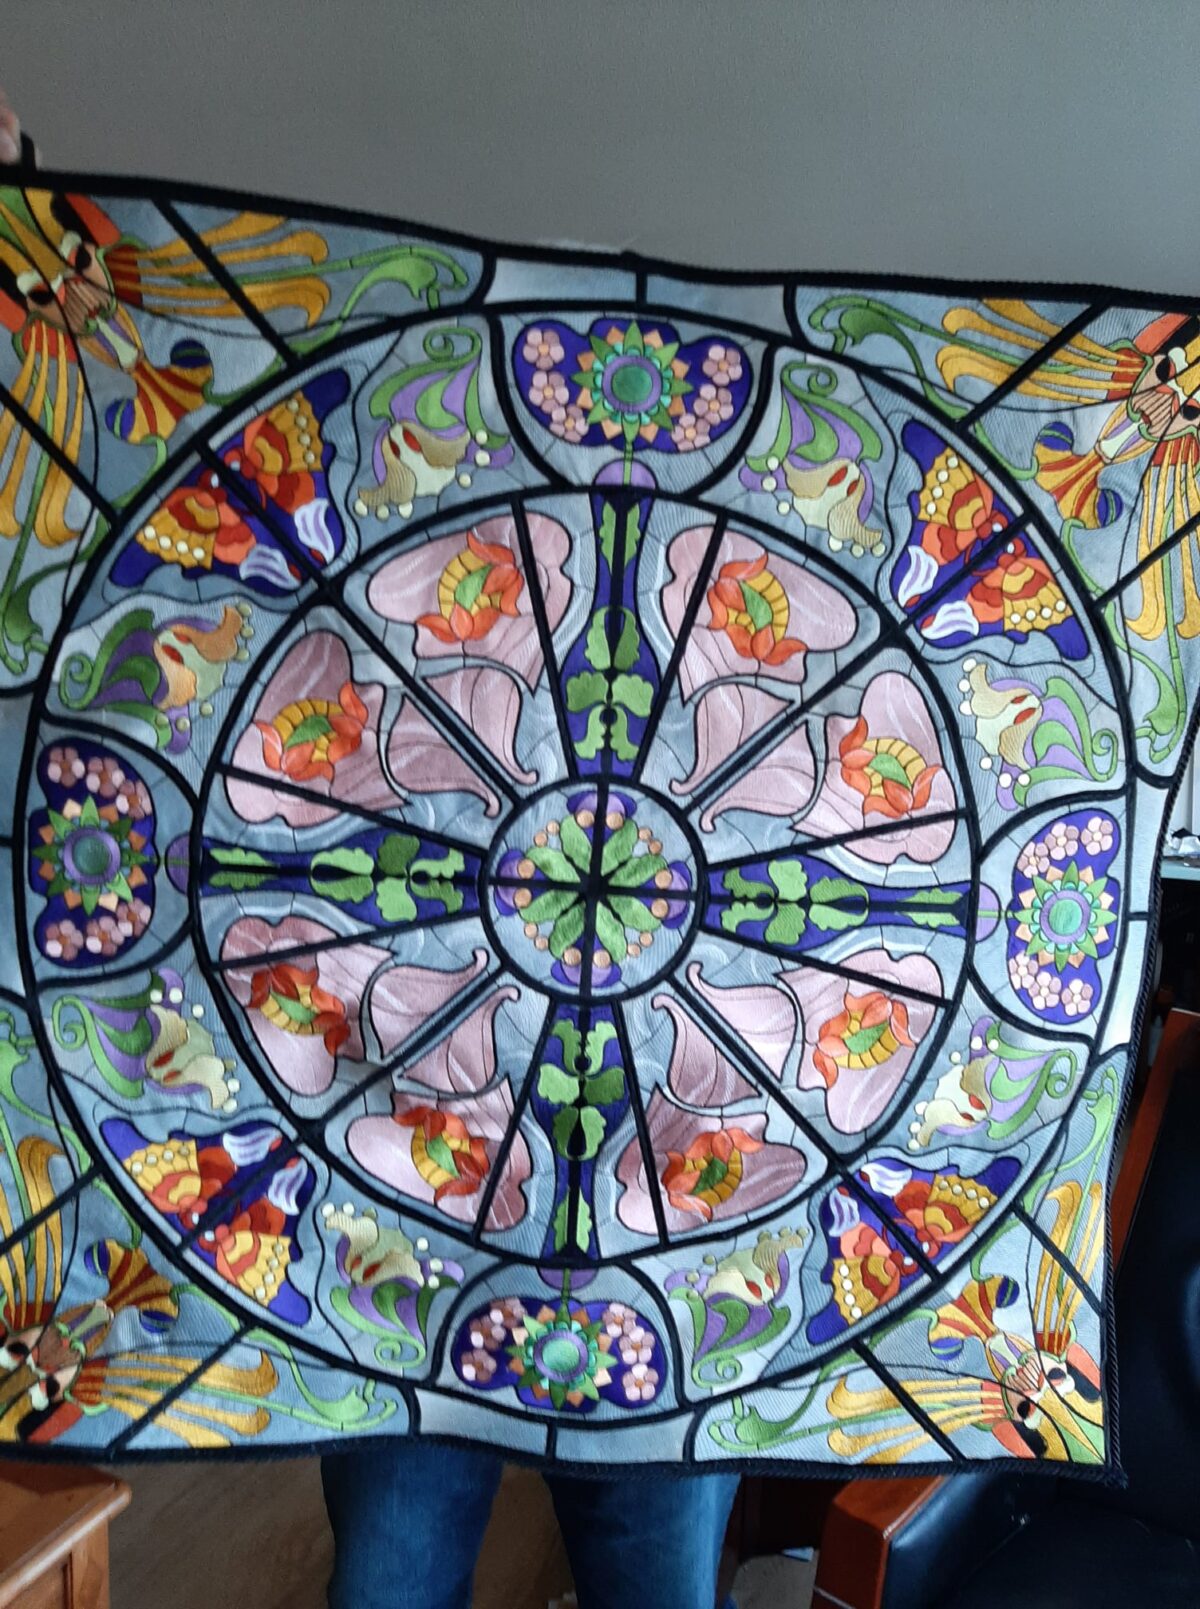
Jannie chose one of my favorite designs. I love your colors Jannie! They totally change the look of the design.

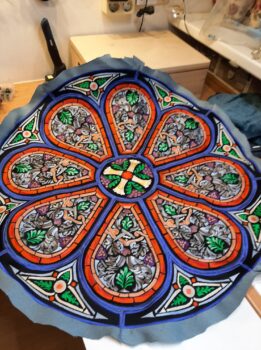
BFC0894 Stained Glass-Art Nouveau Circle in a Square
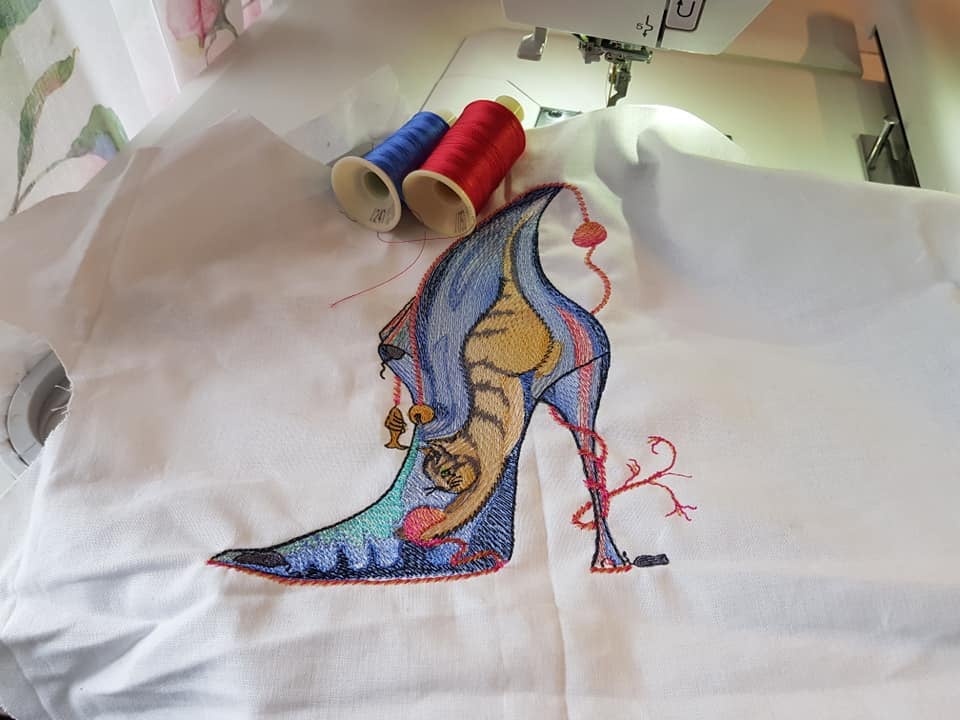
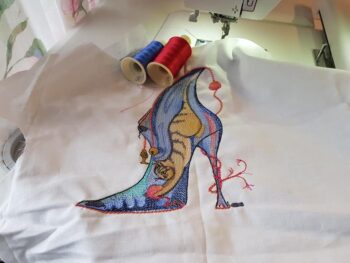
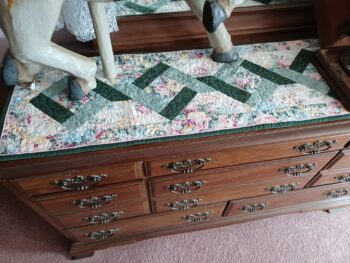
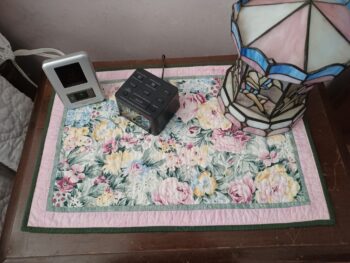
Jannie also stitched our Italian Rose Window. These two are a LOT of stitches!!!! great accomplishment.